Ingredients
- 1 beeswax candle kit *
- scissors
Instructions
- Cut a sheet of beeswax in half to make a standard-size taper candle.
- Measure the wick "string" against a cut (halved) sheet of beeswax, making sure there's an additional 1" of wick at the very top of the candle. Use scissors to cut the wick.
- Press the wick into the beeswax sheet. Remember, there should be about 1" of wick "overflowing" at the top.
- Tightly fold the beeswax sheet over the wick to secure the wick in place, then continue rolling the sheet to make a candle.
- Repeat the steps above to make multiple candles. One sheet of halved beeswax will make two candles.
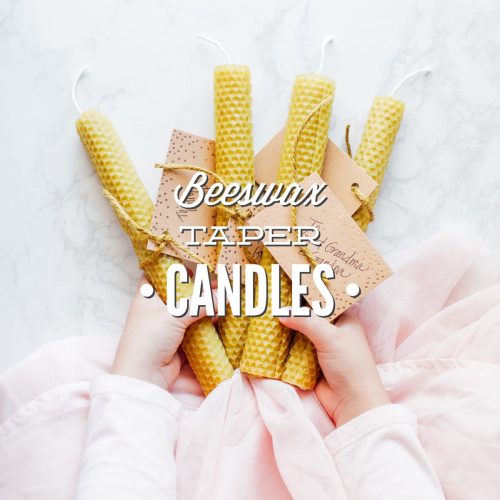
- Once rolled, the candle is ready to use. I use a mini glass jug from Crate and Barrel to display and burn my candles. My mom used a taper candle holder to display the candle we made her, and the candle fit perfectly.
- Light and burn the candle as you would with any taper candle. The tighter the candle is rolled, the slower it will burn.
Notes
*I've found that a kit (just beeswax sheets and wick) is the most affordable route. If you'd preferred to skip a kit, you'll need to purchase beeswax sheets (Amazon, or a local beekeeper or market) and cotton wicks.
The beeswax sheets I've worked with have all been very pliable. If you happen to have sheets that are stiff, try using a blow dryer to warm up the sheets so they're easy to handle. I like to cover my table (or any surface being used) with craft paper, a brown paper bag, or some kind of cover to keep the beeswax from sticking to the surface.
Servings: 2 candles per beeswax sheet