Want to Save This Recipe?
Enter your email & I’ll send it straight to your inbox. And you’ll get new recipes & tips each week.
The next few weeks should be themed, Makeover the Processed Food from Kristin’s Childhood.
Over the next few weeks, I plan to share homemade jello cups, chicken nuggets, and homemade honey mustard (for those nuggets). There will also be a healthy mix of avocado toast and roasted veggies in there.
Making the swap from processed food, that’s full of questionable ingredients and has the lifespan of a Twinkie (which is seriously disturbing that anything lasting generations can be given a food label), to real food is not about just making processed food alternatives at home (although that’s a good place to start).
The goal is to return to (real) food that’s from the ground (or an animal that was raised on healthy, grassy ground), food that’s prepared lovingly by human hands (chopped, diced, stirred, and cooked), and food that’s prepared specifically to nourish the body. That, my friend, is what real food is all about. Plain and simple.
And yet, there is this thing we’ve all grown up around (well, at least many of us): processed food. And this brings us to a dilemma. Do we completely cut off all of our food memories from childhood (yes, the processed ones like mac and cheese and jello), or do we occasionally find a homemade solution?
It’s a decision that everyone turning away from processed food must answer for themselves.
I truly believe there is a time and place for making processed food alternatives from scratch in our kitchens, while at the same time introducing new vegetables, new cuts of meat (like a whole chicken), and other nourishing food into our real food lifestyle.
There is such a thing as finding balance and enjoyment in this lifestyle, and when we can master these two, this lifestyle essentially becomes effortless. Okay, well, there will always be meal planning, shopping, and preparing food. You know what I mean, the mindset of eating real food becomes effortless, and incredibly enjoyable.
There are times when a food memory from my childhood is triggered (whether processed or home-cooked), and that leads me on a journey to discovering how to make something similar in my own kitchen with real ingredients.
It’s absolutely fascinating to me that it’s so easy to make many of the “foods” I grew up consuming from a box or bag at home with simple, fresh ingredients. At the same time, it saddens me that we’ve ventured so far from our home kitchens and local farms over the last fifty years. As a society, so many people believe they we must rely on a company and products sold in big conventional stores to “get it right.” Hey, I was there eight years ago, I totally understand. The truth is, food that’s made at home is not only nutritionally superior (because it’s actually real), it also tastes better.
We’ve come so far from the simpler food days of great-great grandma. The good news is that we’re redeeming those nutrition-less processed days, and I believe great-great grandma would be so proud of us!
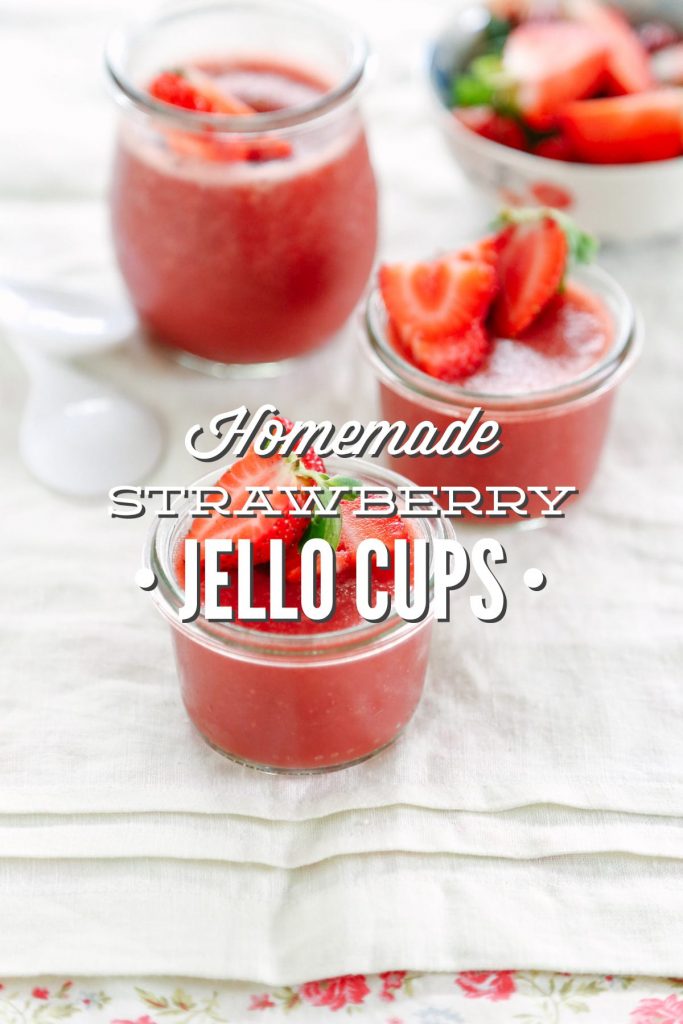
Today’s recipe is a redo from my childhood: jello cups.
I remember my mom packing the bright red jello cups in my lunchbox nearly every week. The cups, full of a jiggly substance, were always the envy of every kid at the lunch table, as they nibbled on their pb&j sandwiches.
Now, as a mom to a kindergartener, I know Piper oftentimes watches kids enjoy the same “treat” I once enjoyed in my early ’90s lunchbox. In fact, after just the third week of school, Piper came home asking if I would pack him “jello.” Yep, it only took three short weeks for jello to make it to school. What was I to do as a real food mom who doesn’t want to send her son with red dye?
The answer: Figure out how to make homemade jello!
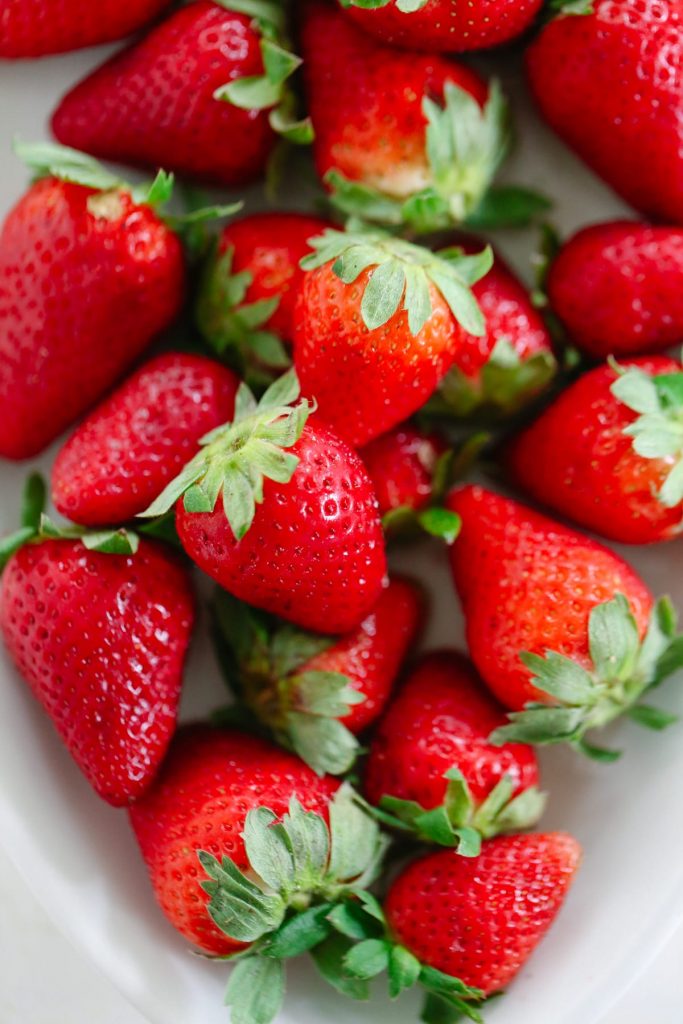
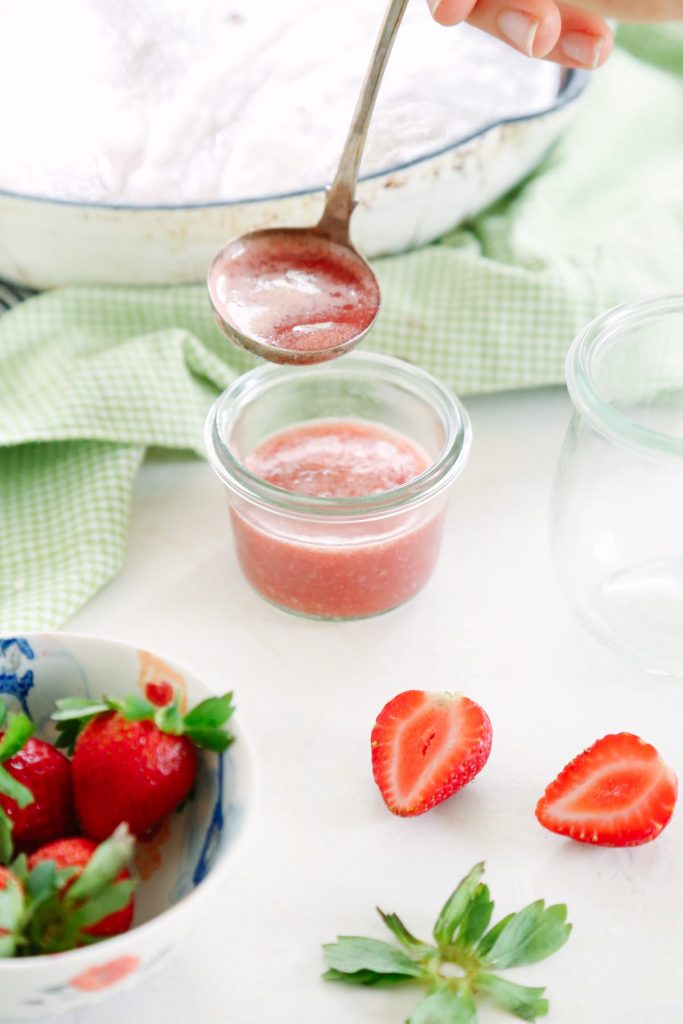
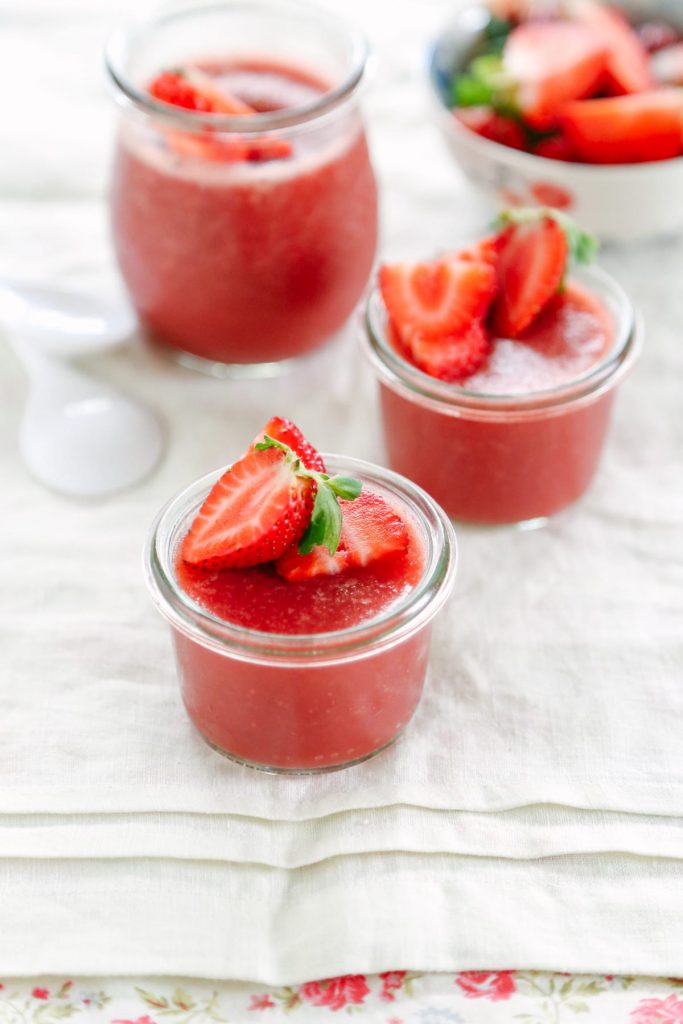
Since Piper’s request was specifically for red jello, I knew strawberries were the best option. So, together, we searched the freezer for our leftover seasonal stash of Florida strawberries (we only have one season here in Florida: strawberry season!). I added the berries to the blender, along with a bit of water, and honey. Then, to help “activate” the gelatin (the key ingredient to anything jiggly), we heated the mixture just until it was warm. The gelatin dissolved quickly in the strawberry mixture, and then Piper helped me carefully pour the liquid jello into smaller plastic tupperware containers. After a couple of hours in the fridge, the liquid mixture turned into jiggly jello. Just like I remember as a kid, but without the questionable ingredients.
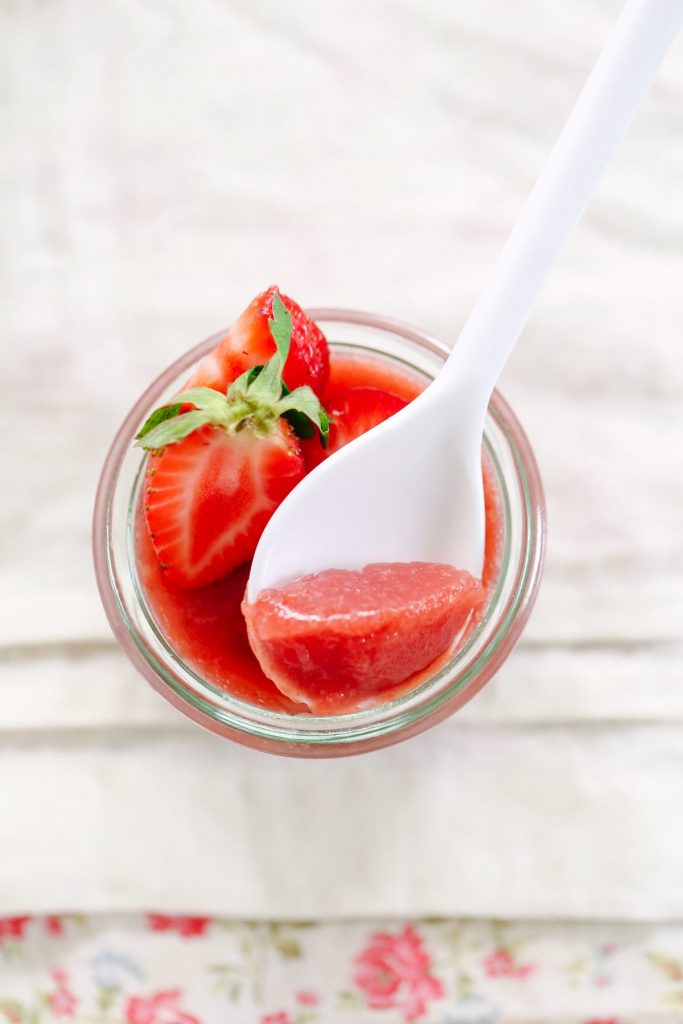
The real test came down to the first bite. We both took a bite, and then smiled at each other as the jello slipped down our throats. Piper, who doesn’t know what “real” jello tastes like, loved every bite of our creation, and I loved the realness of our homemade jello. Unlike the store-bought stuff, homemade strawberry jello is slightly sweet and fully fruity, and has a texture that’s thick and light at the same time.
Whether you’re making new food memories or redeeming old ones, I think you’ll love this simple real food treat!
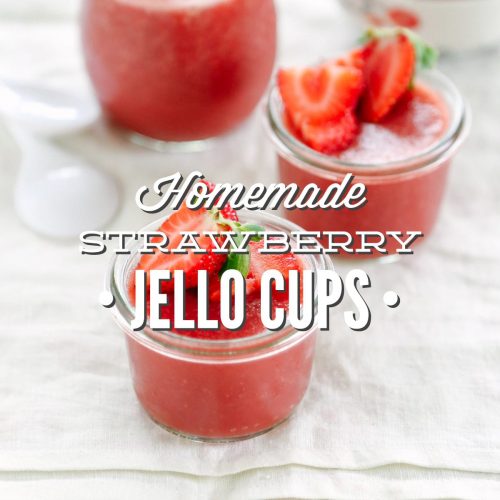
Homemade Strawberry Jello Cups
Ingredients
- 1 cup water
- 1/2 lemon juiced
- 2 cups semi-defrosted strawberries
- 4 TB honey more or less to taste
- 2 TB grass-fed gelatin
- 1 TB chopped strawberries per jello cup, optional
Instructions
- Place the water, lemon juice, semi-defrosted strawberries, and honey in a blender jar. Blend the ingredients until they are completely smooth. Pour the mixture into a saucepan.
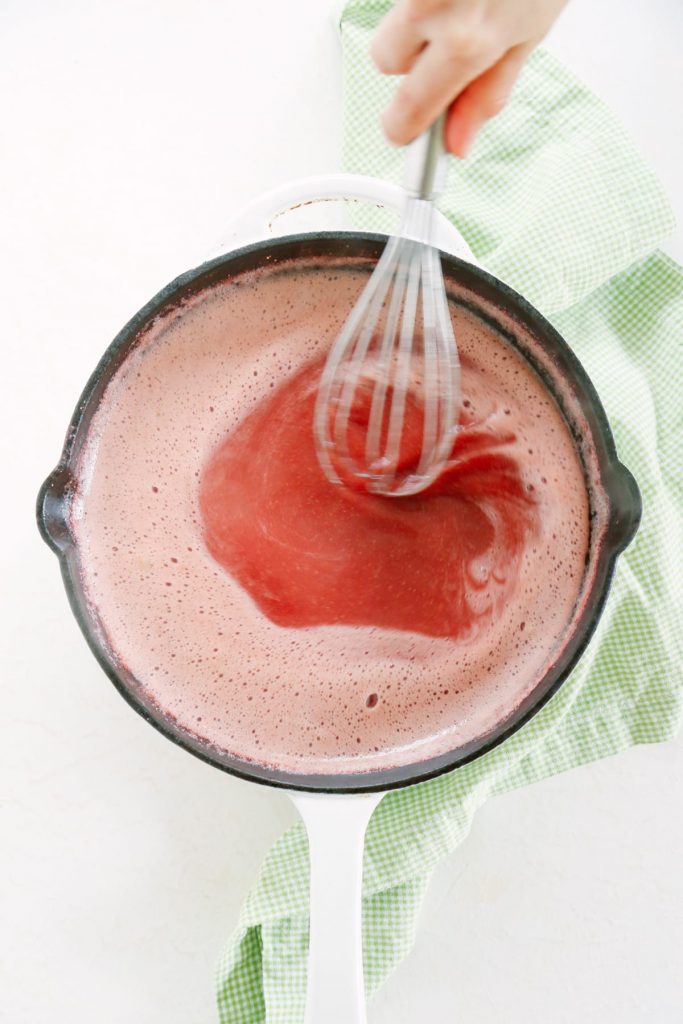
- Over medium heat, warm the strawberry mixture until it's hot to touch. It doesn't need to boil, but it should be hot! Add the gelatin, and whisk to dissolve. If there are any clumps of gelatin that remain in the strawberry mixture, remove them and add a pinch of gelatin to compensate.
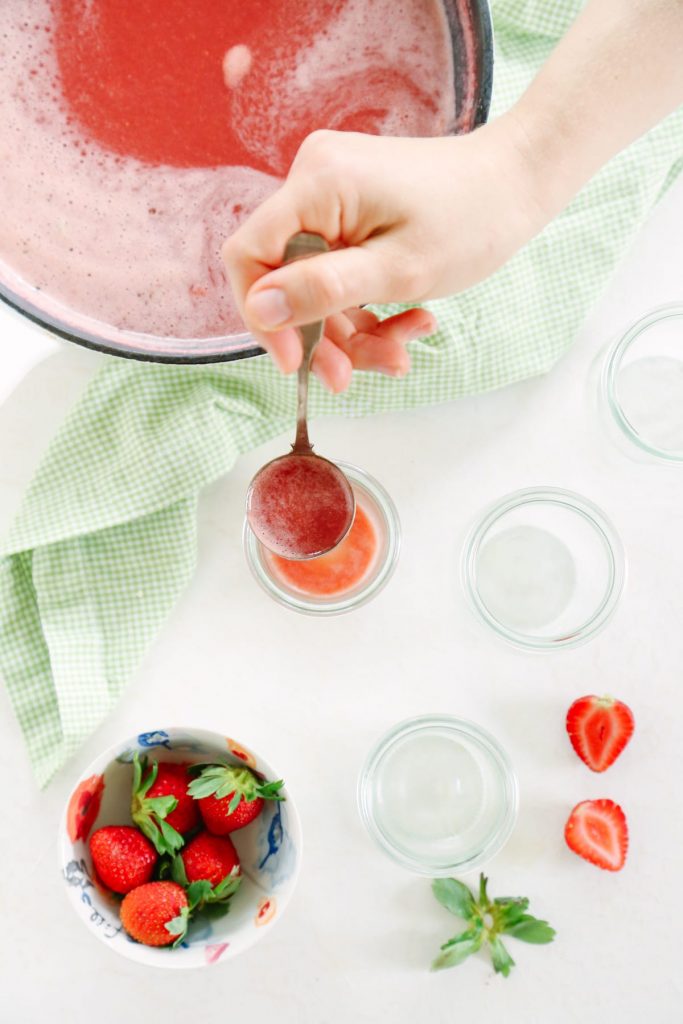
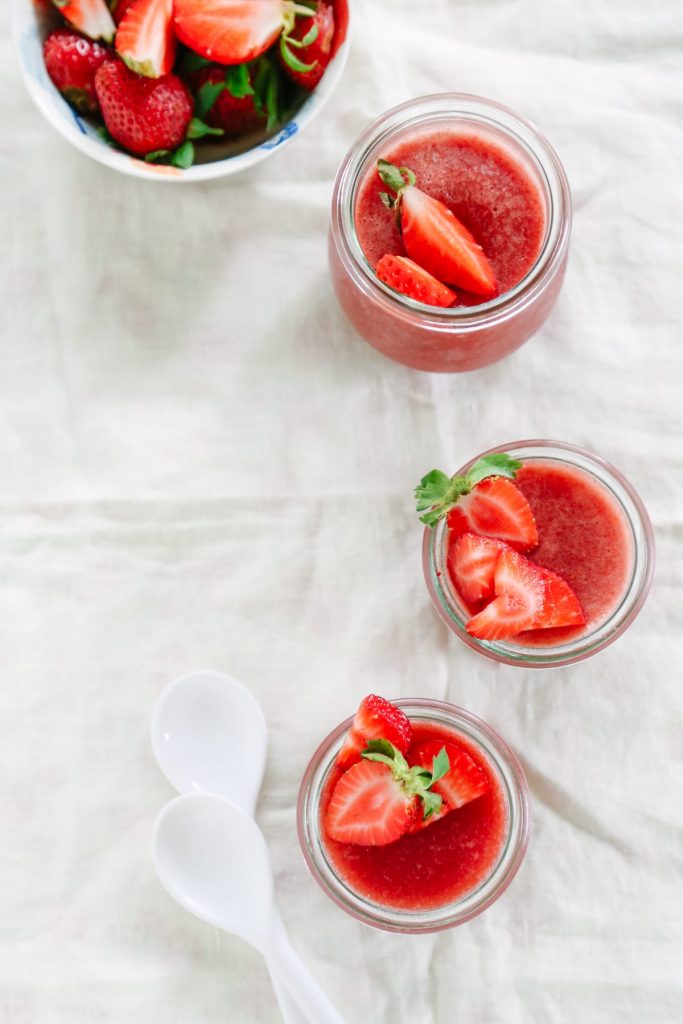
- Pour the hot strawberry mixture into individual cups (I use glass Weck jars at home and plastic containers for school). If you'd like chunky jello cups, add 1 tablespoon of chopped berries (fresh or frozen) to the bottom of each cup.
- Refrigerate the jello cups for at least two hours, or several days, until they are firm.
Nutrition
Strawberry Note:
Fresh strawberries may work. I prefer to eat our fresh berries for breakfast or afternoon snacks, so I opt for frozen berries. Make sure the strawberries are semi-defrosted before pulsing them in the blender.
Gelatin Note:
It’s best to use grass-fed gelatin (well, gelatin from grass-fed cows). The most popular brand which claims to be from grass-fed cows is Great Lakes. I personally don’t care for the stronger taste of Great Lakes, so I use NOW brand gelatin. Collagen hydrolysate will not work in this recipe. You’ll need gelatin to create the jiggly texture of jello. Feel free to adjust the gelatin amount according to the consistency you desire, increasing the gelatin by a couple of tablespoons for firmer jello.
Lunchbox Note:
I send this jello occasionally in Piper’s lunchbox as a special treat. I’ve found the jello remains firm if I pack it with an ice pack. For time reference, Piper has about a 2 1/2 hour difference between when I drop him off and when he eats lunch.
Hi Kristin, could I use agar powder in place of the gelatin for a vegan option?
Hey Alicia, Yes, that should work.
The luscious strawberry gelatin has 10 calories per serving and no added sugar or fat. Great flavor!
I Tired The Strawberry Jello Recipes In My Home .Thanks For Sharing This Kind Of Recipes To The User … Your Instruction Are Very Clear To Do The Strawberry Jello.
Thanks For Your Clear Intruction for Recepies ……
Can you make this with fresh strawberries, and put the whole batch in one bowl instead of individual cups?
Can you use fresh strawberries if I freeze them first?
Hey Deborah, Definitely!
I love this idea so much! I can’t wait to try it! 🙂 Have you ever thought about doing a recipe for (maybe you have, I’m not completely caught up yet) homemade fruit roll ups?
I don’t know, just a thought. I know that that is a definite kids favorite! 🙂
Hey Bree, Thank you! I have been thinking about a fruit roll up recipe, but just haven’t made one yet–they can be a bit time consuming, and require a dehydrator. Thank you for the idea!!
I made these with mango purée and kombucha (instead of water…). So yummy! Also, I love your photography in all your posts! Excellent pictures- love the lighting especially!
Yum! That sounds like a great flavor combination! And thank you so much. I’m so glad you’re enjoying the photography and lighting ❤️.
I have Vital Proteins Collagen Protein, Pasture-Raised, Grass-Fed Beef Gelatin, is it the same as TB gelatin? Just trying to save some money.
Hey Pamela, I’m not sure since I’ve never used their product. I’ve heard it’s a great brand. As long as it gels, then it should work just fine with the measurement.
Update: I just checked out their website FAQ page and it appears that only the green lid (collagen Protein Beef Gelatin) will work in this recipe. http://www.vitalproteins.com/frequently-asked-questions
Yeah thats what I have, thank you, I will be making this a lot now.
Awesome, enjoy!!
I made it and I think it’s great! I happened to use mixed berry because it’s what frozen fruit I had in the freezer. My only regret is it came out a bit gritty (I think due to the seeds). Does the strawberry jello come out like this as well? Should I try to put it through a sieve or food mill before I heat it up?
Hey Stephanie, I’m so glad they came out well. The grittiness is definitely from the mixed berries, particularly raspberries. Next time, I recommend putting the blended fruit through a sieve, as you mentioned, if you’re using the mixed berries. You shouldn’t need to do this if you use strawberries.
Thanks!!
Hi Kristin, very fun recipe! I noticed you said it can be left in the fridge for several days to firm up. I am curious, can you shed light on the extent of the fridge shelf life before it needs to be thrown away?
Hey Sam, Thank you. The homemade jello will keep for about a week to a week and a half in the fridge. The gelatin won’t go bad within that time, but since we’re using fresh fruit in this recipe, the fruit will eventually spoil. A sniff test is probably your best option :).