One of my passions, besides sharing the message of real food, is teaching people how to cook. And I’m not just talking about teaching people how to cook special recipes. I’m talking about basic, flavorful, versatile cooking skills.
Want to Save This Recipe?
Enter your email & I’ll send it straight to your inbox. And you’ll get new recipes & tips each week.
When you learn how to cook, as in how to prepare basic homemade foods and cooking techniques, you’re able to stop relying on the need for a recipe.
When you know how to mix together a few simple ingredients to make muffins or pancakes, or how to cook a whole chicken, you experience a sense of freedom and also limitless possibility in the kitchen.
Freedom from the need to rely on other people, recipes, boxes, and packages to prepare meals. And limitless possibility to use a variety of ingredients to adapt and customize basic meals.
That’s why I’ve started sharing recipes titled, “master recipe: one recipe, multiple possibilities.”
I want to share the basic recipes and techniques that I lean on as real food foundations in my kitchen.
The recipes that I turn to when I want to make muffins or pancakes or granola, or when cooking a whole chicken or making a salad dressing. Or, how to turn basic eggs into over 16 different meals.
I want to share my master recipes and also share how to customize the master using a variety of pantry, fridge, and sometimes freezer ingredients.
I’m sharing these “master” recipes to show you that eating real food can be incredibly simple and budget-friendly. You don’t need a ton of different ingredients or cookbooks or recipes to make really good food at home.
I think many of us are overwhelmed by the amount of recipes available today. We are crippled with decision fatigue when looking at Pinterest or the cookbook section in stores, and this is reflected in our frustration with meal planning and also not knowing what to eat.
I know, I share a lot of recipes. I get that. This probably sounds hypocritical. I love trying special recipes, and finding new meals to prepare. But, I think there’s something to be said for simplifying, and having a solid “go-to” list of master recipes we can rely on over and over again. There’s something so freeing about knowing the basics of real food cooking.
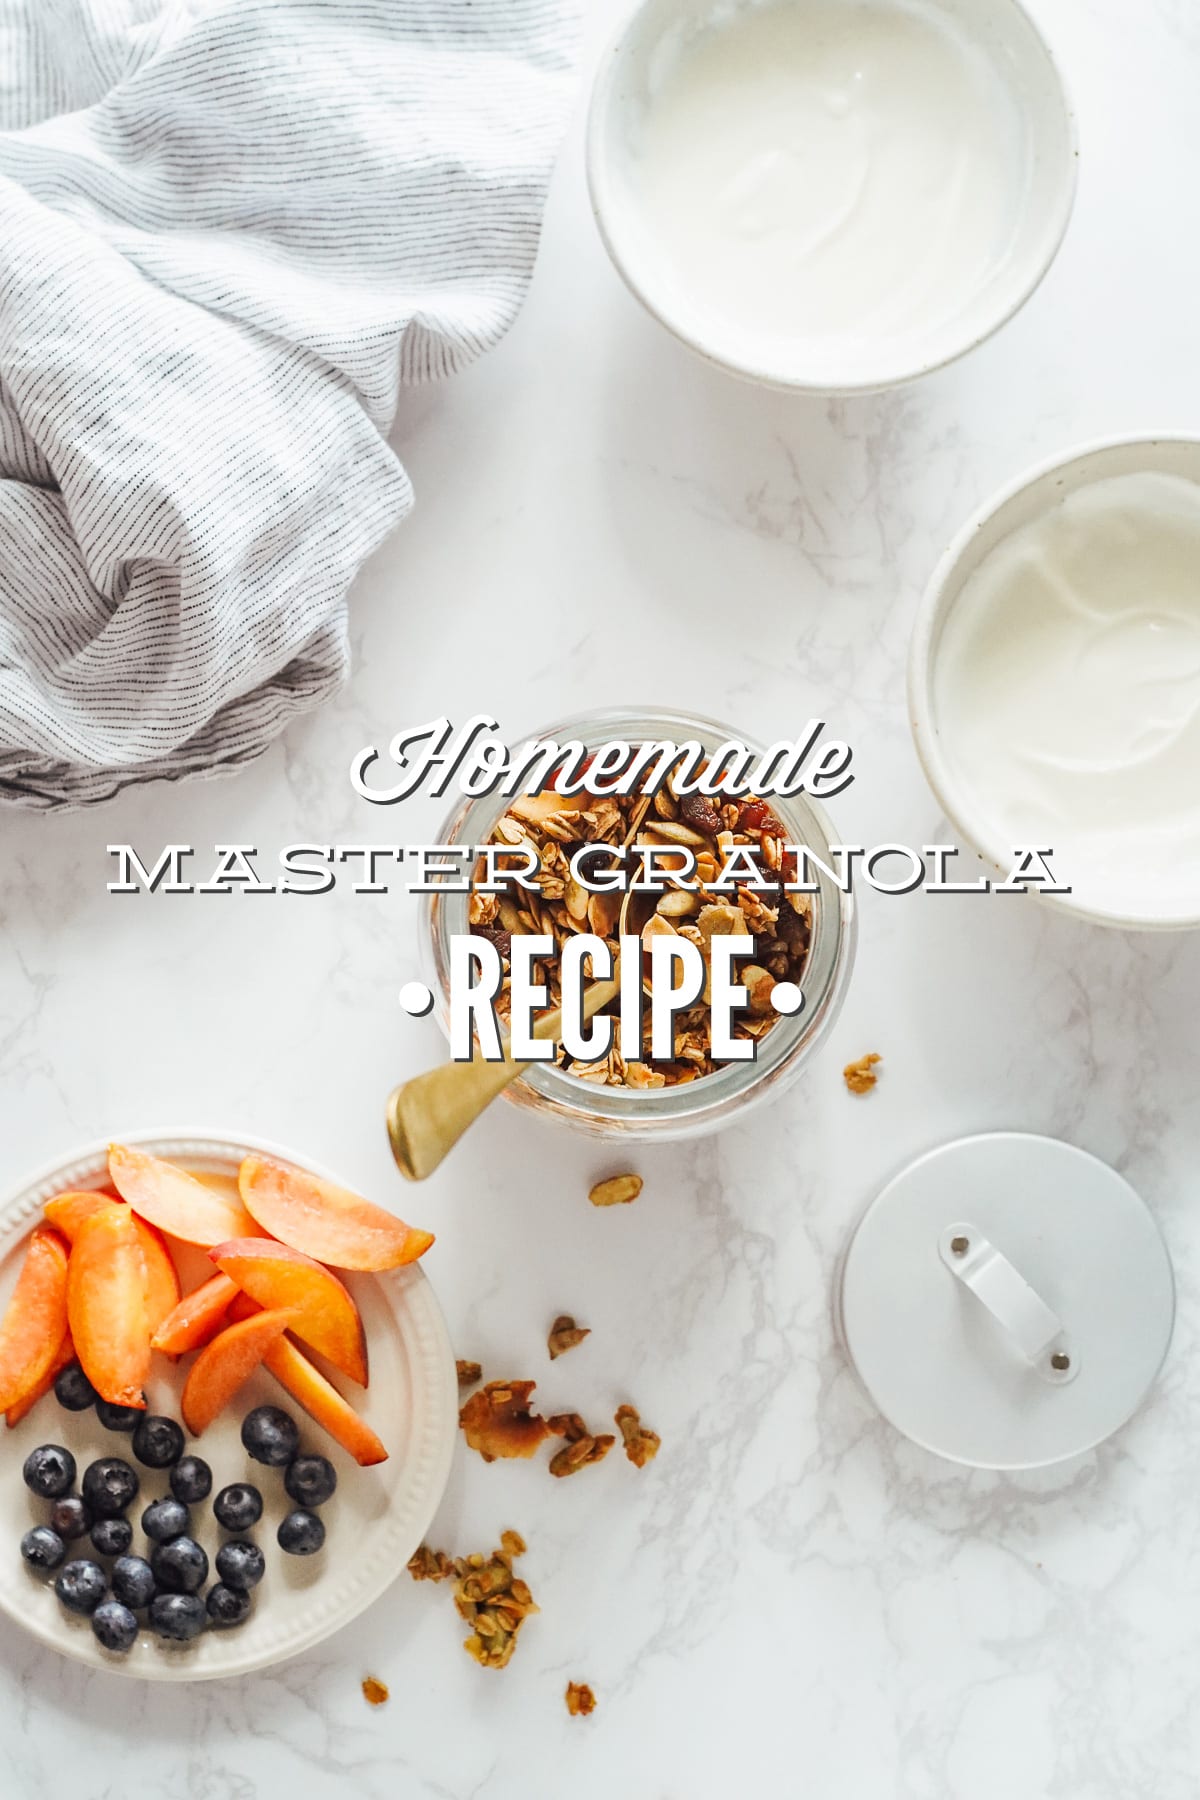
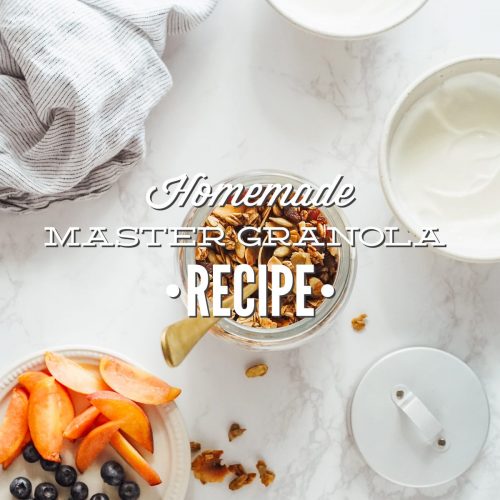
Today’s recipe is another “master recipe.” With just a few basic ingredients you can make really good granola at home. Knowing how to make your own granola is empowering and freeing. You don’t have to rely on packaged granola, unless you want to due to time or you just love a particular brand.
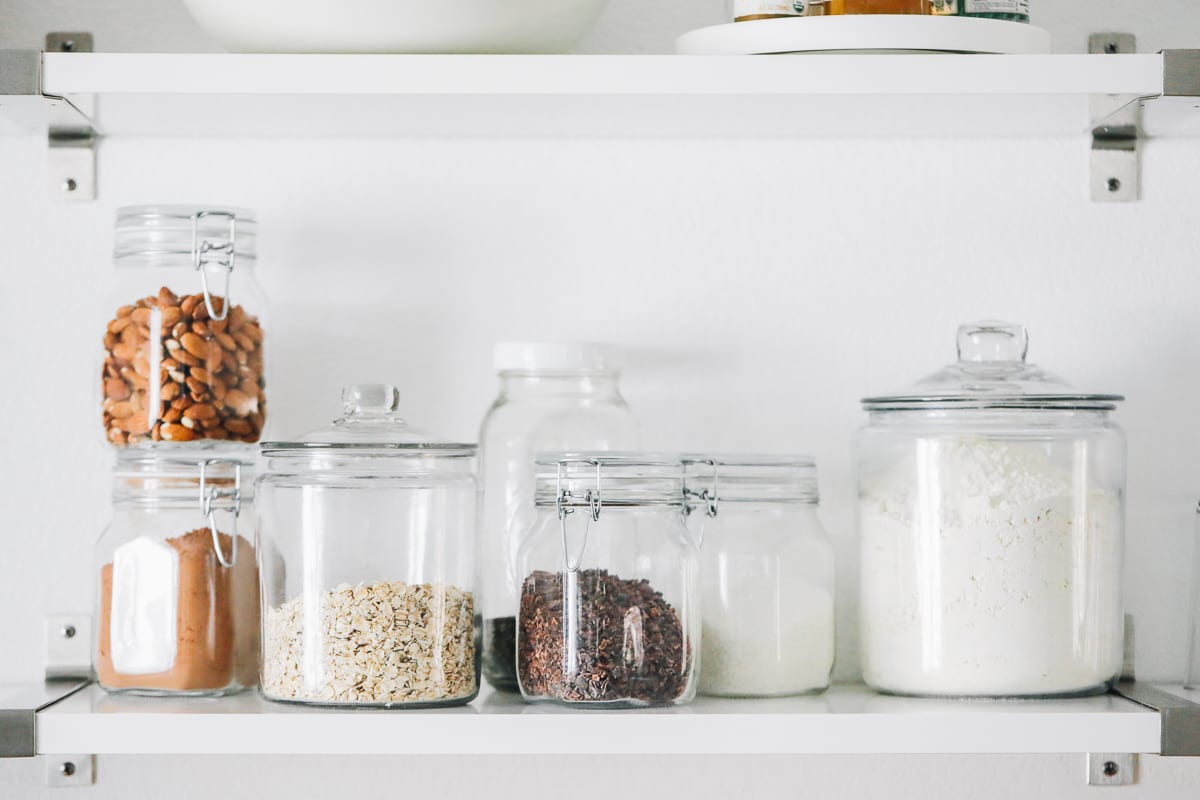
The master recipe is made with just five ingredients: rolled oats, nuts and/or seeds, salt, olive oil, and maple syrup. From this base recipe, you can add any customizations desired. Want a chunky granola, like granola clusters? Add an egg white to the mixture to bind the dry ingredients while baking. Want dried fruit in your granola? Add some at the end, once the granola has finished baking. Want chocolate in your granola? Add cacao nibs (so good!). Want a unique flavor combo? Add cinnamon or pumpkin pie spice or ginger. The possibilities are endless!
Also, granola is the best kind of prep-ahead/make-ahead food. Once you make a batch of granola, store some away in the freezer or the fridge. The granola will keep for months in a cool spot.
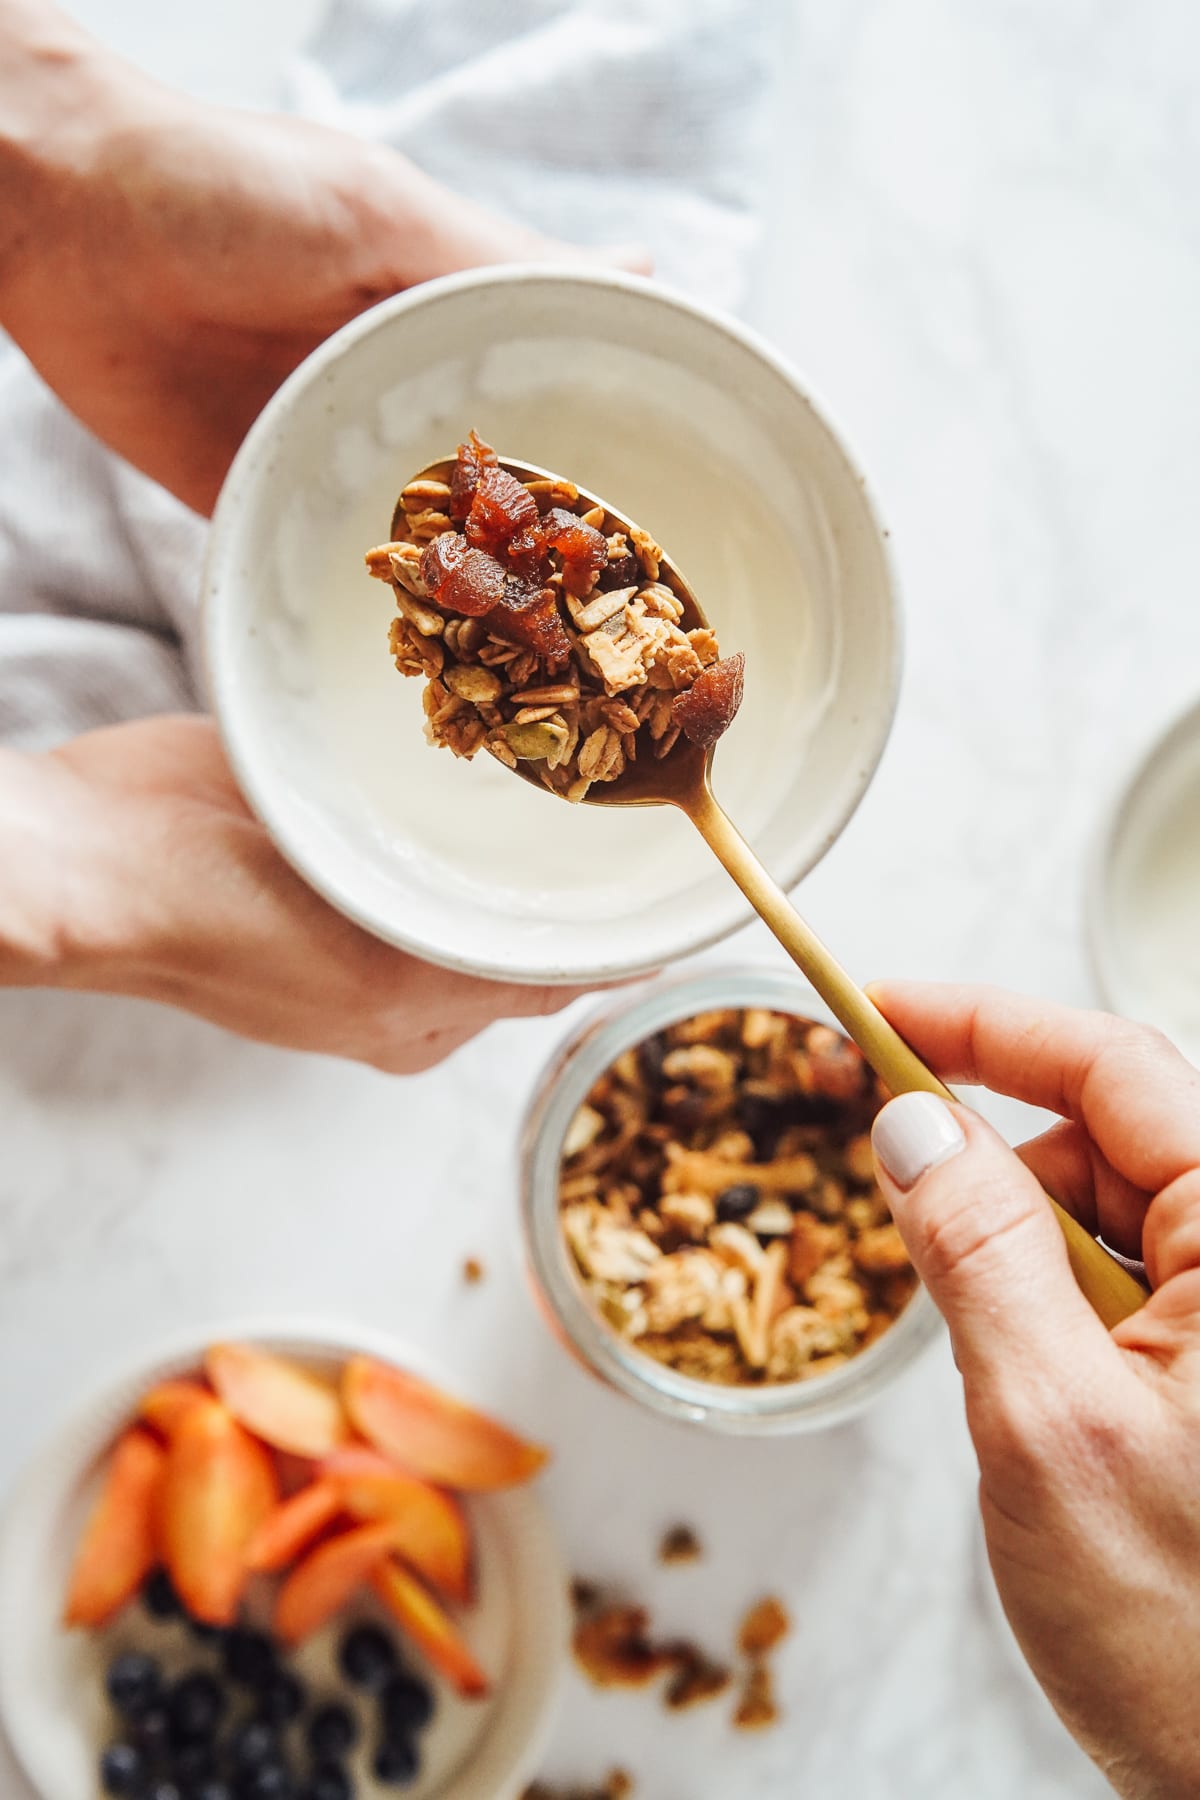
This means you can make a batch of granola once on the weekend, and enjoy this homemade treat over and over again for breakfast, a late night snack (with yogurt and frozen fruit–my favorite dessert), or pack some granola in the school lunchbox (also with yogurt and fruit).
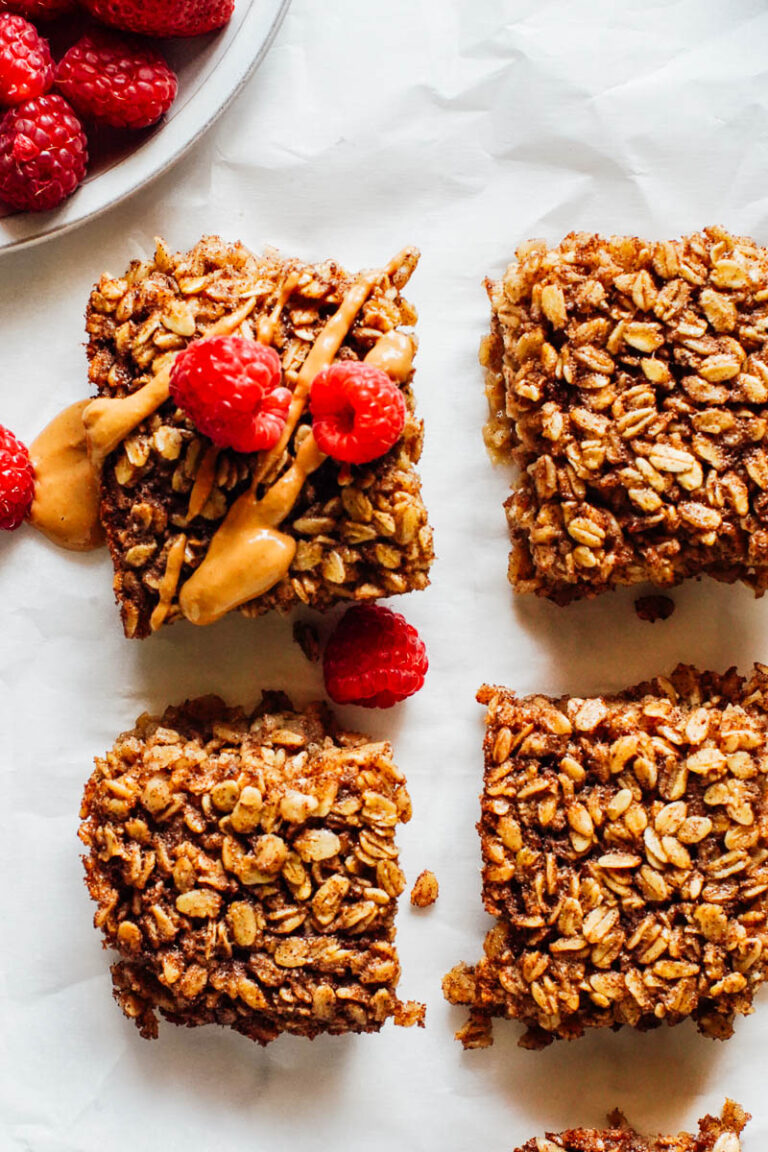
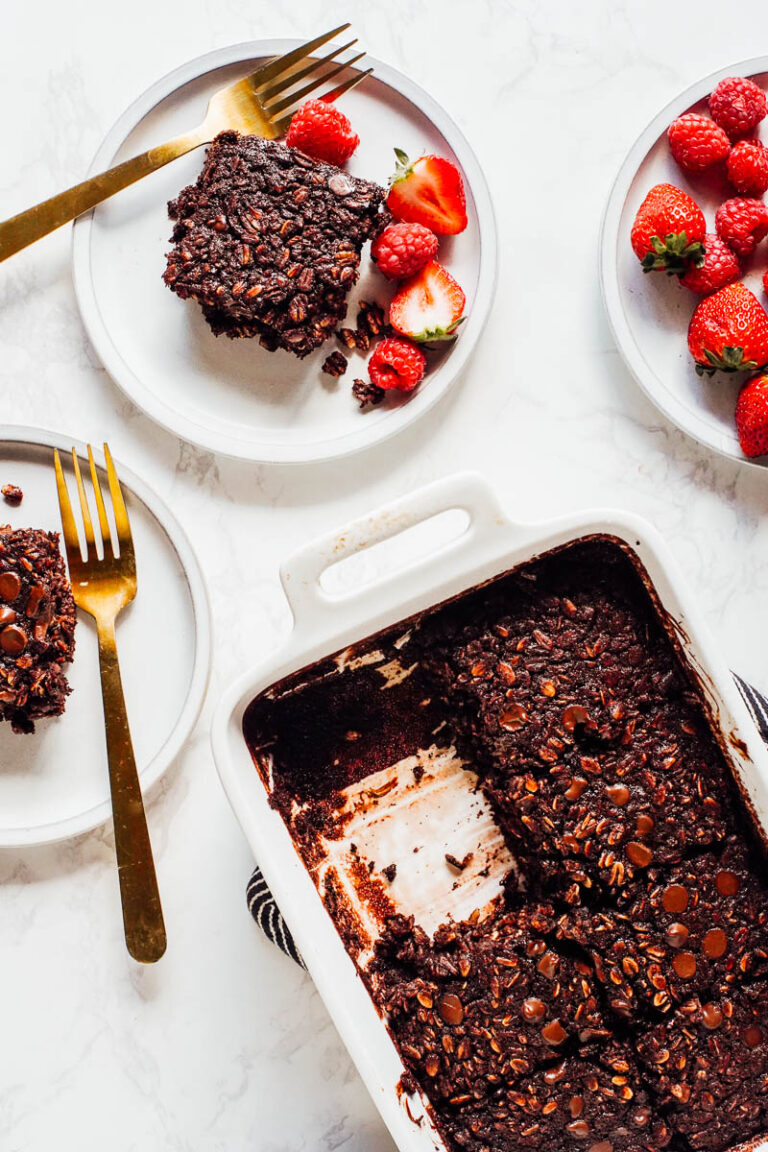
One of my favorite ways to enjoy this granola is on top of healthy yogurt bowls or sprinkle over chocolate protein yogurt bowls.
I would love to hear about the customized granola options you love making. Comment below and tell me what customizations you’re loving!
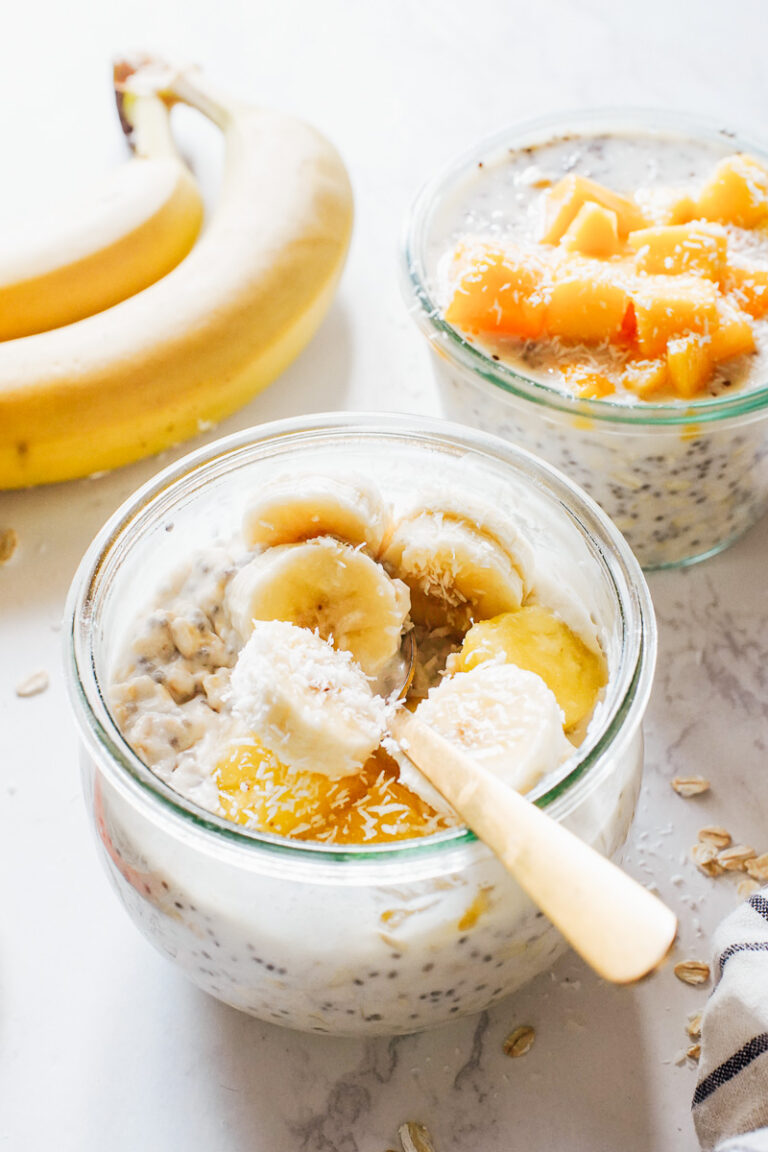
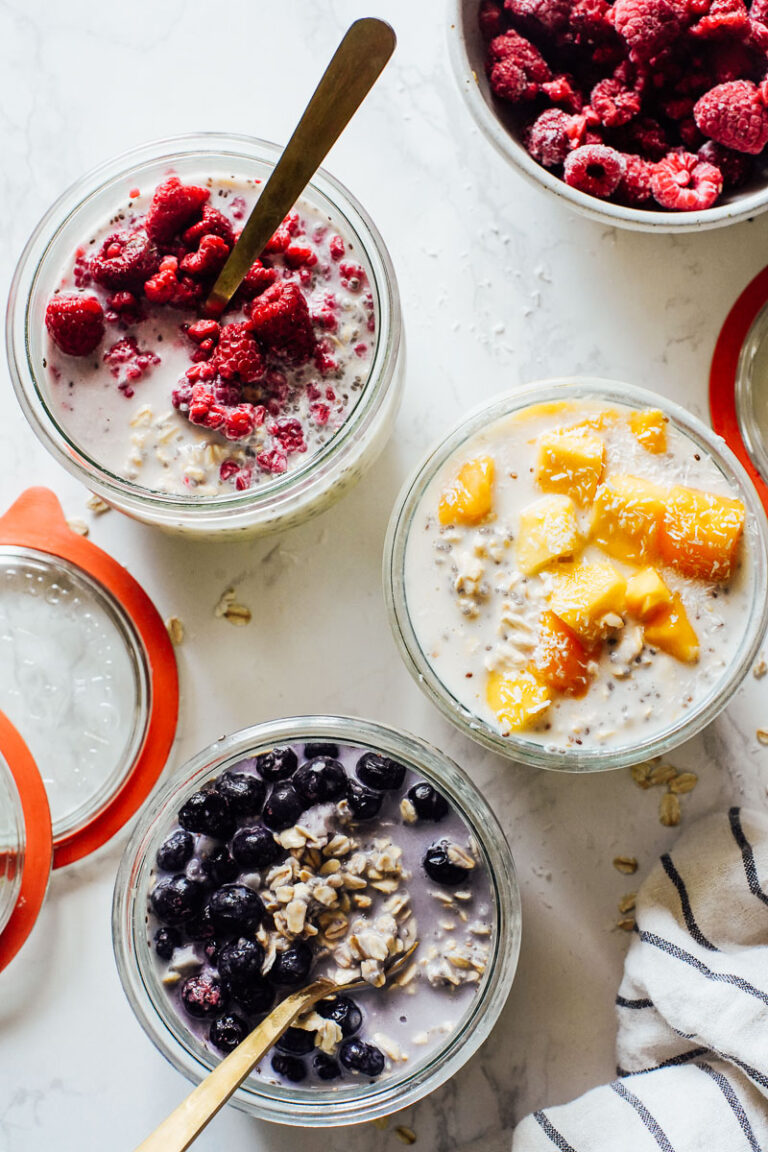
MORE DELICIOUS WAYS TO USE
Oats
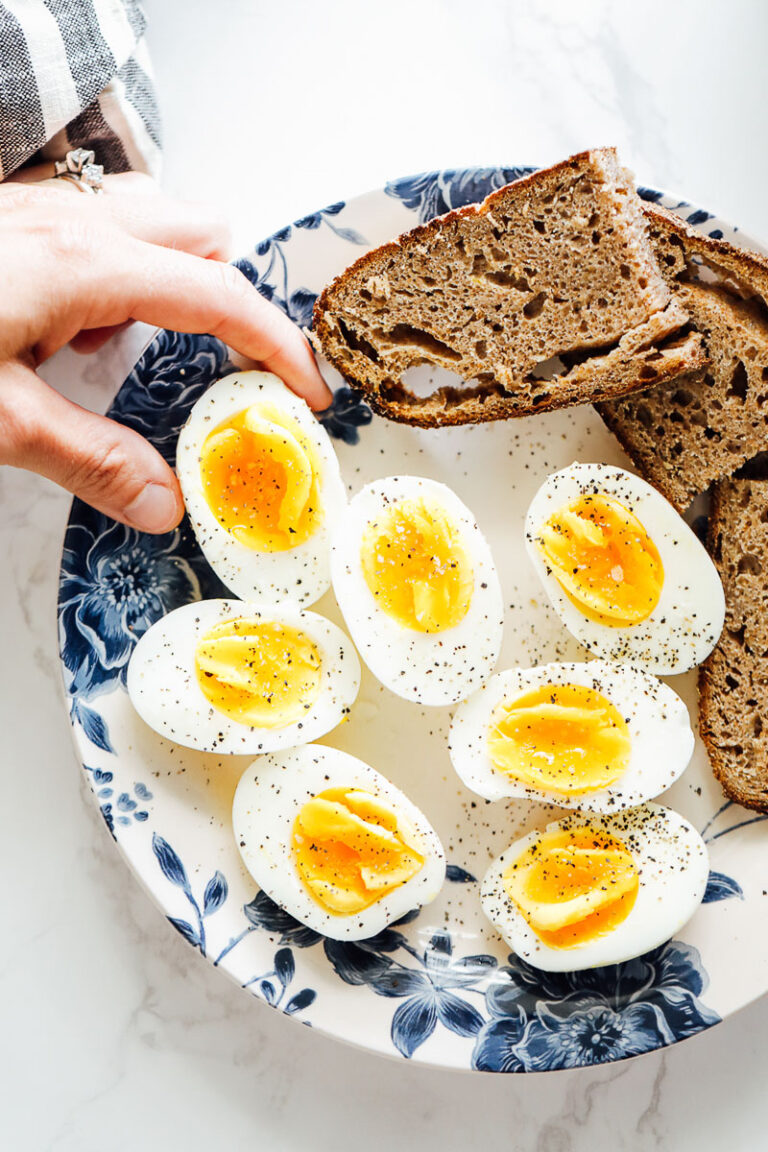
Find easy and healthy breakfast ideas, from the fluffy scrambled eggs to einkorn muffins and overnight oats, in my breakfast section of the blog.
Master Homemade Granola Recipe: One Recipe, Multiple Possibilities
Ingredients
- 3 cups old-fashioned rolled oats (285g)
- 2 cups nuts or seeds, of choice*
- 3/4 tsp salt
- 1/3 cup extra virgin olive oil
- 1/2 cup pure maple syrup
- 1 egg white (optional)
- 1 cup dried fruit of choice**
- 1 tsp spice of choice*** (optional)
Special Equipment:
Instructions
- Preheat the oven to 300F. Line a rimmed sheet pan with parchment paper.
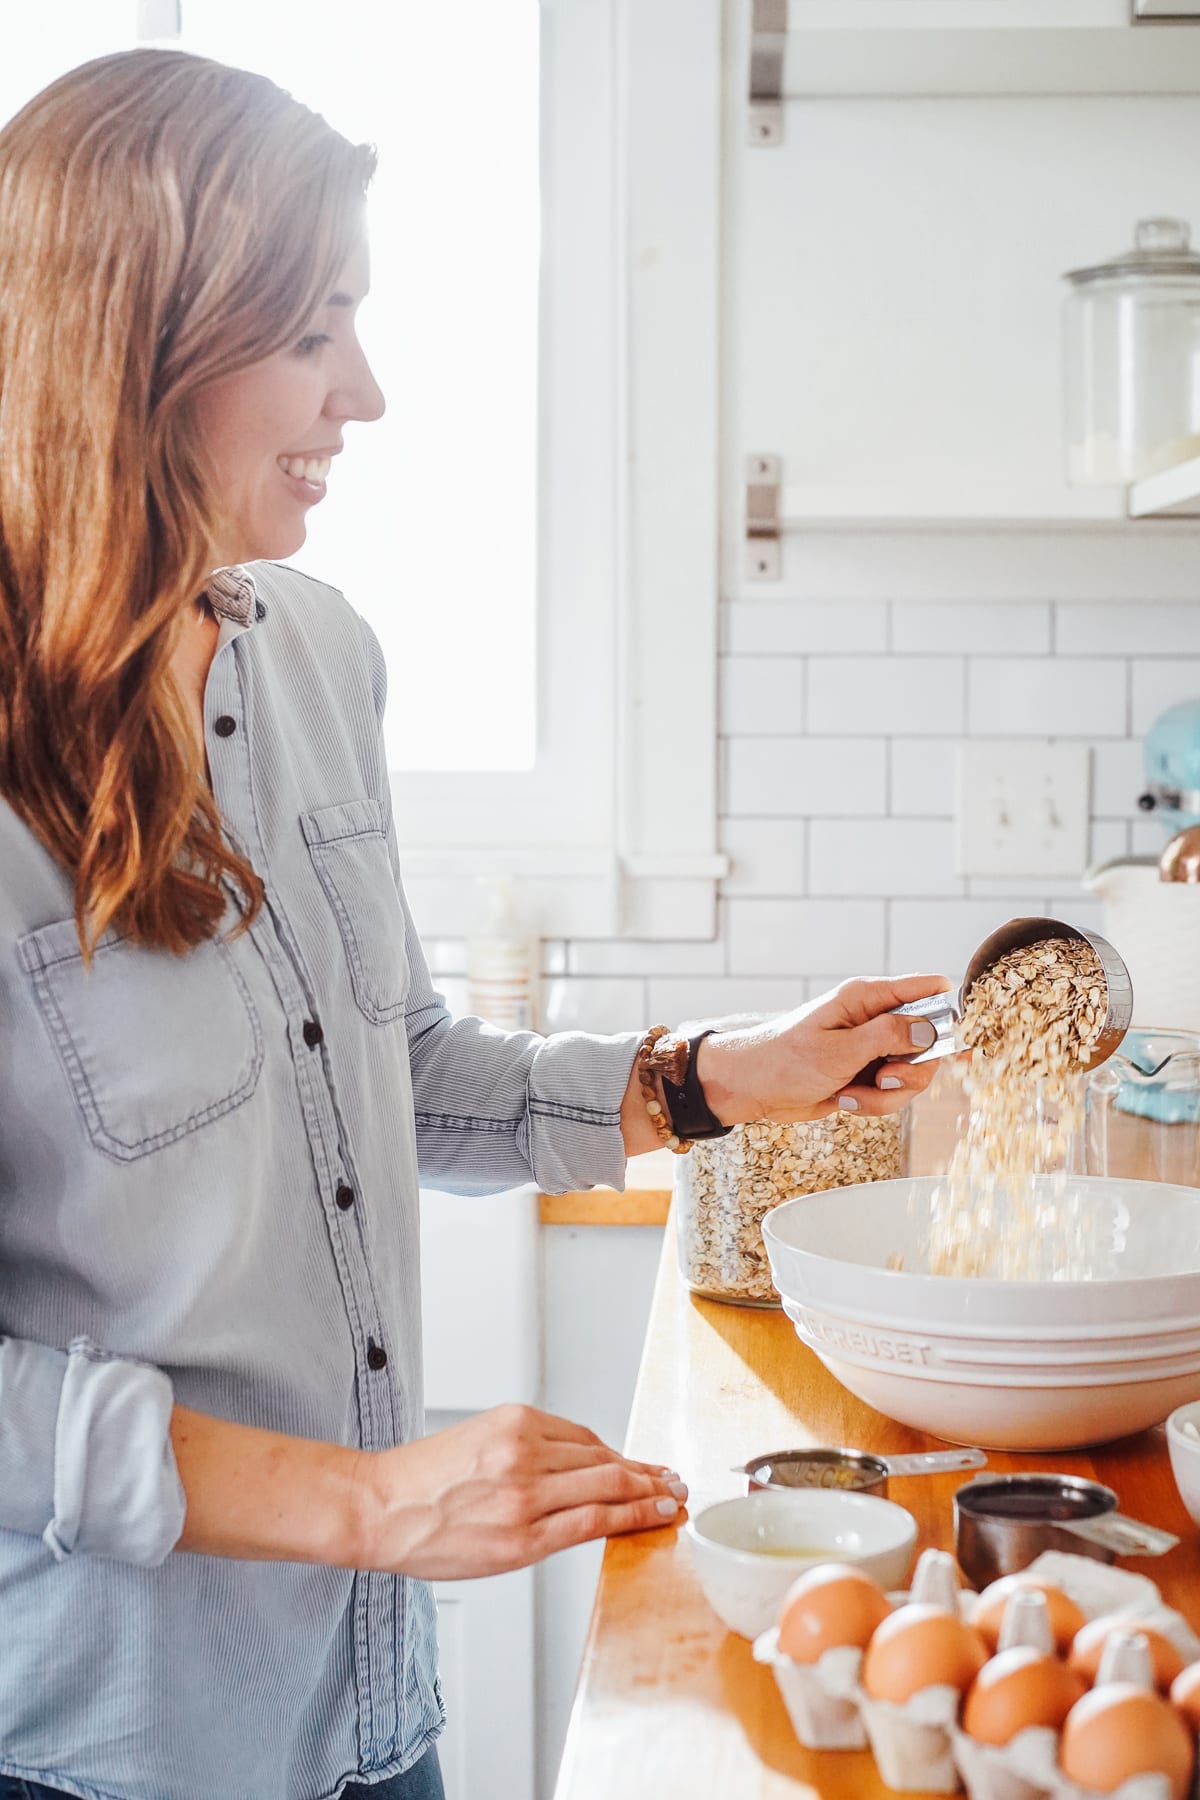
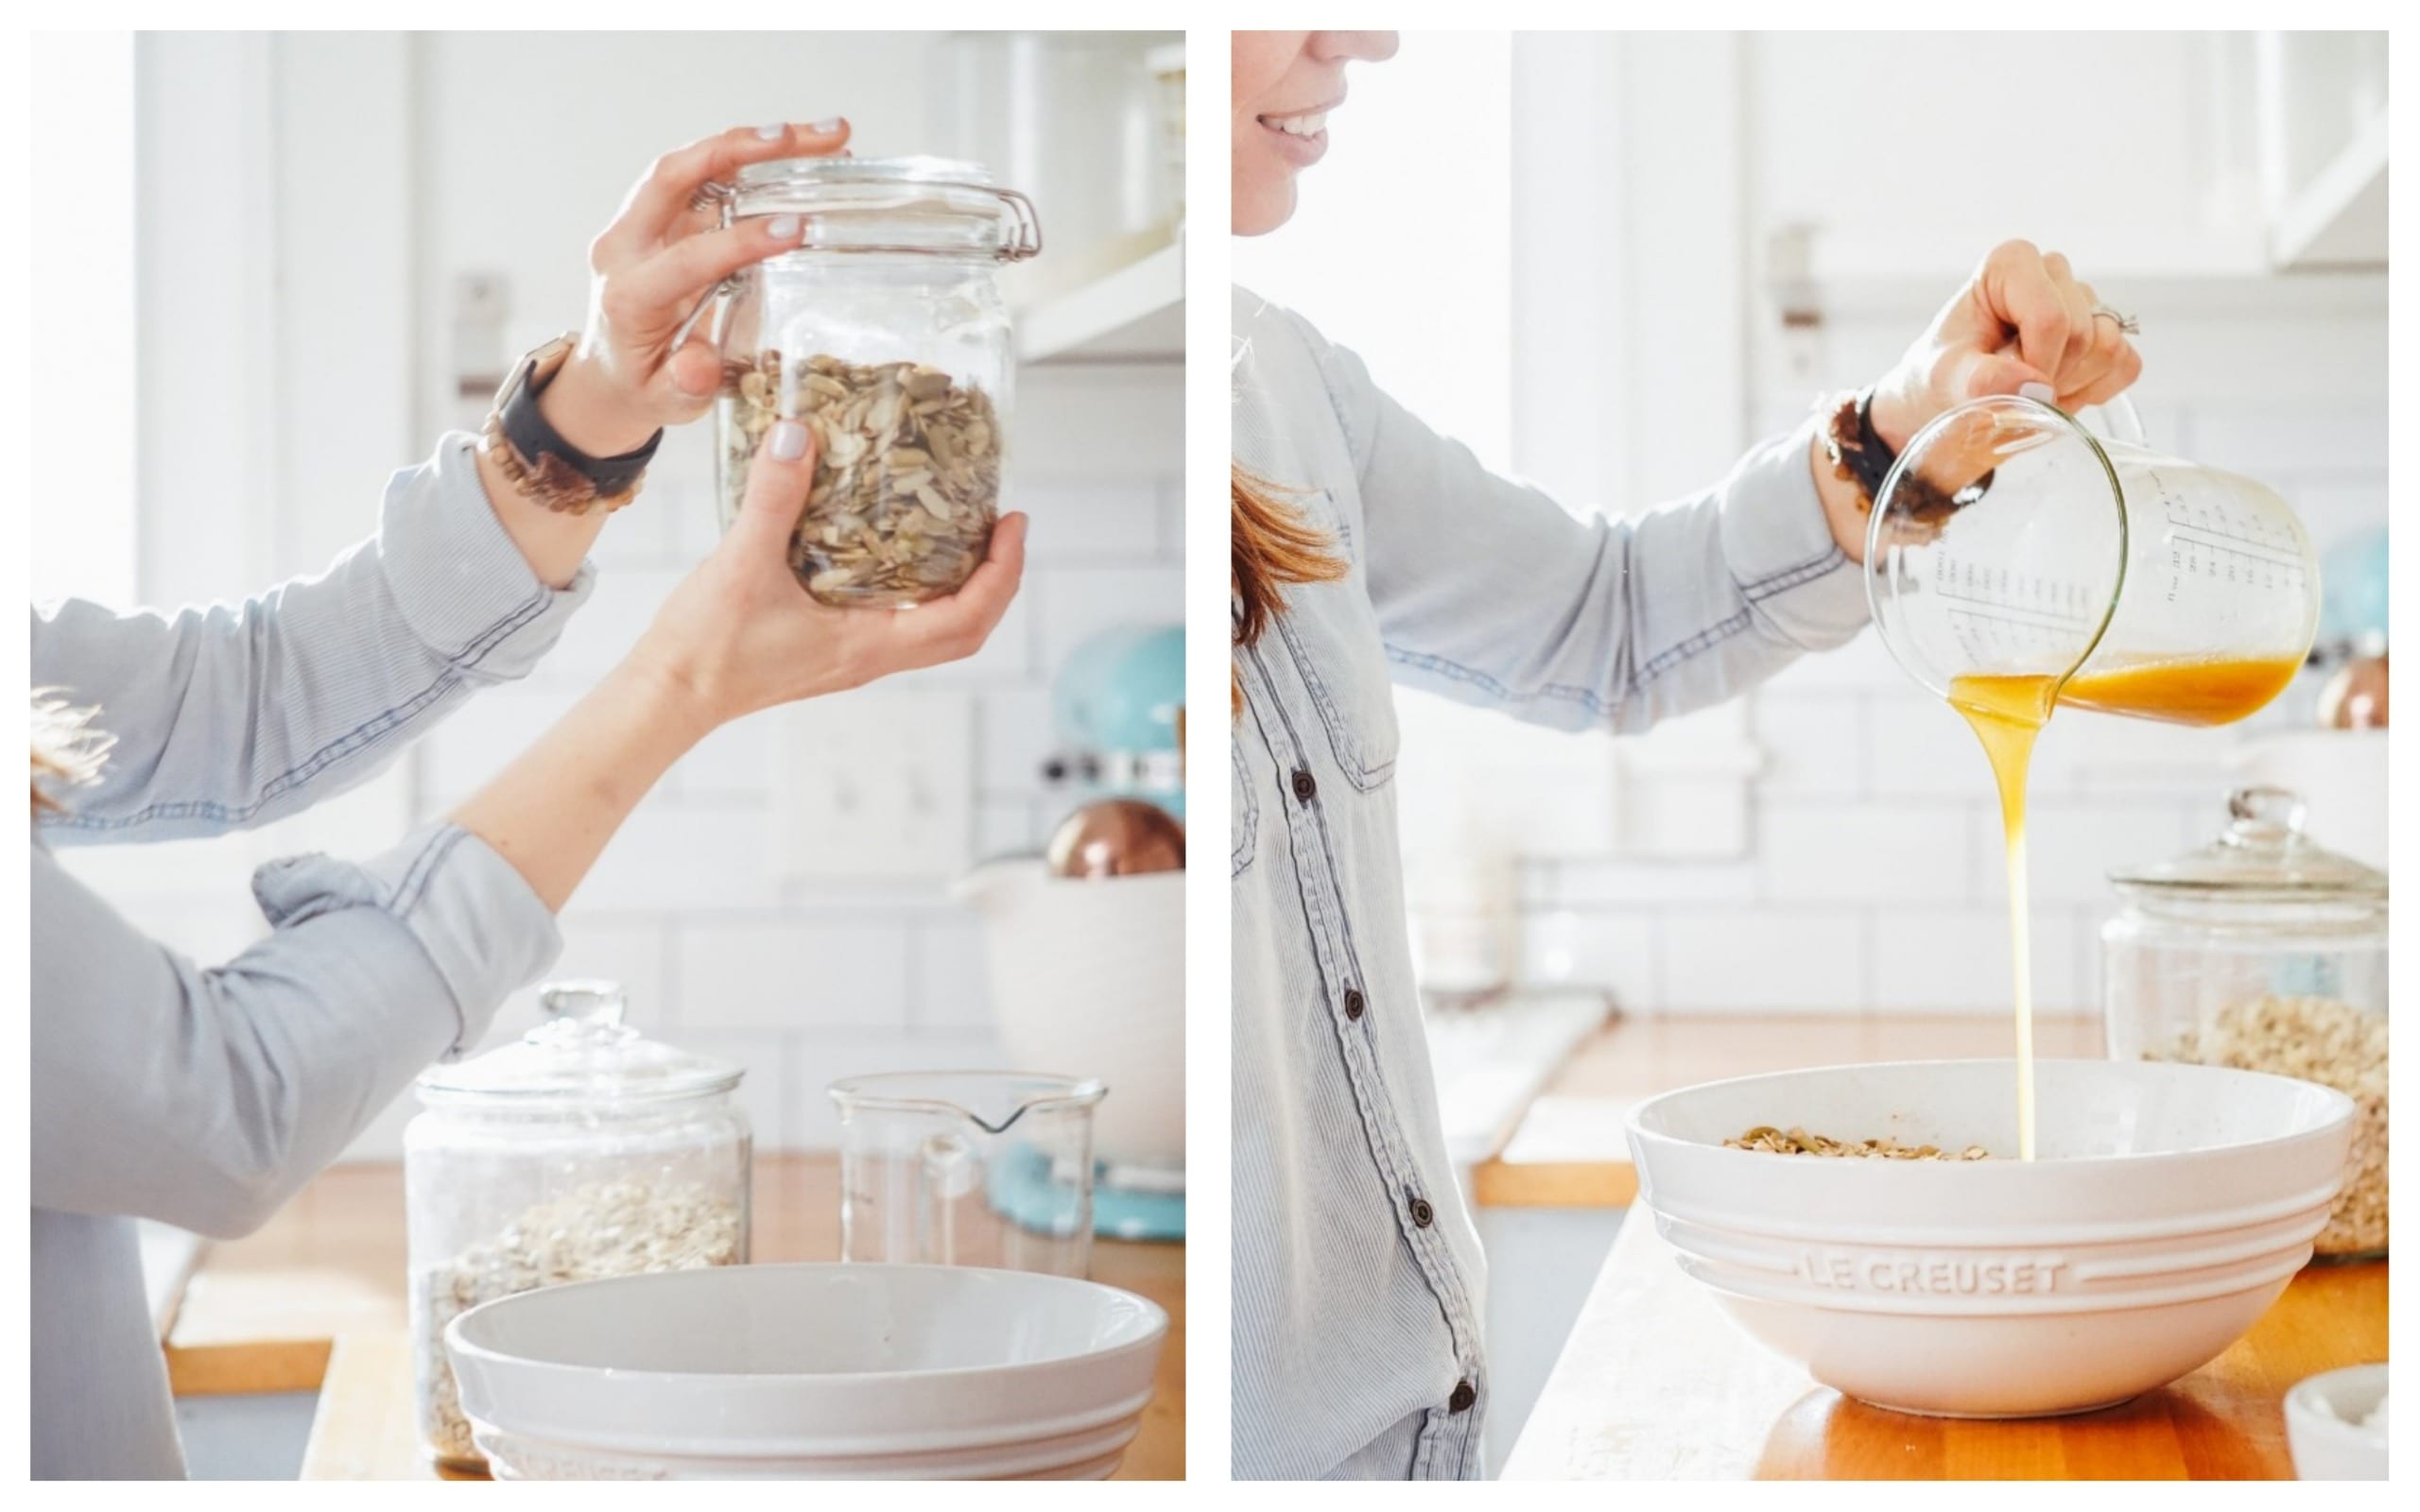
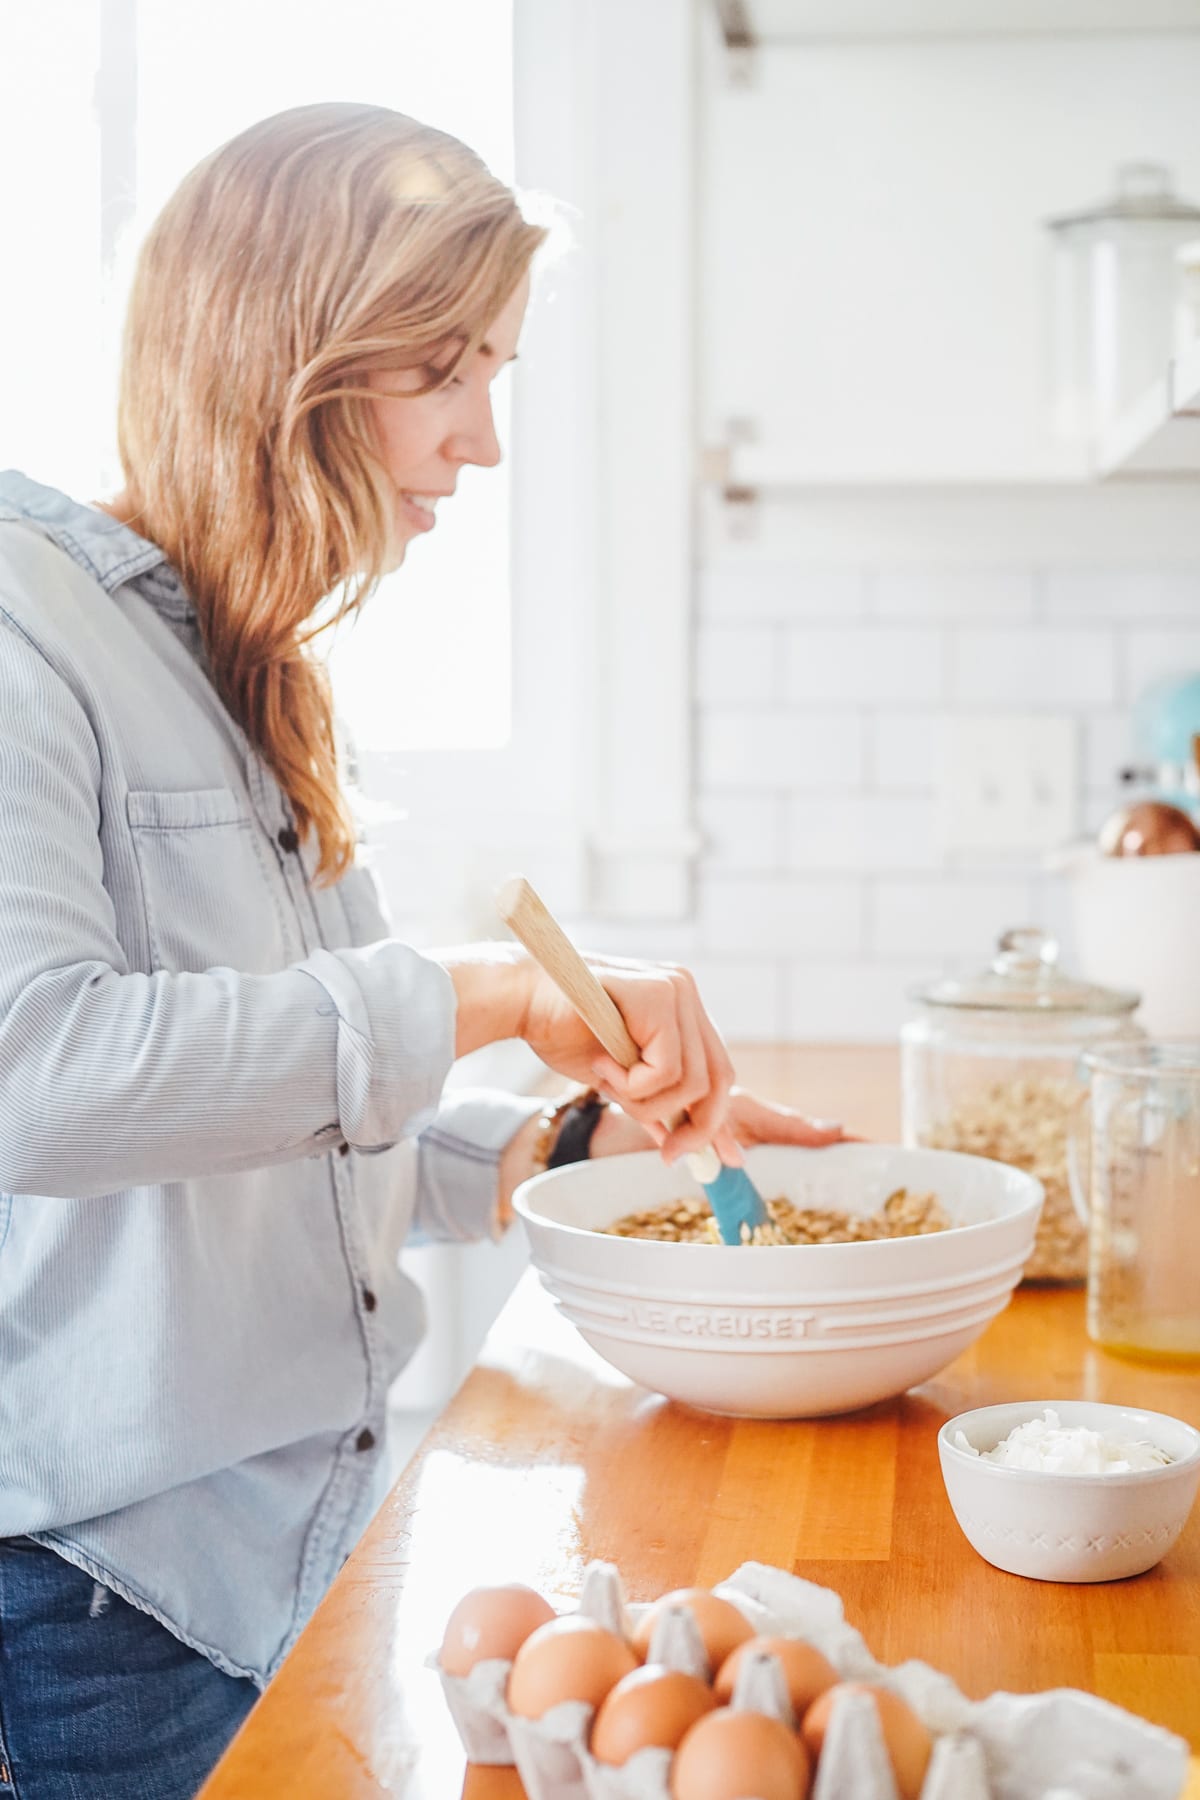
- In a large bowl, combine the oats, nuts and/or seeds, and salt. Add any additional mix-ins from the list (see below: Additional Mix-Ins).
- Add the olive oil and maple syrup to a medium bowl. If you’d like a chunkier granola, add an egg white to this mixture. Whisk to combine the liquid ingredients. Pour the liquid ingredients over the dry ingredients, and stir to combine.
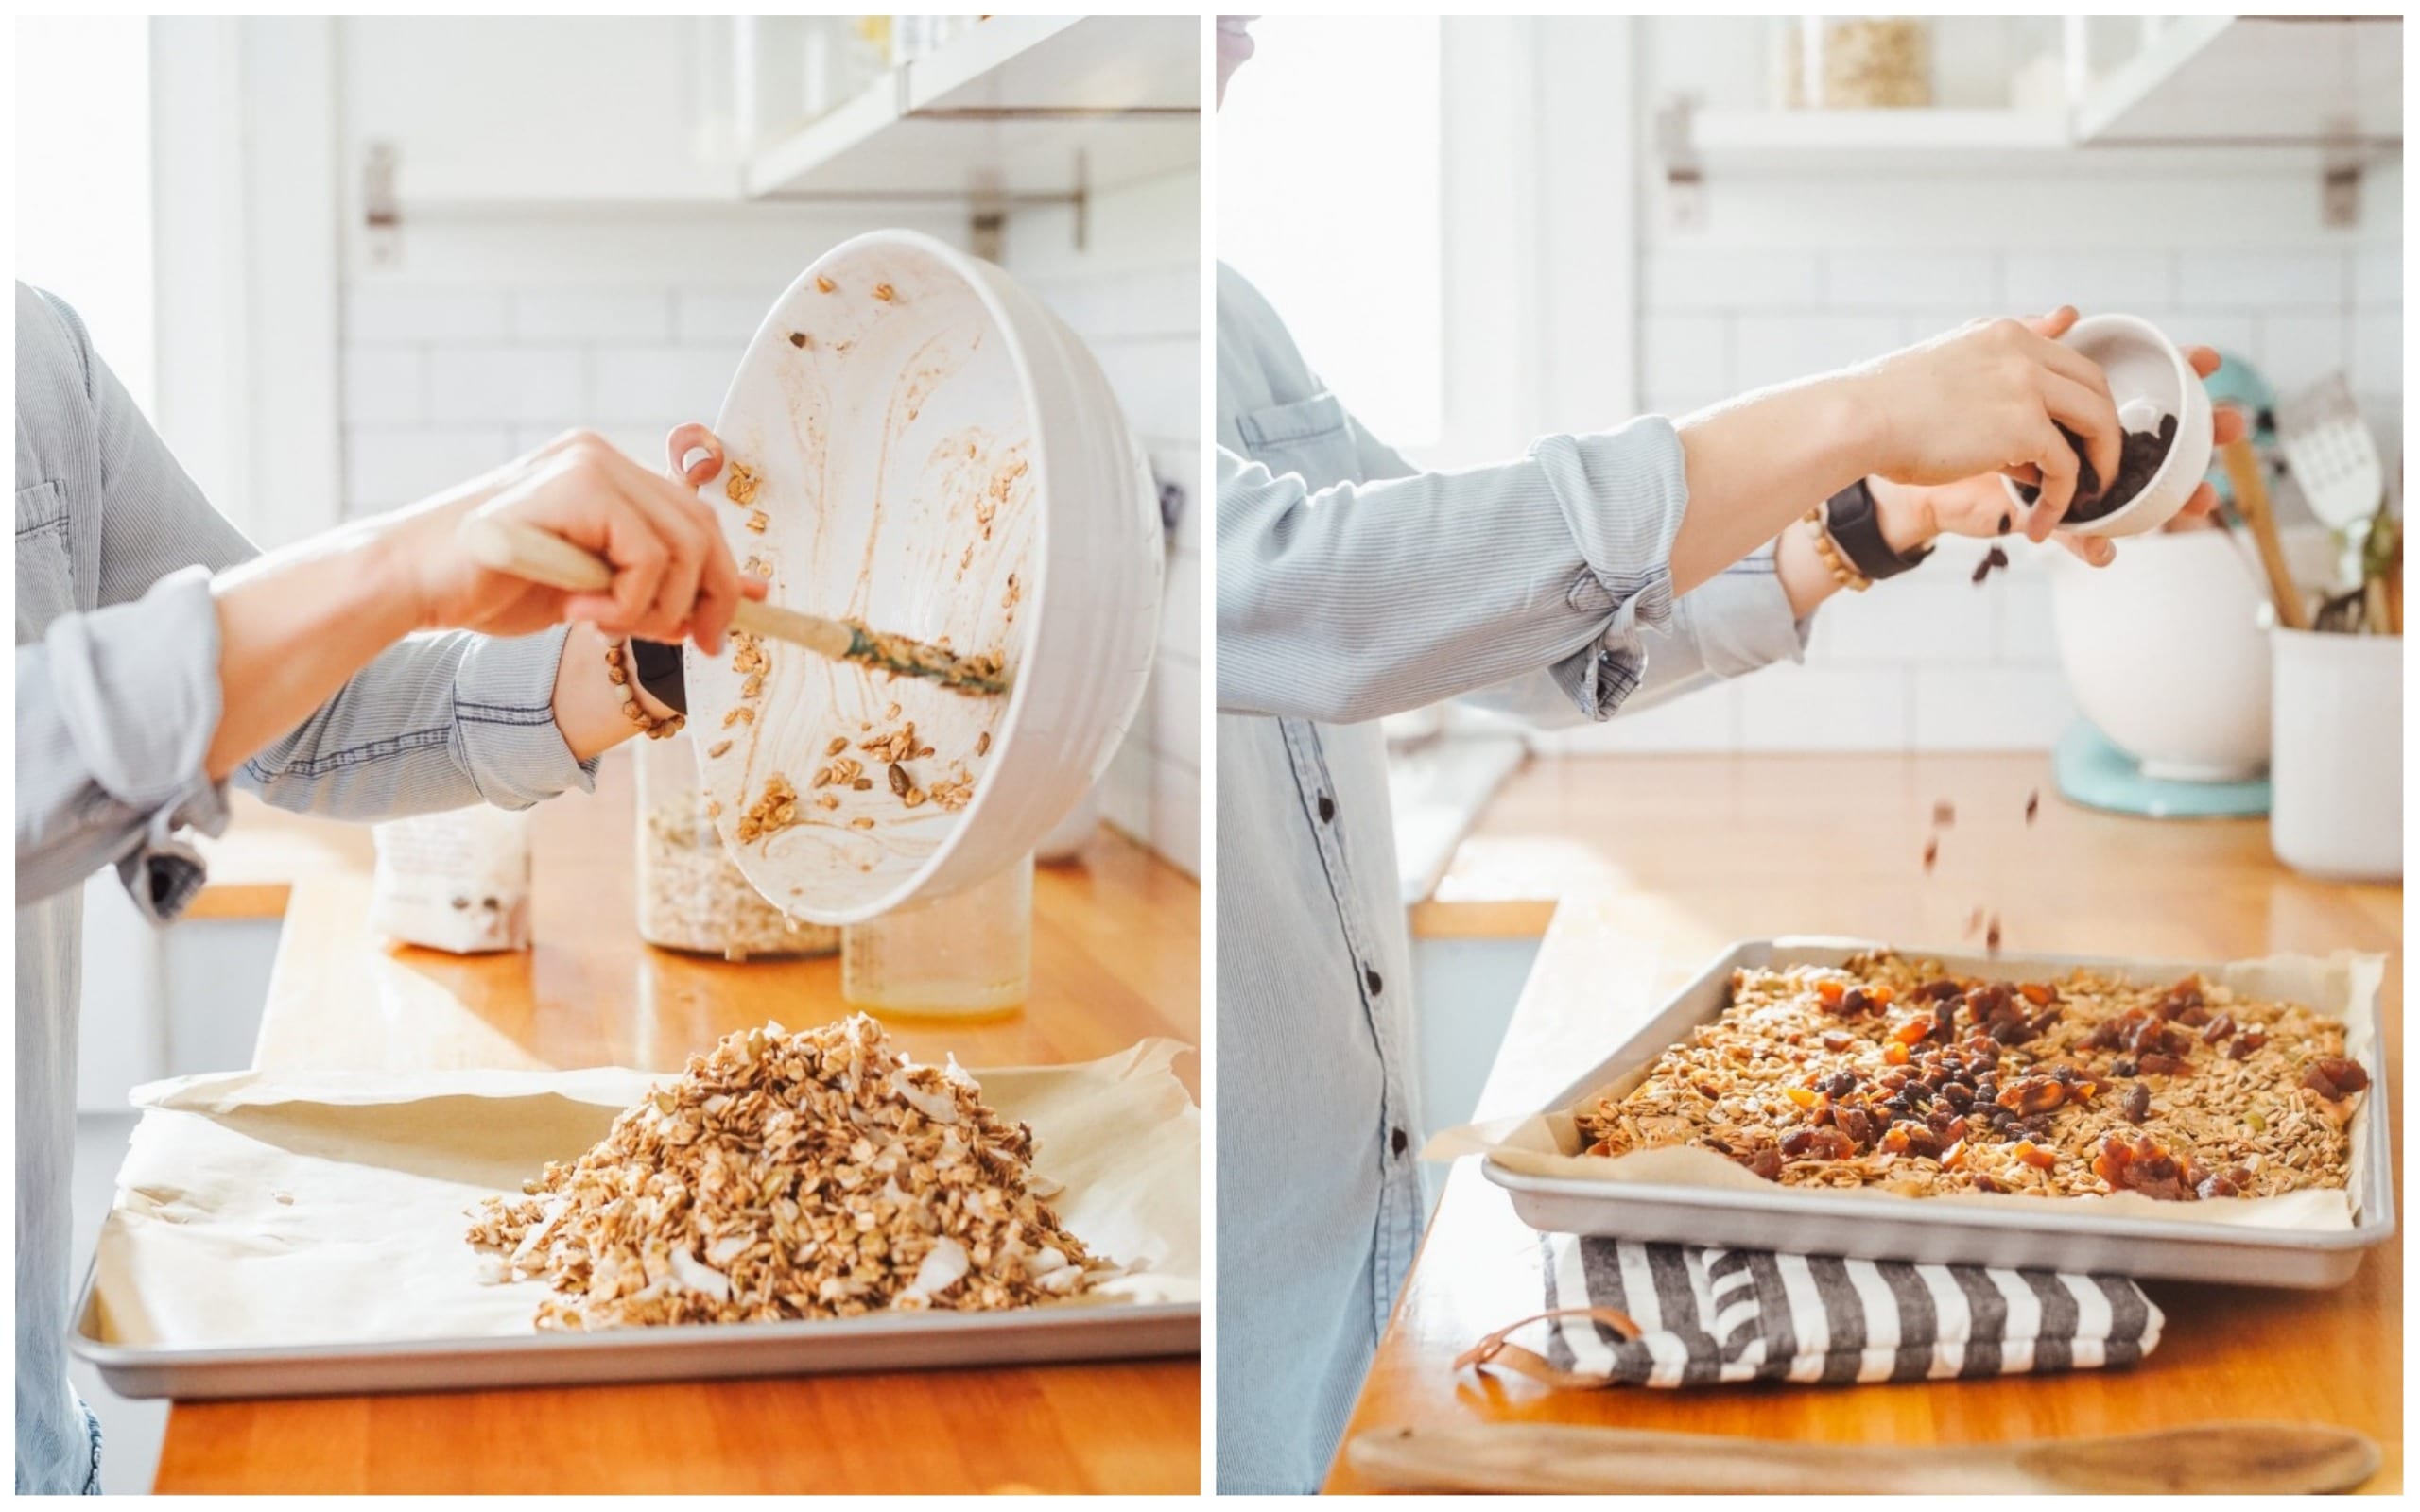
- Spread the granola over the parchment paper. Bake the granola for 45 minutes, or until toasted, golden, and fragrant.
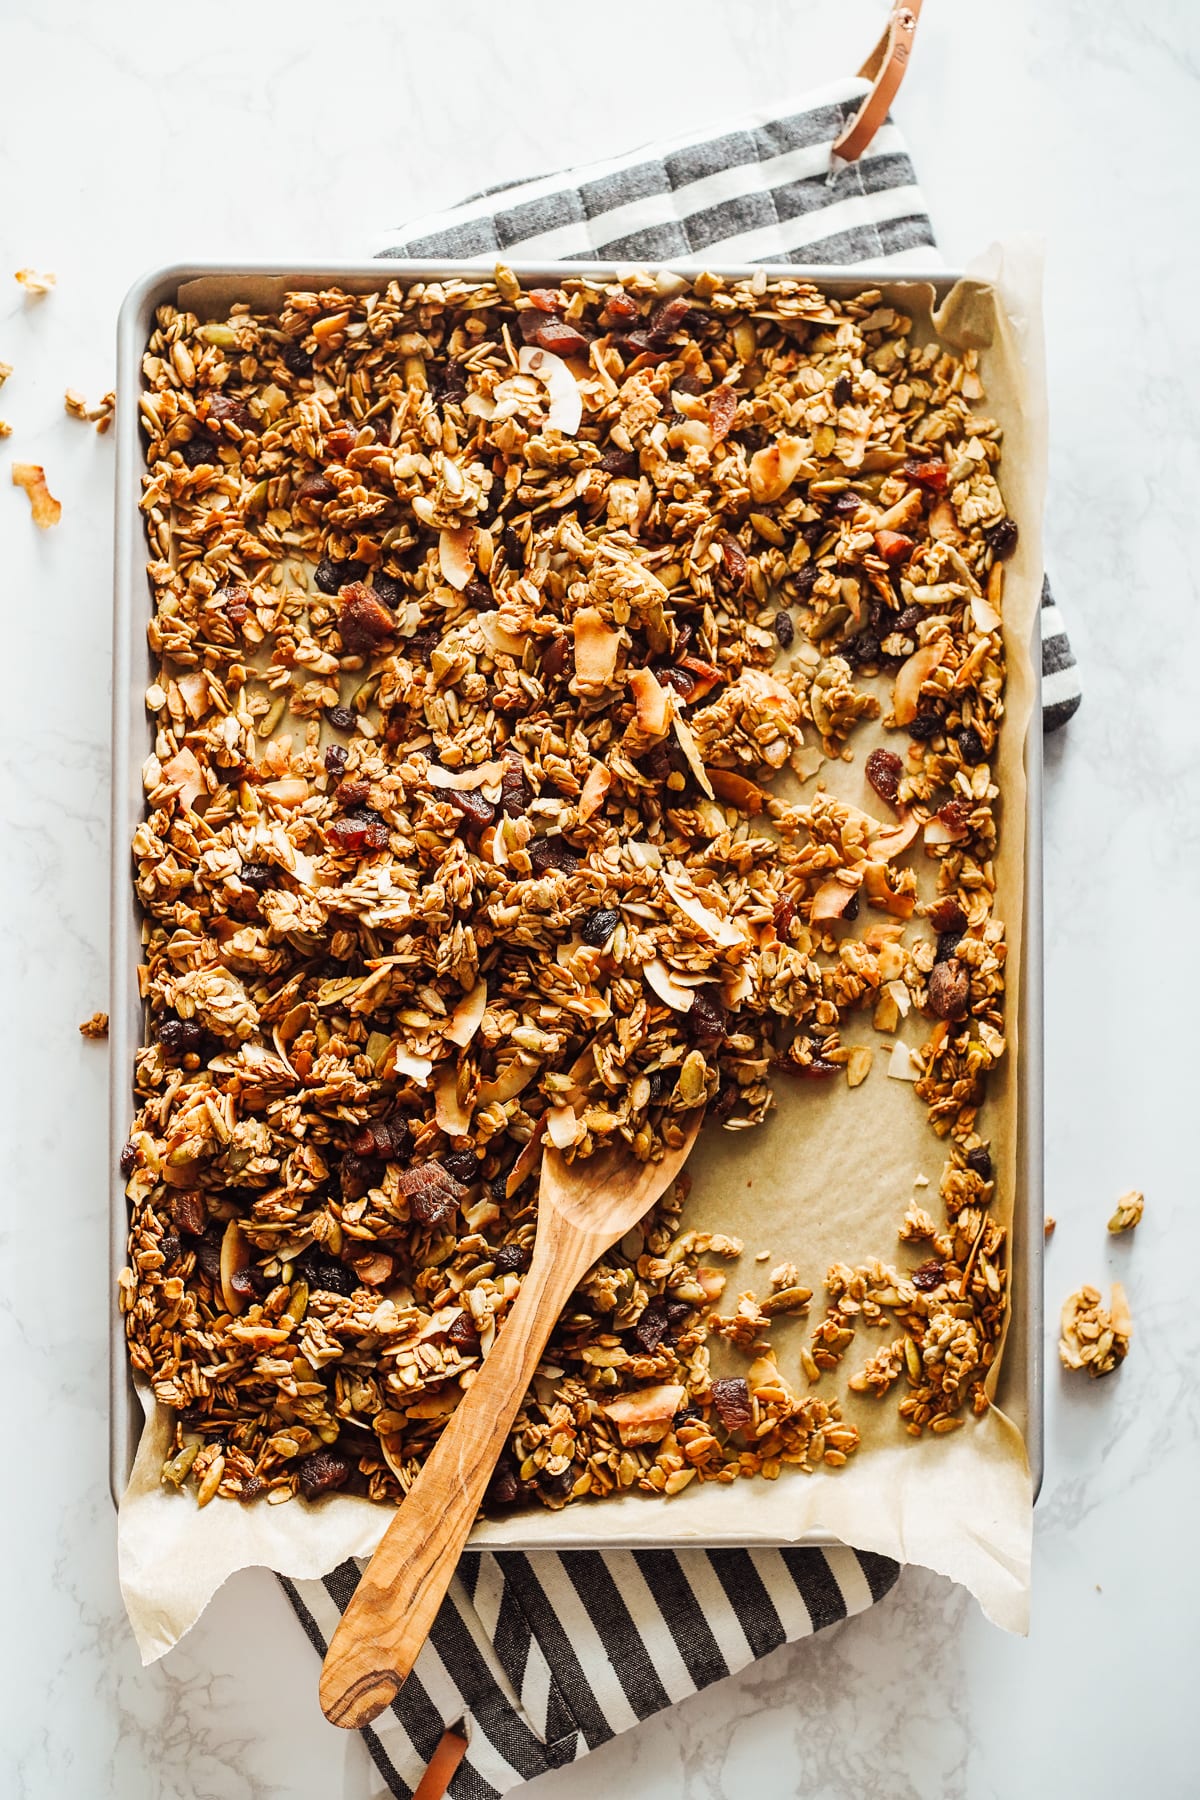
- Once the granola has been removed from the oven, stir in the dried fruit, if using. If you want a chunkier granola, don’t stir the granola when it’s warm. For a chunkier granola, let the granola rest until slightly cool and then break into chunks, then add any dried fruit desired.
- Enjoy the granola warm, or allow it to cool before storing the granola in containers. The granola will keep on the counter for about a week, in the fridge for a few weeks, or in the freezer for up to 6 months.
Video
Notes
Walnuts
Pecans
Pumpkin seeds
Sunflower seeds
For large nuts, you may want to chop the nuts. **Dried Fruit Options:
Chopped mango
Chopped pineapple
Cherries
Raisins
Dried apples
Chopped and pitted dates ***Spice Options:
Cinnamon–1 tsp, or to taste
Cardamom–1 tsp, or to taste
Pumpkin pie spice–1 tsp, or to taste
Ground Nutmeg–only use ¼-½ tsp to taste
Ground Clove–only use ¼ tsp to taste
Ground Ginger–only use ¼-½ tsp to taste
I also love to mix spices. For examples: 1 tsp cinnamon, ½ tsp ginger, and ¼ tsp nutmeg. Add the spice or spices of your choice, and taste as you stir–adding more spice if desired. Additional Mix-Ins (add when mixing the dry ingredients before baking):
1 cup coconut flakes
½ cup cacao nibs–You can also use chocolate chips instead of cacao nibs. Wait to add the chocolate chips until after the granola bakes and cools. Cacao nibs won’t melt, so they can be added before baking the granola. Chocolate chips will melt.
1/4-1/2 cup chia seeds, flax meal, or hemp hearts
Nutrition
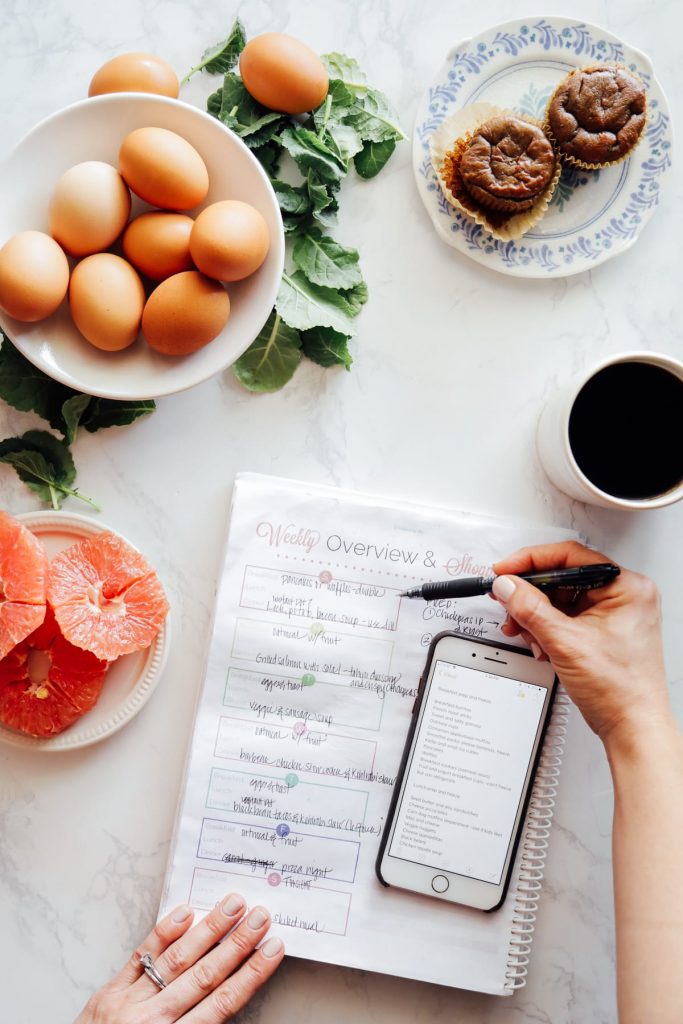
TAKE THE STRESS OUT OF HEALTHY MEALS
Free Weekly Meal Plan
Healthy recipes and time-saving strategies that make meal time easier. Join 15,000 families who are simplifying meals with my weekly meal plan.
I’m curious when to add the spices to the granola. I’m assuming because they are the last ingredient on the list, dry spices are added AFTER baking. I’d love vanilla and would like to season with vanilla extract. Would you recommend adding the vanilla to the oil and maple syrup mix? Can’t wait to try this!
Hey Amy, Add the spices to the the dry ingredients (along with the salt and any mix-ins). You’ll want the spices to bake with the granola ingredients to release their flavor. Add the vanilla extract to the maple mixture (wet ingredients). Then mix everything together and bake.
Hello, I want to thank you for your morning show. Truly enjoyable. I do not have social media, so I thank you for making it available through receiving your emails. I look forward to it whenever I receive an email. Hope if you have the energy you continue when possible. I have made the granola and hand soap. Next will be the pizza dough and sauce, so glad I have einkorn flour. Again thank you 🙂
Thats wonderful! So happy you enjoyed them. Thank you for the kind words.
LS Team.
I’ve made homemade granola many times, but this simple recipe has turned out the best. I used sliced almonds, chopped pecans, sunflower seeds, chopped freeze dried apples (Aldi has many organic dried fruit chocies) and dried cranberries. When baking granola I always start with half the baking time and then check every 5 mins. Otherwise, it always burns if I let it go the whole cooking time.
Yay, Sarah! So glad you’re loving the granola!
Never tried homemade granola before, I’m curious to noticNever tried homemade granola before, I’m curious to notice the difference.e the difference.
I want to try to use less sugar and oil I am going to make this recipe but use unfiltered honey and less oil, maybe an extra egg white. I will keep you posted!
Hey Laurie, You may like this recipe: https://minimalistbaker.com/aquafaba-granola-oil-free/