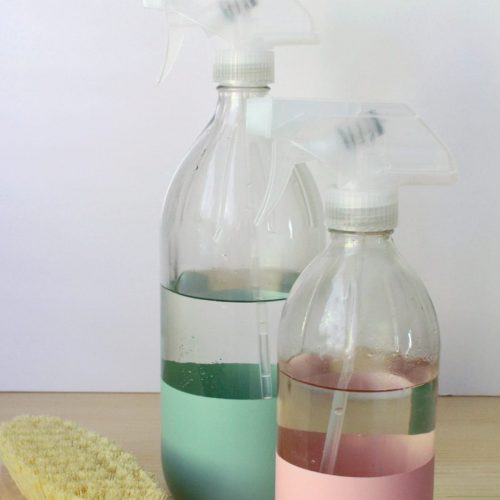
Painted Spray Bottles
Although these spray bottles may not cause any additional enthusiasm towards cleaning, they are pretty to look at. That has to count for something, right?
Print Recipe
Ingredients
- 1 glass spray bottle or vinegar bottle with labels removed, see tips in post above
- 1 spray bottle nozzle see tips in post above
- 1 roll painters tape
- 1 piece packaging paper or newspaper
- 1 can spray paint I used both satin and glossy finish
Instructions
- Prepare your bottles for spray painting by wrapping one layer of painters tape around the bottle at the desired height. Seal the painters tape tightly by pressing firmly around the perimeter.
- Next, cut a piece of packaging paper or newspaper big enough to fit around the perimeter of your bottle and long enough to cover the neck with some to spare. Tape this over the first layer of tape, again making sure to seal the painters tape by firmly pressing it down.
- Now comes the fun part: painting! Since I'm super professional (note the sarcasm), I stuck some sticks into the ground and hung my bottles upside down on those in order to spray paint them. See the picture above for a visual. Spray painting is best done outside on a non-breezy day. Trust me, that last part is important. My car's slightly white haze is evidence to that. To get the best results from spray paint, apply thin layers in a side-to-side motion, beginning and finishing off of the object. This prevents blobs of spray paints and dreaded drips.
- Once you are done spray-painting (my bottles took three thin coats), allow the paint to fully cure for at least 24 hours in a well-ventilated area.
- Finally, remove the tape and attach the nozzles.
Servings: 1 Spray Bottle