Want to Save This Recipe?
Enter your email & I’ll send it straight to your inbox. And you’ll get new recipes & tips each week.
Last week my oldest child, Piper, started school. In one week we went from the “lazy days” of summer and recovering from a kitchen remodel, to early morning school drop-off and late afternoon pick-up. With the start of school and a kitchen remodel complete, prep day is once again a vital part of our weekly schedule.
My dedicated prep time is Sunday afternoon. I usually meal plan on Friday morning, shop on Saturday, and prep on Sunday afternoon. This schedule works for me–small time slots that add up to an organized and simplified real food approach.
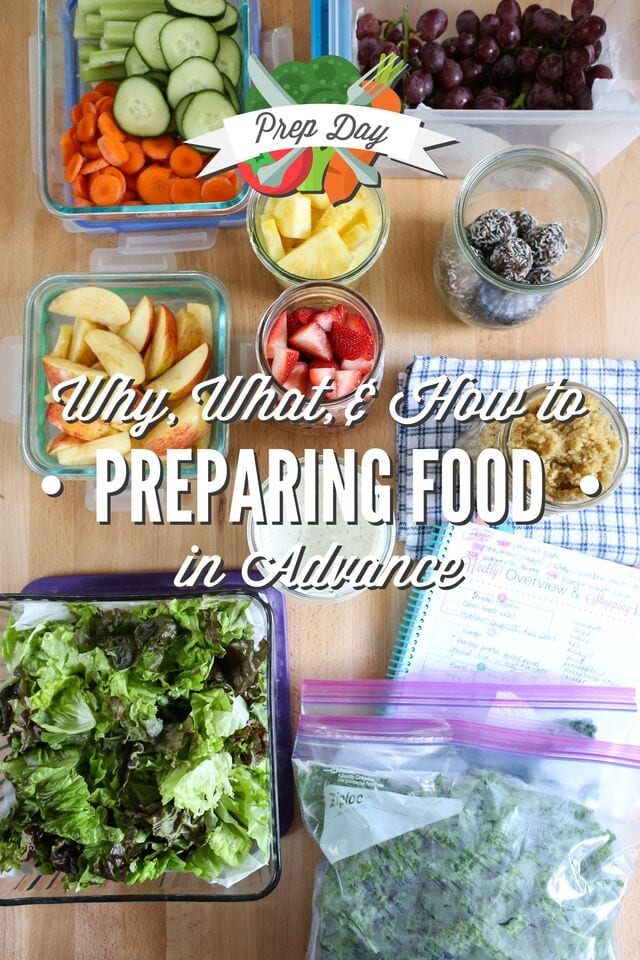
As we’ve talked about in the previous prep day lessons, your planning and prep time may look different than mine. For some people a dedicated hour or two on the weekend is best. For others, thirty minute time blocks in the evening are a better fit. Whatever your prep time choice, the goal is consistently dedicating a time(s) to prepping food. Prepping healthy food is vital to developing a doable real food lifestyle.
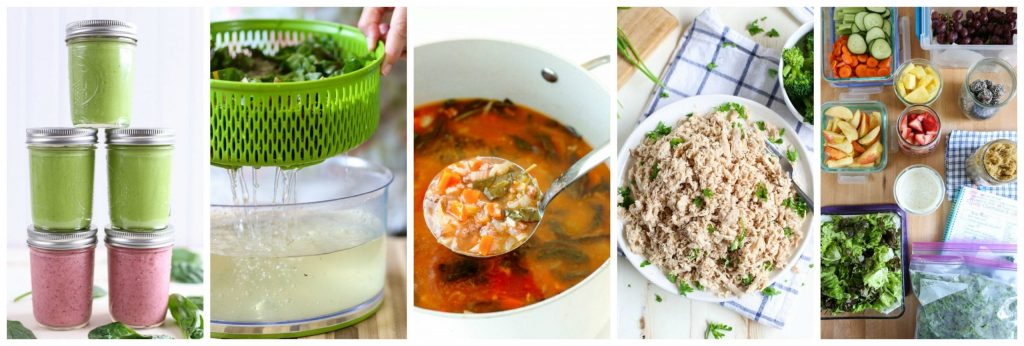
During our prep time discussion each week we’ve been focusing on basic activities and foods you can prep in advance. So far we’ve talked about: washing and storing leafy greens, easy crock-pot shredded chicken, how to make and store homemade soup, how to store baked goods in advance, and how to make smoothies in advance. Today, we’re going to explore the art and science of cooking dry beans in the crock-pot.
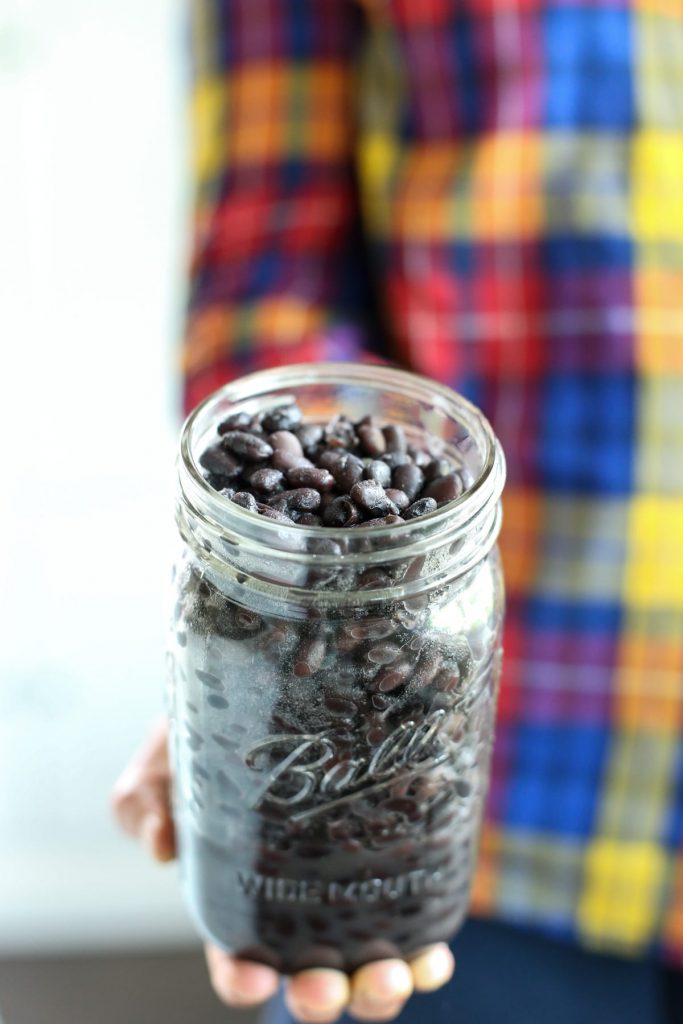
I like to cook a large pot of dry beans, specifically to store in the freezer, once a month. Having cooked beans in the freezer is an easy way to save money, stretch meals, and prepare in advance for meals like soups and casseroles.
Before I share my crock-pot bean method, let’s focus on the main reasons why you should think about cooking dry beans during your prep time. After all, if you’re going to include a task on your prep day printable or mental plan, it must help maximize your time throughout the week (AKA: it better be important!).
Why You Should Prep Crock-Pot Beans in Advance
1. Budget-Friendly Meal Ingredient:
Beans are a relatively inexpensive ingredient that pack a nutritional punch. While cooked beans may be purchased from the store, dry beans are usually less expensive and when properly cooked, they taste much better than the store-bought alternative. If you’re looking to decrease your food budget without compromising nutrition or quality, dry beans are the way to go!
Note: I still purchase cartons/cans of cooked beans to keep in the pantry.
2. Quick and Easy Meals:
Beans will last 3-4 days in the fridge and 3 months in the freezer. Since beans can be prepped in advance without scarifying taste or texture, they are the perfect protein-packed food to help make quick and easy meals: 30-Minute Chicken and Black Bean Nachos, black bean veggie burgers, tacos, quesadillas, enchiladas, easy chili (recipe coming soon!), homemade hummus, smashed chickpea sandwich, “refried” beans (skip to step three when using cooked pinto beans), beans and rice, and soups and salads.
3. No Hands-On Time:
Beans can be made on the stovetop, but when it comes to putting meals on the table fast, I prefer to cook a large batch of beans in the crock-pot each month and keep them in the freezer. The crock-pot requires zero baby-sitting, unlike the stovetop, and produces soft and flavorful beans every single time.
4. Freezer-Friendly:
Cooked beans only have a shelf-life of 3-4 days in the fridge. And trust me, you’ll know when your beans have been sitting around way too long–it’s a smell you’ll never forget. Thankfully, beans love the freezer! I’ll explain my method for freezing beans later in this post. First, let’s talk about how to cook beans in the crock-pot…
How to Cook Dry Beans in the Crock-Pot
Ingredients
- beans Black, Pinto, Chickpeas/Garbanzo, Cannellini, etc. --I usually soak 3 cups of beans at a time. Kidney beans don't always cook all the way through using a crock-pot, so it's best to stick with a stove-top method to be safe.
- water
- 1 tsp salt
- 1 large onion halved, optional
- 3-4 garlic cloves crushed, optional
- crock-pot
Instructions
- The night before (about 6-12 hours before cooking), add the beans to a large bowl. Cover the beans with water. The beans will double in volume, so make sure you have enough water and a large bowl.
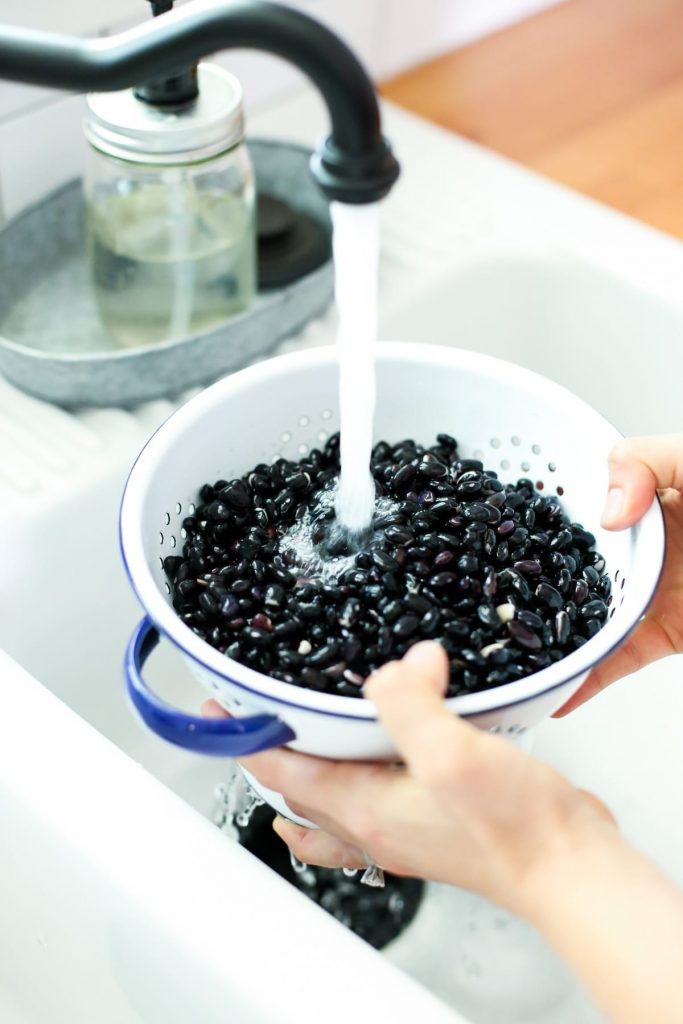
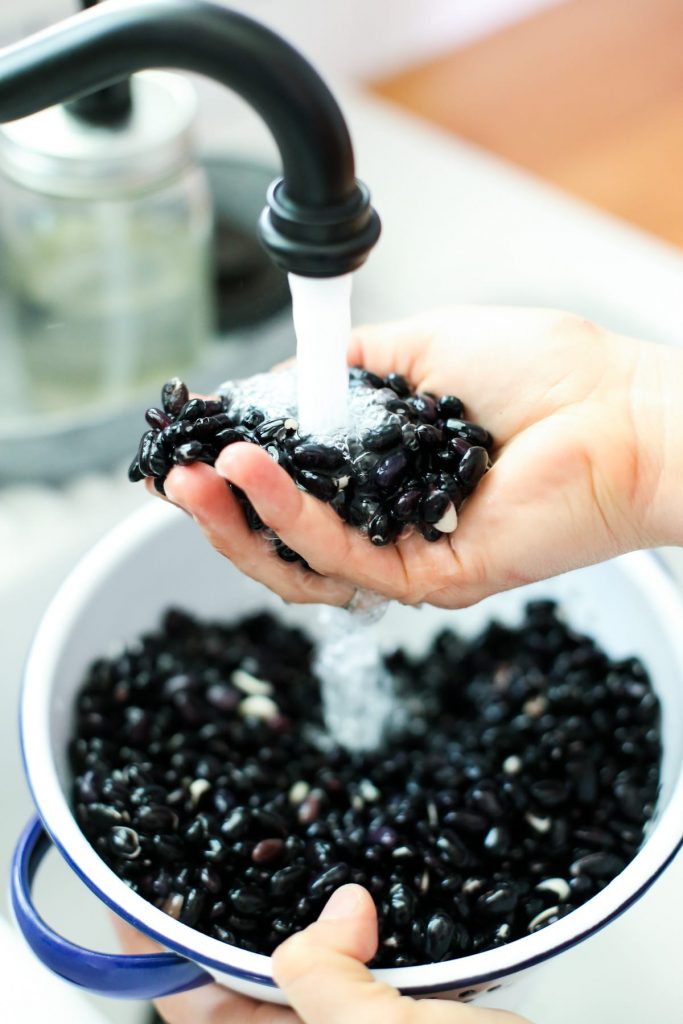
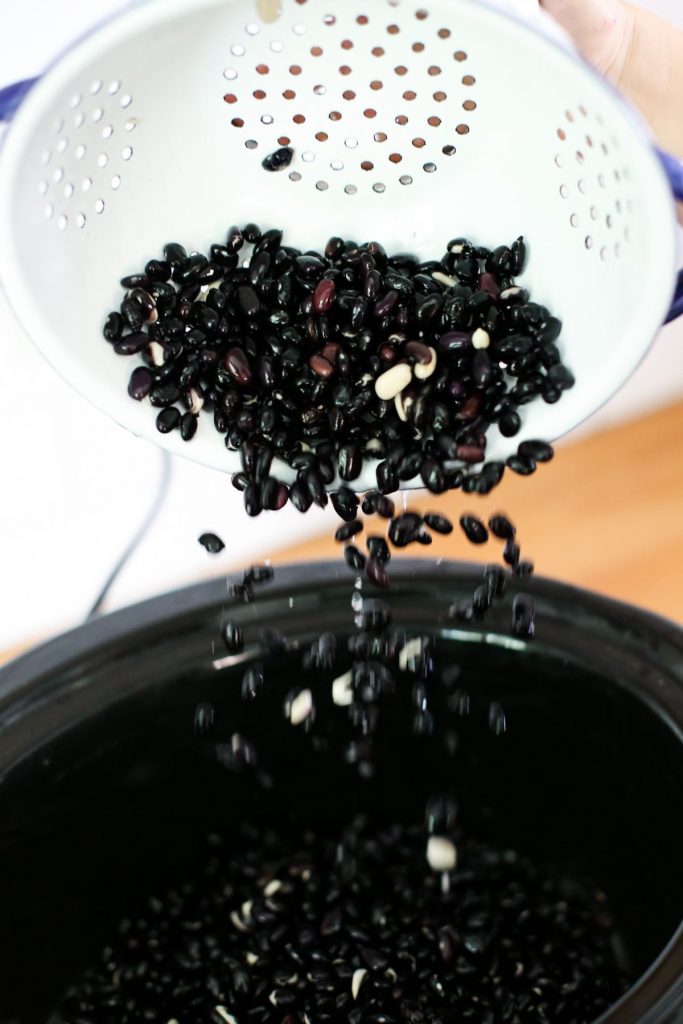
- After the soaking time, drain the beans from the water and rinse with fresh water. Pick out any rocks that may be visible--yes, they can be found from time to time.
- Place the rinsed beans in a crock-pot, along with the onion (optional), garlic (optional), and salt. Cover the beans with fresh water. There should be 3 inches of water covering the beans.
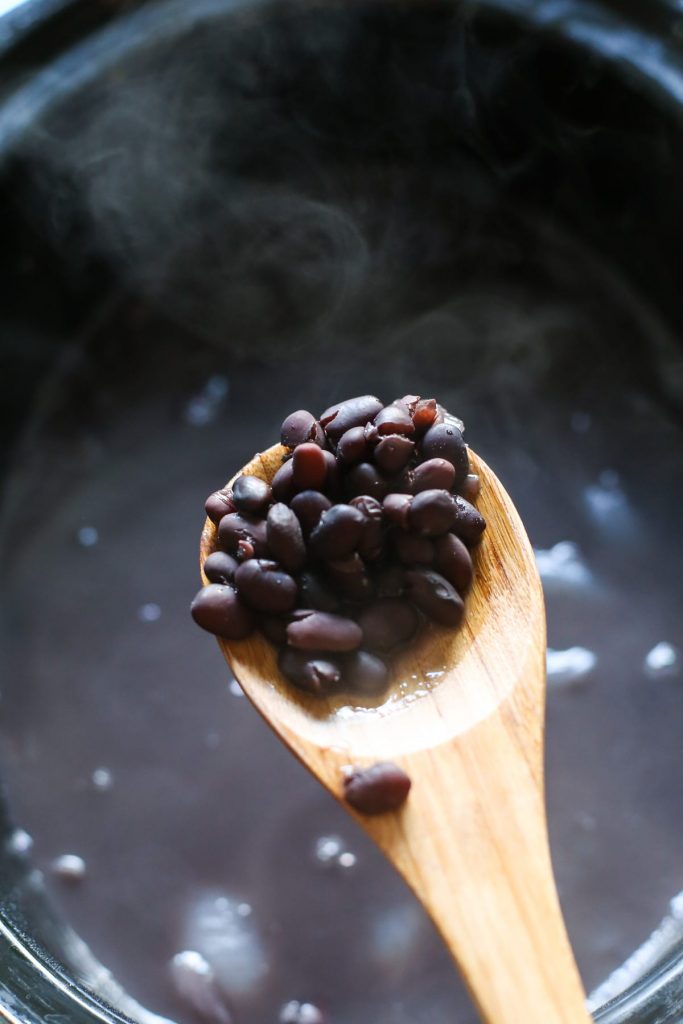
- Cook the beans on low heat for 6-8 hours, until the beans are soft (not mushy!) and firm (not hard!). Once cooked, remove the onion and garlic from the beans. Allow the beans to cool. Once cool, place the beans in a storage container (with a bit of the excess liquid--about 1/4 cup to keep them moist). Beans can be kept in the fridge for 3-4 days. Beans are also freezer-friendly (see directions below).
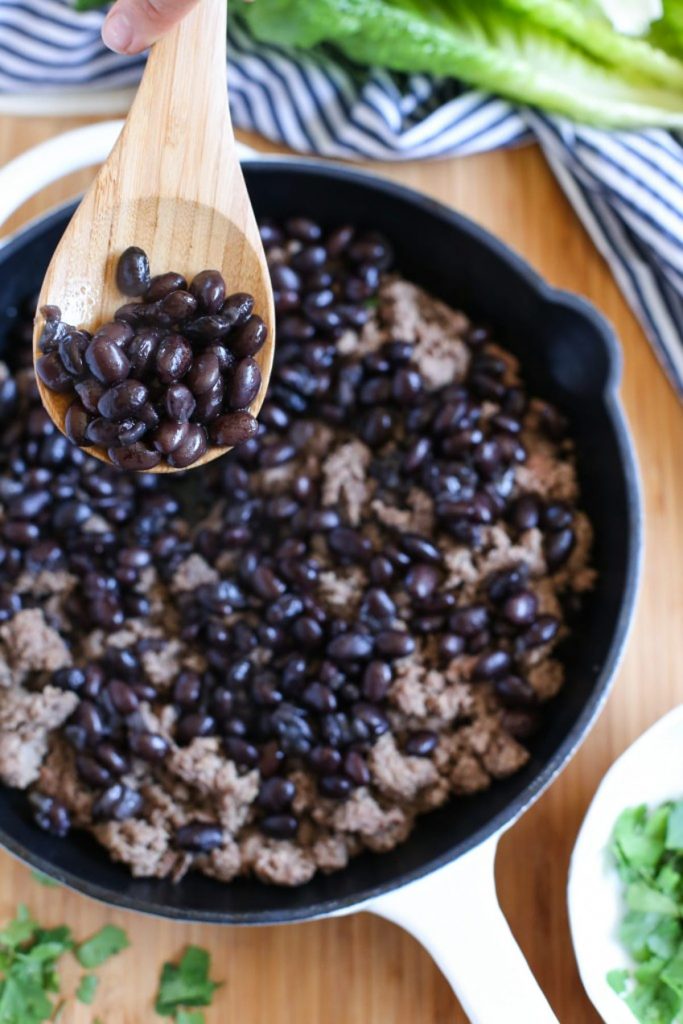
- Use the beans for nachos, quesadillas, hummus, salads, burgers, taco meat (half ground beef, half beans), soups, etc.
Nutrition
How to Freeze Cooked Beans For Later Use
Freezing cooked beans is a very simple process and will extend the life of your homemade beans for up to 3 months.
Transfer cooked, cooled beans into freezer-safe bags or Mason jars. I like to store beans in 2 cup portions since most soup recipes call for 15 oz. cans. Add 2 tablespoons or up to 1/4 cup of the cooking liquid to the beans before freezing. I’ve found this step helps the beans stay moist once defrosted. Label the containers with the name of the cooked bean (for example: black beans), the amount (for example: 2 cups), and the date. Place the beans in the freezer.
If you’re using bags, I like to freeze the bags flat. This takes up less space in my freezer and ensures the beans don’t clump together–clumping will occur if you freeze beans in a Mason jar. When it’s time to use, simply defrost the beans overnight in the fridge. Another option is to place the beans in a pot or a sink filled with hot/warm water for a quick defrost. For soups and casseroles, the beans may be used frozen, directly from the freezer. Of course, this last option is easier if the beans are stored in a bag versus a Mason jar.
This week, your homework is to create a meal plan, go shopping for the food you’ll need to implement the meal plan, set aside a specific day/time for prep time, and then print and fill out the Prep Day Action Plan printable. Focus on five foods you can prep this week based on your meal plan and schedule: washing and storing greens, cooking and shredding chicken, cooking and freezing rice, baking muffins, etc.
More Real Food You May Like:

Prep Day: 4 Simple Ways to Make Smoothies in Advance
Prep Day: How to Wash & Store Lettuce, Kale, Spinach and Other Leafy Greens
Thank you for another great tutorial. I am always looking for ways to save money and fill my extra freezer. I normally avoid dry beans – but this makes me want to try using them.
Thank you, Aileen. I’m so glad the post rekindled a desire to go for the dry beans :)!
That was really great post for me thanks for sharing this.
Thanks, George.
Great tutorial! I have heard to add the salt after the beans are cooked so the skins don’t get tough. Have you ever noticed a difference?
Thank you, Bethany. I haven’t found there to be much of a difference, so I stick with the really basic method.