Want to Save This Article?
Enter your email & I’ll send it straight to your inbox. And you’ll get new recipes & tips each week.
A new chapter unfolded in our family’s life storybook this week…
My baby, Piper, started Kindergarten (pictures to come).
I’m not sure if this makes me a “bad” mom, but I didn’t even cry. I totally expected the tears to come, but they just never showed up. I can honestly say that I’m excited for Piper and this new chapter. Maybe I’m in a bit of a honeymoon phase? I’m sure the excitement of waking up at 5am to make breakfast, shower, and load everyone in the car will fade in a few months, and I’ll be writing about the much anticipated Christmas break. For now, I’m 100% embracing the Montessori Kindergarten life with open arms.
Piper has only been in school for three days now. Yes, a short time–like I said, the honeymoon phase. Despite only being a kindergarten mom for three days, I have already learned two valuable lessons:
1. Coffee gives me superpowers!
I literally dream about the first sip of my morning coffee the moment I lay my head on the pillow the night before. I’m not a huge morning person, so I’ve been pushing myself over the last year to wake up early to get work done by noon. And while I love/hate waking up super early, I usually don’t have to be a functioning person by 7am–functioning enough to socialize with my kids, fellow moms, and a teacher. Coffee gives me superpowers. Trust me, the world is a better place when I have a mug of coffee topped with grass-fed cream.
2. My car is basically a bathroom/powder room in disguise.
As I mentioned above, mornings aren’t really “my thing.” School mornings mean I must shower, feed everyone a healthy breakfast, make sure the lunchbox is packed (although I’m trying to get everything packed the night before), dress the kids, and somehow remember to brush my teeth and make myself presentable.
By the first school morning, I had already discovered the reason my mom kept things like lotion, mascara, and deodorant in the car when I was kid. I now have a nice little bag sitting in my glove box with a few of my essentials. You’re welcome, fellow kindergarten moms. The world is just a better place with a bit of deodorant and coffee at 7am.
PS: I’m not driving and applying mascara or deodorant. Don’t worry, my friend! I park my car and apply the essentials super fast before anyone sees me.
A few months ago, I had a lighbulb DIY moment: On-the-Go Lotion. It’s almost like my brain was thinking in advance about getting ready in the morning for school.
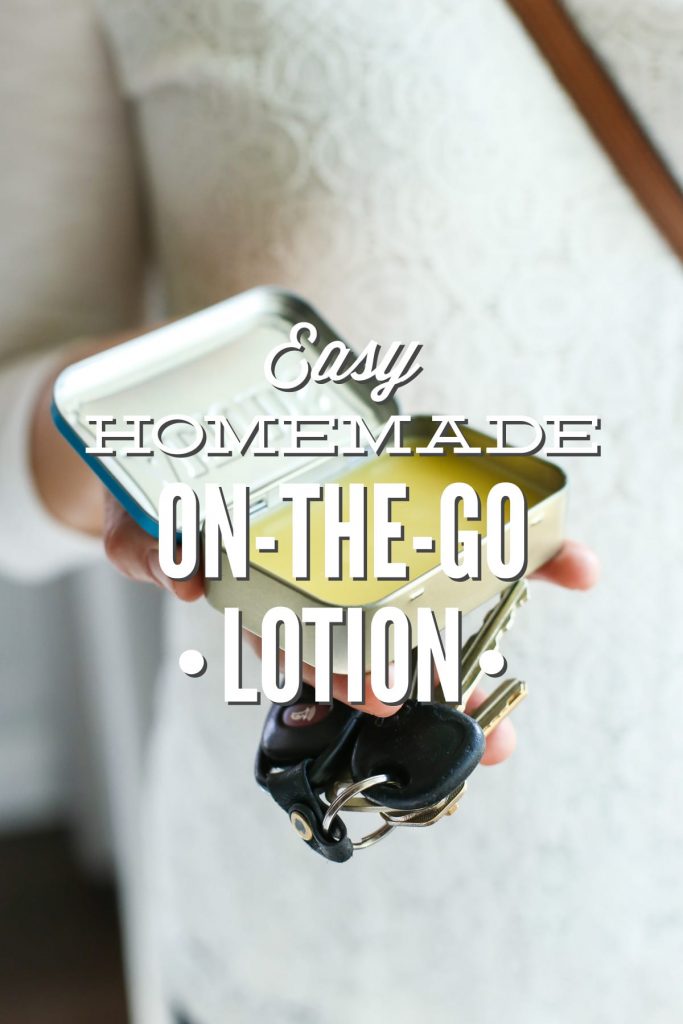
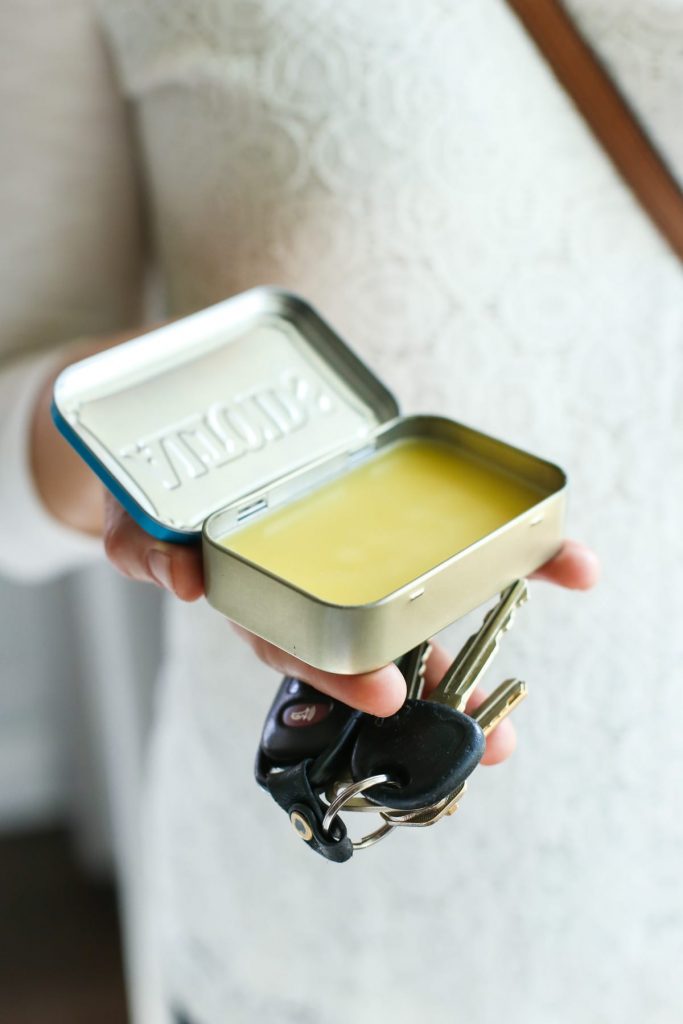
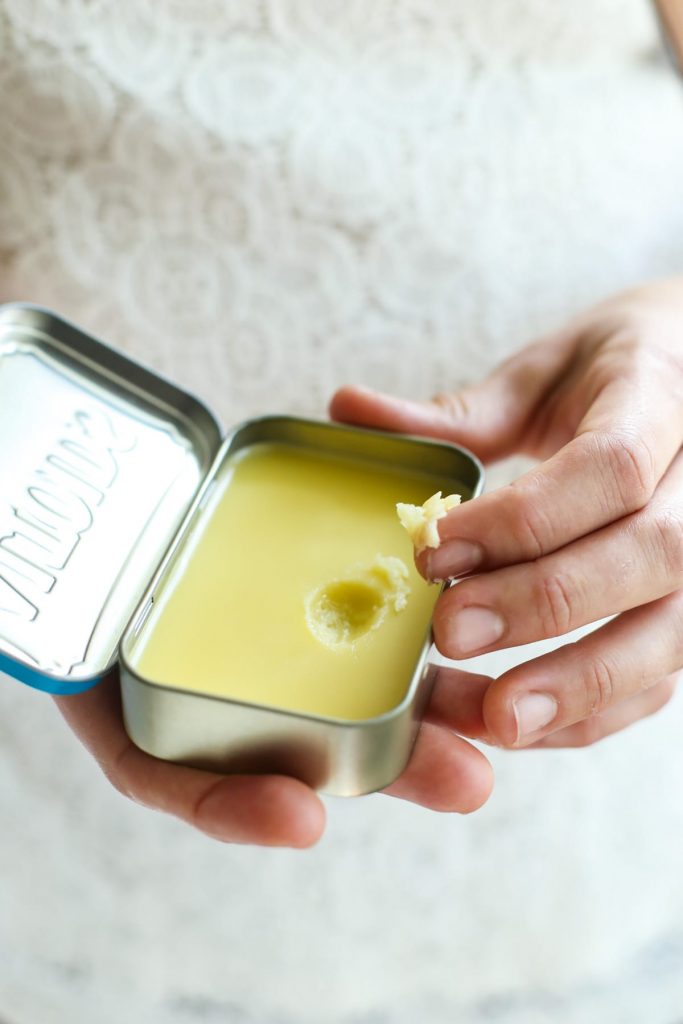
Homemade lotion is super easy to make, but it can be a messy product when it comes to traveling. Beeswax was just the addition my basic homemade lotion recipe needed to make it more portable and purse-friendly. Of course, creating a travel lotion also meant a portable container was a must. I thought about glass jars, but who wants a glass jar rumbling about in an already over-stuffed purse? Talk about a hazard! Purchasing tins specifically created for DIYs also came to mind. And that’s when it came to me…mint/candy tins!
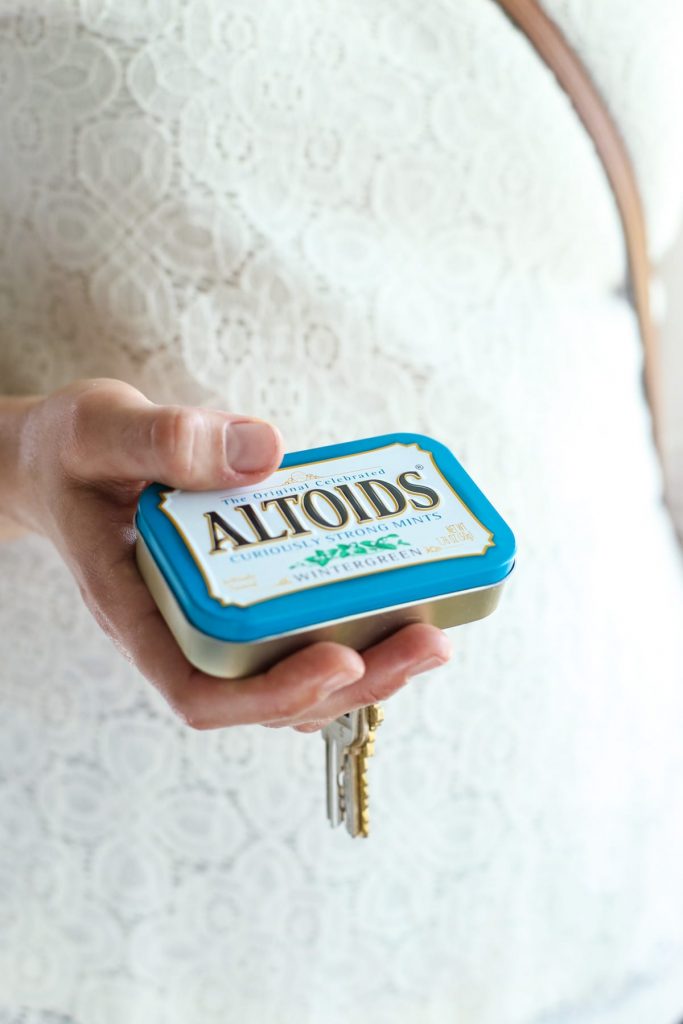
Before our real food days, Altoid mints were my favorite treat. In all honesty, I treated them less like a treat and more like a daily snack. While I may no longer enjoy the mints, the mint tins proved to be the perfect home for my on-the-go lotion–they are easy to open, won’t break (hello, glass), and can even be decorated.
If don’t want to walk around with an Altoid mint tin in your bag, I completely understand! Trader Joe’s and Whole Foods both sell organic candy in metal tins. I decided to go the processed food route and purchase the Altoid mint tin since Target sells two-packs for $3, dump the candy, and wash and reuse the tin.
Today’s homemade lotion recipe is the perfect way to take our homemade hippie ways on-the-go. This lotion is super easy to make requiring only three ingredients and about ten minutes of time! If you’ve made homemade cosmetic products in the past you probably own all three ingredients needed to make this portable moisturizing lotion. And if you’re new to homemade products, rest assured the ingredients called for in this recipe can be used to make multiple other products, such as: lip balm (shea butter and beeswax), deodorant (shea butter and beeswax), boo-boo cream (beeswax), make up remover (nourishing oil), face wash (nourishing oil) and even candles.
Easy Homemade On-the-Go Lotion Bars
Ingredients
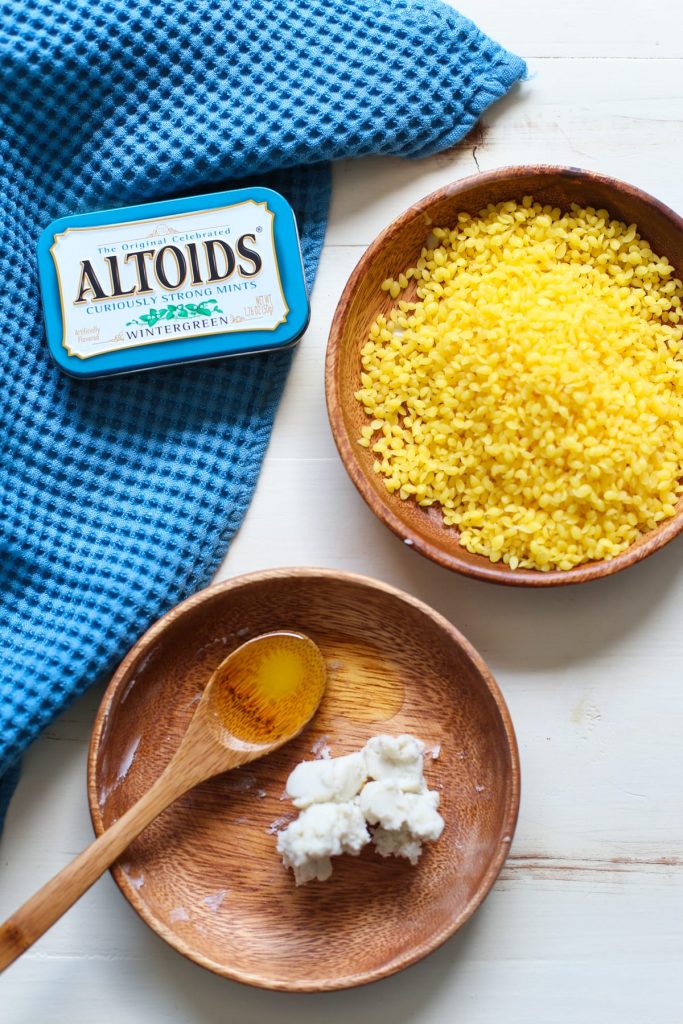
- 1/4 cup shea butter
- 2 TB jojoba oil or grapeseed
- 3 TB beeswax pellets
- 10 drops lavender essential oil or Ylang Ylang, or Bergamot are wonderful in this recipe.), optional
Instructions
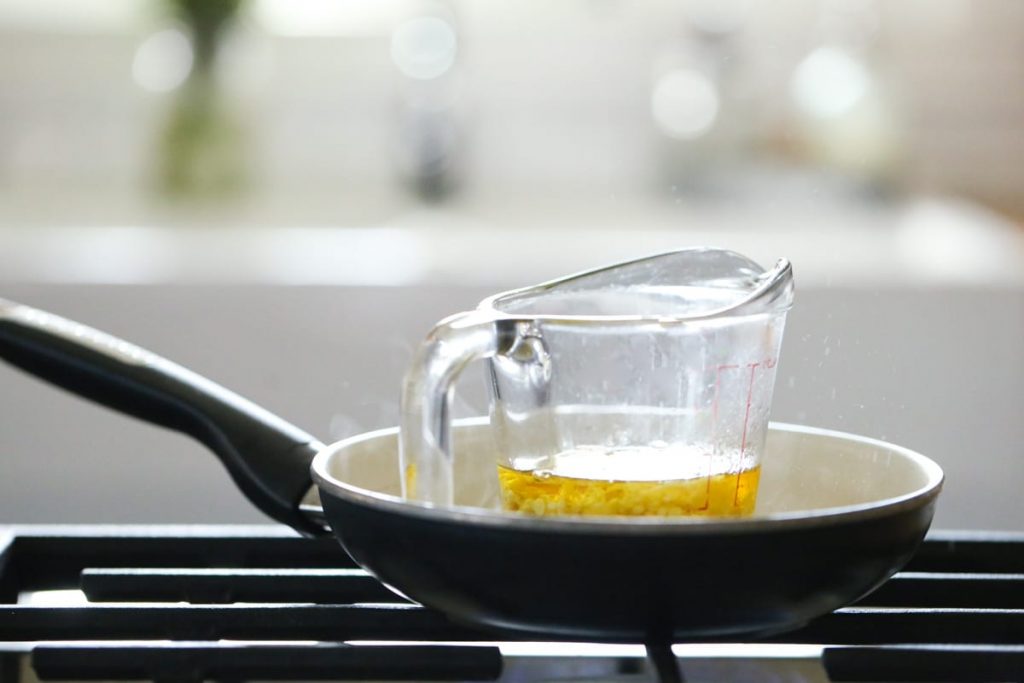
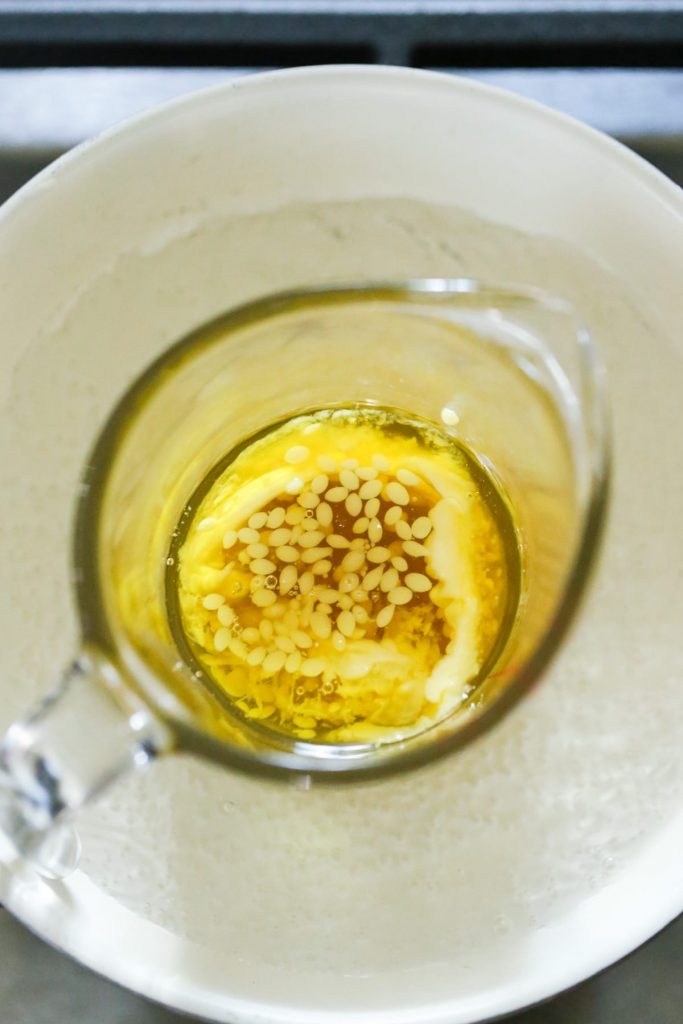
- In a double boiler, over medium-high heat, place the shea butter, nourishing oil, and beeswax. Bring the water underneath to a boil. The ingredients will melt, stir every few minutes to help the melting process. This process takes about 5-7 minutes.
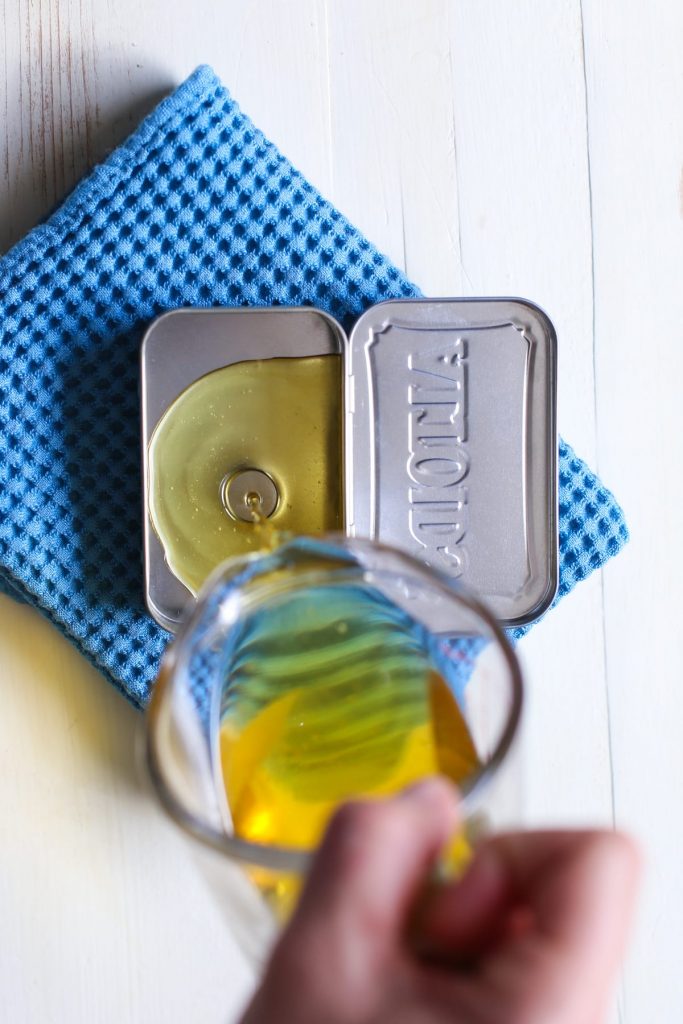
- Once melted, remove the bowl from the heat. If you plan to use an essential oil, add the drops now and stir. Pour the liquid into two traveling tins (my tins hold 1.76oz). Remember, there are two holes in the back of the candy tins, so fill the lotion just to the holes to prevent a huge mess! Store the lotion at room temperature for up to 12 months.
Notes
*Decrease the beeswax to 2 tablespoons for a softer lotion.
More DIYS You May Like:

Can you use cocoa butter instead of the shea butter?
Hey Ashely, The lotion will be firm, but it should work :).
Hi i like ur reacip.mi use this lation my face.my skin is sensative.
How do I make on the go lotion with a coconut scent? Do I use a little coconut oil?
Hey Rose, Yes, I would try using coconut oil for the oil.
I was comparing this recipe with your lip balm recipe. I noticed that the only difference is the vitamin e. Could I use this lotion as a lip balm too? Also, I’ve not got peppermint essential oil on hand. Could I substitute peppermint extract? I love the idea of having the tin for my purse.
Hey Angie, Yes, you can use this as lip balm! I use this product for lip balm regularly since I don’t always have my lip balm on hand. That’s the beauty of homemade products :). I’ve never tried using peppermint extract, but I bet it will work!
Hi! I love this idea. I often make my own lotion, it seems to work better in our harsh winters (Calgary – windy! Cold! windy!) but I love the idea of a more solid form to throw in my bag for commuting.
Would you have the weight equivalents for the solids? The shea butter and beeswax I have are solid and if I can weigh them I find I get a more accurate measurement than trying to figure out if I grated them fine enough or mashed them into the teaspoon well enough.
Thanks for the recipe and idea!
This looks great but I’m left wondering something… having made other formulas similar to this, how does it hold up in the heat? I’m just envisioning a big mess leaking out in the summertime. Please let me know.
Hey Tessa, Yes, I definitely envisioned the same thing. The beeswax (and amount called for) helps hold the lotion together. I’ve been carrying my lotion for 4 weeks now in my purse, and so far haven’t had any issues. I don’t recommend leaving it in a hot car, but a purse that comes and goes with you should be fine.
Dear Kristin,
I am a newbie to all the DIYs, i came across your blog and fell in love immediately. I made my from DIY lotion using your receipe, it turned out well. It took a while for me to get adjusted to the homemade lotion Vs store bought, but i am i am in love for the home made lotions. I was thinking about a lotion to carry in the purse for work and you read my mind, i was pleasantly surprised to see this post yesterday, what an idea! thank you very much.
Do you have any idea how to transform the mint tin to a different/better looking lotion container? I am asking this because i am planning to give it as a small gift to my co-workers.
Please let me know your thoughts. Thanks again.
Best,
Deepa
Hey Deepa, I’m so glad you’re enjoying the lotion!! Perfect timing for the on-the-go lotion :). I Googled “mint tin crafts” to see if I could find any cute ideas. Here’s what I found on Pinterest: https://www.pinterest.com/maryhamm/altoid-mint-tins-crafts/. I used Washi Tape from Target to cover the top of the Altoid box. It doesn’t stick perfectly so the tape is only a temporary solution.
Amazon and other online retailers sell plain tins in all sorts of shapes and sizes!
Hey Kathy, Yes, you’re correct :). I found the mint/candy tins to be much cheaper and easier to use. But Amazon is another great option.