To me, prepping food for the week ahead can feel overwhelming. Just uttering the word prep sends my head spinning in all sorts of tangled directions! “Oh, I should make pancakes, and that granola bar recipe I pinned last week, and waffles, and smoothie packs. What else am I forgetting? Oh, lunch! And freezer meals.” My brain doesn’t automatically want to take the simplified approach to something that should be simple and uncomplicated.
Want to Save This Recipe?
Enter your email & I’ll send it straight to your inbox. And you’ll get new recipes & tips each week.
This wanting-to-do-it-all can paralyze me from actually doing any prep at all (or anything in life). Anyone else like this? My perfectionist tendencies always have a way of coming out.
I know that prepping ahead is vital to enjoying real food on a daily basis. Between my work schedule, Dustin’s work schedule, and the kids’ school life, real food must be intentionally planned each week. Adding in prep work helps to simplify the plan — and our lives.
In order to simplify meal prepping, I’m learning to be intentional about this time, just like I’m intentional about my meal planning time. Practically, here’s what this looks this…
Each week, after creating a simple meal plan, I sit down with the plan and my family’s calendar and ask myself: “What’s the most important food to prep based on our schedule? What’s going to simplify our life this week? What’s going to make the biggest impact?” Pausing to answer these questions makes the thoughts of wanting-to-do-it-all fade away. Within seconds, prepping for the week ahead feels doable, approachable, and practical for a weekend afternoon.
If upcoming mornings are going to be busy (Dustin needs to leave early and I’ll be getting the kids up, fed and off to school), I’ll prioritize making one breakfast food that can be served multiple times: pancakes, granola, smoothie packs, etc.
Other times, evenings are going to be busy. I’ll plan to make a couple of prep-ahead lunch options so I can focus on enjoying my evenings with my family, versus worrying about next day’s lunch. Making just one food (such as roasting a whole chicken or chopping veggies for lunches and snacks), or focusing on one category (such as lunch or breakfast), simplifies my food prep.
The key to simplified prep? Intentionality!
I don’t prep snacks very often. Our snacks are generally very simple: a smoothie, some nuts and seeds, nut butter and apples, or hummus with veggie sticks (Costco sells individually-portioned hummus perfect for school snack). None of these options require any prep (other than chopping a fruit or veggie).
Occasionally, I’ll make a treat that can double as both a snack and a lunchbox treat. By far, my favorite treats to prepare are bites, or balls. I’m sure you can imagine why I’m going with bites here… we’re all mature adults ;).
There are a few bite recipes already on the blog. These Lara Bar-like bites are a big hit with my kids (and my big kid). The chocolate chip cookie dough bites are my favorite since they taste like cookie dough. And these peppermint chocolate bites are a fun snack to make around the holidays.
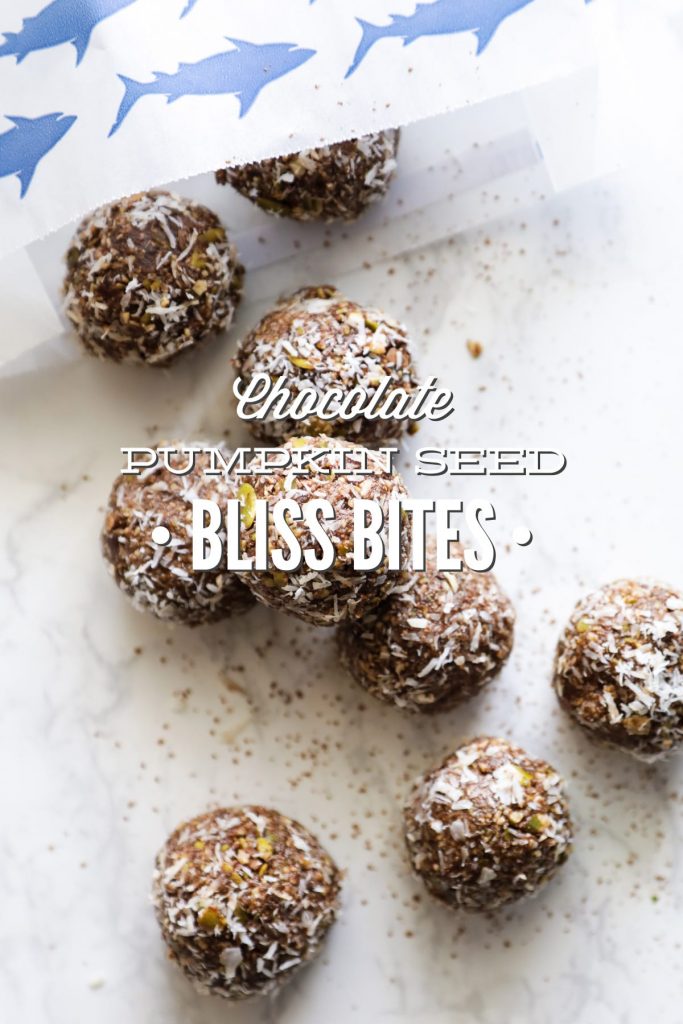
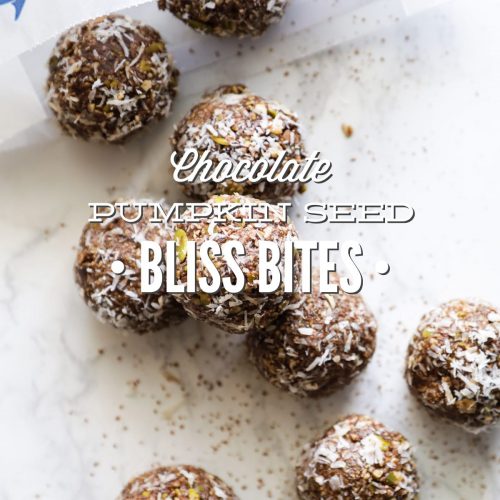
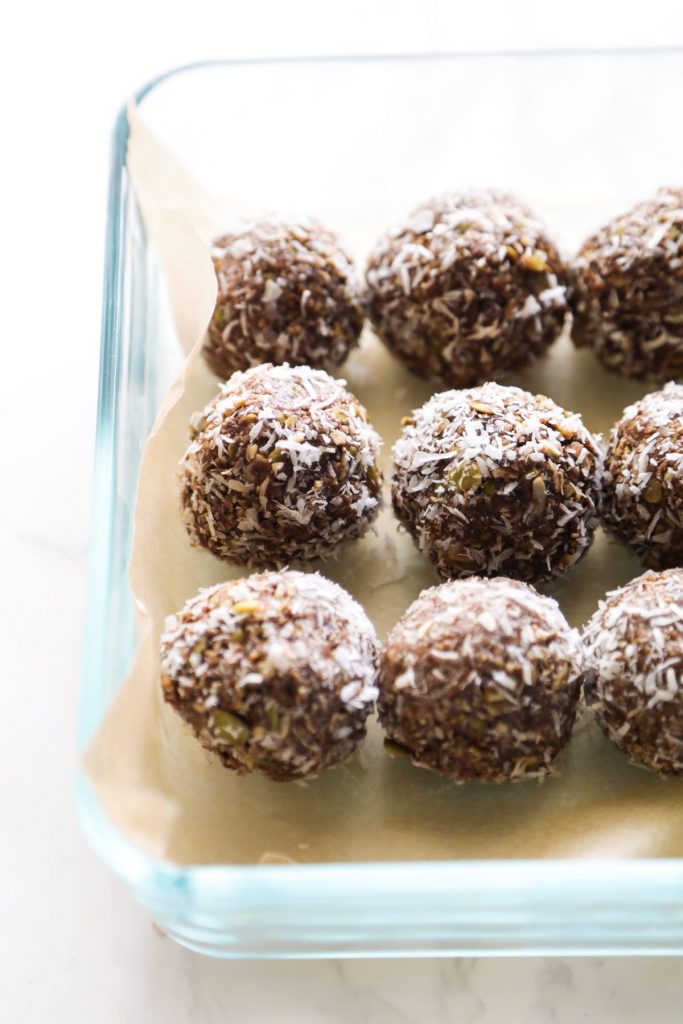
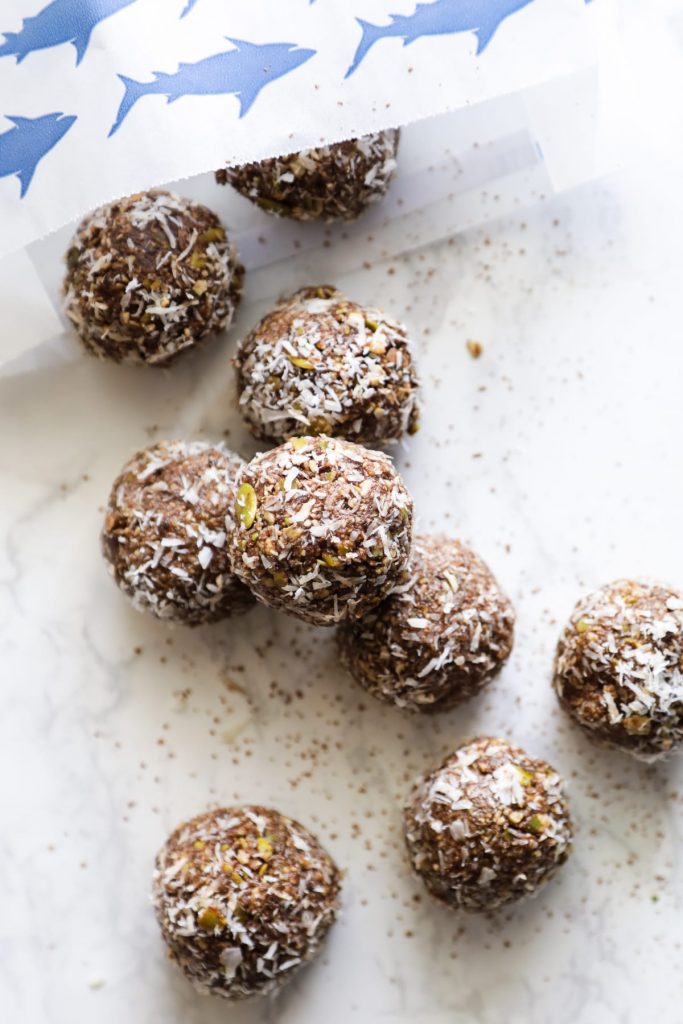
Today’s bites are pumpkin seed-based. The seeds are blended together with dates, which act as a binder and sweetener. Satisfying fats are added to the seeds and dates (coconut oil and coconut butter) and unsweetened chocolate is added (because, why not?). The bites keep in the fridge, in an airtight container, for about 2 weeks. Yum!
Chocolate Pumpkin Seed Bliss Bites
Ingredients
- 1 cup pumpkin seeds unsalted
- 10 medjool dates pitted*
- 4 TB coconut butter or coconut manna**
- 3 TB coconut oil room temperature
- 2 TB unsweetened shredded coconut
- 2 TB cacao powder or unsweetened cocoa powder
- 1/4-1/2 tsp pure vanilla extract depending on taste, I like 1/2 tsp
- 1-2 pinches salt depending on taste, I like 2 pinches
Topping:
- unsweetened shredded coconut optional
Special Equipment:
Instructions
- Preheat the oven to 350F.
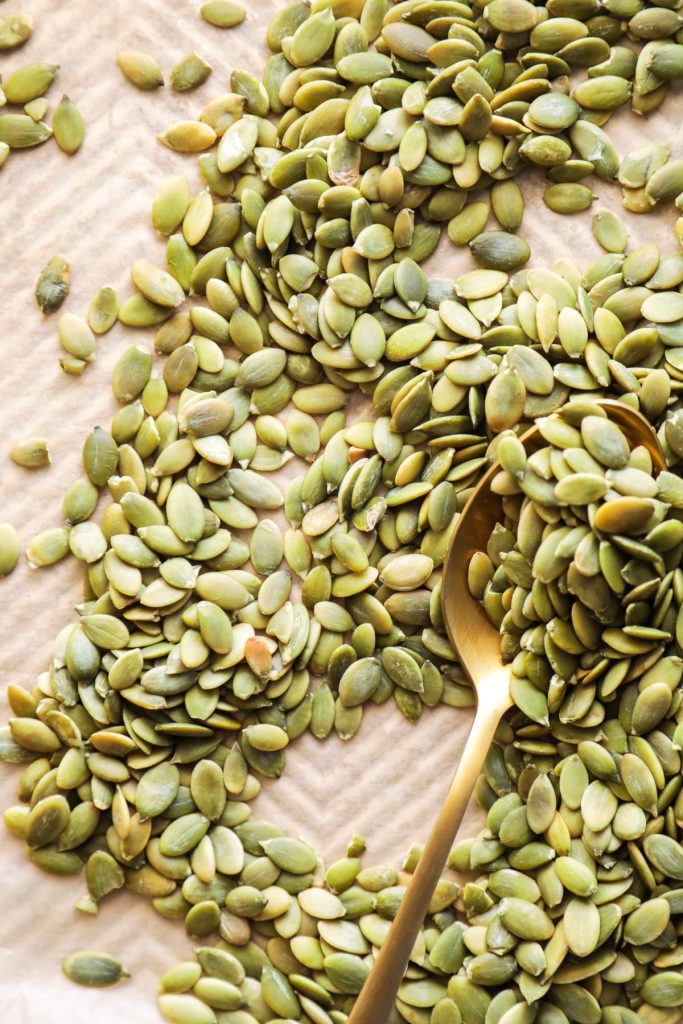
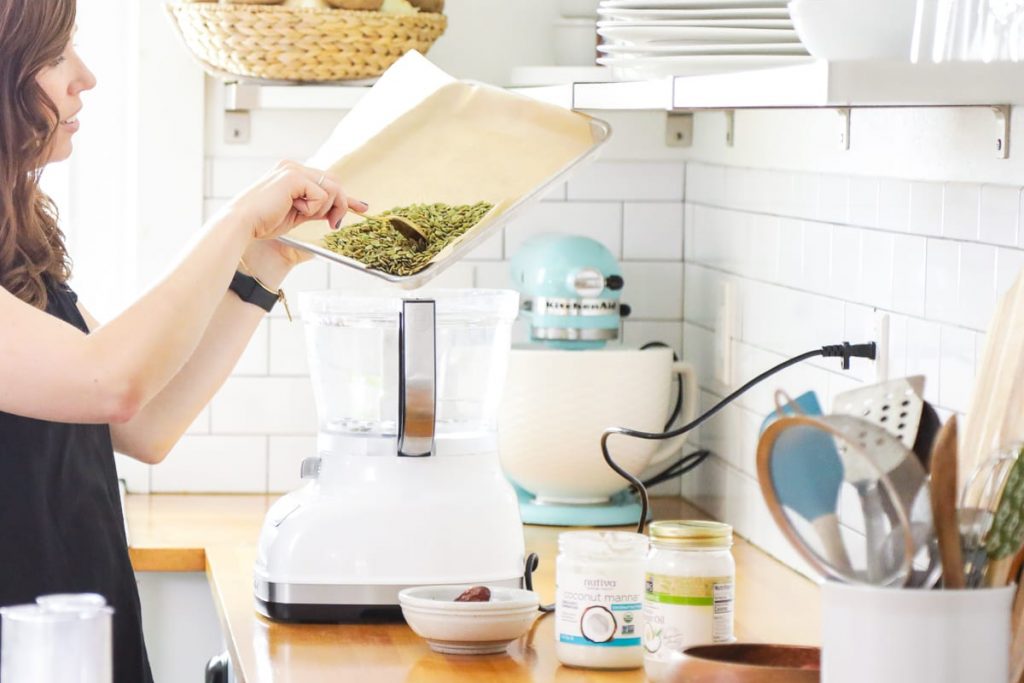
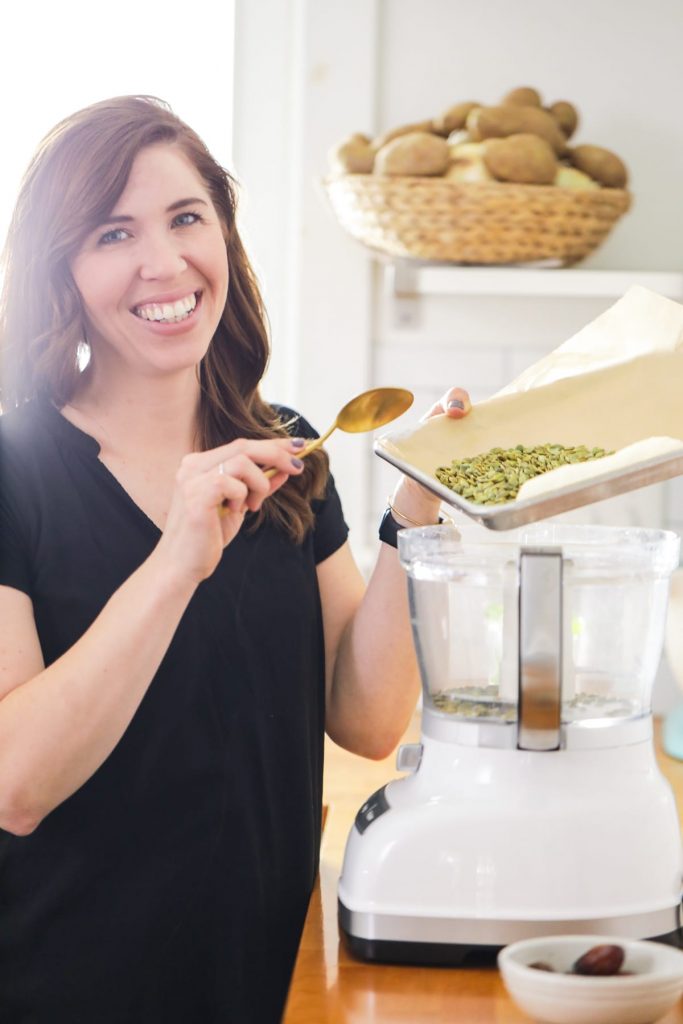
- Place the pumpkin seeds on a sheet pan. Roast the pumpkin seeds for 10 minutes, until fragrant and toasted.
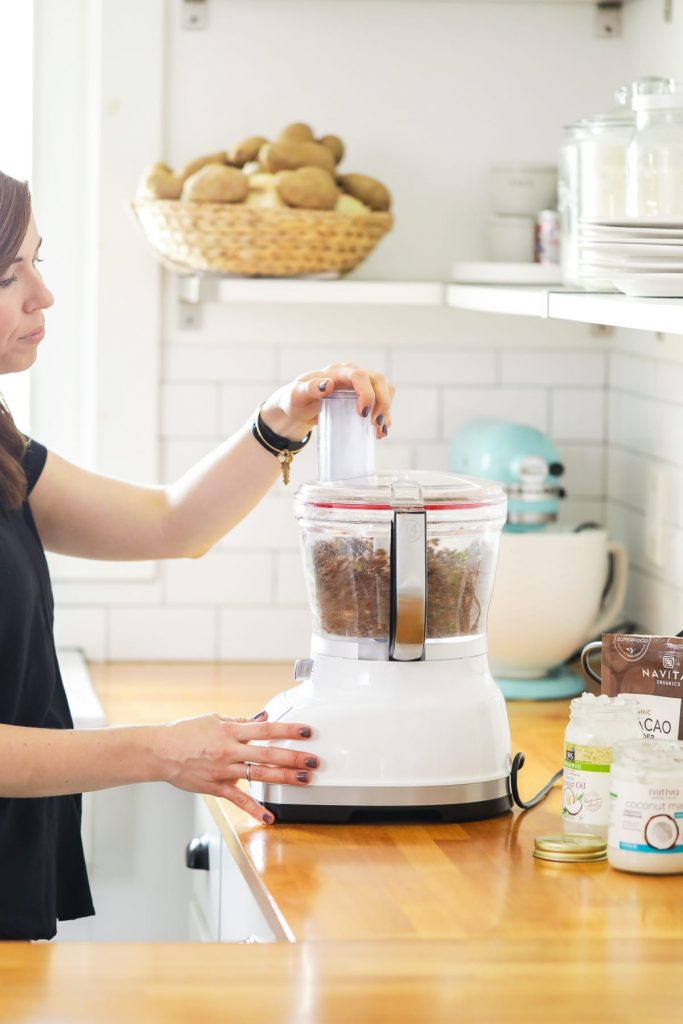
- Pour the toasted pumpkin seeds into the base bowl of a food processor. Pulse the seeds until finely chopped (about 30-60 seconds). Add the dates, and pulse again until finely chopped (another 30-60 seconds).
- Add the remaining ingredients: coconut oil, coconut butter, shredded coconut, cacao powder, and salt. Pulse the mixture until the ingredients are well combined and begin to stick together (about 30-60 seconds).
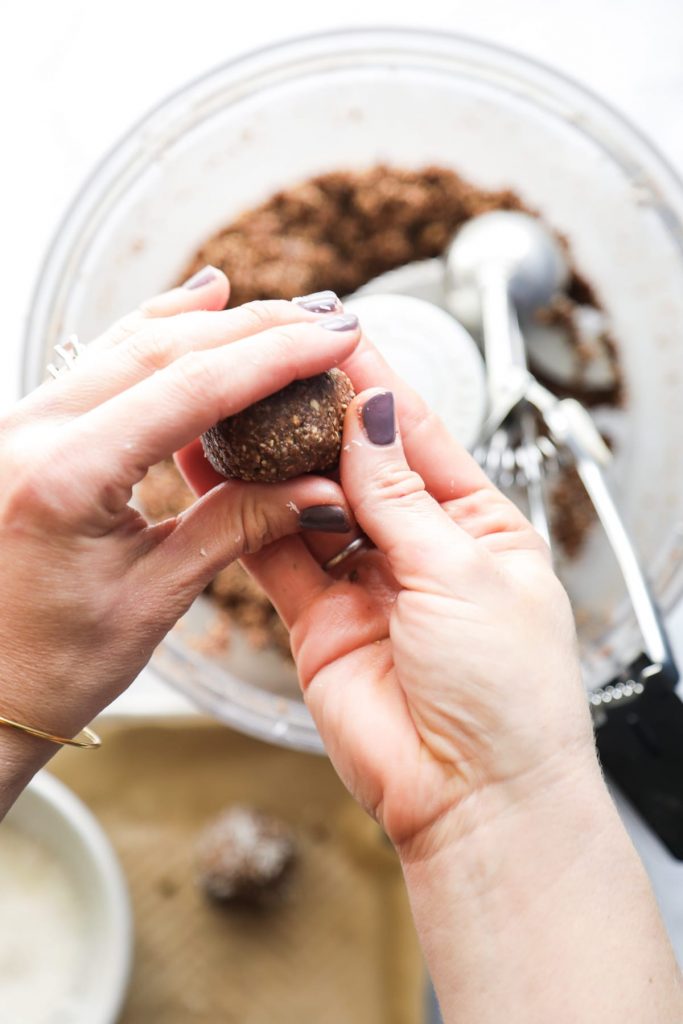
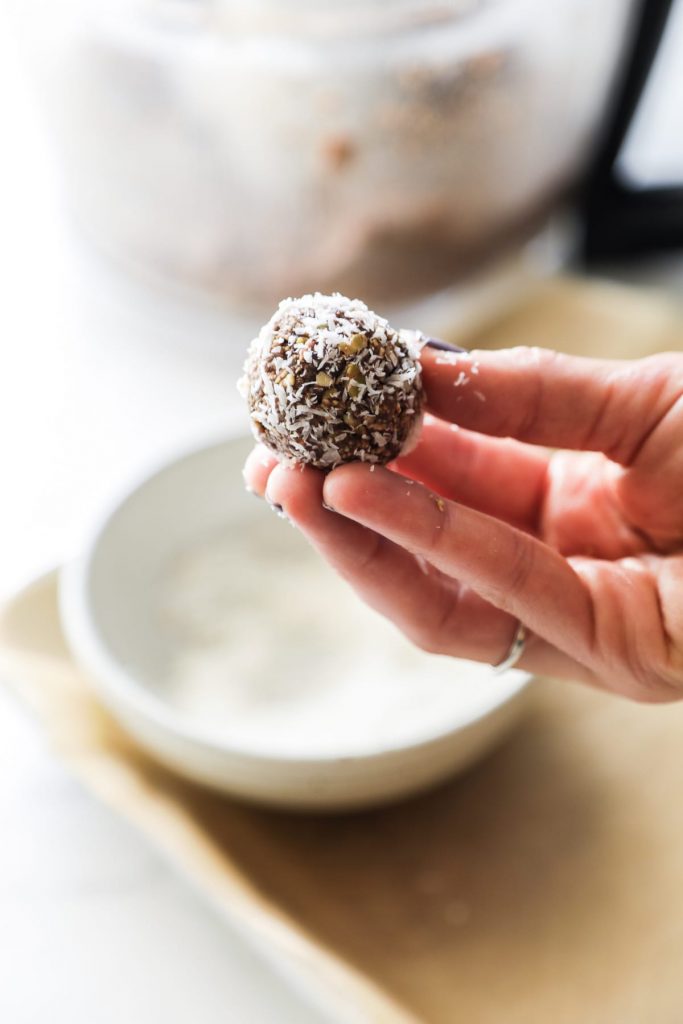
- Scoop small amounts of the dough into your hand. Press the ingredients together with your hands to form golf-ball size bites. If the dough feels too dry and it's hard to form the bites, add a bit of water to the dough (1/2 tsp as needed) and wet your hands with water. Optional: After forming the bites, roll them in shredded coconut.
- Place the bites in a storage container, and store in the fridge until ready to enjoy. The bites keep in the fridge for up to 2 weeks.

I can’t see shredded coconut in the ingredient list and the quantity to put in. Thanks!
Sorry about that, it’s 2 tablespoons of shredded coconut.
Hi Kristen, If I can’t find coconut butter, what could I use as a substitute? Thanks!
Hey Erica, You could add more coconut oil.