A few days ago, we made a sourdough starter. Now the time has come to use that starter to make homemade sourdough bread.

Want to Save This Recipe?
Enter your email & I’ll send it straight to your inbox. And you’ll get new recipes & tips each week.
Why Sourdough Bread?
Making sourdough bread causes us to seek out high quality ingredients, get back into our kitchens, and use a time-honored technique to make a very simple and basic food. A technique that’s therapeutic, rewarding, and beneficial for our bodies.
Making sourdough bread is a traditional practice that’s been used to make grains more digestible and to help unlock the nutrients found in grains.
“Traditional societies usually soak or ferment their grains before eating them, processes that neutralize phytates and enzyme inhibitors and in effect, predigest grains so that all their nutrients are more available. Sprouting, overnight soaking, and old-fashioned sour leavening can accomplish this important predigestive process in our own kitchens. Many people who are allergic to grains will tolerate them well when they are prepared according to these procedures.” -Sally Fallon, Nourishing Traditions
I don’t soak, sprout, or sour every grain we consume. This is evidenced by the number of recipes on the blog that call for simply combining flour and other ingredients in a bowl and then putting those ingredients in the oven to bake. Just because I can’t/don’t/won’t soak, sprout, or sour every grain we consume doesn’t mean I can’t incorporate these time-honored, gut-loving techniques into my kitchen from time to time.
PS: If you have a Netflix account, I highly recommend watching Micheal Pollan’s Cooked Series, particularly part three, Air. Pollan explores the art, science, and reason why we should get back to making sourdough, particularly in a day and age when so many folks are afraid of gluten. If you don’t have a Netflix account, or don’t want to watch the documentary, read this short article.
Making Sourdough Bread
Most sourdough recipes are written in very complicated formats. The recipe formats are well and good if you know what you’re doing, but, to me, these instructions have made sourdough recipes feel intimidating.
Because of this, I’m going to share today’s recipe in steps. To me, this makes logical sense. This is how I initially wrote down and tweaked this recipe, so why change it up and try to make it all fancy.
Sourdough isn’t a process that’s meant to be fast or quick–that’s why active dry yeast was invented and became so popular–but don’t let this fact discourage you. Most of the process is a hands-off process, which means you can have a life outside the kitchen and still make sourdough bread.
Also, I highly recommend picking up the book, Tartine Bread. The book uses technical, baker terms (which are helpful as you progress along in your sourdough journey) for what I’m calling “steps.” The book is also filled with recipes, from pizza dough to olive sourdough bread. The Tartine recipe and method was published by the New York Times a couple of years ago, too. So if you want to try out the full method, which I’ve adapted to work for my schedule, check out the recipe.
Step One
The Tartine method uses some of the starter to create a separate leaven (the yeast, leavening agent in the bread) with a small amount of flour and water. I tried this when I first started using the method, but found this extra step too time-consuming for my schedule. After attending a local sourdough class that recommended skipping the leaven-creation step, I decided to skip it, too.
So, step one…
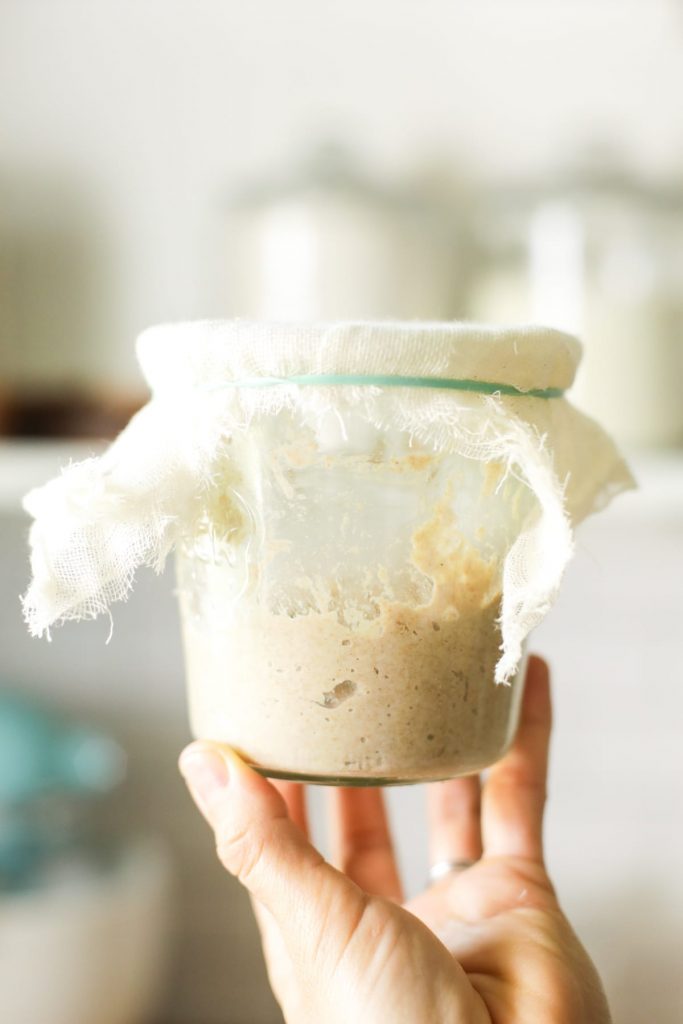
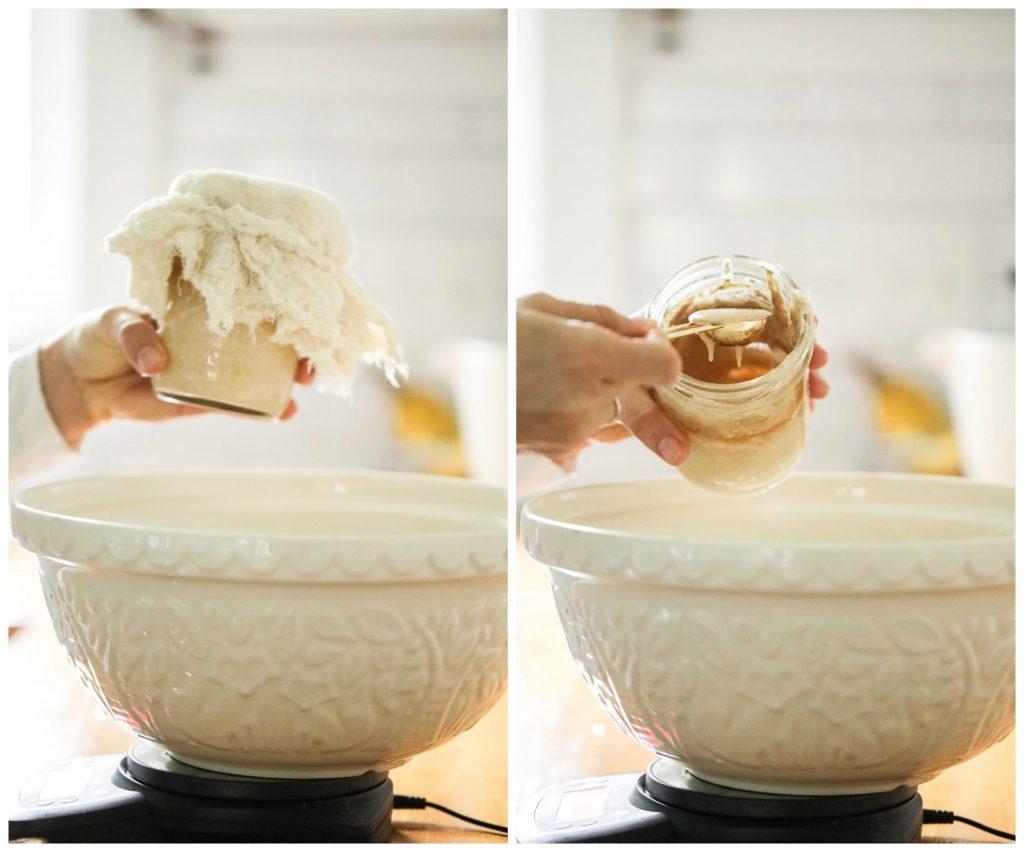
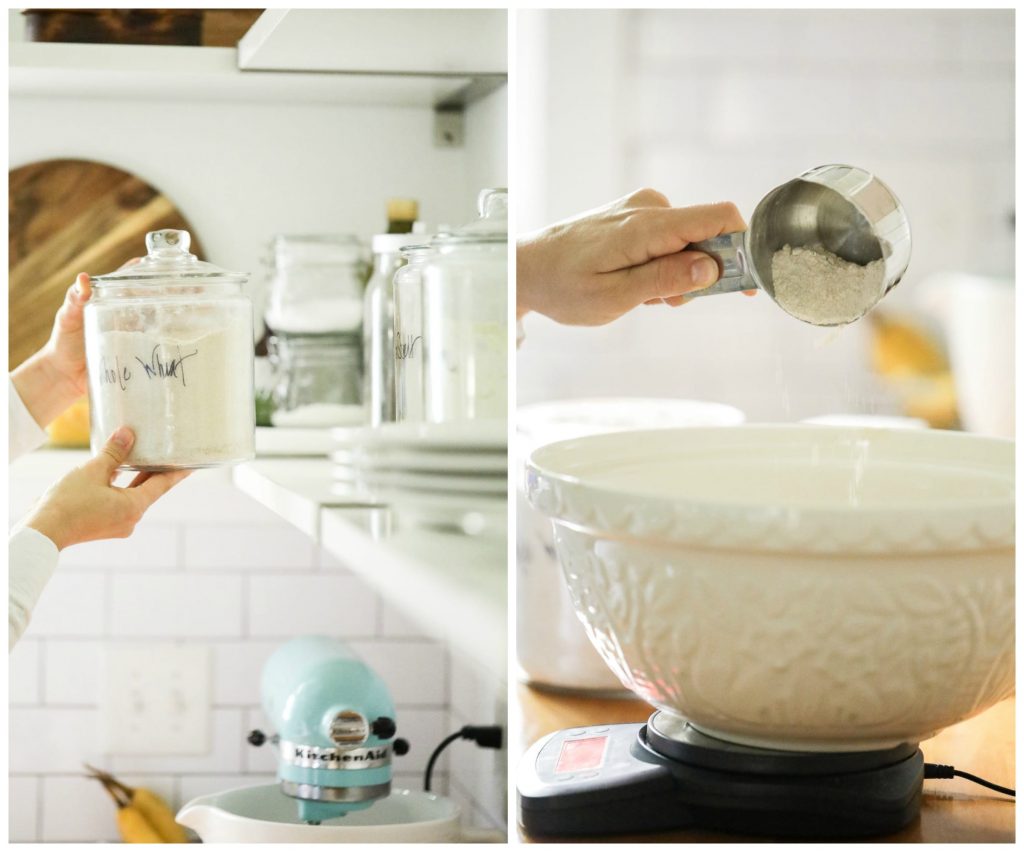
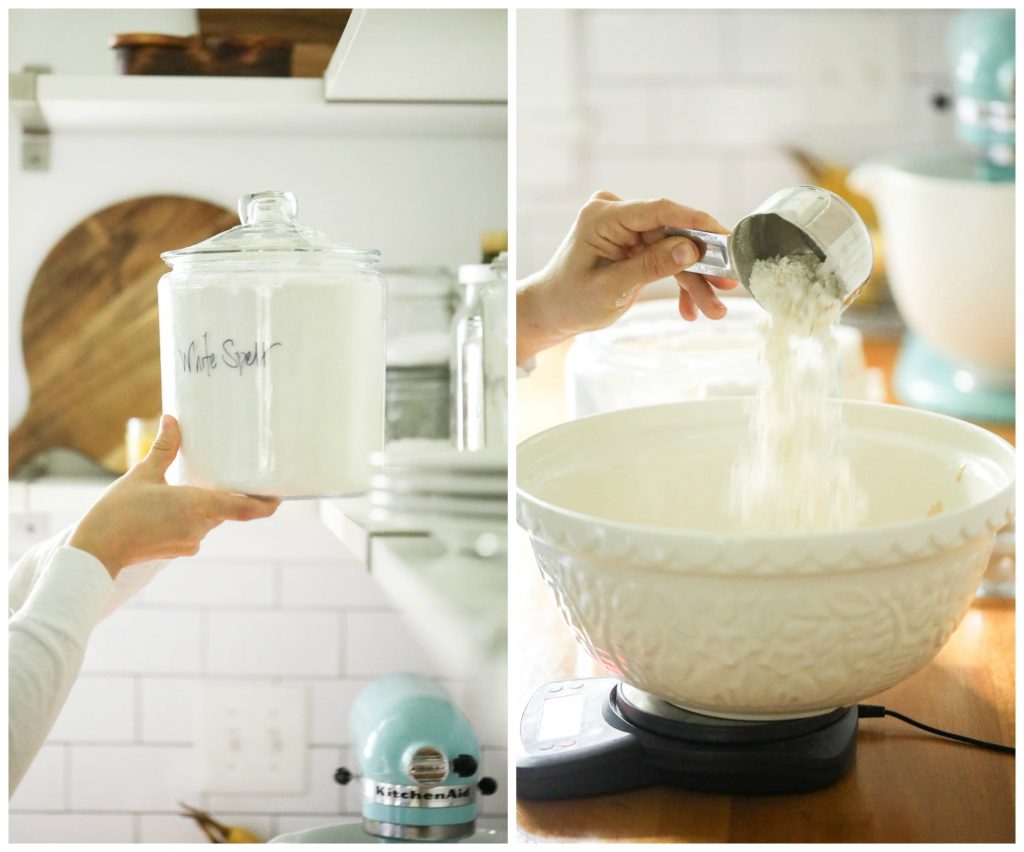
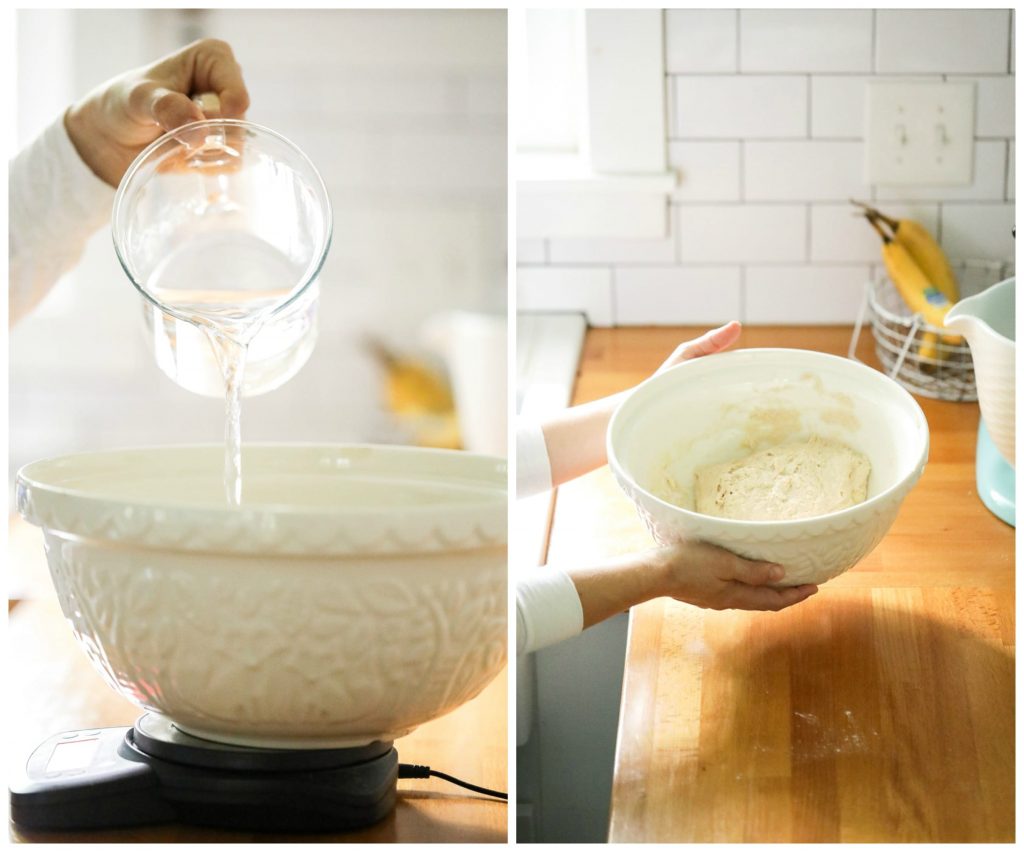
In the first step, I combine some of my sourdough starter (here’s a tutorial), with the majority of the water and flour used to make the dough. At this point, the dough is jagged and thick. The dough is covered with a towel, and then rests on the counter for about 6 hours.
After about 6 hours (I’ve tried other time periods and this works best for my schedule), the dough has spread and increased in size. Now it’s time for step two.
Step Two
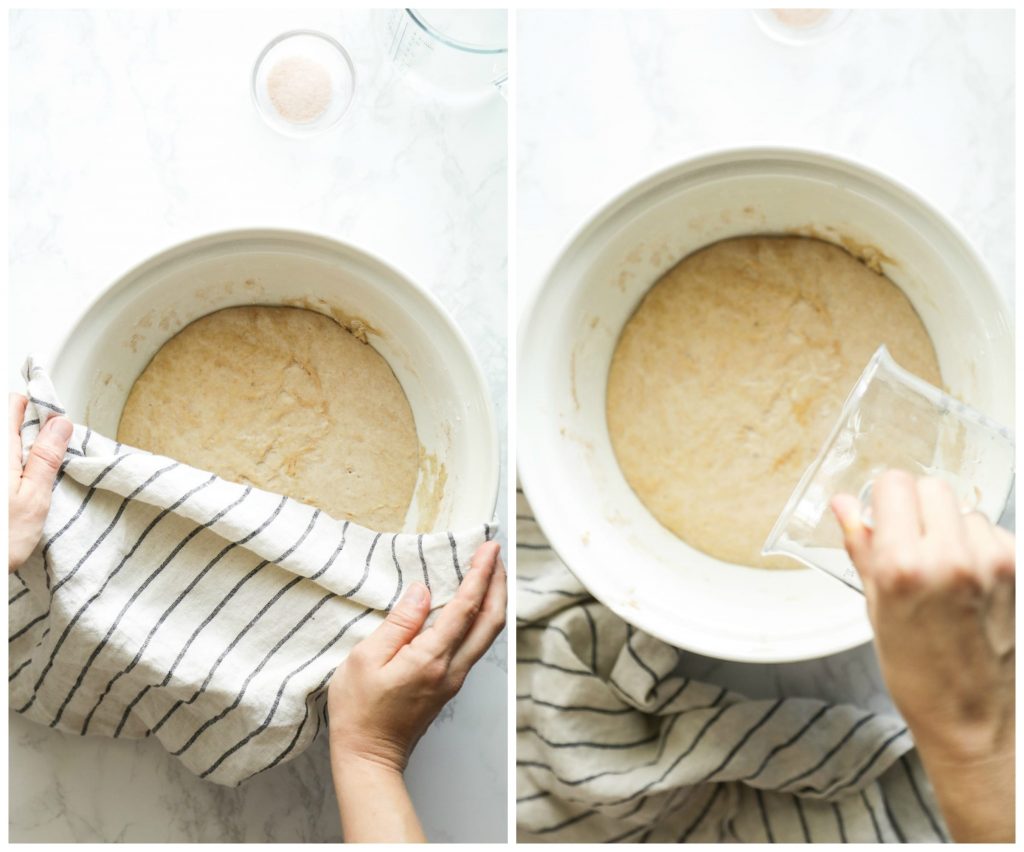
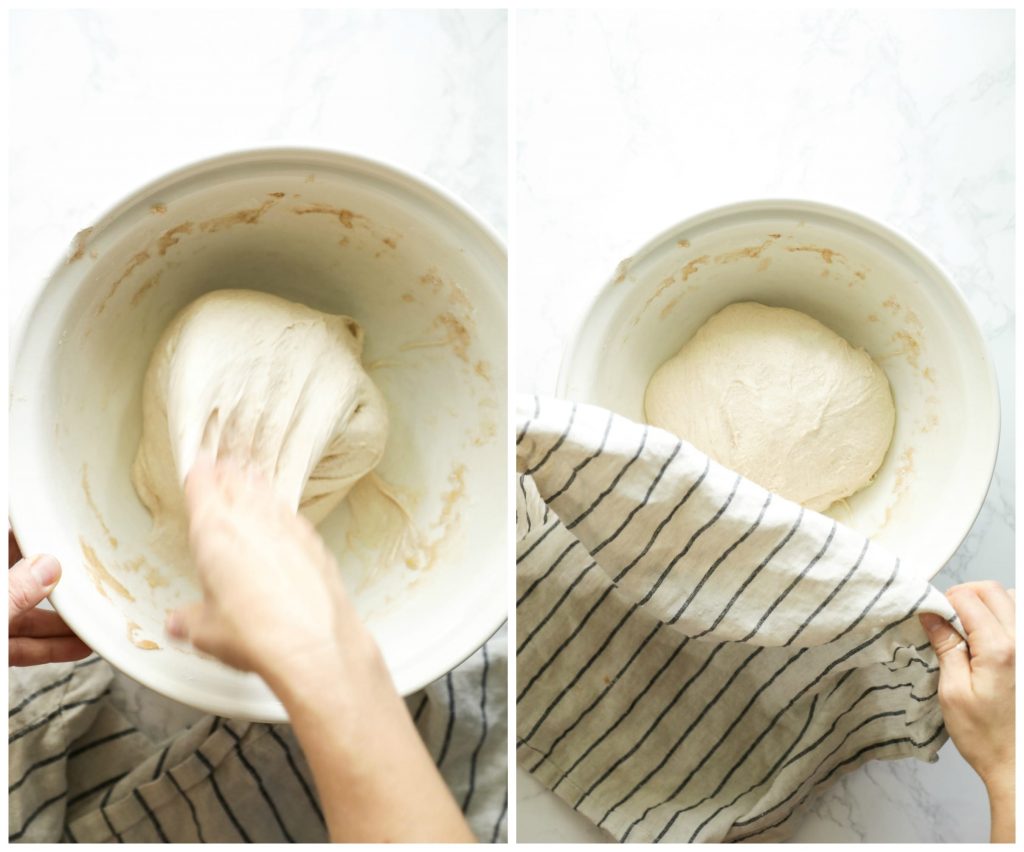
At the beginning of step two, I add more water and the salt to the dough. At this point, the dough is very wet and sticky. I set a timer for 3 hours, and every 30 minutes return back to the dough to knead it or “turn it.”
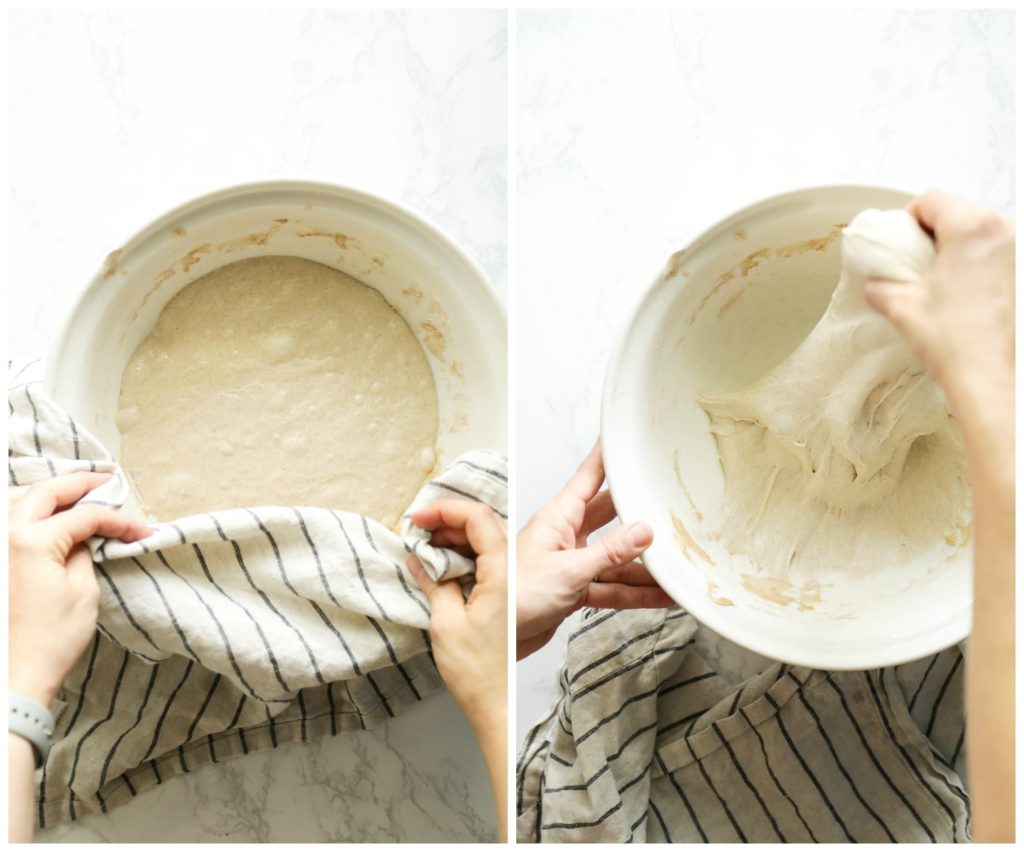
To knead the dough, I use the method described in Tartine Bread, “…dip one hand in water to prevent the dough from sticking to you and then grab the underside of the dough, stretch it up, and fold it back over the rest of the dough. Repeat this action three times so that all the dough gets evenly developed. This is considered one turn.”
It’s fascinating to watch how the dough develops and transforms itself. By the end of this process, the dough is smooth and easier to handle. Some air bubbles develop in the bread during this process, too.
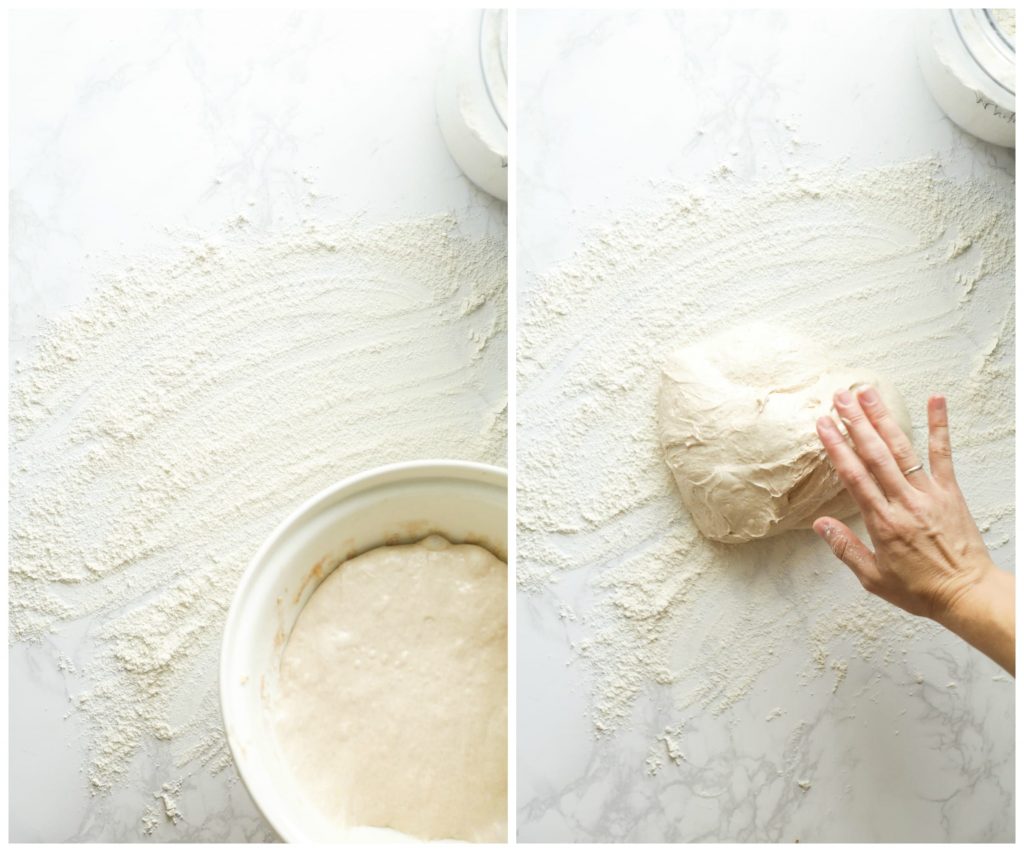
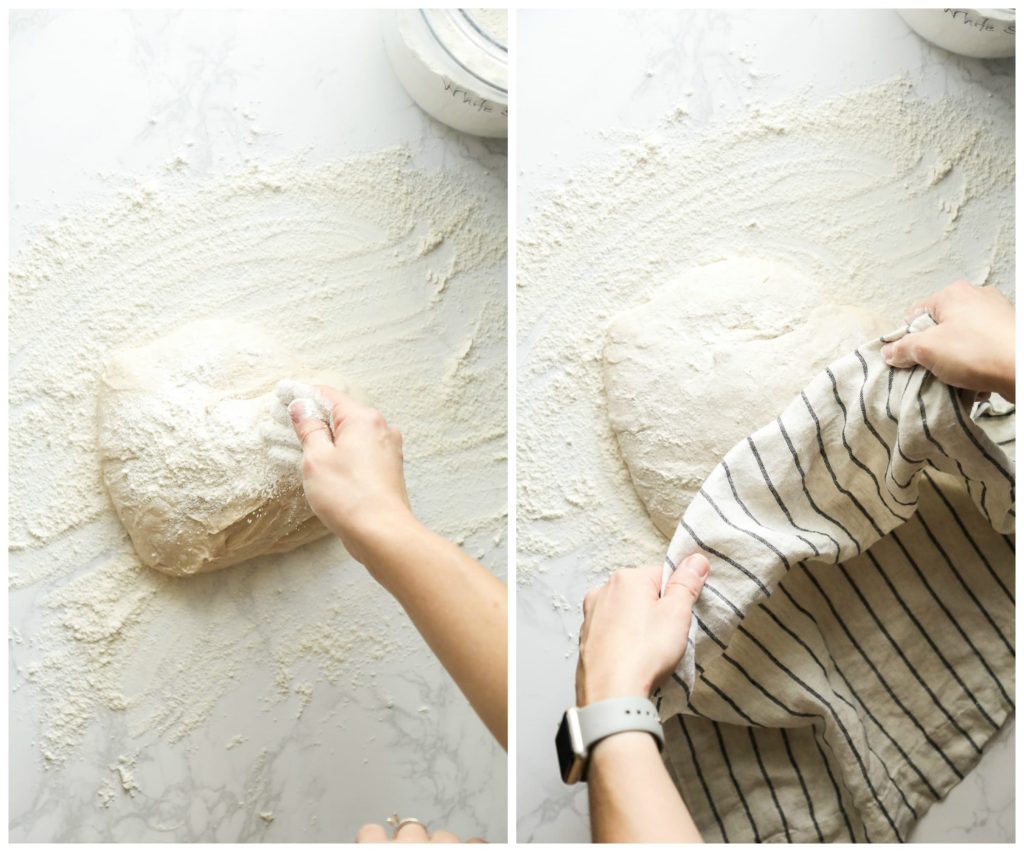
After 3 hours, the dough is ready to be placed on a floured surface and folded. After folding the dough over itself, on each side, I dust the dough generously with flour and cover it with my towel. The dough then rests for 30 minutes, during which time it will flatten out like a thick pancake.
Note: This is a very wet dough, so if this is your first time working with sourdough, you may want to add a bit more flour to the dough (about 30 grams, up to 50 grams) to make it easier to work with.
Step Three
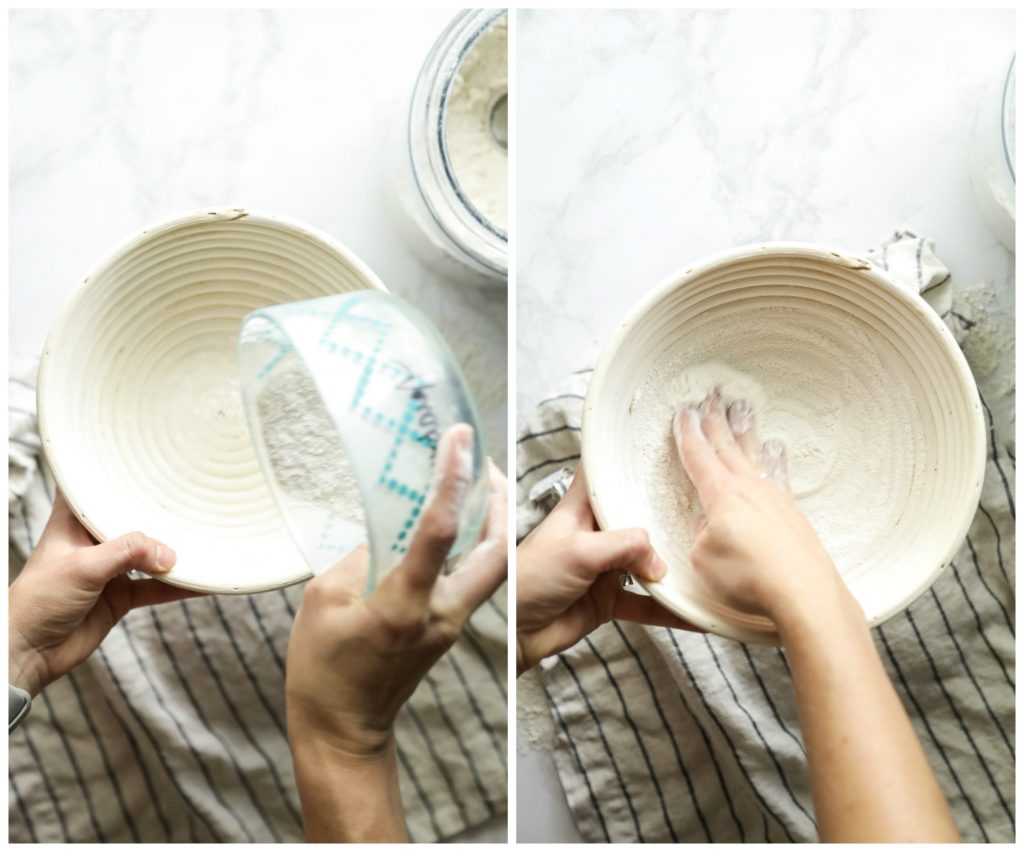
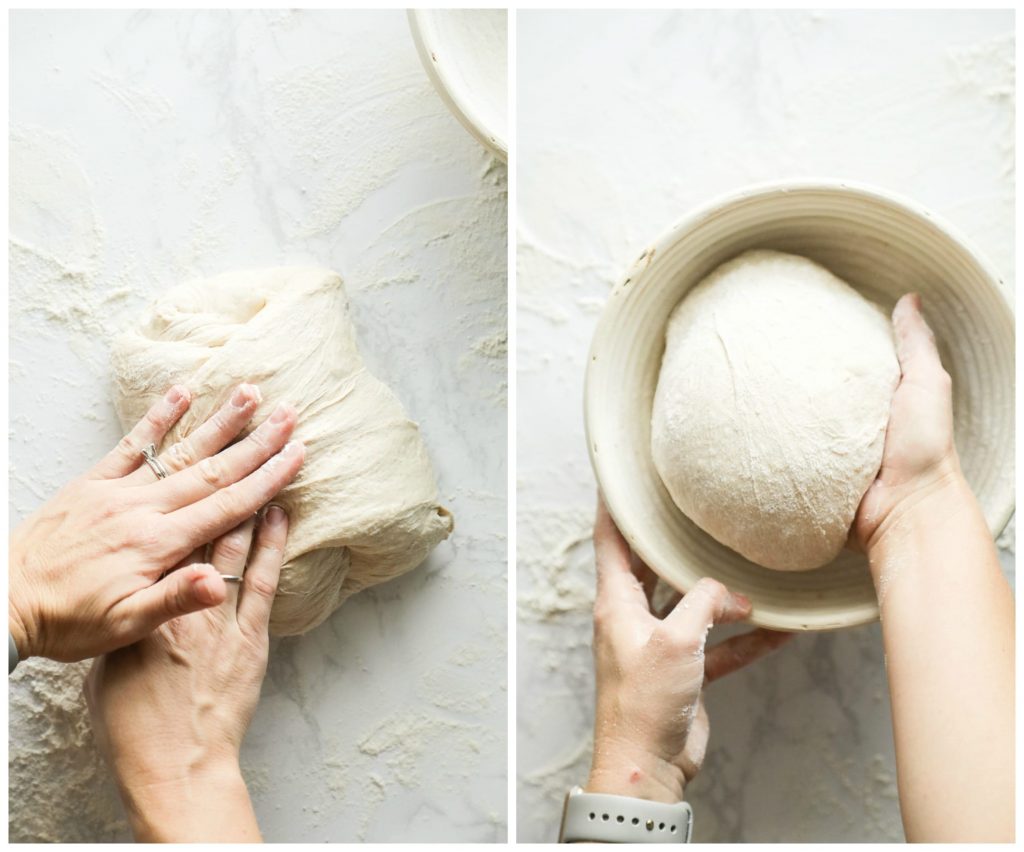
After 30 minutes, it’s time to form the loaf. Before doing this, I mist my proofing basket with water and sprinkle it, heavily, with flour. To form the loaf, the dough is folded and gently rolled into what Tartine Bread describes as a “neat package.”
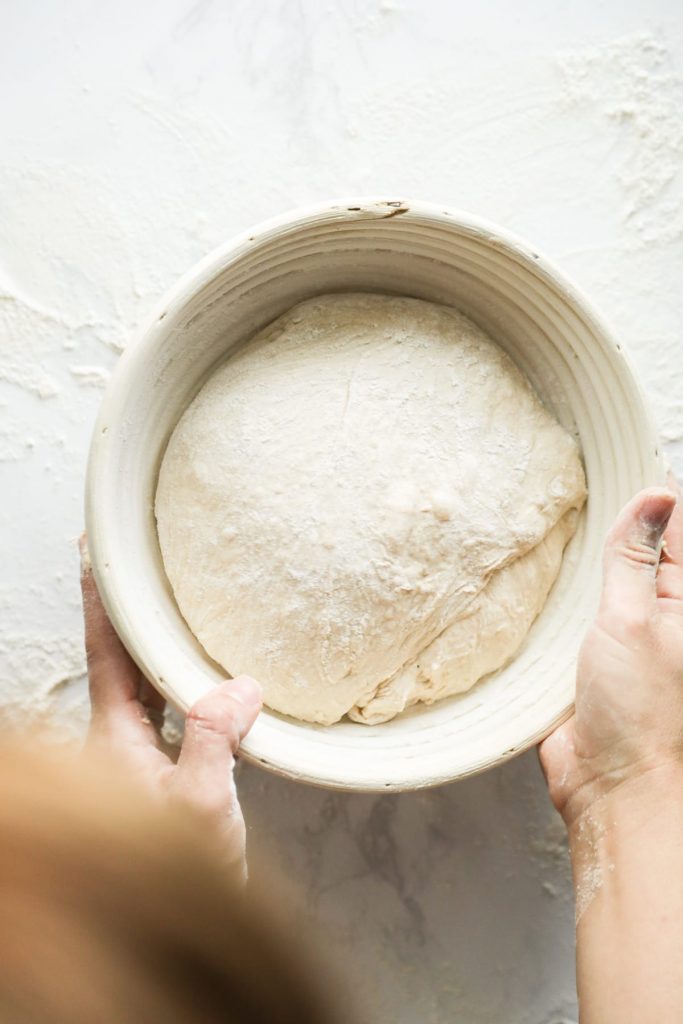
The dough is placed in the floured proofing basket, and then into the fridge it goes to rest overnight.
Step Four
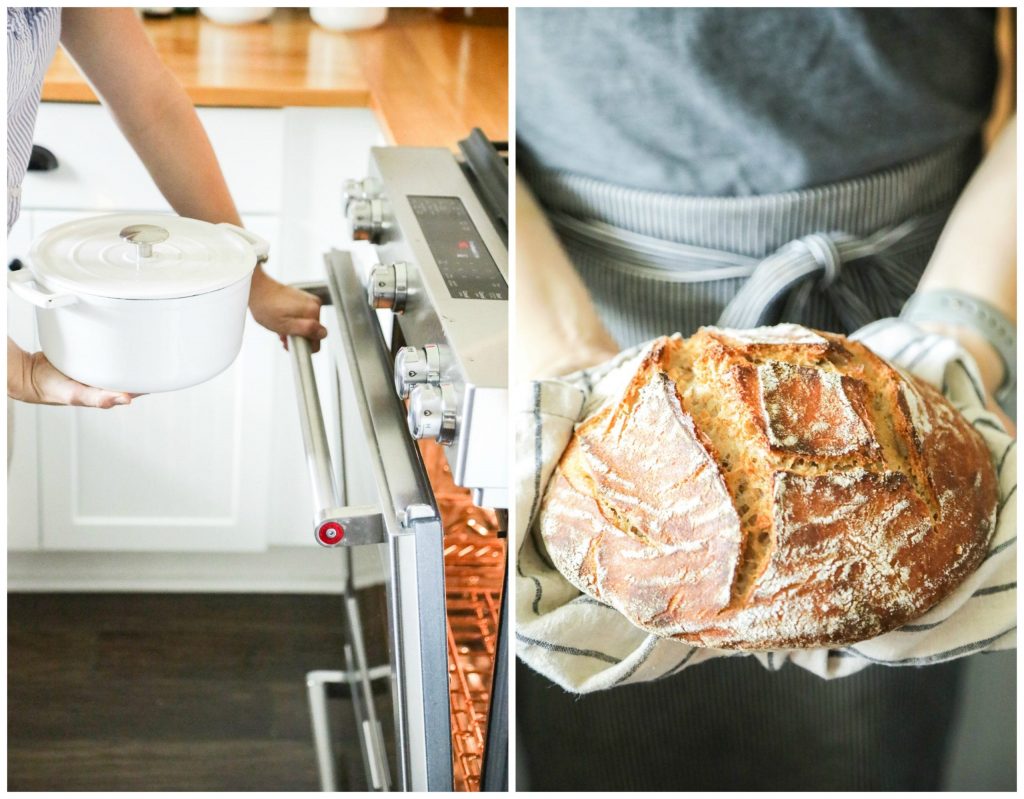
After resting the dough in the fridge overnight, it’s time to bake the bread, finally! To bake the bread, I use a Dutch oven and raise the temperature of the oven to 500F. Once the oven and Dutch oven are hot, the bread is carefully dropped into the Dutch oven and baked with the lid on for 24 minutes (this creates natural steam inside the Dutch oven). The lid is then removed and the bread bakes for 20 minutes.
Once removed from the oven, and the Dutch oven, the bread is ready to rest and cool.
Sourdough bread is just as much of an art as it is a science. No two loaves are the same, and no two methods are identical (thanks to different environments, schedules, and personal taste preferences).
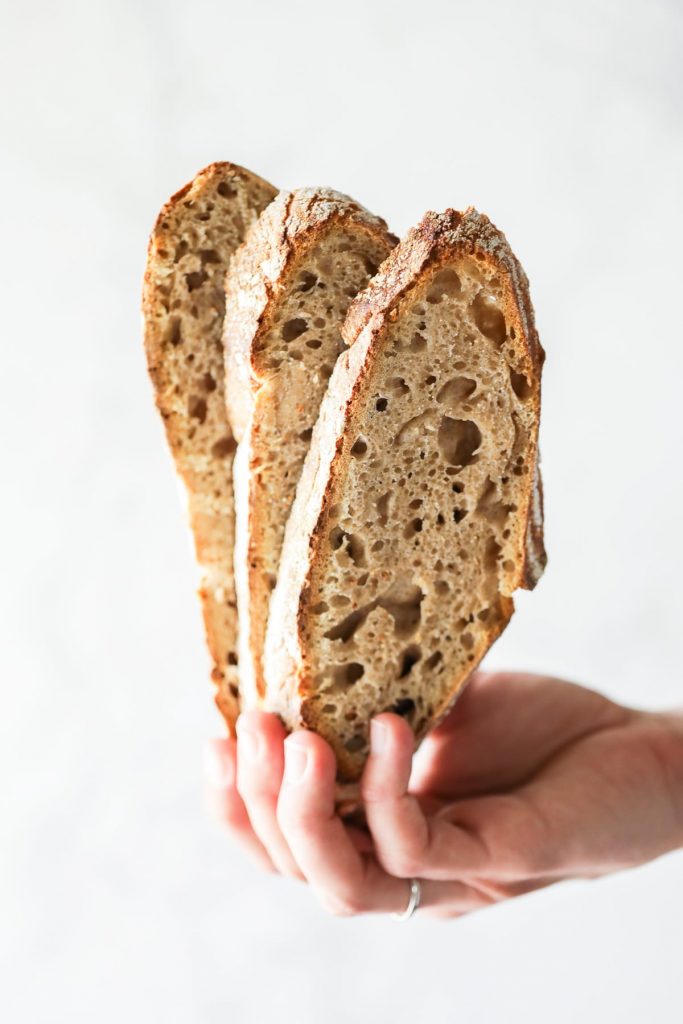
The more you make sourdough bread, the more you can tweak and perfect your ideal bread, and the process that goes into making the bread. This recipe and method, which I’ve tweaked from Tartine Bread and the classes I’ve taken in my local community, works for my schedule and produces a loaf of bread that’s slightly sour, but too sour; slightly dense, but not too dense; slightly imperfect, but absolutely perfect to me and my family.

Homemade Sourdough Bread (Spelt and Wheat)
Ingredients
Step One:
- 50 grams sourdough starter about 2 tablespoons*
- 400 grams filtered water
- 100 grams whole wheat flour
- 450 grams white spelt flour unbleached, unbromated and unenriched**
Step Two:
- 25 grams filtered, warm water
- 10 grams salt
- 30 grams white spelt flour
- white spelt flour for dusting the countertop and top of the dough
Step Three:
- whole wheat flour for dusting the proofing basket
- white rice flour for dusting the proofing basket
Special Equipment:
- digital scale because you'll need to weigh the above ingredients
- large bowl ceramic, glass, or stainless steel work best
- dish towel
- proofing basket or a medium-size bowl--you'll also need a dish towel if using a bowl
- bread lame or a very sharp knife
- Dutch oven I use a 3 quart oven
- sharp bread knife
Instructions
Step One:
- In a large bowl, using your hands or a spoonula, combine the starter, water, and flours. The dough should be jagged and thick. Cover the bowl with a towel (or you could use plastic wrap or beeswax wrap), and allow the dough to rest for 6 hours. I usually start this in the morning, before I leave the house for the day, and allow it to rest on the counter until I get home. After about 6 hours (it can go for a bit longer, if needed), the dough should have spread and increased in size.
Step Two:
- Add the water and the salt to the dough. To do this, fold the ingredients into the dough by grabbing the underside of the dough, stretching it , and folding the sides over and on top of the dough. This is all done within the bowl. Cover the bowl with the towel and set a timer for 3 hours.
- During this 3 hour time period, every 30 minutes, return back to the dough to "knead" it or "turn it." To knead the dough, I use the method described in Tartine Bread, "...dip one hand in water to prevent the dough from sticking to you and then grab the underside of the dough, stretch it up, and fold it back over the rest of the dough. Repeat this action three times so that all the dough gets evenly developed. This is considered one turn." The goal is to knead or turn the dough 3-4 times during this resting period--I've found that every 30 minutes works well.
- By the end of this step, the dough should have increased by 20-30%, if not let the dough rise for another hour. <--This may be particularly true during the winter if your home is very cold.
- Turn the dough onto a well-floured countertop surface (I use extra spelt flour). If the dough feels unreasonably wet to you (the dough should be a "wet dough"), you can knead in 30 more grams of spelt flour. If it still feels too wet to work with, you can add 20 more grams of flour (up to 50 total grams of flour).
- Using the same kneading/turning method, fold the dough together to form a ball. Sprinkle the top of the dough with extra spelt flour and cover the dough with a towel. Allow the dough to rest for 30 minutes. During this time the dough will flatten and spread, like a very thick pancake.
Step Three:
- Now it's time to shape the dough and get it ready for a final rise. Before doing this, you'll need to prep a proofing basket.
- Whisk together 50/50 whole wheat flour and white rice flour--I mix 1 cup of each flour and keep this in a dedicated container that I pull out for this step.
- If you're using a proofing basket, mist the basket with water and generously sprinkle the basket with the flour mixture. If you don't have a proofing basket, place a dish towel in a medium-size bowl, mist the towel with water and generously sprinkle the towel with the flour mixture. (The water misting helps the flour stick to the surface.)
- Now it's time to shape the dough into what Tartine describes as a "neat package." To do this, fold one side of the dough (the side near you) up and over the center of the dough. Stretch out the dough to your right and fold the dough up and over the last fold. Repeat this with the left side. Now fold the dough "in the back" (furthest from you, I don't know what else to call this part) up and over the previous folds. At this point, you should have a compact dough ball. Gently roll the dough away from you, creating a smooth ball, and dust the top of the ball with some of the wheat and rice flour blend.
- Let the dough rest for a minute, and then place your hand under the dough and drop it in prepared basket (with the floured top now at the bottom). Cover the basket with a towel, or plastic wrap or beeswax wrap, dust the top with a bit of the wheat and rice flour mixture, and place it in the fridge. Let the dough rest in the fridge for 12 hours before baking. Alternatively, you can leave the basket on the counter, covered, and let it rest for only 3-4 hours before baking.
Step Four:
- To bake the bread, preheat the oven to 500F and place a Dutch oven, with a lid, in the oven. Remove the bread from the fridge and allow it to rest on the counter (at least 30 minutes before baking). Once the oven reaches 500F, remove the Dutch oven from the oven. Flip the bowl upside down and drop the bread into the Dutch oven. Use a very sharp knife, or a bread lame, to make a couple of cuts on the top of the bread to allow steam to escape.
- Place the lid on the Dutch oven. Reduce the oven to 450F. Bake the bread, with the lid on, for 24 minutes (this creates a natural steam oven). After 24 minutes, remove the lid and and bake the bread for 20 minutes.
- Remove the Dutch oven from the oven, and then remove the bread from the Dutch oven. Place the bread on its side to cool.
- Cool the bread before slicing and enjoying. Use a sharp bread knife to cut the bread.
Other Recipes:
- There are many ways to make sourdough bread. This is just the method I use. Here's another method I've used with good success that calls for all-purpose flour: https://www.theclevercarrot.com/2020/04/artisan-sourdough-with-all-purpose-flour/ To learn more about all the ways to use a sourdough starter, check out this post.


Quick question…what would be the purpose of going through all this work to make it at home rather than buy it already made at the store? Is it much more cost effective or superior in some other way to store bought sourdough bread? Genuinely curious. Thank you.
Hey Angie, Some people just prefer making their own bread. Bread is an art, it’s therapeutic, and some folks really love this.
The written directions here are overwhelming to me and I still fear that I will misread something or mess up somewhere in the process. Do you have a video I can watch instead? I would really like to make this but I have absolutely no baking experience and am very intimidated by the process.
Hey Angie, I don’t have a video, but there are a ton on Youtube. Sourdough is pretty much all made the same way, so what you see in this recipe will be reflected in most video tutorials online. Making sourdough bread isn’t necessarily simple, although it is once you get the hang of it, but does require quite a few steps. Definitely Google “homemade sourdough bread” on YouTube and watch some of the great tutorials.
I haven’t tried your recipe yet, but I am in awe of your perfect and I mean PERFECT slices of sourdough. Can you share your secret? I do have a long serrated knife, but inevitably end up with thin/thick slices. I’ve also tried using an electric serrated knife with the same result.
Hi Carolyn!
Thank you for the kind words. I would recommend waiting for the bread to completely cool before trying to cut.
Let me know if that helps or not!
LS Team
Will all-purpose flour work in place of the spelt flour.
I’m in Canada and strong ‘bread flour’ is hard to come by. I found some Vital Gluten, and now have much better success with both mixing, rising and baking my bread!
I am a first time bread baker. A neighbor gave me starter and I was a bit terrified. I used a different recipe for sourdough bread and my first attempt did not go well. I ordered a digital scale and gave your method a try- It came out fantastic- looked just like your pictures and tasted amazing!!! I did not have one of those baskets for proofing the dough so I used a glass bowl, dampened cheese cloth dusted with a sifter and flour- worked perfect! Great step by step tutorial!!
So happy you love it, Ruth! Thanks for sharing.
LS Team
Can you use whole wheat spelt for this?
Hey Kaityln, Yes, definitely. You may need to adjust the amount of flour slightly.
How would you change the water to flour ratio?
I don’t know for sure. I would try the white spelt first and get a feel for the hydration and texture. Then you’ll have a good feel for the what the dough should be like. Then try the whole wheat based on that. The whole wheat will definitely be more dense. A good book is Tartine Bread–it goes into sourdough with whole wheats.
Would whole grain spelt flour work for this?
How would you change the shape of this into a sandwich loaf?
Hi Kaitlyn, you can try using a loaf pan!
Would you the loaf pan in the dutch oven?
Hi Kaitlyn, sorry for my mistake. Kristin is currently on vacation and can help you once she returns!
I wouldn’t.
Hi there! I was looking at this method again after a sourdough break, again, bc of a busy season! I compared this to another mehtod I have tried that works great but I love trying new and different. Wondering what the 6 hour window is for at the beginning here. My initial method has an “autolyse” but it is only 30 minutes. Then bulk fermentation is 3-12 with the stretching and folding, which is comparable to your method. Is the 6 hour time at the start for flavor development?
Thanks! Love all your info as always!
Hey Tami, I haven’t tried a shorter time period, so it probably works with this method too. The 6 hours does produce a lovely flavor, it’s a method I learned from the Book Tartine Bread.
Kristin, what time of day do you behin the 6 hour process?
Hey Katie, I usually baked on the weekend, so I would start in the morning.
Can I use a cast iron Dutch oven?…or Corning Ware?
Hi Bonita,
I Kristin hasn’t tried it, but you can do it in a cast iron Dutch oven.
LS Team.
Hi Kristin, Great recipe and guide. I did not put my Dutch oven in the oven because the instructions that came with it said not to put it in the oven empty, it may crack. Instead, I placed it on the stove where the heat vents from the oven to “warm it up”.
I also flopped the dough onto parchment paper then put that into the Dutch oven and into the oven. It came out great! Thank you for posting your recipe.
Hi Kristin,
Are you still using spelt flour to make your sour dough bread? Have you tried any other types of flours?
Hey Debbie, At the moment, I have a good source for sourdough in the area so I’m not making loaves at home. I still love the spelt loaves–and that’s my preference at home. I’ve also wanted to try experimenting with einkorn. Jovial has a great recipe.
Would LOOOVE a good einkorn sourdough recipe! All others I have tried didn’t turn out great – even the ones from Jovial…
Your einkorn active dry yeast bread has been my biggest success so far. The einkorn active dry yeast recipe from Jovial didn’t rise as much as yours.
Hey Katilyn, I highly recommend picking up Carla from Jovial’s cookbook. Her sourdough bread recipe and other einkorn sourdough recipes are incredible! https://amzn.to/32jIrjn
I’m new to making bread and I’m wondering if this can be made in a bread machine? Or would a dutch oven yield better results? Thanks!
Hey Abby, A bread machine won’t produce the same results. I recommend sticking with a Dutch oven.
Is rice flour absolutely necessary for step 3? Why can’t you use wheat flour alone? Thank you!!
Hey Abby, The rice flour coats the bowl better than wheat flour because of the consistency and grit–it’s very fine. You can definitely use wheat flour, just make sure the bowl is coated really really well to prevent sticking.
Yesterday, I began the process of making the sourdough starter! So, I was just reviewing the steps above to make sure I have everything necessary to proceed, and I realized I don’t have a dutch oven! Do you think this is necessary? Or is there a viable substitute?
Hi Danielle, Kristin is on vacation right now, but I have made a note for her to answer your comment when she returns. Rachel
Hey Danielle, A large soup pot with lid should be suitable. The goal is just to create a tiny steam oven within the oven.
Just wanted to let you know I have now used this recipe twice to make sourdough, and I love it! It was so easy to follow. Thank you so much for sharing your method!!!
Yay, Danielle! I’m so happy for you!!
I have a much larger dutch oven. Will this work or do you think the 3 qt is necessary. I am excited to try it.
Hey Caitlyn, It will work. I would add the extra spelt flour in step 2 if you’re using a larger oven.
Thank you for this recipe! I recently got a sourdough starter and I’m exited to try it. In step 2, you add the water and salt and set a timer for 3 hours. Do you then start the kneading process after the three hours, or during?
Yay, Stephanie. I start the kneading during that time. So once the salt and water are added and kneaded in, I set the timer for 3 hours and then come back every 30 minutes during this time period to knead or turn it.
Wow! This is a mammoth post – good job! I have been making sourdough bread for about a year now, and although once you begin doing it often it becomes very routine, it is hard to wrap your head around it when you first start. This post does an excellent job of explaining the process, both visually and verbally, making it very attainable. I have heard of the Tartine method, but never tried it myself. This process is quite different from what I do, and I can’t wait to try your method to see if I get more consistent results. I use rye flour in my starter, and a sifted wheat from a local farmer when making the bread. Thanks again for a great tutorial!
Thank you, Sarah! Yes, the Tartine method was quite different from the methods taught in the sourdough classes I’ve attended–I really love the results I get with the method. I’d love to hear what you think if you try it!