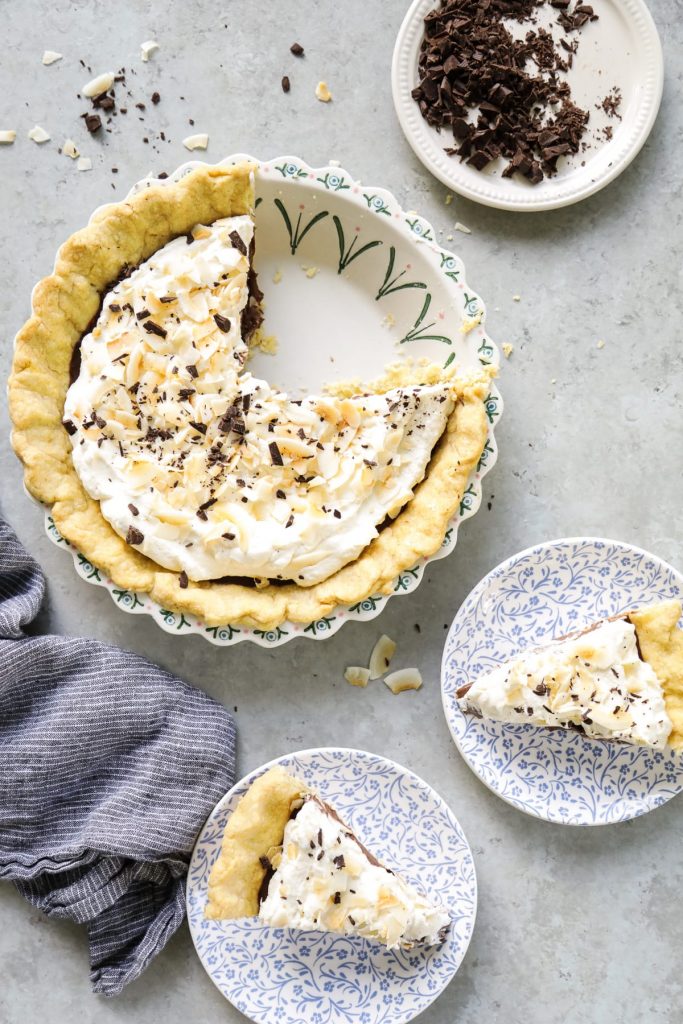
This week we’re celebrating the end of summer with a few last minute summer recipes: panzanella salad, a chilled pie, and grilled chicken burgers.
Want to Save This Recipe?
Enter your email & I’ll send it straight to your inbox. And you’ll get new recipes & tips each week.
My family’s summer started with a trip to Michigan and Chicago. Traveling around the state of Michigan, and then the crazy (in the best sense of the word) city of Chicago, was a giant “leap of faith” for our family. The kids had never been on an airplane before, and we were going to be on the road, a boat, a plane, or a train every two days, but we decided to go for it. YOLO<–By the way, I just recently discovered (thanks to Google) what YOLO actually means…You Only Live Once. The trip was a huge success (for lack of a better word). We’ll continue to talk about everything we did, and everywhere we visited, for years to come.
After our big trip, the remaining weeks of summer were spent chilling at home, swimming with the grandparents, and slowing down during this short season of life. I loved having the kids home, getting away from a set routine, and spending a few extra minutes in bed each morning–at least for a few weeks. Over the past couple of weeks, I’ve been feeling the need for school, a set morning and evening routine, and a bit more structure to our weekdays. And all the moms lovingly shout, AMEN!
Summer 2017 was a delicious season in my kitchen. During the school year, I find that my creativity in the kitchen is squelched. Necessity becomes the motivating drive behind everything I make: Will this make a good lunch? How many lunches can I get out of this? What are the quickest, most nourishing dinner meals I can make this week?
Summer is a season for slowing down and focusing on slower foods, treats or fun experiments. After slowing down this past summer, I revisited bread-making–resurrecting my sourdough starter and simplifying and perfecting my sourdough process so I can continue making bread throughout the busier school year. I also fell in love with making pies–I know, I’m just as shocked!
If you’ve been around Live Simply for a couple of years, then you know that making pies isn’t exactly my favorite kitchen activity. It’s 100% a patience issue for me–I don’t have the patience for making pies, which happens to be a bit of a time-intensive activity for a “non-necessity” food. (I’m sure some folks may argue the “non-necessity” label…I understand.) At least, I didn’t think I had the patience for making pies until this past summer.
Over the summer, I forced myself to make a few pies (because summer time = pie). Two pies quickly became a favorite: this berry pie (perfected by Helen from the Live Simply Team) and a chilled chocolate pudding pie (today’s recipe).
It seems like a pity to let summer pass by without sharing the pies we enjoyed so much. The pies that changed my attitude about pie-making. The berry pie was shared last month (since berry pie is an iconic July food in America). And today, it’s time to make the chocolate pudding pie.
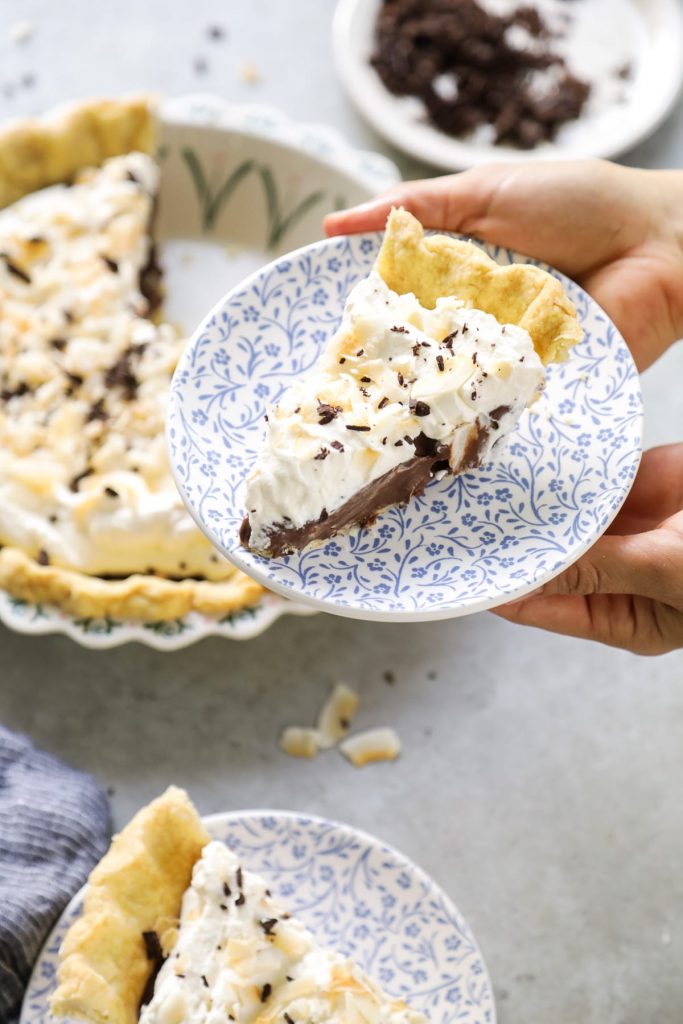
This chocolate pudding pie reminds me of the chocolate pie my grandmother (on my dad’s side) used to make when I was a kid. The filling is made with basic ingredients: cream, chocolate, natural maple syrup, and a thickening agent (arrowroot flour/starch) to create a homemade chocolate pudding–no boxes needed for this pie. The pudding base sets in the fridge for a couple of hours before getting topped with a homemade whipped cream layer.
Technically, I’m calling this a summer pie, but I know this recipe will be made again in my home during the holiday season. So the middle of August is the perfect time to share this somewhat-simple, from-scratch chocolate pudding pie with you.
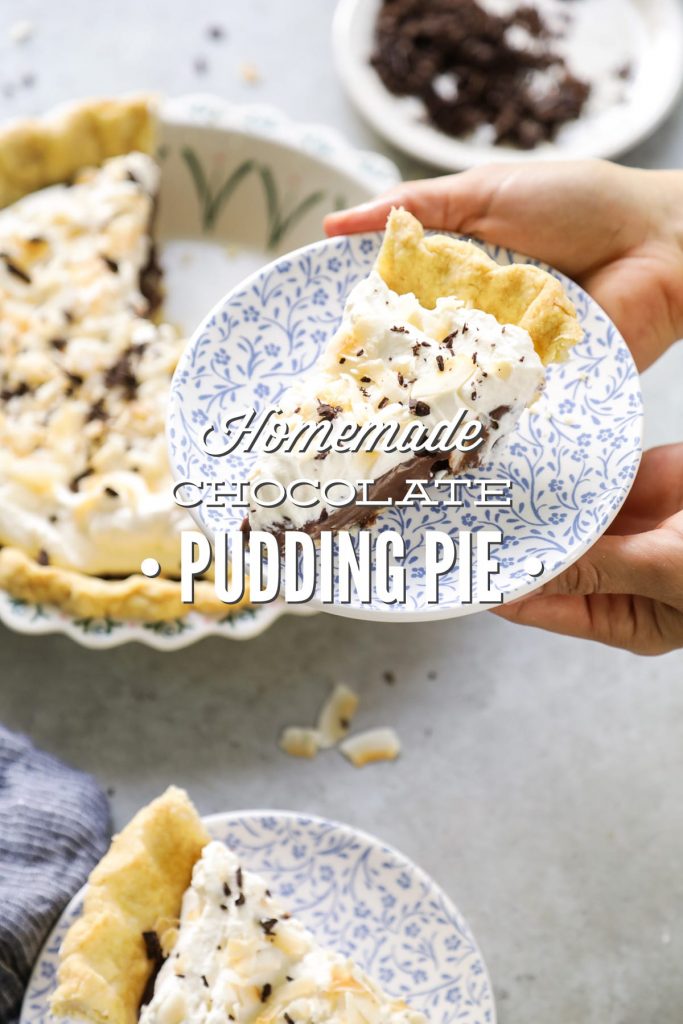
Homemade Chocolate Pudding Pie (No-Bake Recipe)
Ingredients
Pie Crust Base:
- 1 pie crust *
Chocolate Pudding Layer:
- 1 1/3 cups heavy cream + more to mix with the arrowroot mixture, below
- 1 4-ounce chocolate baking bar ** dark or bittersweet, broken into small chunks
- 1/3 cup pure maple syrup
- 1/8 tsp salt
- 3 TB arrowroot flour
- 3 TB heavy cream
- 2 tsp pure vanilla extract
Whipped Cream Layer:
- 1 cup heavy cream cold
- 2 TB pure maple syrup
- 1 tsp pure vanilla extract
Optional Garnishes:
- 1/2 cup coconut flakes toasted
Special Equipment:
- 9" pie plate
- double boiler or a saucepan with a heat-safe bowl placed over the top***
- whisk
- large bowl
- hand-mixer or stand-mixer
Instructions
For the Pie Crust Base:
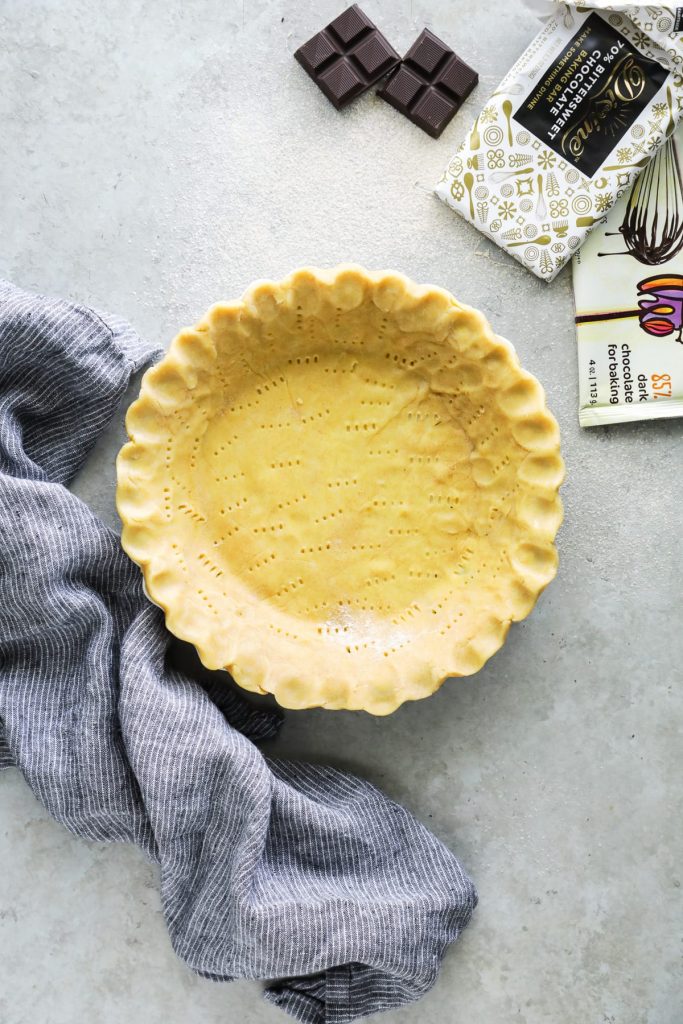
- Prepare your pie crust. Pierce the prepared pie crust multiple times, on both the bottom and sides of the pie crust, with a fork. Bake the pie crust in a 400F oven for 15 minutes. Set aside to cool.
For the Chocolate Pudding Layer:
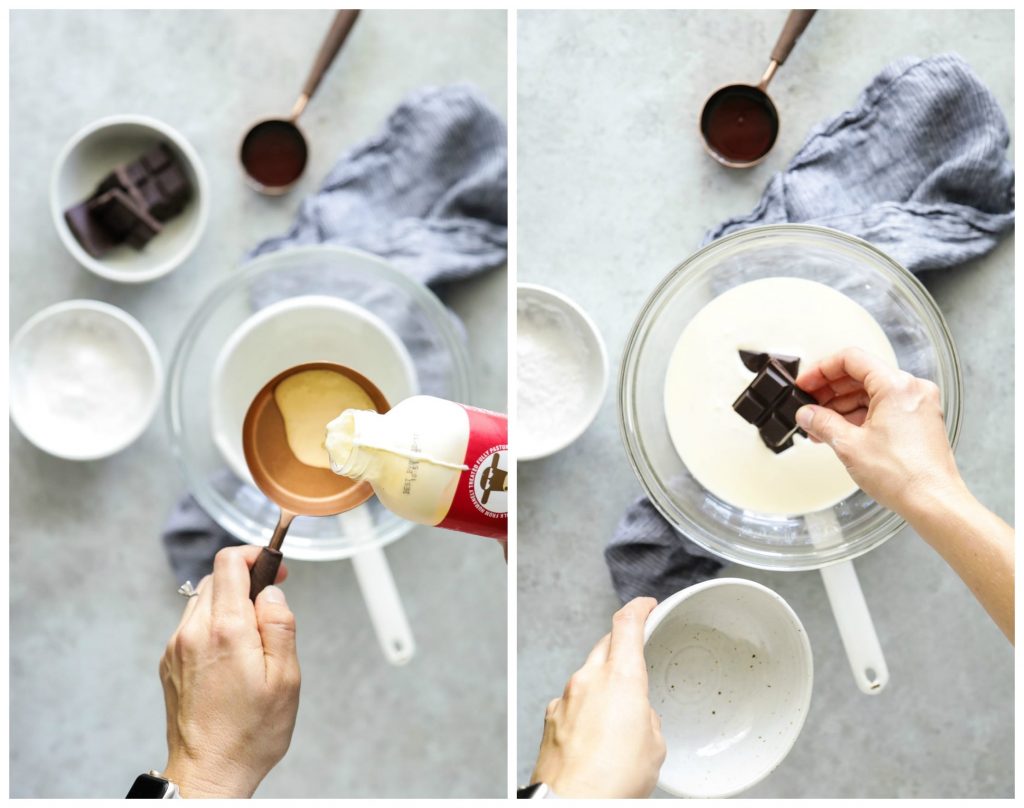
- In a double boiler (or a homemade double boiler***), over medium heat, melt the chocolate, 1 1/3 cups of heavy cream, maple syrup, and salt in double boiler. Whisk the chocolate mixture until the chocolate is fully melted and the mixture appears smooth (it will start out with a grainy look). This will take about 5-10 minutes.
- In a small bowl, whisk together the arrowroot and 3 tablespoons of heavy cream. Whisk the arrowroot mixture into the chocolate mixture. Continue to cook the chocolate mixture over medium heat until slightly thickened (5 minutes), whisking every 1-2 minutes to prevent settlement on bottom of the bowl.
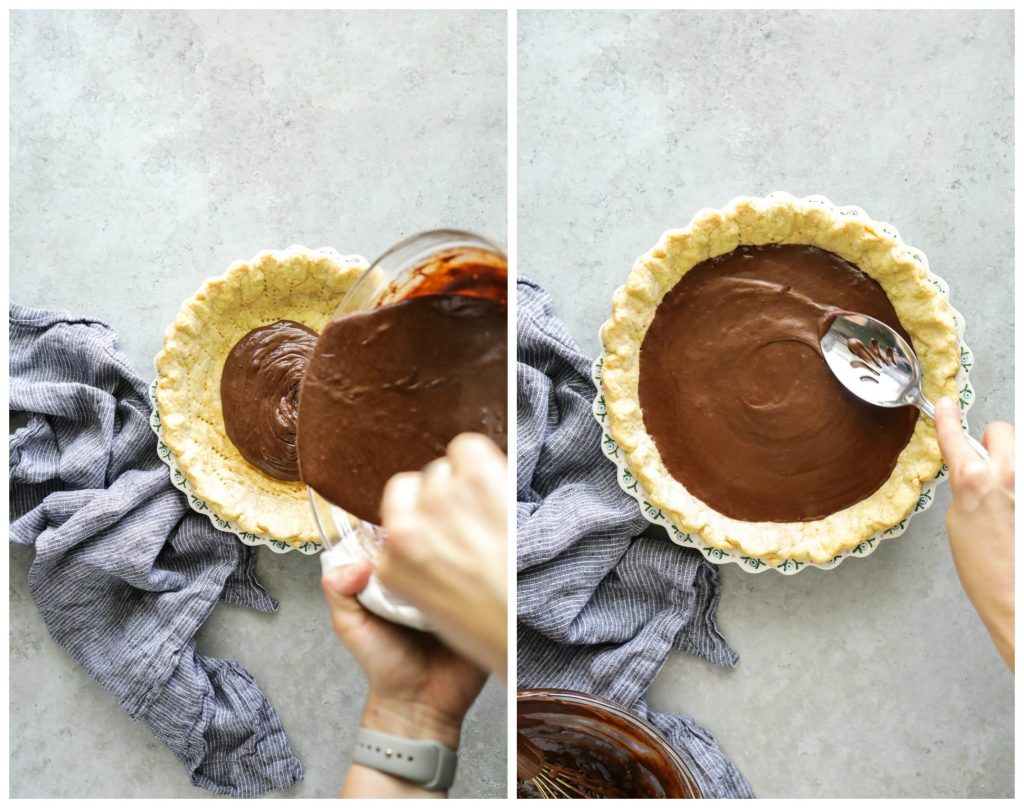
- Turn off the heat and stir in the vanilla extract. Pour the chocolate filling into the baked pie crust. Chill the pie in fridge for at least 2 hours, until no longer jiggly in the center. I don't cover the pie during this chill time--if your fridge is slightly stinky, then you may want to cover your pie, and then deodorize your fridge ;).
For the Whipped Cream Layer:
- Pour the the (cold) cream, maple syrup, and vanilla extract in a large bowl. Using a hand-mixer, or a stand-mixer fitted with the whisk attachment, whip the cream on medium-high speed until the cream stiffens. You'll notice the cream will slowly thicken--this will take several minutes. Do not over mix the cream.
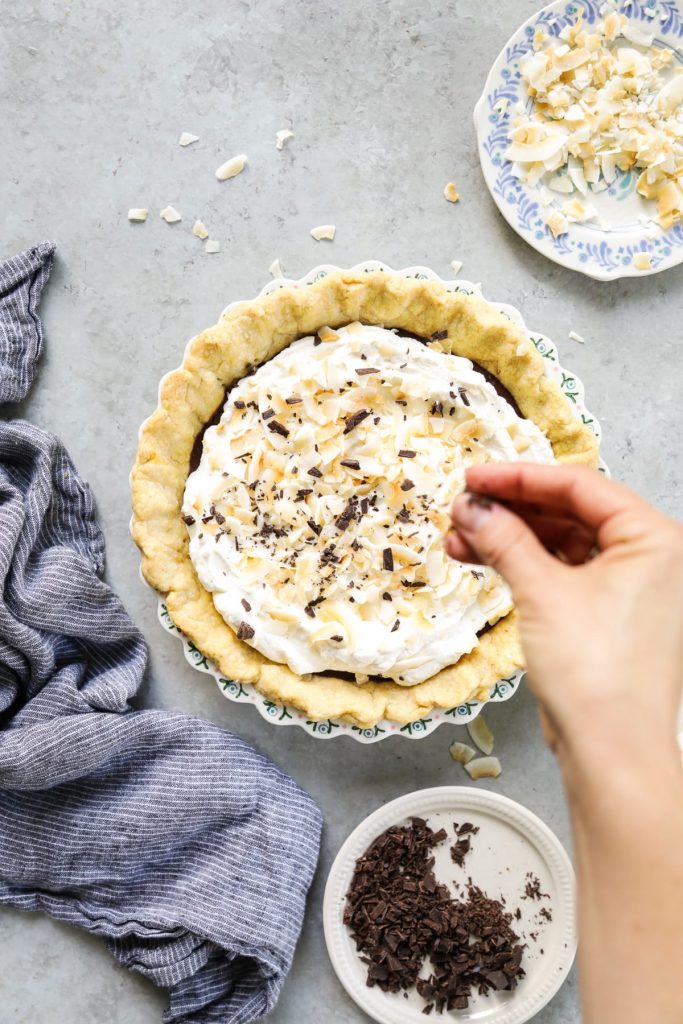
- Remove the pie from the fridge. Spoon the homemade whipped cream over the set chocolate layer. Sprinkle the whipped cream with toasted coconut flakes (optional). Refrigerate immeadiately, or serve immeadiately. Refrigerating the pie before serving (even just a few minutes) will allow the whipped cream to set so the pie is easier to slice.
- Store the pie, covered, in the fridge for up to 3-4 days. To serve, slice the pie with a sharp knife.

