For over two years, I played around with the idea of creating a natural body care resource. For almost two years, I put off the work involved in doing so. There was something that seemed so daunting, so big, about creating such a product. And then, last year, it dawned on me, “If I’m feeling overwhelmed about creating a resource about natural body care, then I can only imagine how my reader friends, particularly, my friends that are new to natural wellness must feel. There’s so much information out there–blogs, Pinterest, and even books–but it’s all so overwhelming.”
Want to Save This Article?
Enter your email & I’ll send it straight to your inbox. And you’ll get new recipes & tips each week.
It was at that moment that I had a clear vision for the resource I wanted to create; a resource that simplified natural body care. A resource that was not only about making products, but also how to make the switch to less-toxic body care products, and how to purchase quality products. I wanted to create a resource that helped my reader friends feel confident when purchasing natural body care products (and reading ingredient lists), or making products at home with good-for-you ingredients. I wanted to create the resource I wish I had when I first started this journey.

After months and months of endlessly working on this vision, and spending weeks going through the editing process, my body care guide/digital book was finally ready to share. The digital book launched at the end of December.
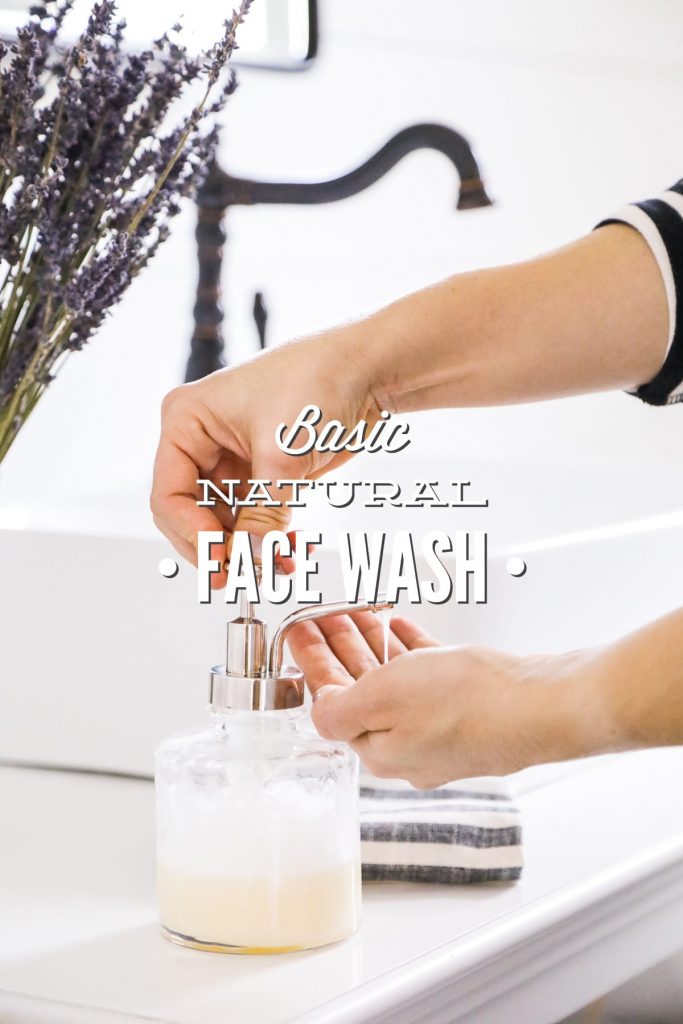
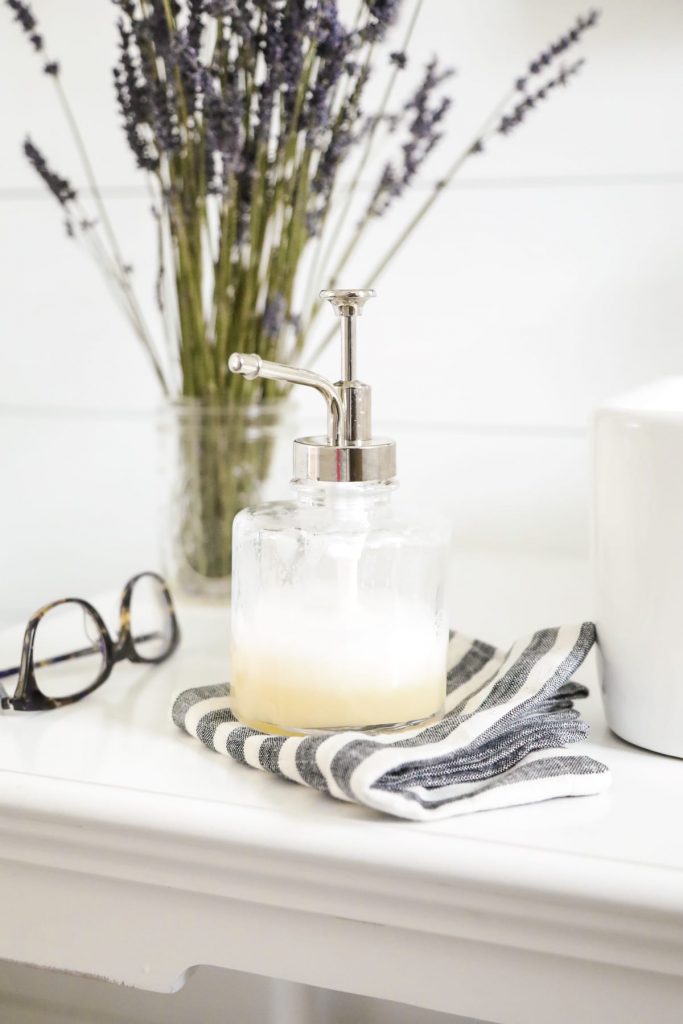
One of my favorite recipes in the book is the Basic Foaming Face Wash. It’s the perfect example of the kind of recipes found in the book–simple, practical, and easy to make. (By the way, along with sharing my favorite recipes, I also share product suggestions for everything from shampoo to makeup and everything in between. Because living a more natural lifestyle isn’t about “doing it all” or “making it all.” Natural living is just as much about simplifying as it is about using more natural products.)
This recipe is made by simply combining three ingredients: liquid castile soap, a nourishing oil, and water. The recipe makes only a small amount of the final product because it’s best to make small batches when working with a water-based product that doesn’t contain a preservative.
Castile soap is a concentrated vegetable-based soap made from ingredients that you can actually pronounce. The soap is gentle on the skin and effective in the fight against dirt and unwanted germs. Dr. Bronner’s is a very a popular brand of castile soap, and there are quite a few other brands now available. Castile soap can be used to clean just about anything and everything: your face, your laundry, and even your stinky dog. Liquid castile soap can be drying on its own, so it’s best to dilute it with water. I also like to add a nourishing oil, for the the moisturizing benefits, when it’s used on the face.
I personally like to use sweet almond oil, since it’s a light oil and it works well with a variety of skin types. If sweet almond oil is used, the face wash may be used as a spritz (using a spray bottle). This is my favorite way to apply a soapy face wash (a method that I learned from using Luminance Skincare’s Delicate Cleanser).
Another nourishing oil may be used in place of the sweet almond oil, too. Other good options are: olive oil or jojoba oil. Since the recipe makes such a small batch, it’s easy to tweak the recipe each time you make it (for example: using a different oil).
Finally, one last note. If you find this face wash to be too drying for your skin, then you’ll want to dilute, dilute, dilute. Try diluting the soap with more water, or adding just a small amount of extra oil. You can also customize this very basic recipe with aloe, honey, or a hydrosol (in place of the water). Let’s talk about four simple ways to customize this basic recipe.
Four Ways to Customize Homemade Face Wash
Hydrosol: A hydrosol adds beneficial herbal properties and a pleasant scent to this face wash. Replace the water with 2 tablespoons of hydrosol. My favorite option is rose hydrosol (rose water). Other options, include: lavender, calendula, and chamomile.
Aloe Vera Gel: Aloe is used to soothe and calm inflammation. Add 1 tablespoon of aloe vera gel to the face wash, or more if desired. Fresh aloe will spoil within a day or two, so I recommend looking for a store-bought option with a minimal amount of (natural) preservatives.
Honey: Honey is rich in antioxidants and it contains antibacterial properties. Add 1-2 tablespoons of honey to the final soap, and gently shake to combine the ingredients. If you add honey you won’t be able to use the face wash in a spray bottle.
Essential Oils: Add 6-12 drops of your favorite skin-friendly essential oil (or a mixture of essential oils, for a total of 6 drops) to the nourishing oil. Combine the oil and soap (along with any other custom ingredients mentioned above). My favorite options: lavender (sensitive skin and acne-prone skin), tea tree (acne-prone skin), frankincense (aging skin), geranium (aging skin), or sandalwood (aging skin).

Basic Natural Face Wash
Ingredients
- 1/4 cup liquid castile soap
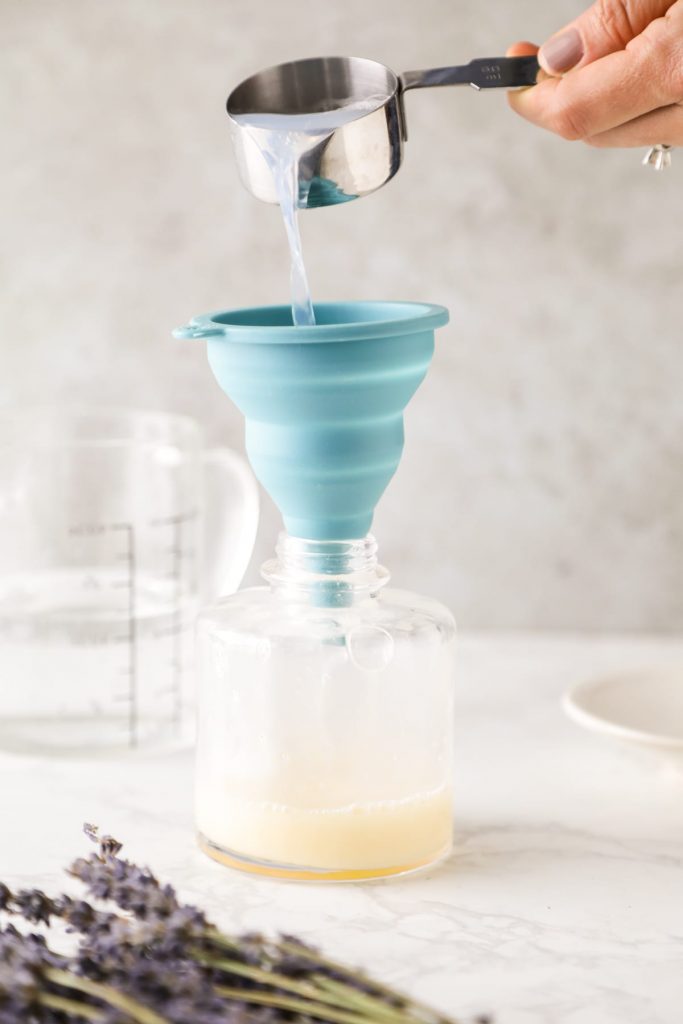
- 2 TB distilled water
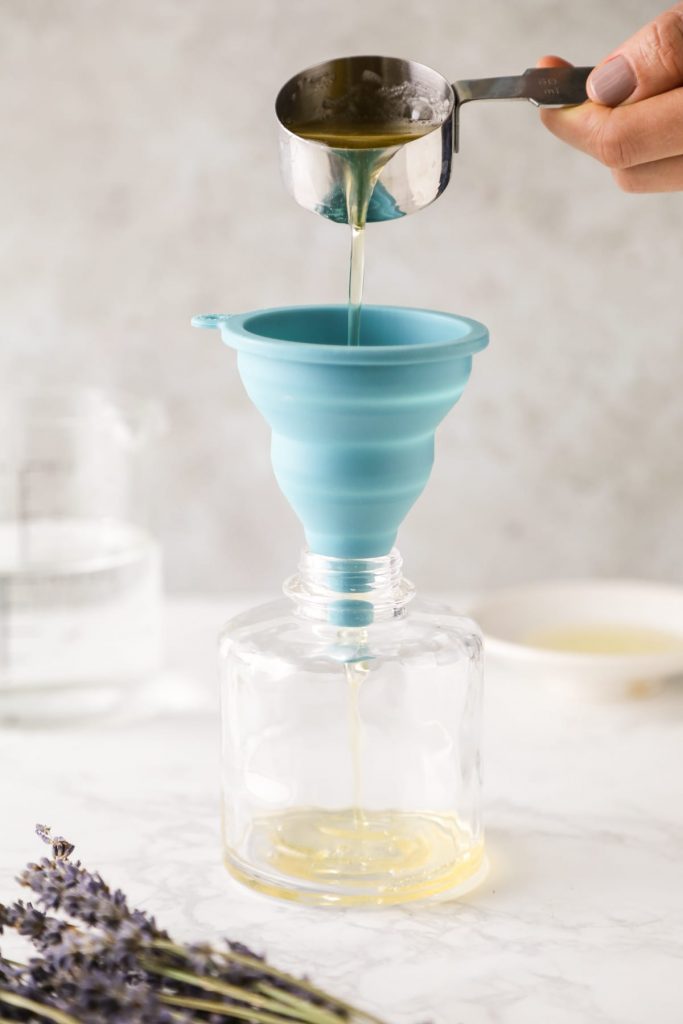
- 1 TB nourishing oil such as: sweet almond, olive, or jojoba
Special Equipment:
Instructions
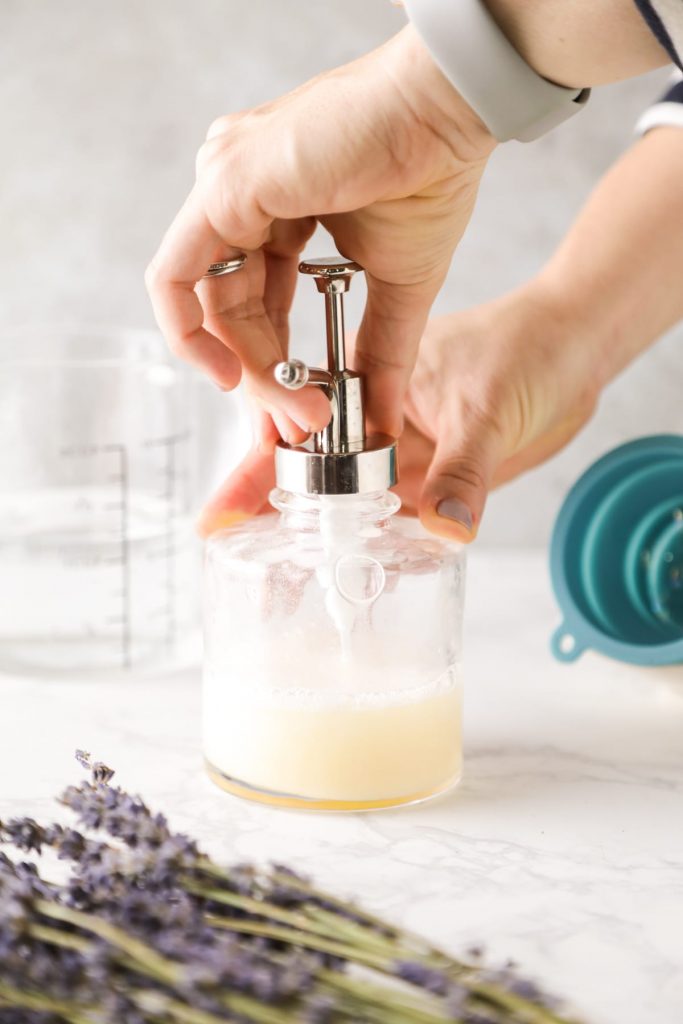
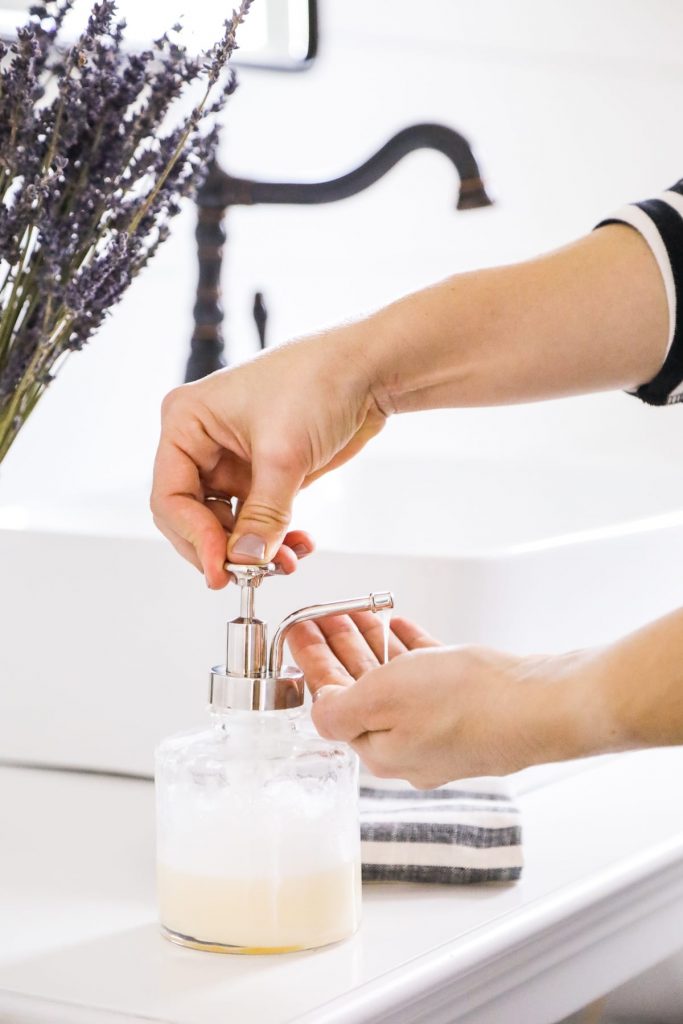
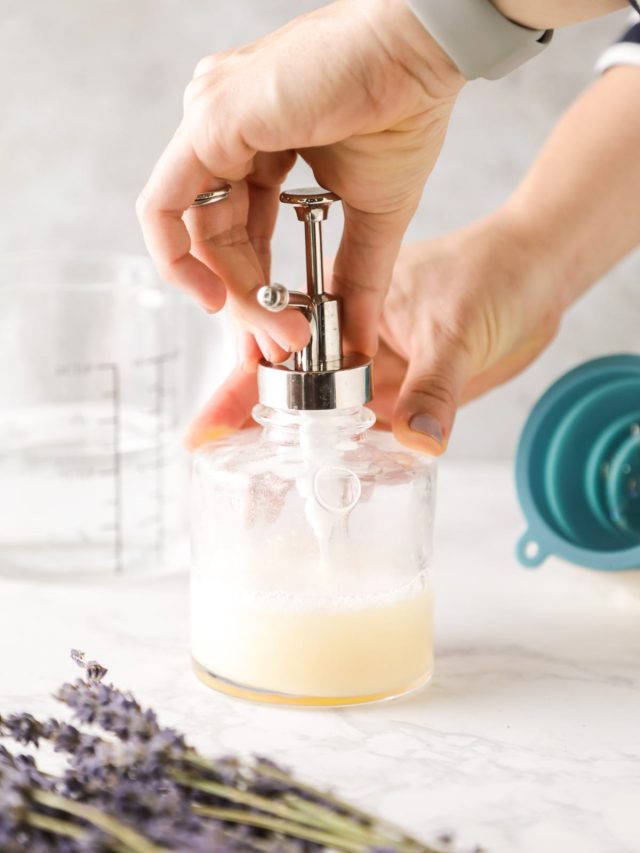
- Pour the soap, water, and oil into a soap dispenser. Seal the bottle. Shake the bottle to combine the ingredients.
To Use:
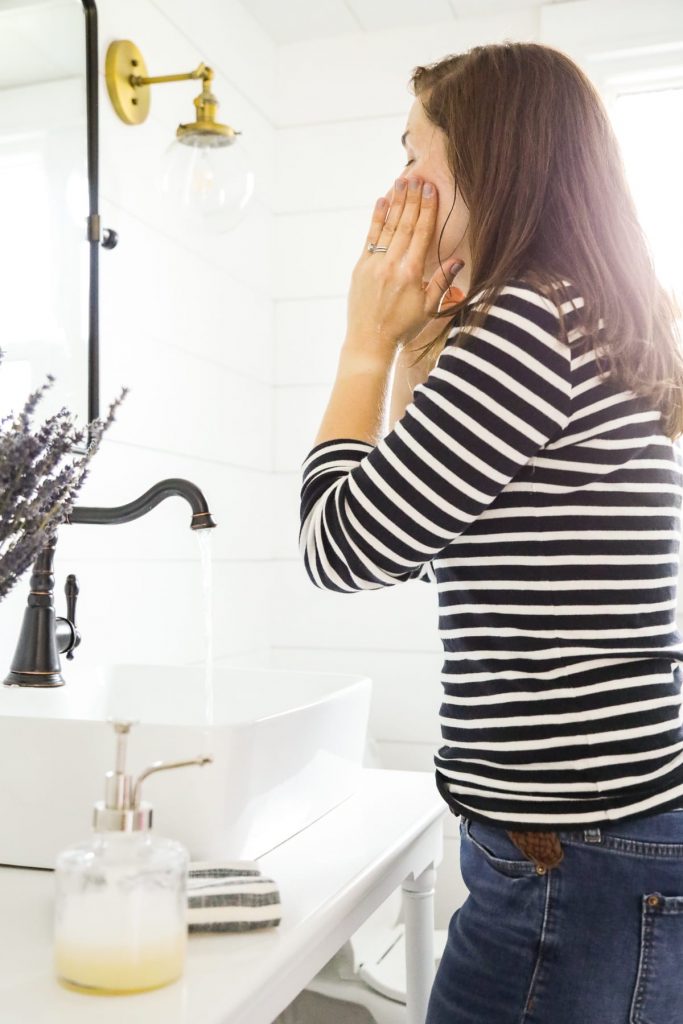
- Gently shake the bottle before each use. Squirt a small amount in your hand. Massage the cleanser on your face using circular motions, then rinse the cleanser off with warm water and a washcloth.
Notes
Love this recipe for a facial cleanser! I tried it using jojoba oil and honey, with lavender, frankincense and lemon essential oils. Smells amazing and leaves my skin feeling clean and moisturized. Thanks you so much for sharing!!
Yay! So happy you loved the face wash, Kelly! Thanks for commenting.
LS Team
Love this easy face wash. I used grape seed oil. Also put lavender and tea tree essential oil in. Have been using for a week and my face is so soft. Thanks so much for the recipe. Like one person said I will use honey in the future instead of distilled water
Hey sarah, i was wondering what you could do to extend the cleansers shelf life, preferably 6 months? can’t wait to try it tho!
**kristen, sorry, i’m all over the place ?
Hi,
Does the facial cleanser remove makeup pretty well?
Hey Shanah, Yes, it should. You may want to double cleanse just to be sure.
Hi Kristin!
Would you recommend coconut oil as an alternative to jojoba or Olive oil for this recipe? I’ve used it before, but only as a make up remover.
Thanks for all the great recipes!
Hi Brit!
Kristin is on vacation with her family at this time. But ill try and help you, coconut oil ranks high on the comedogenic scale. Here is a good website that has some info on all oils and it ranks them as well so you can choose the best one for you!
https://www.holistichealthherbalist.com/complete-list-of-comedogenic-oils/
Hope this helps! 🙂
Hi Kristin,
I was wondering, you mentioned in your recipe that before each use to shake so as to mix the oils. Is there a natural emulsifier to make it to where you do not have to shake every time?
Thanks
Hey Valeria, There isn’t for this recipe. It’s pretty easy to shake the bottle, so that’s what I stick with.
Hi! I was just wondering if baking soda can be added to this
Hey Heather, You could try adding it. It may not work in a pump soap bottle if it’s added.
I can’t wait to try this! I love any thing that is simple, all natural & just plain good for your skin. Thanks for the recipe.
I’m wondering if you could add a little xanthum gum to give it a thicker consistency? I love this recipe but it’s so thin!
Hey Kellie, You could try. I’m not sure how it will go. You could the body wash on the blog as a guide for how to mix the ingredients.
If I use rose hydrosol instead of water, will that help preserve it a little longer?
Hey there! My skin is sensitive to some of the properties in castile soap. Are there any substitutes I could find in my home?
Hey, I recommend trying this: https://livesimply.me/2015/10/07/homemade-honey-and-aloe-facial-cleanser/
Made this from your recipe last week, and I love it! It leaves my skin really soft, and I look forward to removing my make-up every night now and cleaning my face with this wash!
I’m so happy to hear that, Kiki! Thank you for coming back to share!
Hi Kristin, question….I currently wash my face with the lavender castile soap. Afterwards I apply lavender witch hazel, and then i apply essential oils to my face. If i were to make this recipe with the added oils, would the witch hazel application afterwards be counter-intuitive?
Hey Crystal, The witch hazel should still be fine. A toner helps to balance the pH of the skin after cleansing.
Ok great, going to try this then. Thanks!
I love this face wash! I switch out the water with honey. That way there isn’t a short shelf life and honey is so fabulous for the face. Thanks to you and crunchybetty I have embraced honey and nourishing oils for my everyday go to skincare♡♡♡♡♡
Awesome, Moe! Love it!
Thank you so much for sharing this homemade face wash! I’m definitely going to try it =)
Awesome, Diana! Your welcome.
I currently make hand soap with 1/4 c castile, 3/4 c water, and a few drops of lavender eo and put it in a foaming pump. Never thought of trying it on my face.
Thank you for this simple recipe! I just made some for my husband. He’s desiring a slightly more gel-like texture. Do you have any suggestions for natural additives that might thicken it for him?
Hey Rachelle, You could try adding a bit of xantham gum to the oil and blending it together. I would try 1/2 tsp of gum. And then slowly blending in the castile soap and water. I’m not 100% sure it will work, but it’s the only thing I can think of to produce a more gel-like texture. Another option, if he doesn’t mind the way it feels on his skin, is to reduce the water in this recipe.
Kristin, thank you, I’ll try that!
I am definitely going to be trying this! I have washed my face in the past with straight honey and loved it but I really like the foaming soap.
Hey Anna, You’ll probably love the honey and soap customization. Enjoy!
Kristin, I so love your website and the healthy DIY recipes you share. I have tried/use a few of them. I am interested to know where you get your fun glass jars/bottles and especially the turquoise funnel.
Thank you,
Sonya
Hey Sonya, I’m so glad you’re enjoying the recipes. I get most of my jars and bottles from HomeGoods or Target (kitchen section, bath section, or dollar section). I think the blue funnel came from IKEA.
Thank you so much!
This looks and sounds amazing! I will have to try to make it myself, thanks for sharing <3
Let me know what you think, Kay!