Okay, just one more. I promise.
We’ve been spending a lot of time together creating handmade DIYs for the holidays, from candles to hot chocolate mix and everything in between. In fact, the list was becoming so extensive, I compiled my favorites in a “round-up” post. In case you’re a bit overwhelmed with the amount of homemade gift options, you can find that list here. I promise it will take away that overwhelming feeling.
And please remember, I don’t make every gift. I choose one or two handmade items and supplement with a gift card (or something different) when needed. The whole idea behind making homemade gifts is creating handmade items that bring joy to both the giver and receiver. So no stressing, okay?
I’ve saved the best for last! Really, homemade cinnamon ornaments are as simple as it gets and a fun holiday tradition, a break away from some of the crazy busy madness of the season.
Each Christmas, my mom and I made homemade cinnamon ornaments. As a kid, I looked forward to the weekend in December when we’d roll up our sleeves, dig through the cabinet for the cookie cutters, and take in the smell of baked cinnamon. The time was magical; one on one time with my mom and the creation of ornaments for our humble tree, made with my own hands.
When I look back on my childhood Christmas memories, I don’t remember the majority of presents I received or even the special new Christmas dresses I was insistent on wearing each year. No, my most prized memories are homemade cinnamon ornaments and the tin boxes and homemade cookies we would make and deliver to family and friends. Notice a common thread? Yep, the memories revolve around family time spent making handmade goodies, not actual things or money. Hint hint.
At the time I was convinced my mom just enjoyed making ornaments, which I still believe, but now as a parent I realize she probably had a practical necessity behind our homemade cinnamon ornament creations.
Three years ago, Dustin and I got our first tree (yes, we were Scrooges before Piper was born). I was excited to decorate our tree so I headed to Target to purchase our first ornaments. First, can we talk about the cost of ornaments? I mean, most of the time they are just balls with paint, right? Enough said.
I purchased a huge box of colorful ball ornaments along with a few fancy icicles. I brought the ornaments home and dressed our tree during nap time. Our tree was covered in green, magenta, and blue balls…everywhere! Oh, and lights. Every inch of our tree was covered in balls and pretty white lights. Standing back, looking at our first tree with my sleepy toddler in my arms brought an overflowing joy to my heart. “This is what families do at Christmas! It’s gorgeous and magazine-perfect!”
Two days later I walked in the living room, looking for my curious toddler, only to find at least twenty ornaments ALL OVER THE FLOOR. No joke. Not only were the ornaments all over the floor, but somehow my 18 month-old had figured out how to take the little silver hooks out of the ornaments. How? Talk about good eye-hand coordination!
I spent the next week carefully stringing yarn in the ornaments to replace the choking hazard metal loops and then hanging the balls back on the tree. “I’m sure it was a one time play experience.”
Two days later, I discovered a slowly growing collection of ornament balls in Piper’s toy bin. Soon, I noticed ornaments in the bottom kitchen cabinets and under the couch. I started to seriously second guess that super-sized box of ornaments and my picture-perfect magazine idea. (Note to self: super-sizing is never a good idea!) I’m guessing Martha Stewart doesn’t have tiny toddlers walking (no, running) all over the set?
It was that day three years ago that my homemade ornament memories came rushing back. I haven’t asked my mom to confirm my hunch, but I’m guessing our tradition was born from the same necessity I experienced as a mom with an active (and very curious) toddler: a need for child-friendly ornaments that don’t resemble balls (AKA: “My favorite play toy which happens to be scattered all over my Christmas tree!!”).
I called my mom that day, laughing about the stash of balls slowly growing all over my house, requesting the homemade cinnamon ornament recipe of my childhood. Piper (and now Londyn) and I have been making homemade ornaments ever since. Gone are the fancy balls and icicle-shaped ornaments from Target. Instead, the ornaments I thought I needed for that picture-perfect Christmas have been replaced by tradition, love, time together, and in the end a gorgeously simple Christmas tree decorated with the most fragrant homemade ornaments.
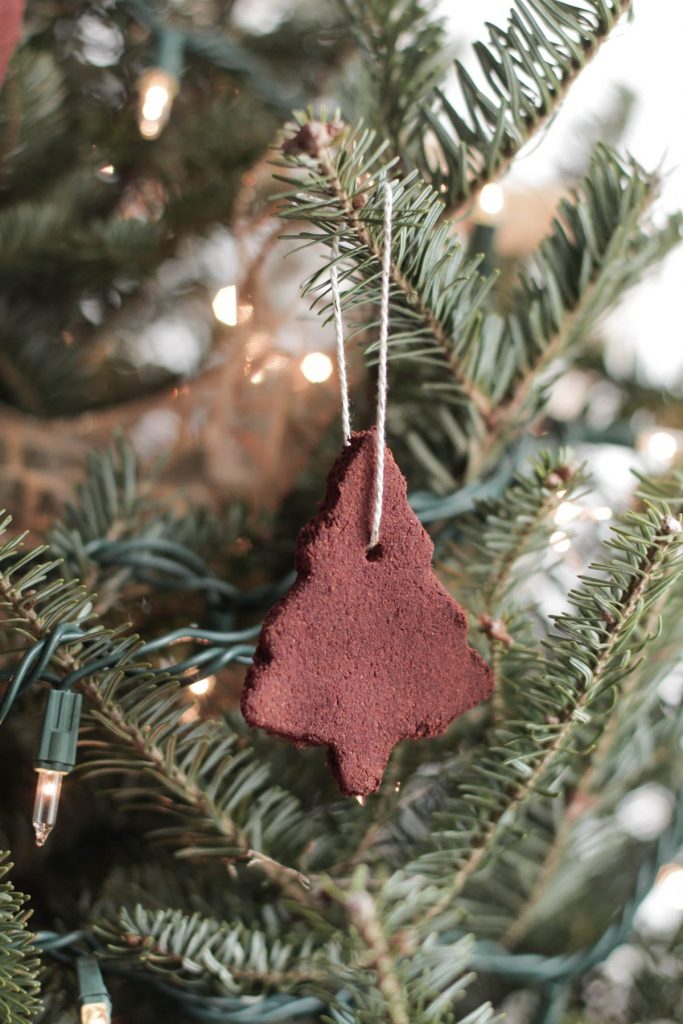
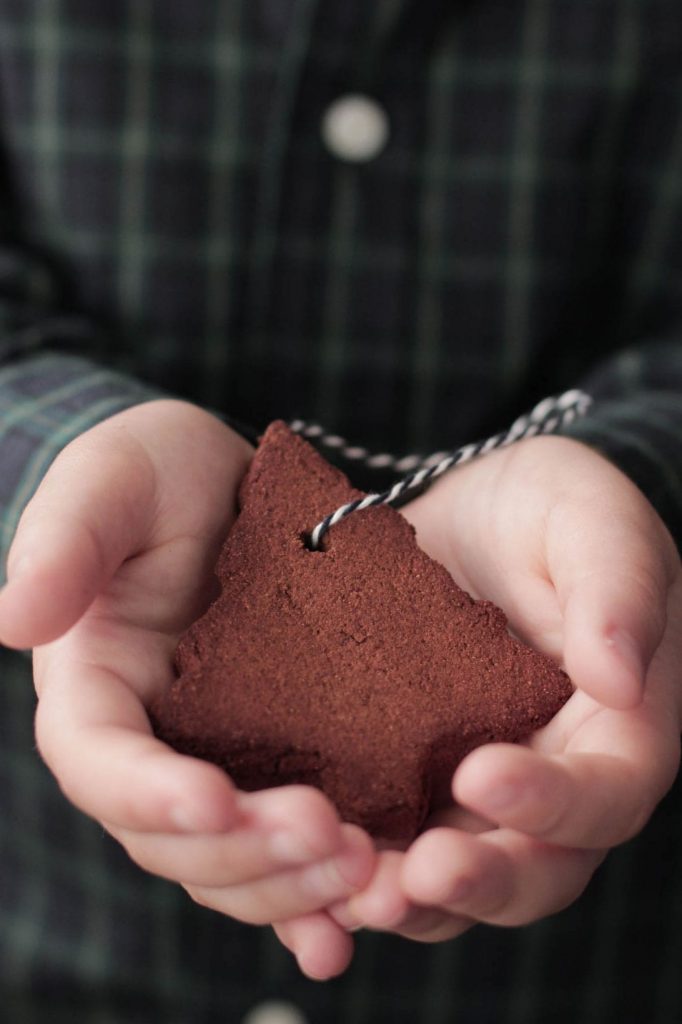
Homemade cinnamon ornaments are simple to make. Really, two ingredients and one stir simple! The ornaments are fun for little hands to roll and cut-out in any shape desired, taking just minutes to make. Each ornament is then baked (more like dehydrated) at a low temperature in the oven until dry and fragrant. Not only do homemade cinnamon ornaments make beautiful homemade decorations for the tree, they also work wonderfully as homemade gift tags on presents for a rustic-handmade feel.
I told you this was the best DIY. Tradition, love, and simplicity. Simply the best!
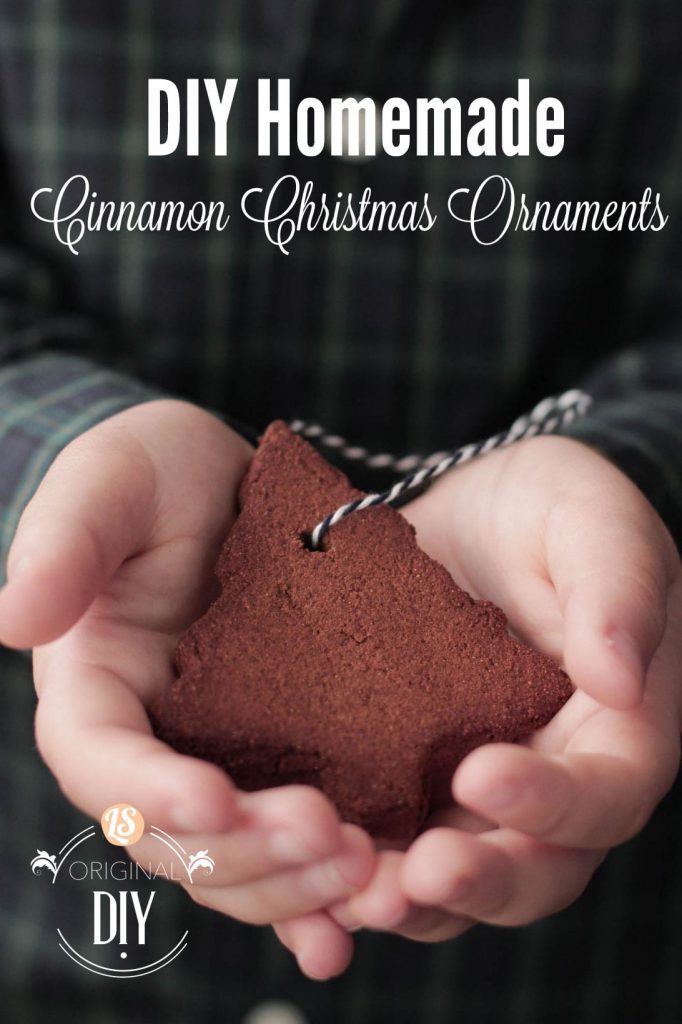
DIY Homemade Cinnamon Ornaments
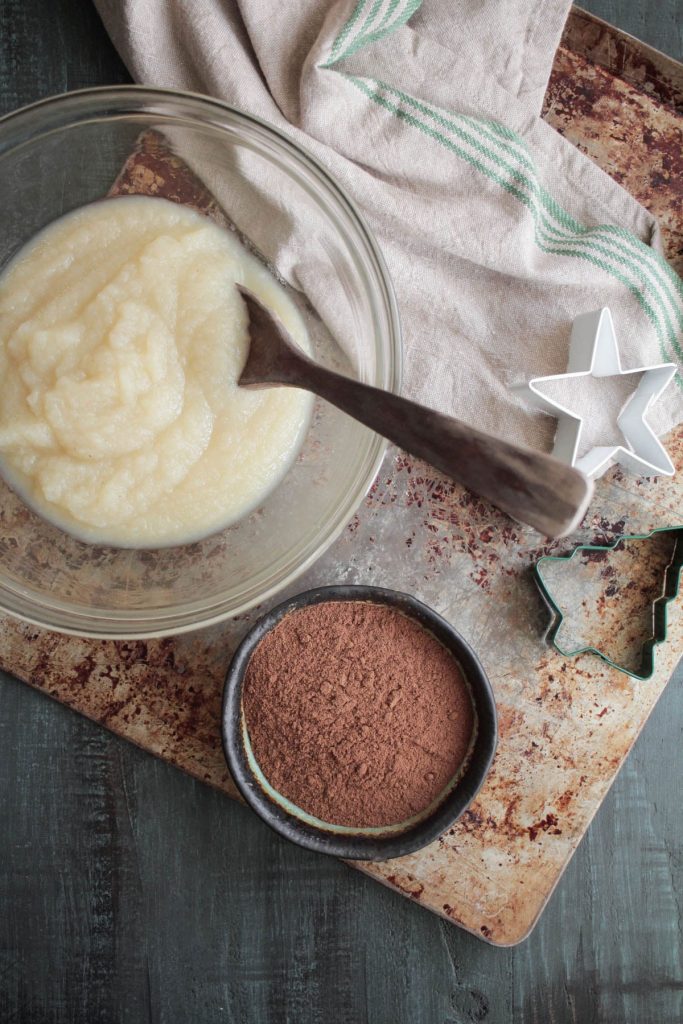
Ingredients
- 2 cups applesauce no need for the good stuff any plain applesauce will do
- 2 cups ground cinnamon plus extra for sprinkling, start with two and add more until the dough is workable
- 1 parchment paper
- 1 cookie cutters
- 1 string or yarn
Instructions
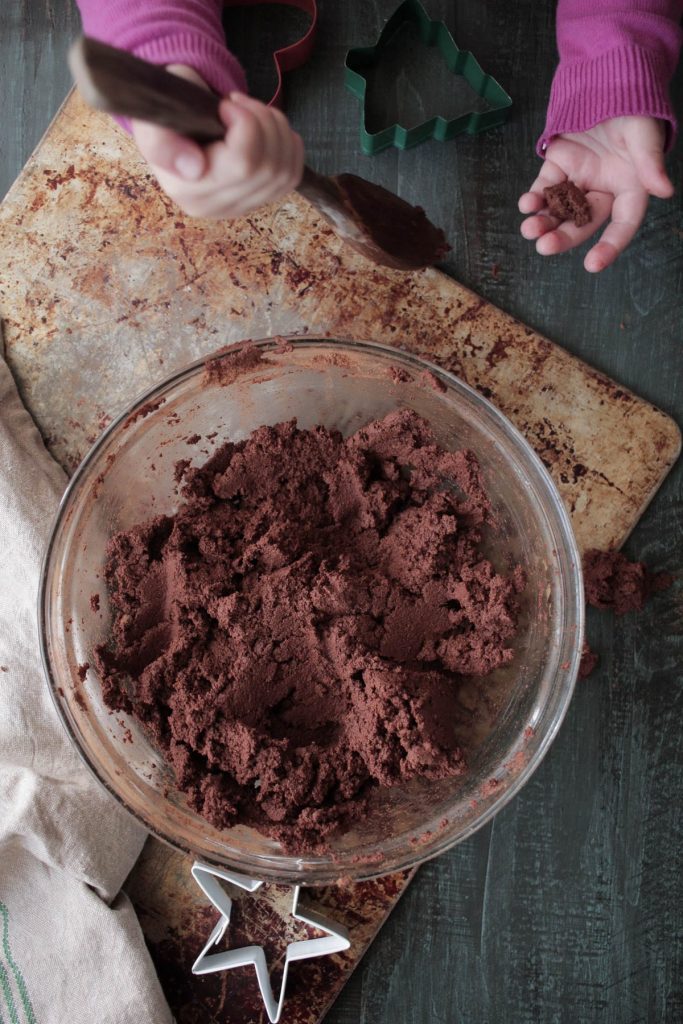
- Combine the applesauce and ground cinnamon, stirring until combined. Let the dough rest on the counter for a few minutes (15-30 minutes).
- Preheat the oven to 200F.
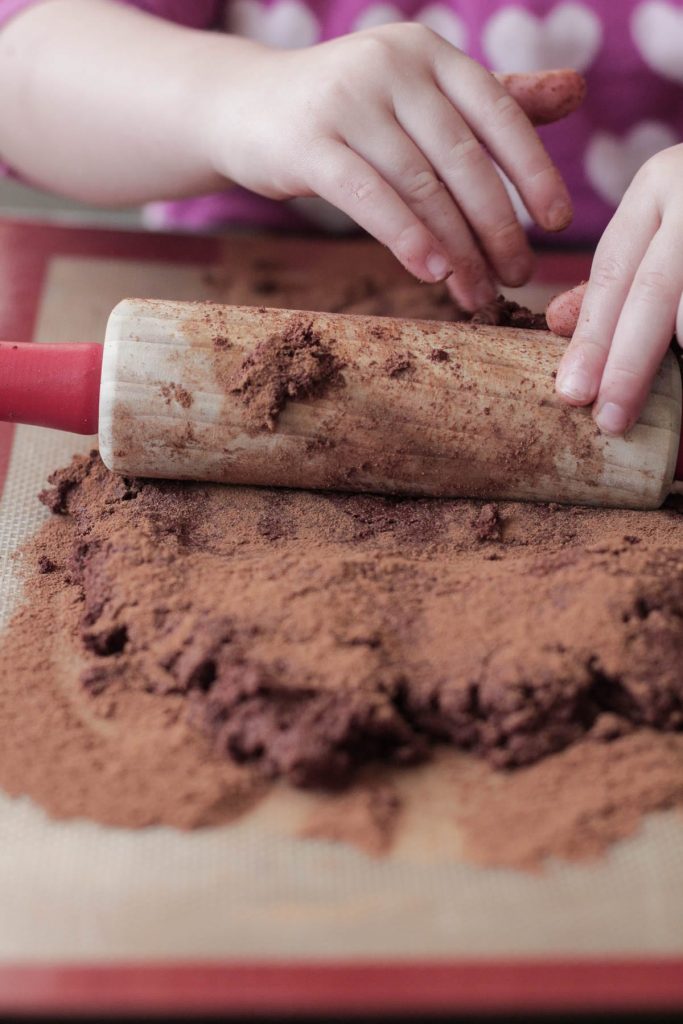
- Divide the dough into two balls. Sprinkle cinnamon over parchment paper (just like with flour for bread or pizza dough). Place the dough on the cinnamon-sprinkled parchment paper. Sprinkle cinnamon over the top. Roll the dough out, using another piece of parchment paper between the dough and rolling pin, if necessary.
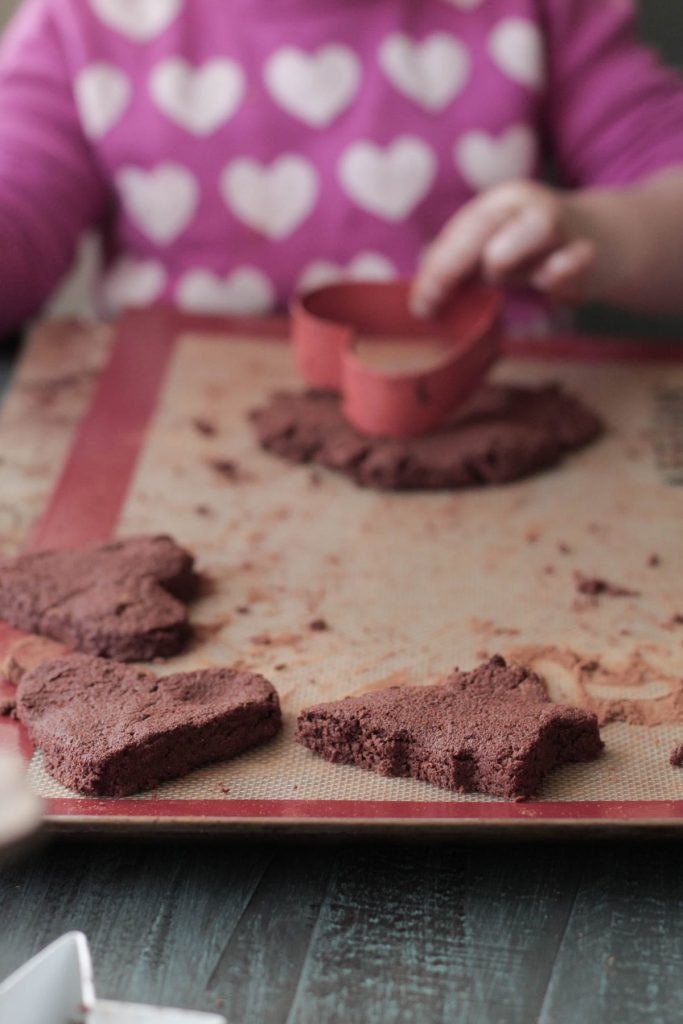
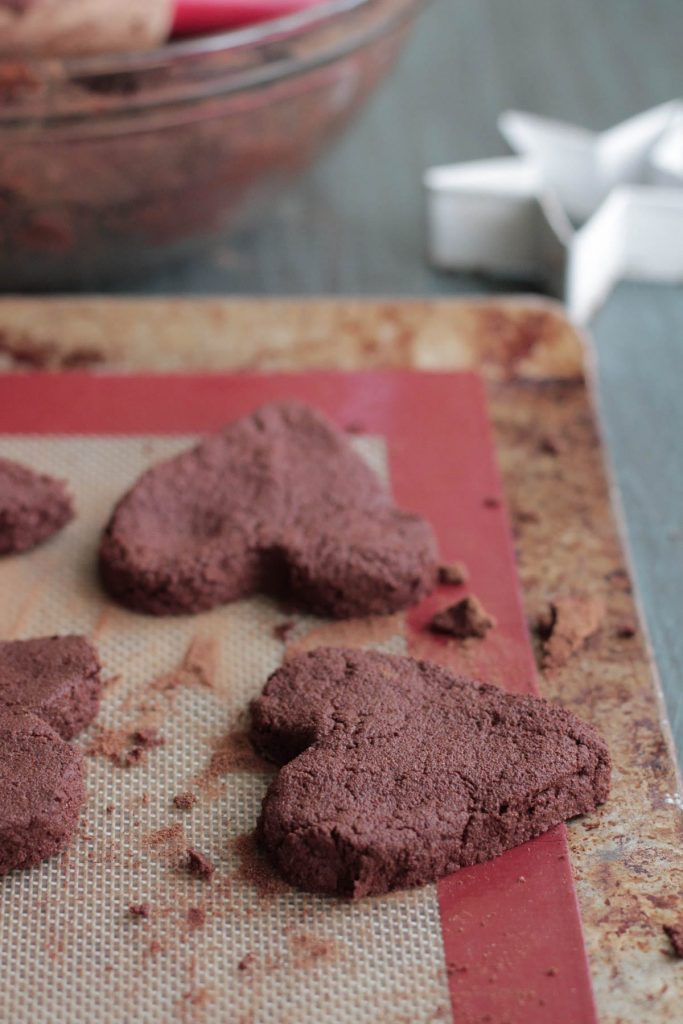
- Use cookie cutters to create ornament designs. Punch holes for the string (which will be inserted after baking) using the end of a skewer or chopstick.
- Bake the ornaments for 2- 2 1/2 hours, until dry and fragrant.
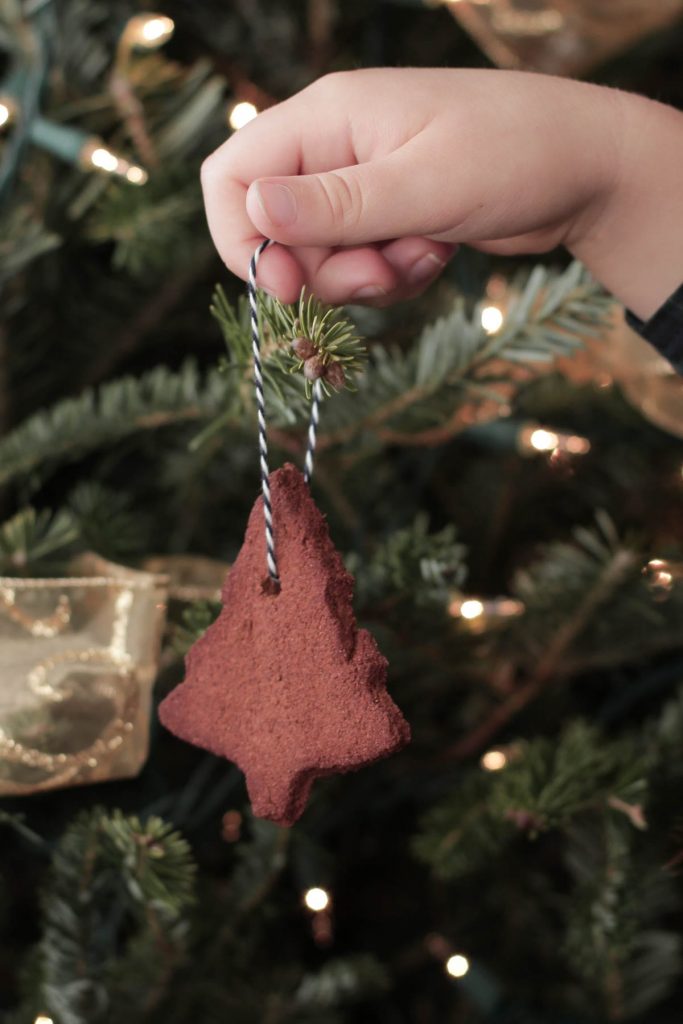
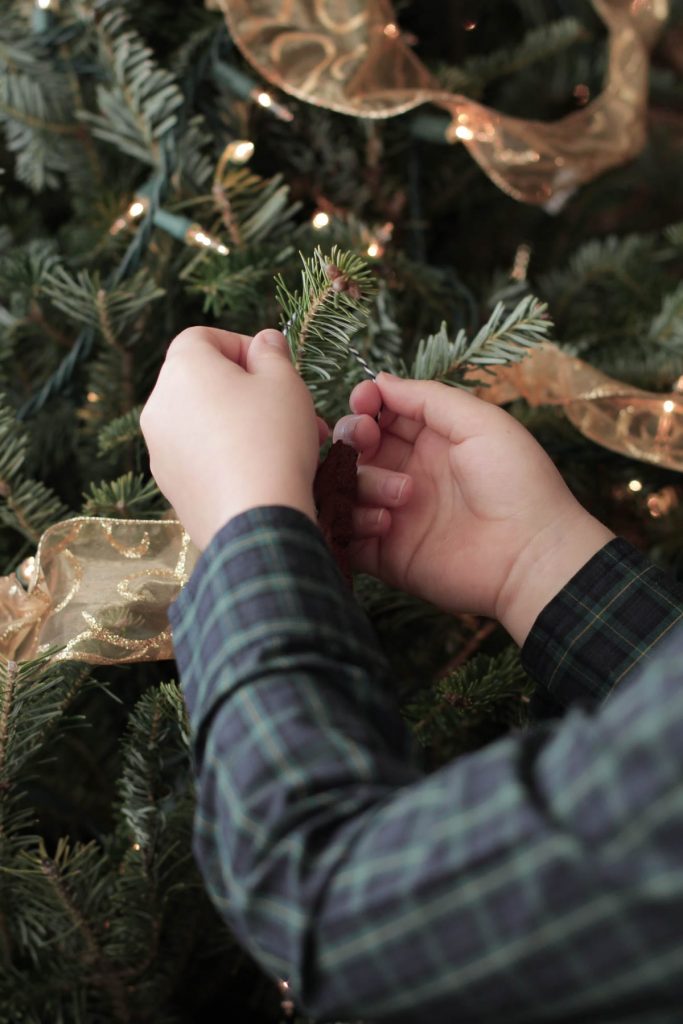
- Insert string in the holes. Use as ornaments or gift wrap tags.

YAY! This is the recipe that I used to make with my boys when they were little, but then I lost the recipe. I am so excited to make these again. Thanks so much for sharing! Beautiful photos as always. I love how you always have hands in your shots, it’s so warm and welcoming! I’ll be sharing this post via social media so more families can enjoy this beautiful tradition!
Thank you, Kelly! I love the simplicity of this recipe. I’m so glad it brought back memories for you from when your boys were little. And thank you for sharing the recipe!!
What a lovely recipe! I have not done them this way before but will be doing this!
Thank you, Renee! Enjoy the ornaments :).