Want to Save This Article?
Enter your email & I’ll send it straight to your inbox. And you’ll get new recipes & tips each week.
Four basic ingredients and two minutes currently stand in between you (and me) and a homemade spa treatment! Oh, and this blogpost…I’ll keep the chit-chat to a minimum.
Early in my teaching career I discovered a necessary job perk: spa day! I loved the kids and my chosen career path, but as anyone in the world of teaching knows, being a classroom teacher is hard work! My typical day started around 6am (in the classroom, not waking up) with meetings, planning, and cutting papers. I would finally return home late in the evening, around 6:30pm, with a large bag of papers and a computer full of emails. I loved watching my classroom kiddos flourish each year and become confident learners, but the additional job responsibilities were exhausting. Kuddos to all my teacher friends.
Due to the high-stress nature of the job, I adopted a yearly “spa day.” I chose one day each school year to take off and spend time relaxing at a popular spa in our area. This was my “sanity day.” The one day each year I would leave behind the stress of a rigorous schedule and early mornings for lavender scented linens and cucumber-mint water.
One of my favorite treatments was a green tea exfoliating facial session. The 30 minute experience always left my skin soft and rejuvenated–something a tired teacher was in desperate need of.
It’s been five years since my last “sanity day.” The good news is the spa experience didn’t end with my last year of teaching. Now that I have two little kids at home, I’ve learned to recreate mini spa sessions during my daily five minute sanity break (AKA: shower time). My DIY spa alternatives cost just pennies and only require basic household ingredients to make. A spa experience that saves money? I think so!
Because the exfoliator was my favorite treatment, let’s start our pampering time with this super simple four ingredient homemade version. First, before we get to the exfoliating and super smooth skin that follows, let’s take a look at the ingredients:
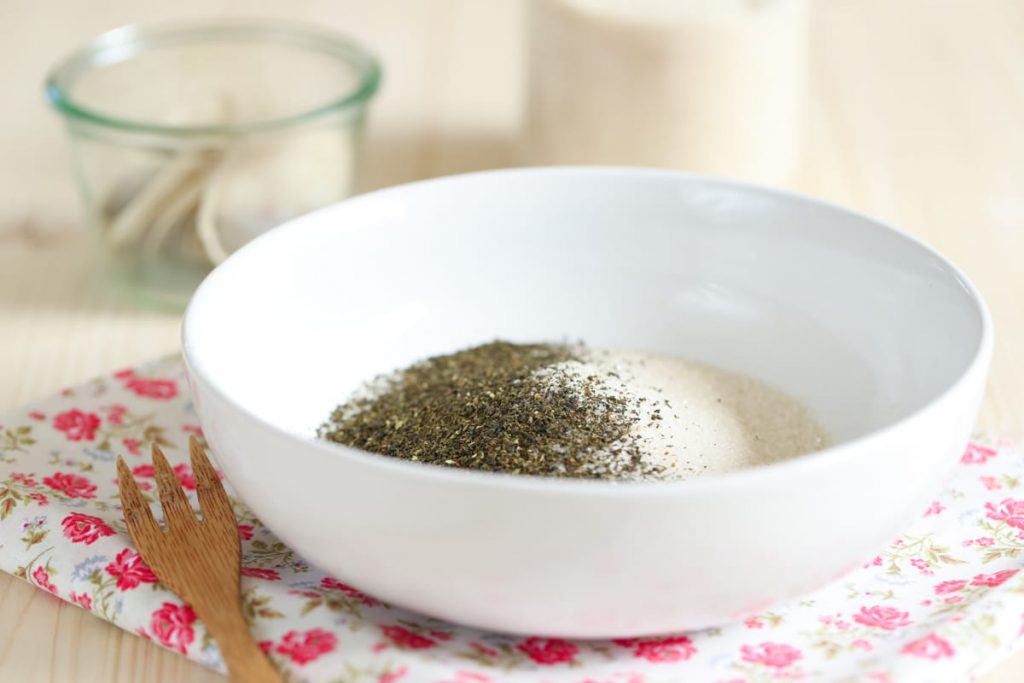
Green Tea: This simple ingredient can be found just about anywhere these days, from grocery stores to coffee shops. Green tea contains antioxidant properties that may help to reactivate cells and fight against damaged skin. There are many ways to use green tea in a skincare regime (and many companies now include this ingredient in high-end beauty products). In this recipe, the green tea leaves are added directly to the scrub to exfoliate the skin and get rid of unwanted pollutants.
Sugar: Good ol’ sugar is a humectant which may help the skin retain moisture. Sugar also contains glycolic acid which may help encourage cell turnover and fresh-looking skin. Not all sugar is created equal when it comes to homemade skincare. I highly recommend using a softer sugar (such as: organic white or brown sugar) for homemade exfoliating scrubs. The abrasive nature of more natural sugars (sucanat, coconut sugar, raw sugar) may leave the skin irritated and red.
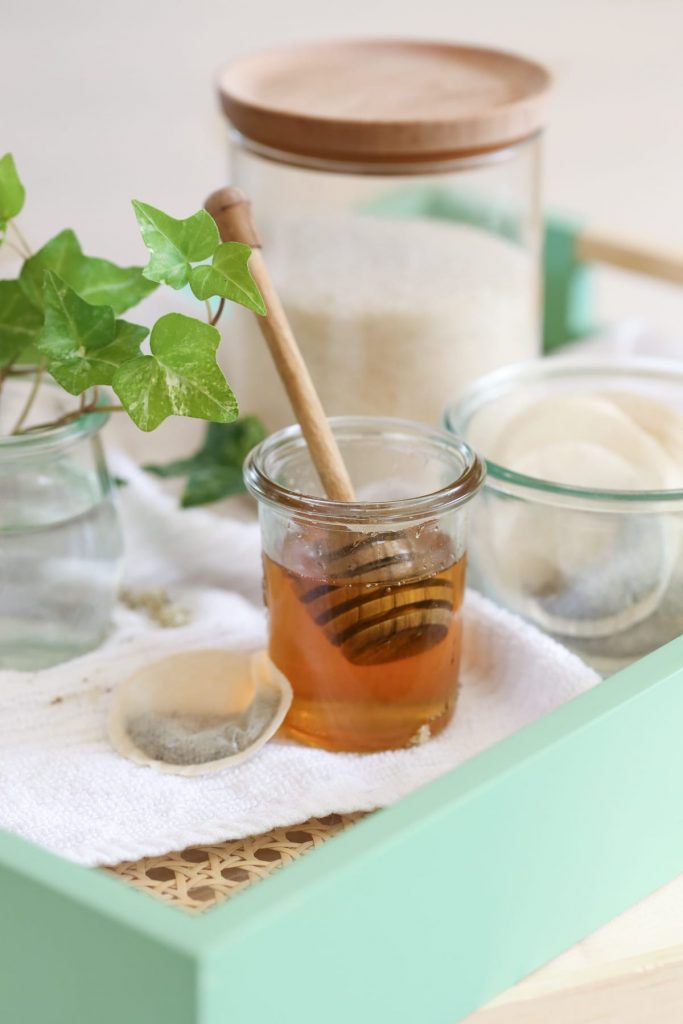
Olive Oil: Yep, the same ingredient used to make homemade salad dressing may also be used on the skin. Olive oil contains three important antioxidants which may help keep the skin from aging prematurely. Oil is also known to help cleanse the skin by drawing out unwanted oils (read more about cleansing with oil).
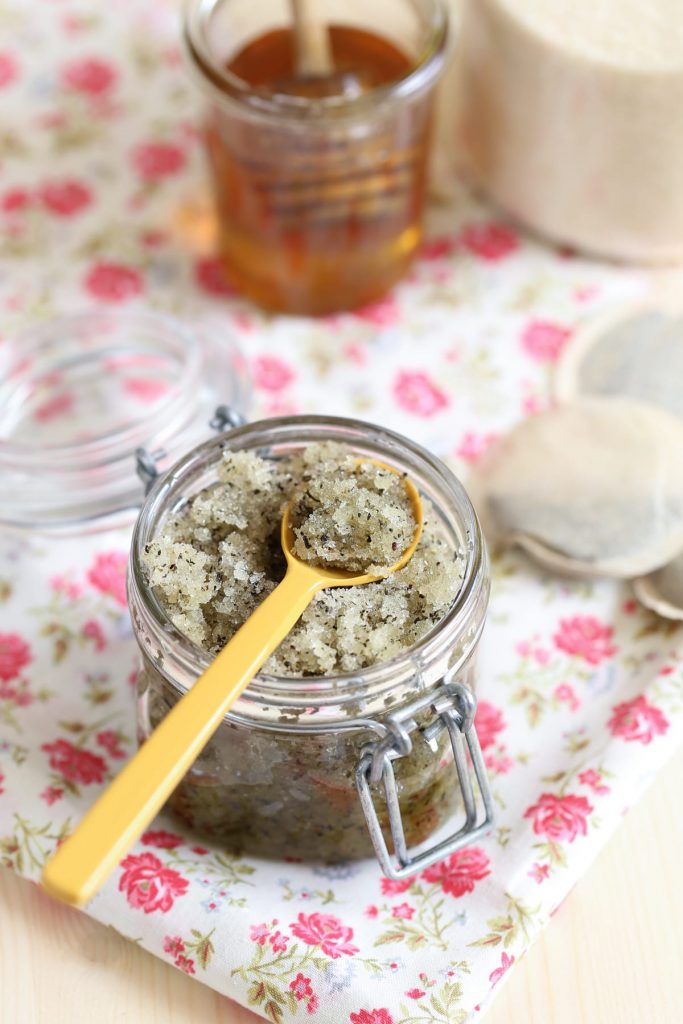
Raw Honey: Honey (particularly honey that hasn’t been pasteurized) is a powerhouse of nutrients for the skin. It’s loaded with antioxidants and natural enzymes to help cleanse and nourish. Honey may also fight against acne thanks to the antibacterial properties.
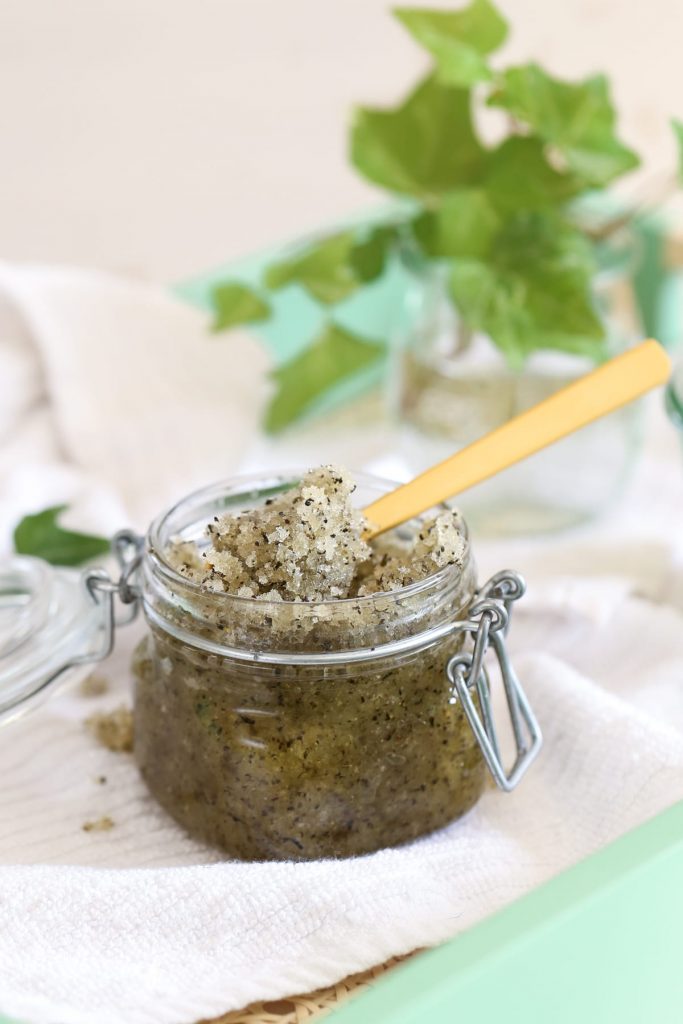
Bottom line: This homemade exfoliator is good stuff!
Who knew a spa experience could be so simple? Four ingredients. Two minutes.
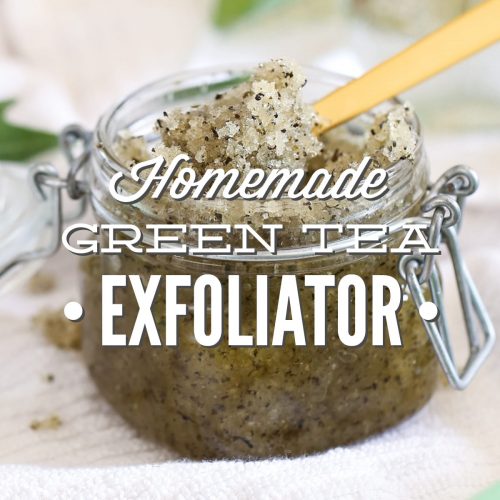
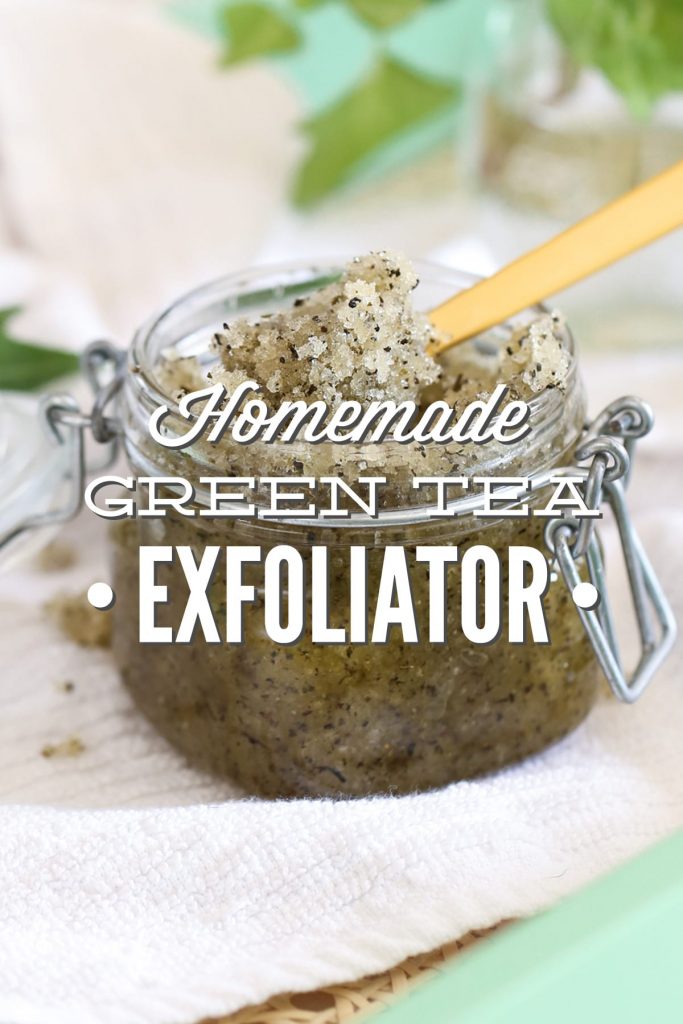
Homemade Green Tea Exfoliator
Ingredients
- 1 TB dried green tea leaves 2-4 tea bags depending on size of tea bag
- 1 cup organic white sugar or brown sugar, the sugar should be soft not large granules
- 1/2 cup extra virgin olive oil
- 2 TB honey
- 10 drops lavender essential oil optional
Instructions
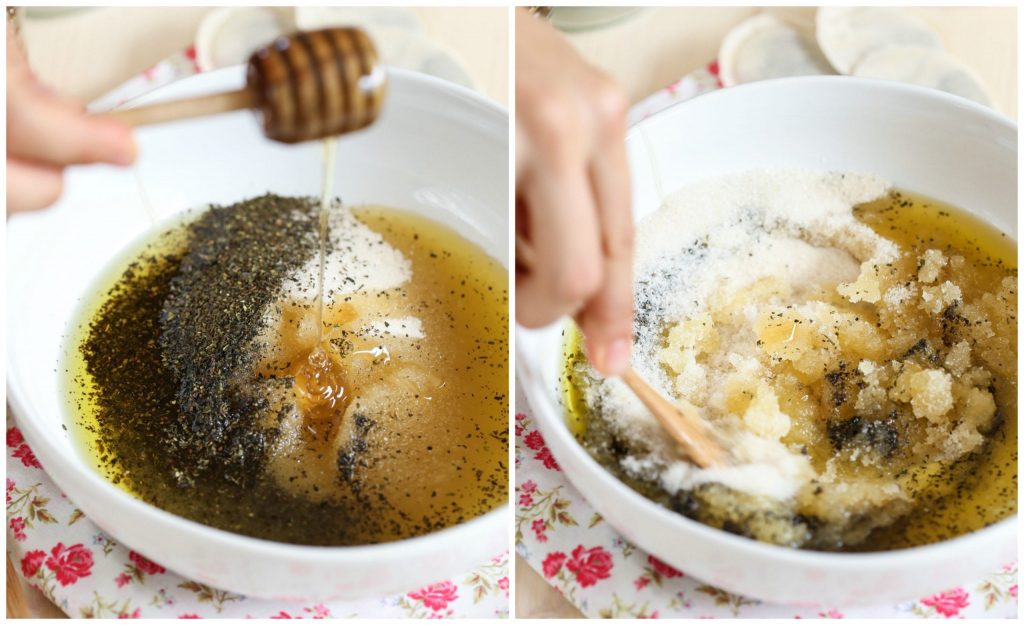
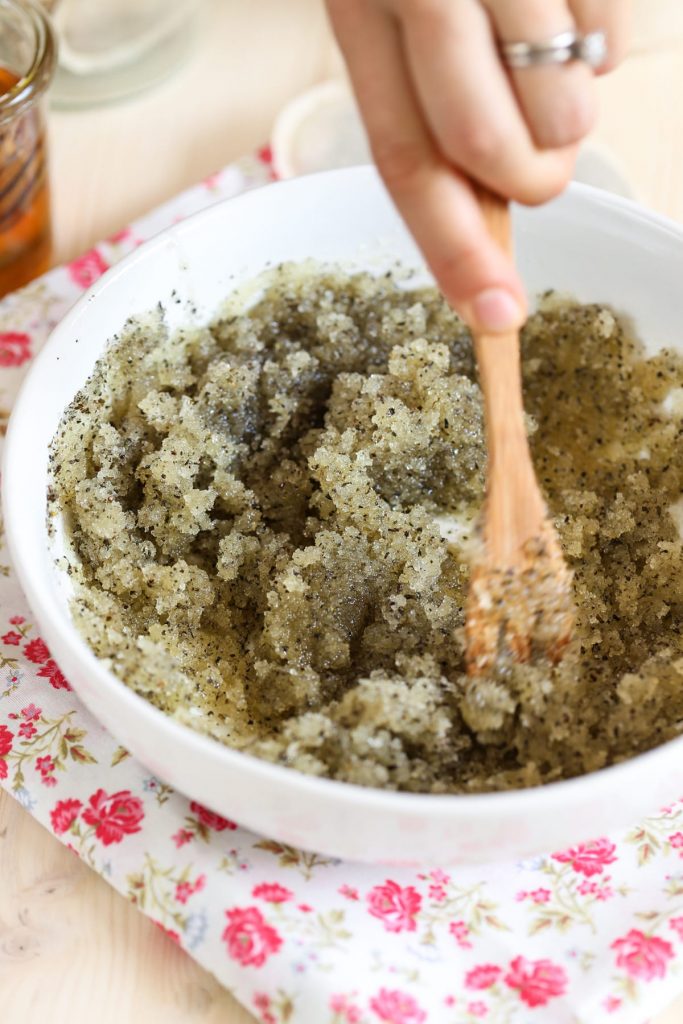
- In a medium-size bowl, combine all the ingredients.
- Store the exfoliator in an air-tight container in a cool, dark place (the linen closet or medicine cabinet).
To Use:
- Apply a tablespoon of exfoliator at a time to your hands. Gently massage the skin (face and/or body) with the exfoliator for 30 seconds. Rinse the exfoliator from the skin with water and a washcloth.
Hi there! I just started getting microdermabrasion done biweekly for mild acne scars and it was recommended that I exfoliate every other day while on the treatment. I found your awesome exfoliator and just made it! After rinsing it off, my skin was still a bit slick from the oil. Do you wash the oil off with a cleanser or do you leave it on? Anyway, thanks for sharing!!
Hey Jess, I don’t, but you definitely can wash your face after using the exfoliator.
Hi, can I use regular honey instead of raw honey
Hey Dina, Yes, you can :).
Hi Kristin 🙂 Thanks for sharing your recipe. Just a small question, can I use fresh green tea leaves instead? And should I exfoliate twice a week?
Thanks,
Hey Abi, I’ve never worked with fresh green tea leaves. If the leaves spoil quickly, then I’d make a very small batch of this exfoliator as needed. Right now, I exfoliate once a week in the shower, but twice a week will work, too. See how your skin feels and reacts to twice a week and go from there.
Thanks for your recipe!
I just discovered your blog and I loooooove your DIY recipes.
And your pictures are great !
Thank you!
I was wondering, instead of loose-leaf green tea, could you perhaps use matcha powder?
hi?
i used coconut oil instead and baking brown sugar, is that ok?
mine seems very oily and very dark… nothing like your picture.
Hey April, I used cane sugar, so that’s probably why your scrub looks very different. Does it feel good on your skin?
Is it okay to use a pure honey instead of a raw honey?
Hey Amanda, Yes, it is :).
Is it normal for the oil to separate once it sits for a day or so??
Hey Leigh, Yes, it is :). Just stir and you’re good to go!
What do you mean in the recipe by TB?
Hey Skylah, The TB stands for tablespoon.
Hi, this looks brilliant and I will definitely he trying it but I was wondering, do you have any references for the whole ‘sugar contains glycolic acid’ part? Because as far as I can tell, it is only a bi-product in sugar-cane farming (and other sources of Sugar) and is only found in the plant and isn’t actually retained in the crystalised sucrose itself. Even the formula for Sucrose doesn’t make sense to account for Glycolic acid in that form (C12H22O11).
I am just very confused as I though the sugar was there as the manual exfoliant to slough off the dead skin cells/horny layer to allow the fresh new skin to shine through.
Either way, I’m sure it still works fantastically!
Thank you! 🙂
Hey AmyG, I’m not really sure how to answer your question about the sugar…sorry :).
How many times a week should you do this to your face?
Hey Elisa, I use a scrub once a week on my face.
Hi Kristin! Just made this exfoliator, making it took literally 2 minutes, and my skin feels aaa-mazing! Thanks for sharing, and I love your site and the beautiful pictures!
Your new fan, Ana
That’s awesome, Ana! I’m so glad you enjoyed making and using the exfoliator!
I love this recipe. Just made it today 🙂 I was looking for a diy facial scrub recipe to get rid of my dull looking skin. I came across this, and you’ve given me a great idea of offering my child’s teachers a great christmas or end of year gift (so appreciate our kids’ teachers!). Thanks!
Hey Karine, Yay, I’m glad you’re enjoying the scrub! This recipe would be great for christmas and end-of-the-year gifts–great idea!!
This looks fantastic! Do you ever have a problem with a slippery shower/tub bottom from the oil?
Thank you, Lynne. I use this exfoliator or this scrub (depends on what’s on hand) twice a week in the shower. So far I haven’t had an issue with oil in the tub.
Could you use salt instead of sugar?
Hey Alicia, You could use this recipe and add green tea leaves: https://livesimply.me/2014/05/23/diy-hand-scrub/. Honey may also work in the recipe.
I am excited to try this. My skin gets very damaged my the Alaskan summers and the result is rough dull skin in the fall. Was hoping to get your recommendation on where to put this in a skin routine. for example would it be beneficial you think to shower first to loosen dead skin, or perhaps to steam the scrub or scrub then steam. Would like to hear your thoughts on the order of steps. Thanks
Hey Tiffany, I would use this once a week as a gentle scrub/exfoliator in the shower. Personally, I find the shower to be the best place to use something like this since I can apply the exfoliator to my wet body, including my face, and allow the warm water/steam and a washcloth to wash everything away. I really like to use an exfoliator in the morning, once a week or less frequently depending on the season, when I shower and stick to my cleanser, toner, and moisturizer routine at night.
Hope that helps!
Wow this looks great! Can’t wait to try it! One question though, do you need to wash your face afterwards with soap or will water suffice?
Hey Susan, Thank you. I hope you love it! I just rinse with water and a washcloth :).
How do you store this? and how long is the shelf life?
Hey Mary, I store this in a sealed jar (as pictured). Based on my experience, it will last 2-3 months.
I can’t wait to try this! Green tea is packed with antioxidants… and I love that I can add this to my own DIY routine so easily. Thanks for sharing!
You’re welcome, Liane! Enjoy!!
Thanks Kristin for such an useful tip! I usually use facial scrub for body to save money but its not strong enough. I’ll try this for sure.
You’re welcome, Peter. Enjoy!
Hi there miss Kristin my name is Christina and I need to make a face scrub for school and and i saw ur receipe I said I need to try it so I did and it cameut amazing………thank you for sharing your face scrub it came out great
Awesome, Christina!