I was just about to eagerly declare, “It’s officially sandal weather!”. But who am I kidding? I live in Florida; it’s always sandal weather. But for most of the country, April is just the beginning of sandal weather. So if that’s you, let’s celebrate together.
Want to Save This Article?
Enter your email & I’ll send it straight to your inbox. And you’ll get new recipes & tips each week.
Even though it’s technically sandal weather year-round in Florida, I try my best to feel part of the “seasons” by wearing more closed shoes during the fall and winter months. I’ve also been known to live in jeans during the cooler seasons, too. Then again, I live in jeans year-round #momuniform.
As spring and summer approach, I pretend there’s a slight weather shift, too, and pull out my spring and summer capsule wardrobe–which includes multiple pairs of sandals, dresses, and shorts. This also means it’s time to shave those grizzly bear legs, soften those hardened heels, and pretty-up those overgrown toenails. TMI? Sorry…
The good news is that we’re going to take care of at least one of those issues today, because I know I’m not alone. I just happen to admit these things on the world wide web.
In the early days of spring, I’m really good about making a pedicure appointment and caring for my feet. But then life takes over–the kids are home from school, we travel, and I try to squeeze in recipe and photography projects in the little spare time that’s left. That well-intentioned pedicure appointment schedule just doesn’t happen anymore. Plus, I have a hard time spending $35 every two or so weeks on my toes and heels. I’d much rather spend that money on going out to eat and having someone else do the dishes. An empty and clean sink is the way to my heart and wallet ;).
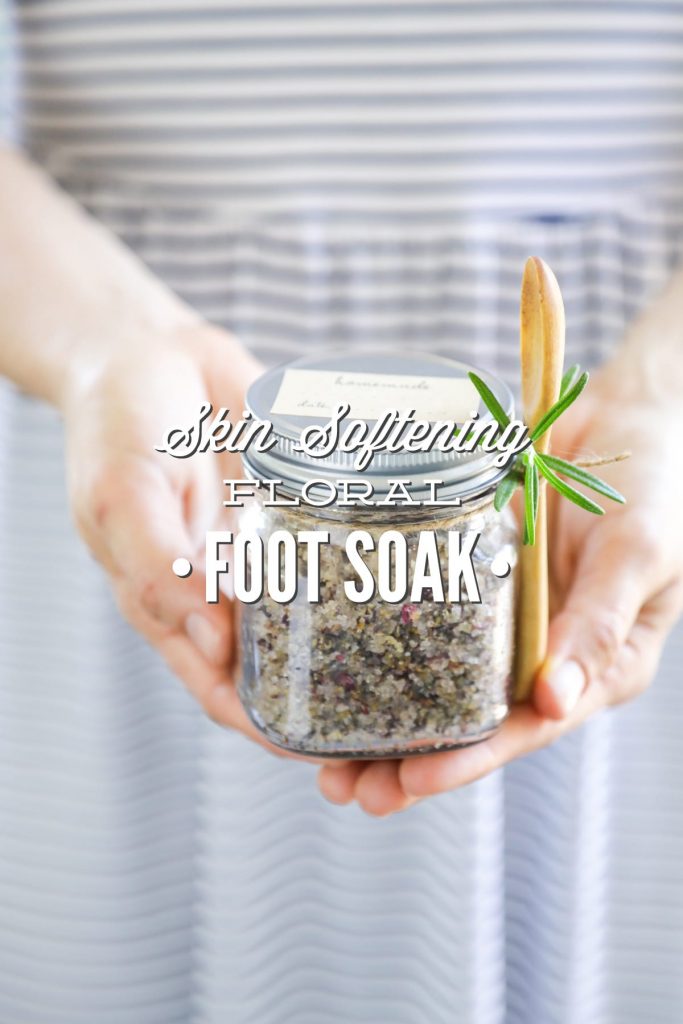
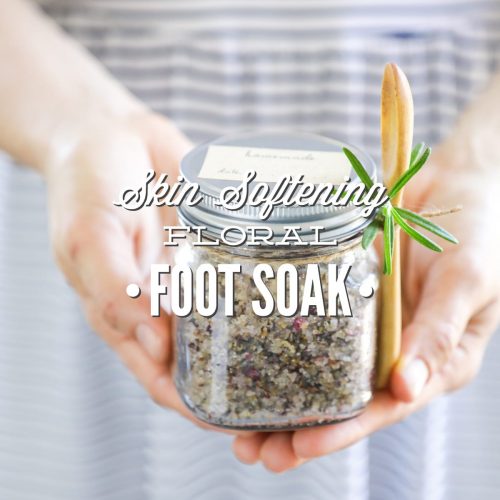
The good news is that I’ve found a homemade solution. A solution that allows me to save money and care for and soften my feet, without ever leaving my home. Say hello to my homemade foot soak.
This foot soak is incredibly easy to make. And despite the fancy-sounding floral ingredients, it’s also very affordable.
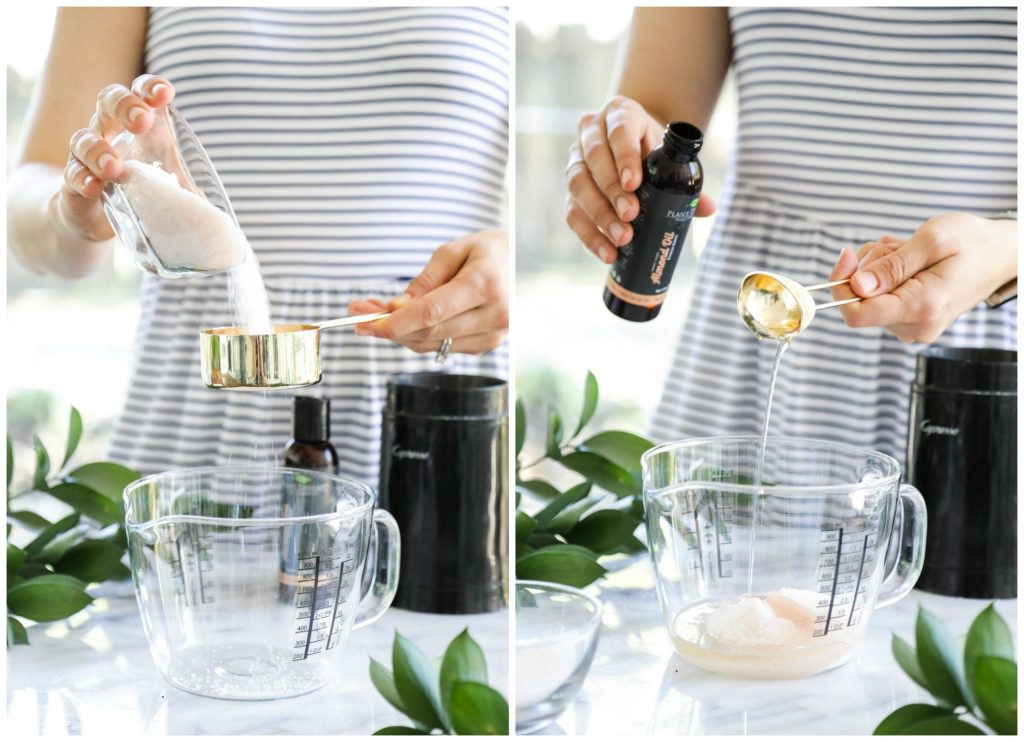
The base of the foot soak is made with two kitchen ingredients: mineral-rich salt (the same salt I use for cooking and baking) and baking soda. The salt, along with the warm water and baking soda, helps to soften the skin and provide beneficial minerals for the skin and body. The baking soda, although a small amount, may also help to deodorize the feet.
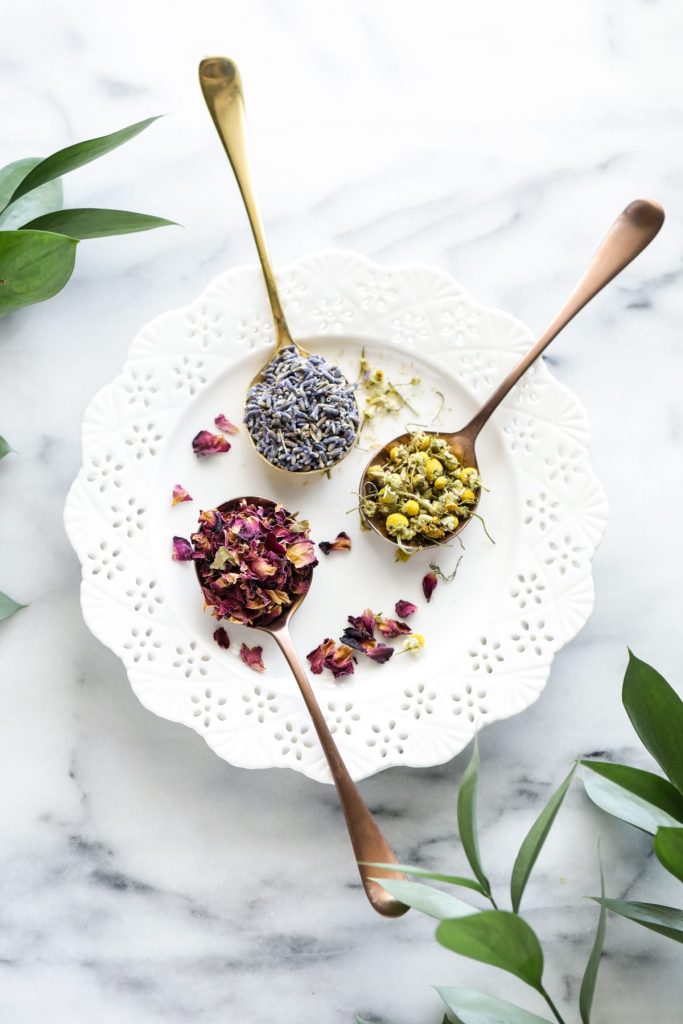
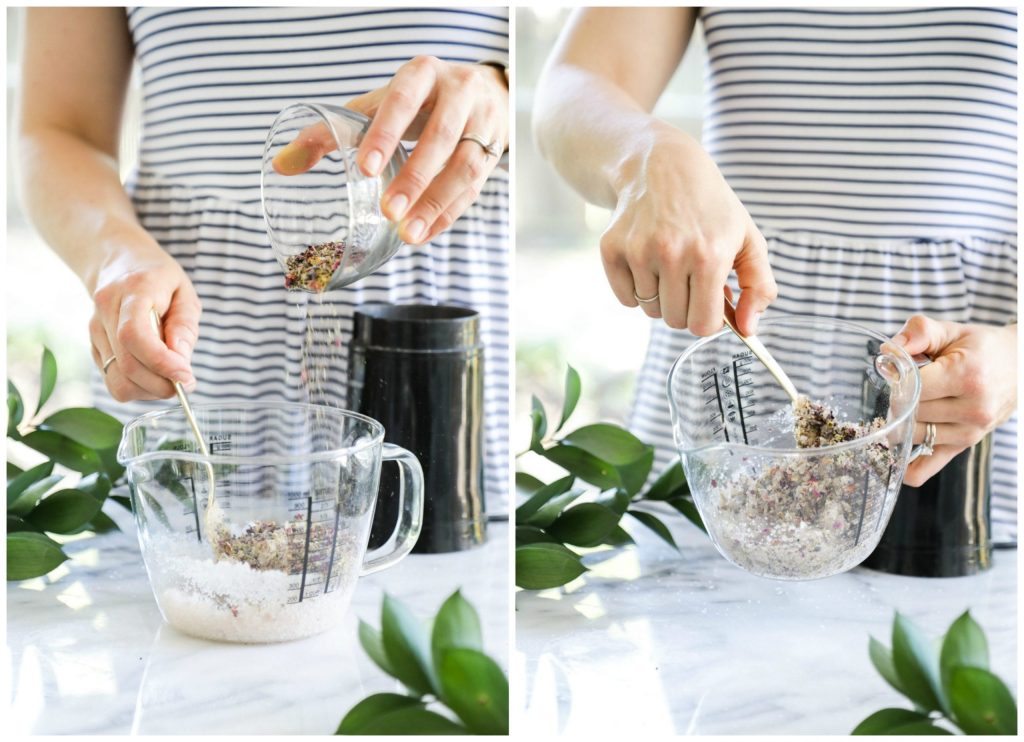
Crushed flowers are also added to the soak to create the ultimate spa-like experience. Lavender, rose, and chamomile all provide a soothing and relaxing experience (and soothe the skin). Nourishing oil is used to moisturize the skin.
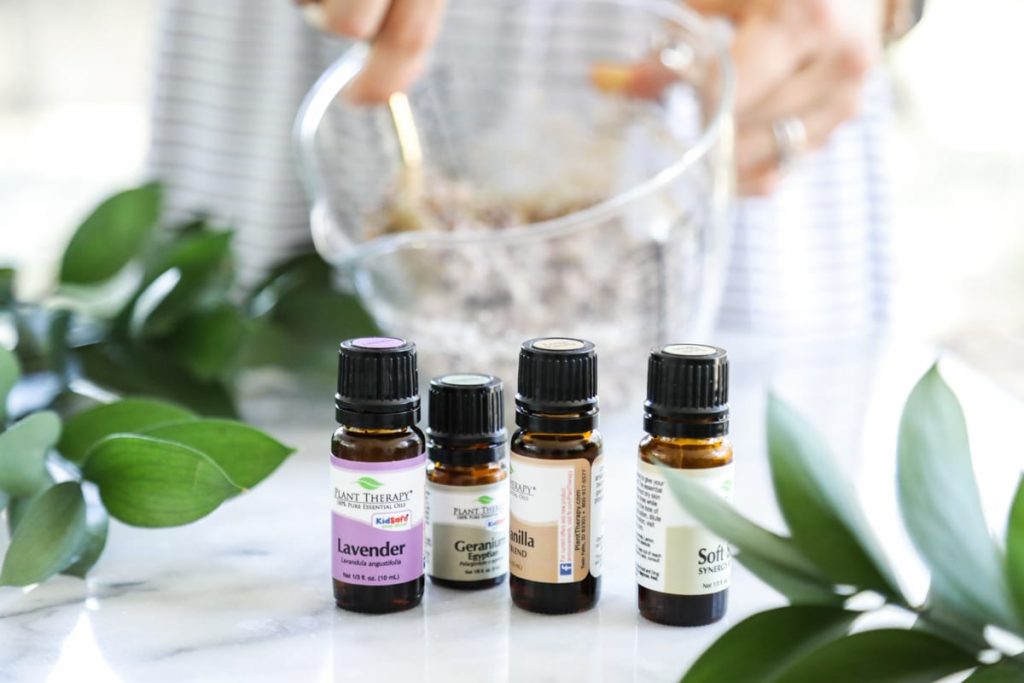
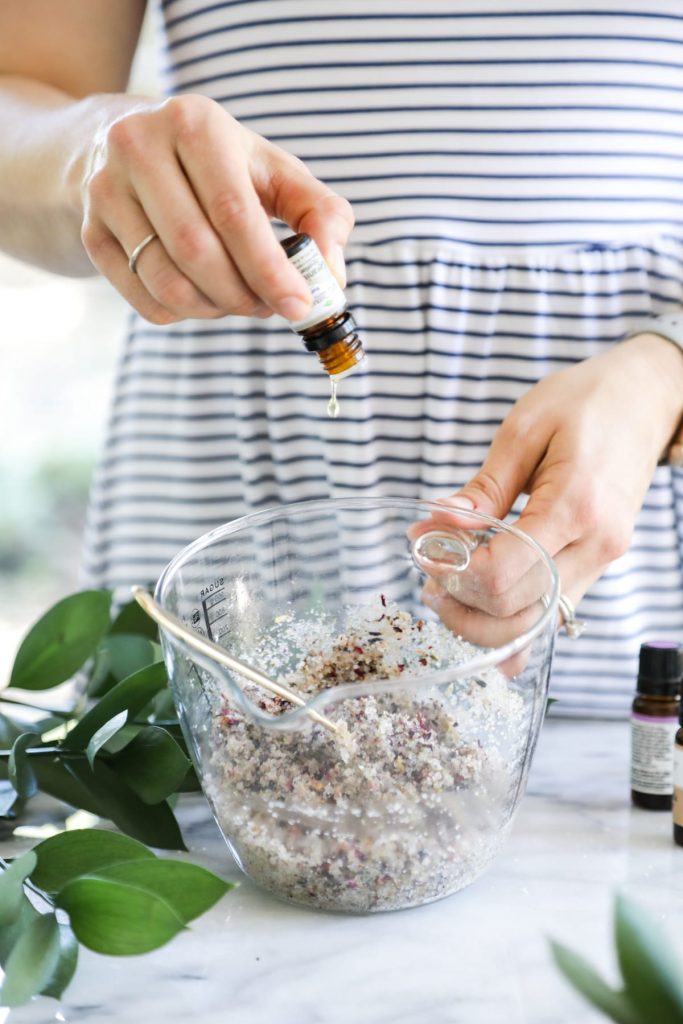
I also like to add a few drops of essential oil to the salts for a relaxing scent. My favorite essential oils at the moment are Plant Therapy’s Soft Skin (a synergy blend–a mix of essential oils) and Love Vanilla (the same synergy I used in my body butter tutorial).
This foot soak is wonderful to make on the weekend and use later in the week. I’ve also used this foot soak immediately after making it–no prep necessary. And with Mother’s Day fast approaching, I’m planning to include a jar of this foot soak in a gift basket for my mom and mother-n-law.
Skin Softening Floral Foot Soak
Ingredients
- 1 TB dried rose petals *
- 1 TB dried lavender *
- 1 TB dried chamomile *
- 1/2 cup salt ** mineral-rich
- 1 TB baking soda
- 2 TB nourishing oil such as: extra virgin olive oil, avocado oil, or sweet almond oil
- 6 drops essential oil *** (optional)
Instructions
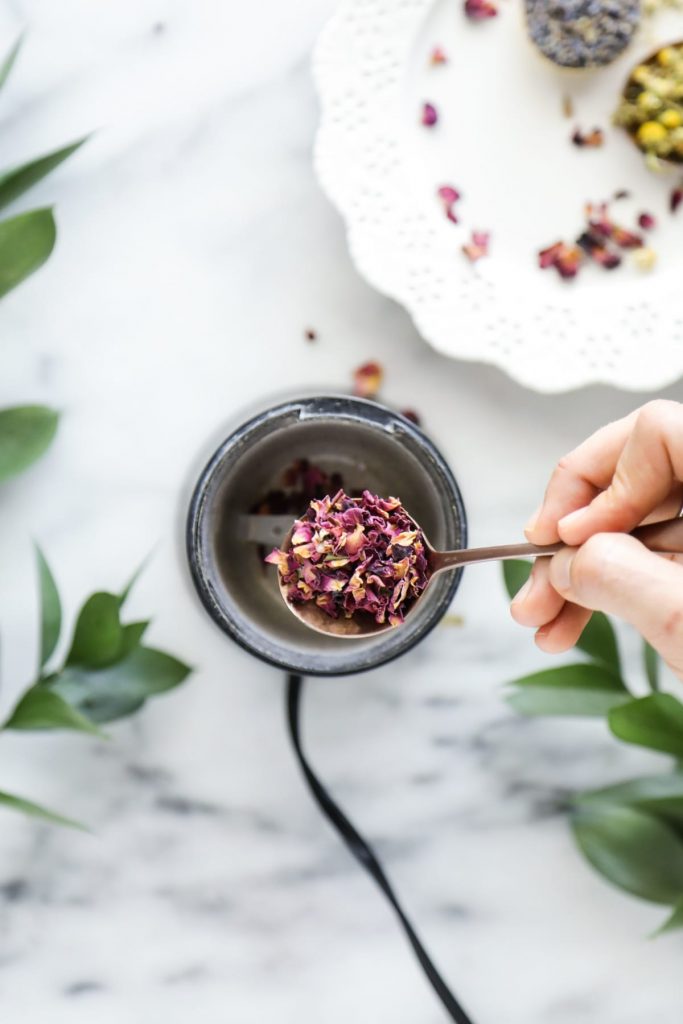
- Place the rose petals, lavender flowers, and dried chamomile flowers in a spice/coffee grinder, and pulse just two times until chopped. Alternatively, you can use a mortar and pestle for this. Set aside.
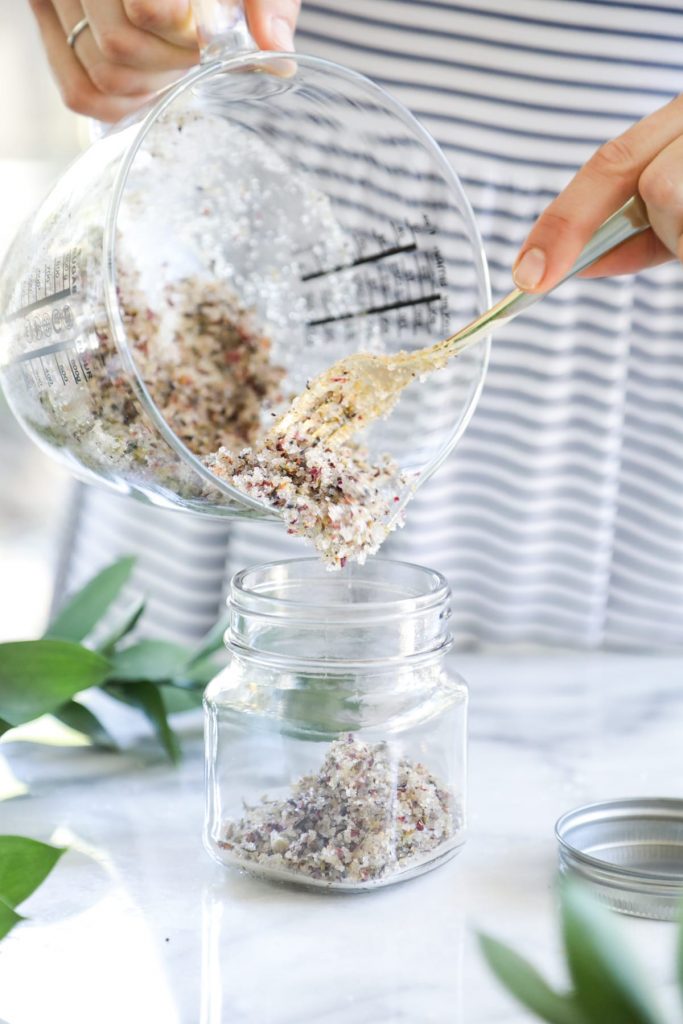
- In a medium-size bowl, combine the salt, baking soda, and nourishing oil of choice. Stir the mixture to combine. Add the dried flowers to the salt mixture, and stir to combine.
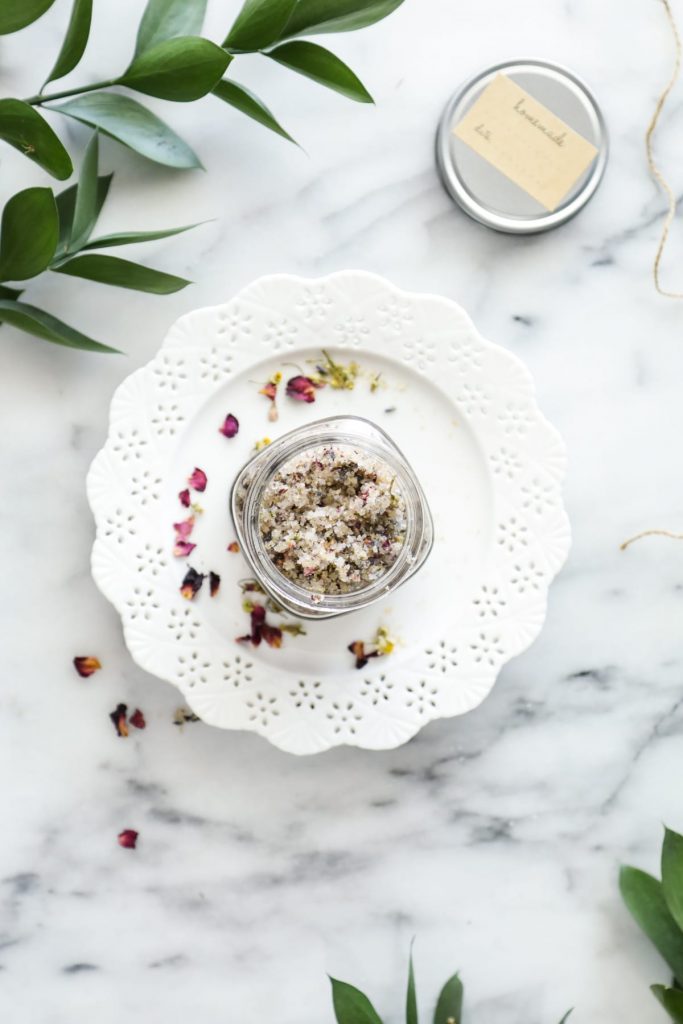
- Spoon the salts into a 6 or 8-ounce jar, and seal the jar with a lid. Store the salts until you're ready to use the foot soak, or you can use this mixture immediately and skip the storage jar.
To Use:
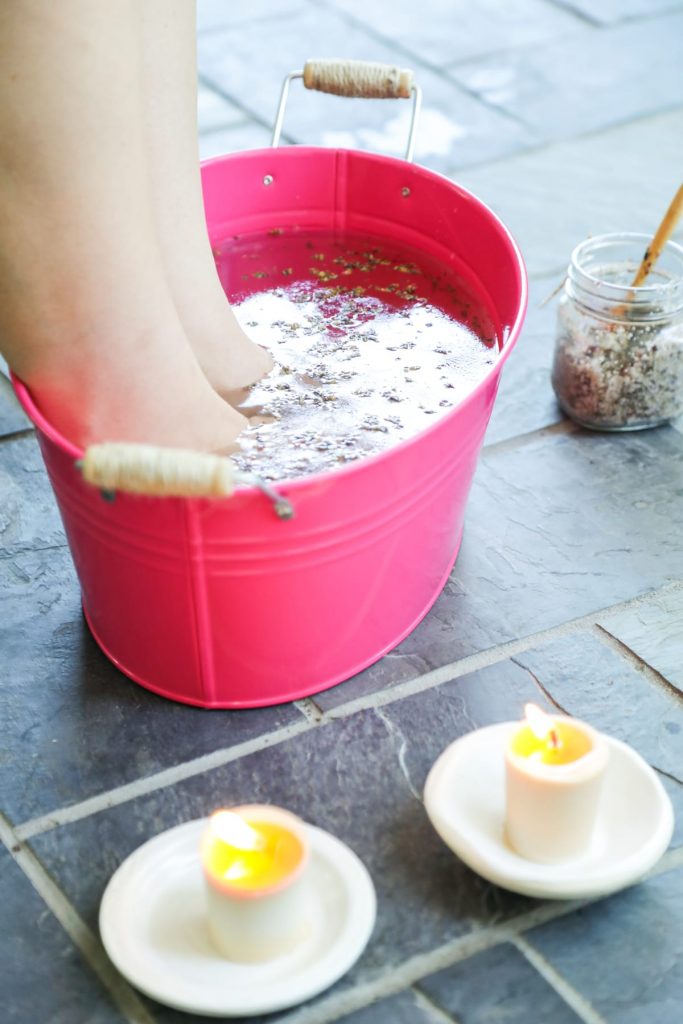
- Fill a gallon-size bucket with warm water (My water is pretty hot, around 140F according to our electric kettle. Hot tap water, straight from the faucet, also works.) Pour the salts into the water. Stir the salts and water with a long spoon (I use a wooden spoon from the kitchen). Grab a towel to place near the bucket--you'll need this later.
- When the temperature is comfortable, place your feet in the bucket. Soak your feet, relax, and a enjoy a few minutes of quiet time.
- When you're done soaking, remove your feet and place them on the towel nearby. I like to rinse my feet off in the sink or the bathtub, since some of the flowers stick to the skin. Once rinsed, apply body butter or a moisturizing lotion to your feet. If the heels of your feet are rough, you can also rub them with a pumice stone after removing your feet from the soak, and then follow-up with a fresh water rinse and moisturizer.

Do you have to use the dried flowers? Or is there something else that could be substituted? It may seem silly but I’m just not sure where to purchased dried flowers or how to try them myself.
Hey Courtney, You don’t have to. You could omit the dried flours and just use the salt.
Should this amount of mixture all be used in one soak – or could this amount be used across 2-3 different soaks??
Hey Noel, It could definitely be used across two soaks.
Hi Kristin. I’m new to your blog. Somebody introduced me to your blog and I love all the different things you post. I was wondering how long this foot scrub lasts for and how often you would recommend using it? Do you also sell any of your homemade things you make like your body butter or foot soak, etc.?
Thank you, Mona! And welcome to Live Simply! The scrub will last for a few months (about 3-4 months) as long as it’s handled and stored properly. At this time, I don’t sell any of the homemade items on the blog. My favorite company for handmade items is Luminance Skincare (available online).