If you’re a Live Simply reader I assume you’re here partly out of a love for simplicity. Of course, the weekly coffee chats, homemade body wash adventures, and endless bowls of ice cream can be overly enticing reasons to stick around. At the heart of those sweet moments is the essence of this blog…returning to simpler times in a modern age. Remember, we already vowed to keep the washing machines, nothing too extreme here. Just good ol’ simple, real, natural living at its finest.
Assuming you’re here for simplicity (and a second helping of homemade ice cream), today, I bring you simplicity at its finest. Seriously friend, life and DIYs just don’t get any simpler than today’s fabulous project. Shall we proceed? Don’t worry, you can bring the ice cream with you. It’s on the house.
Unless you’re living under a rock, it’s hard to miss the clear signs that back to school season is upon us. Even if you’re not in the back to school season of life, deep down inside you must admit: there’s a teensy-weensy desire to pack a healthy lunch in one of those adorable little lunch boxes, with a super slick thermos (why didn’t they make those in the 90’s?), and eco-friendly cloth snack bag. Retailers do an amazing job at selling don’t they? Or maybe I just live way too much in the land of Nostalgia?
With the right gear in tow, lunch can be the highlight of the day.
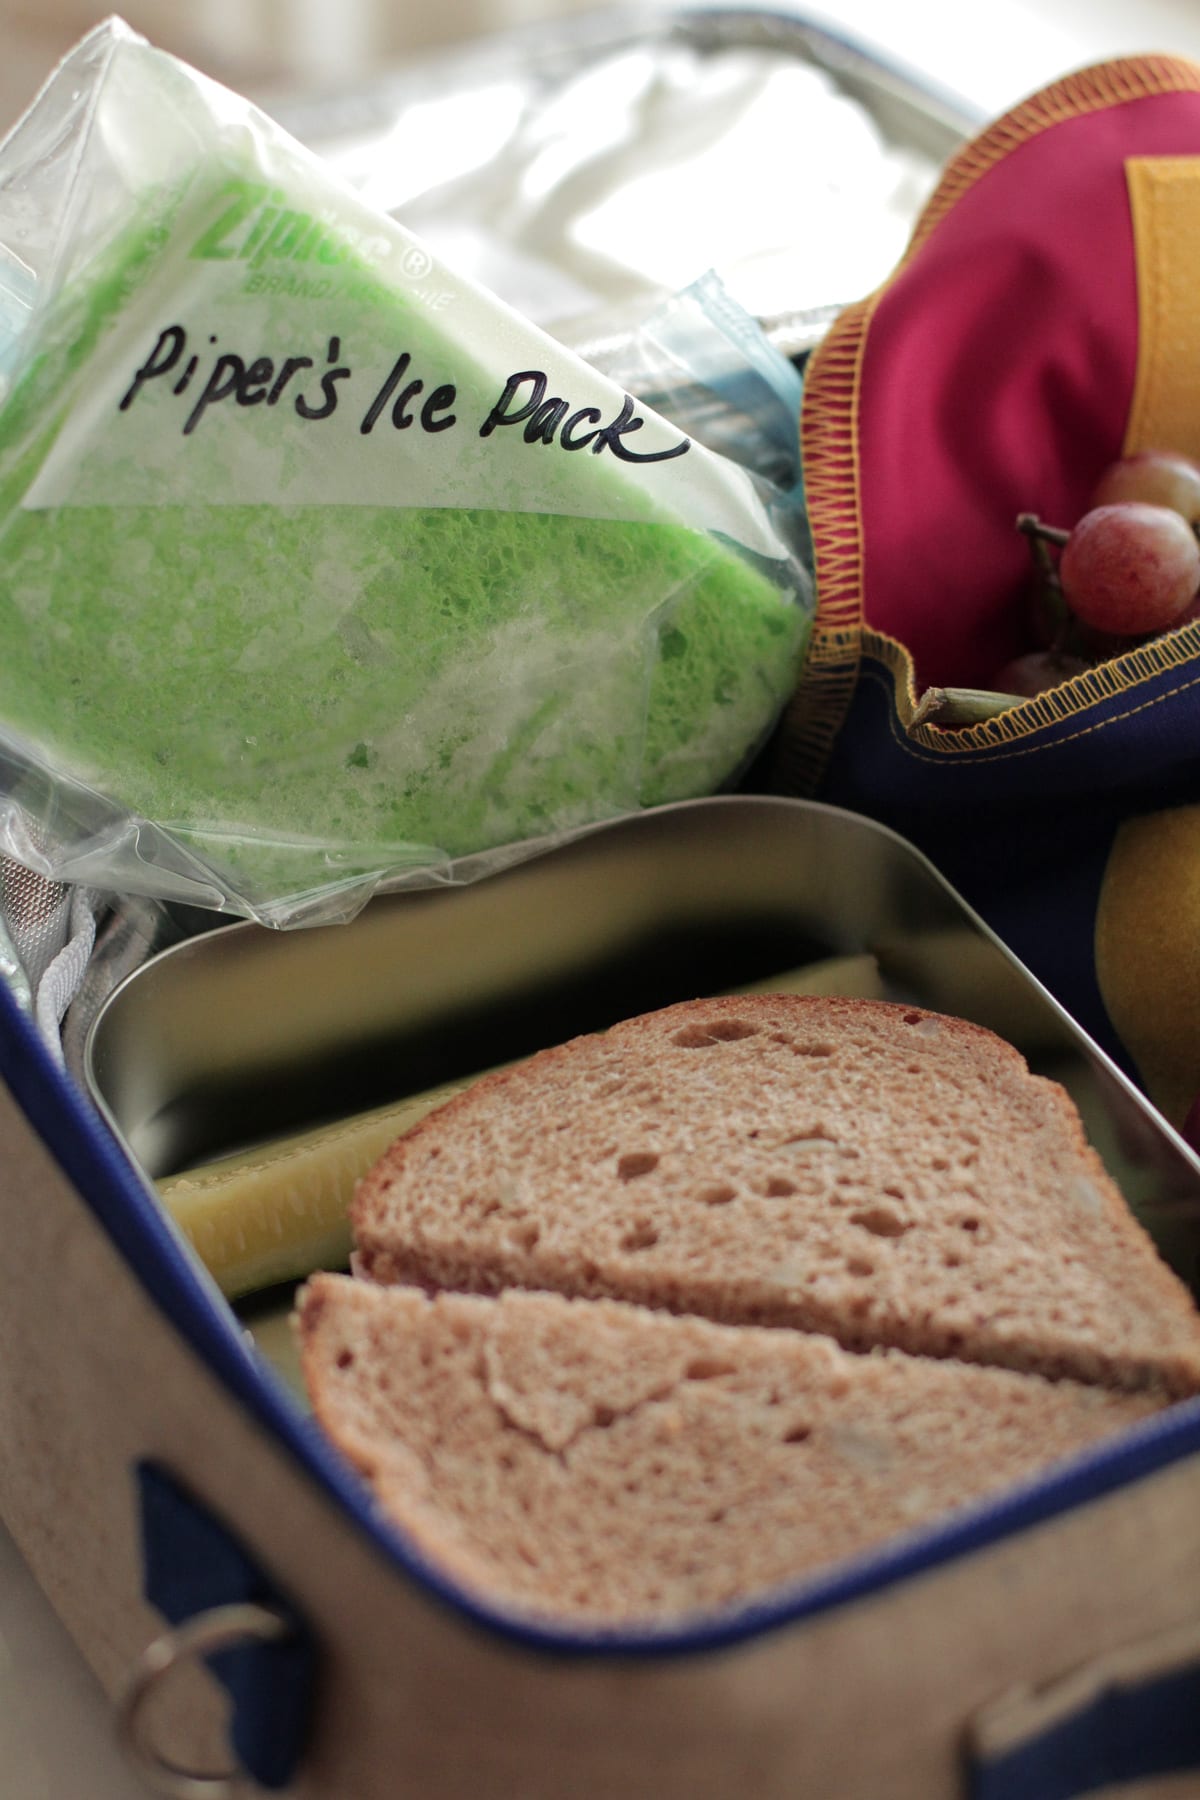
The moment finally arrives when you unzip your retro lunch bag and find a…NO!!!! Is that a warm lunch? The pastured ham and local grass-fed cheese have fussed together and not in a yummy kind of way. How can it be? What went wrong?
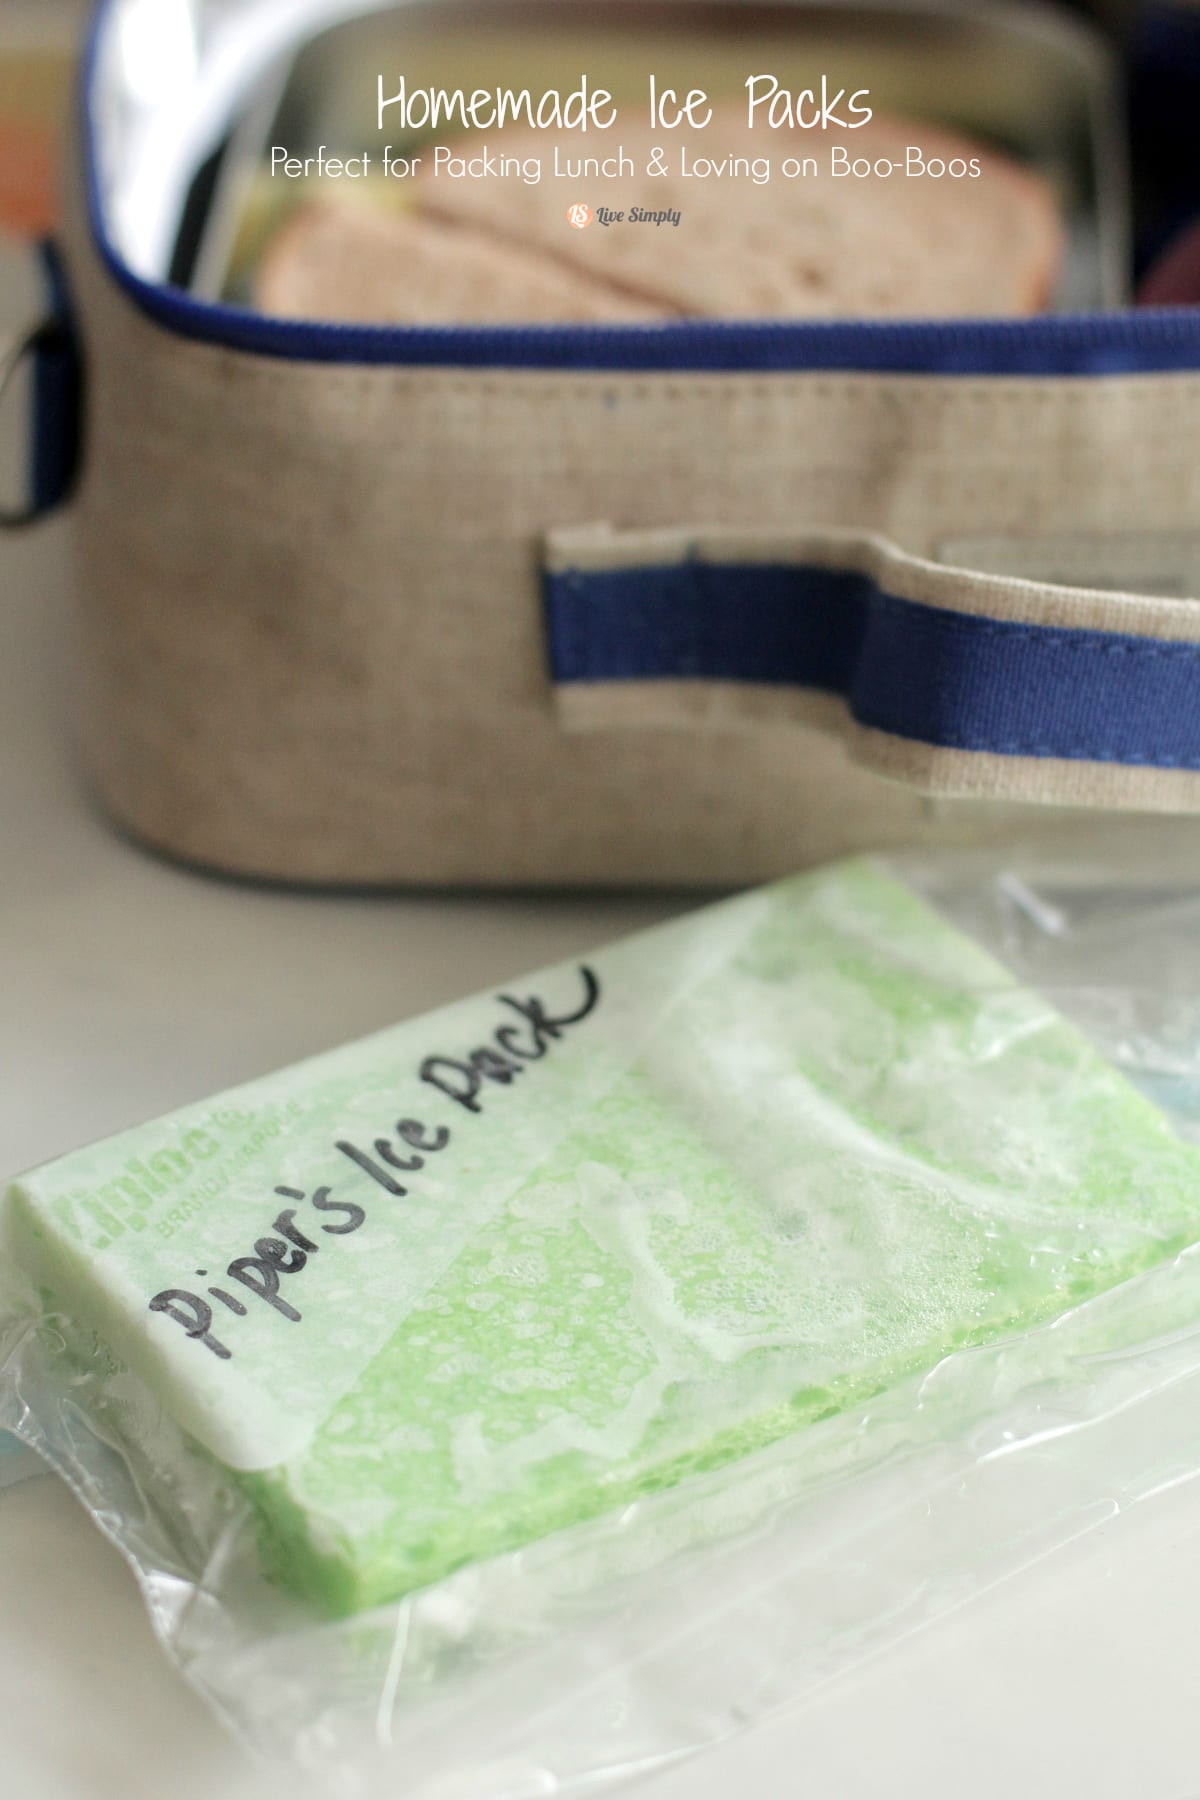
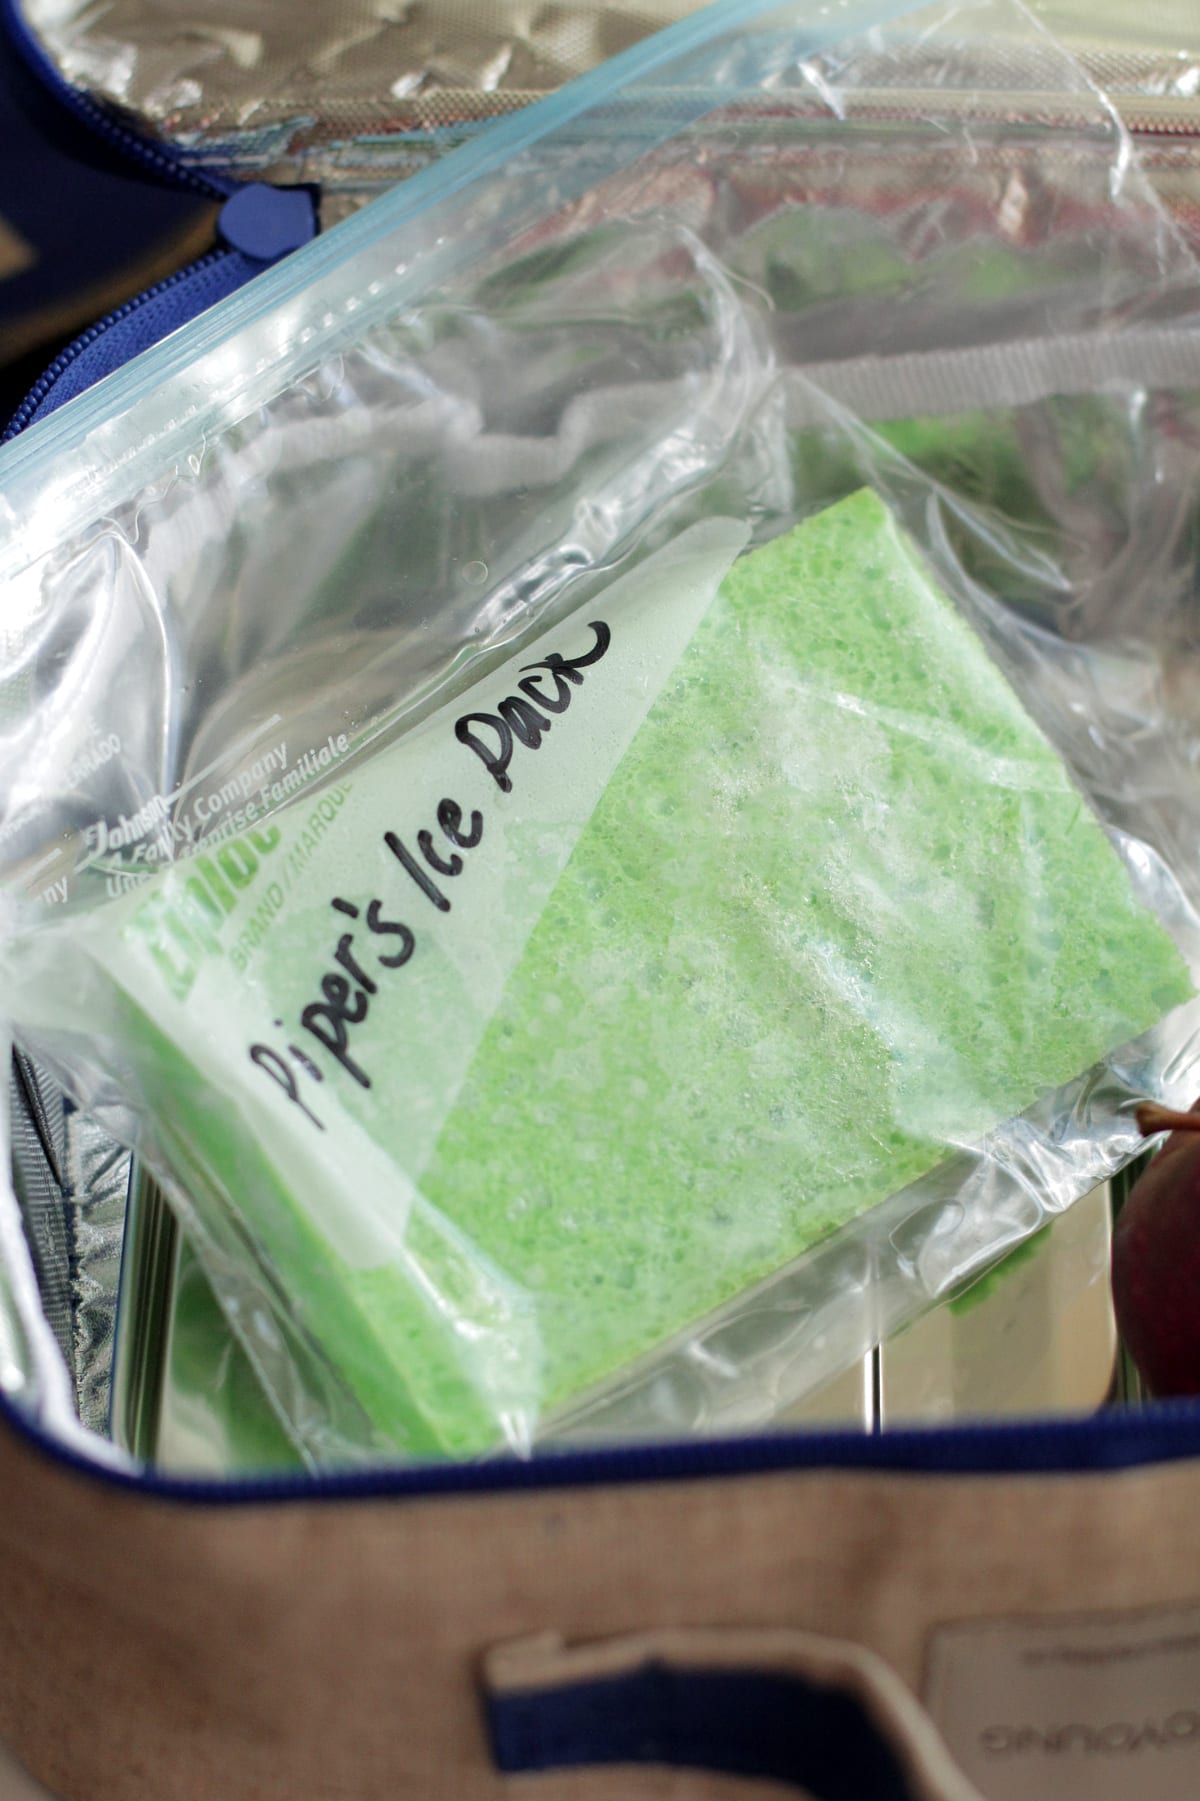
Friend, I’m about to reveal the secret to keeping lunch cold, and it doesn’t involve the expensive and semi-toxic (if you think about the mystery substance inside) ice packs sold in the store. Nope, the answer to your lunch woes is a super simple homemade ice pack made with just two ingredients already found in your kitchen. With five minutes of time, water, and a sponge, a ham-and-cheese-saving homemade ice pack can be made. Simple at its finest! So simple it’s brilliant.
So pack that ham and cheese sandwich on amazing homemade bread, and proudly open that hand-picked lunch box without fretting about the precious cargo inside. Simplicity is a beautiful thing!
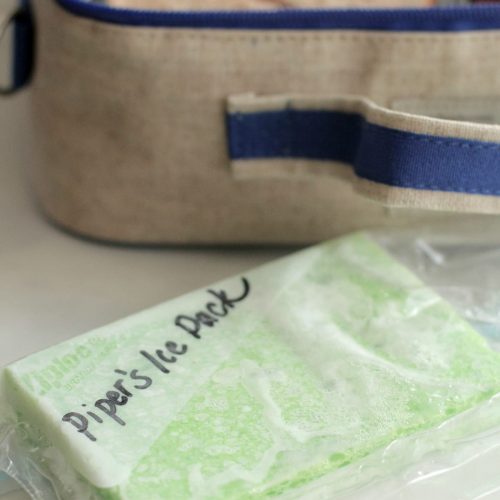
Homemade Ice Pack
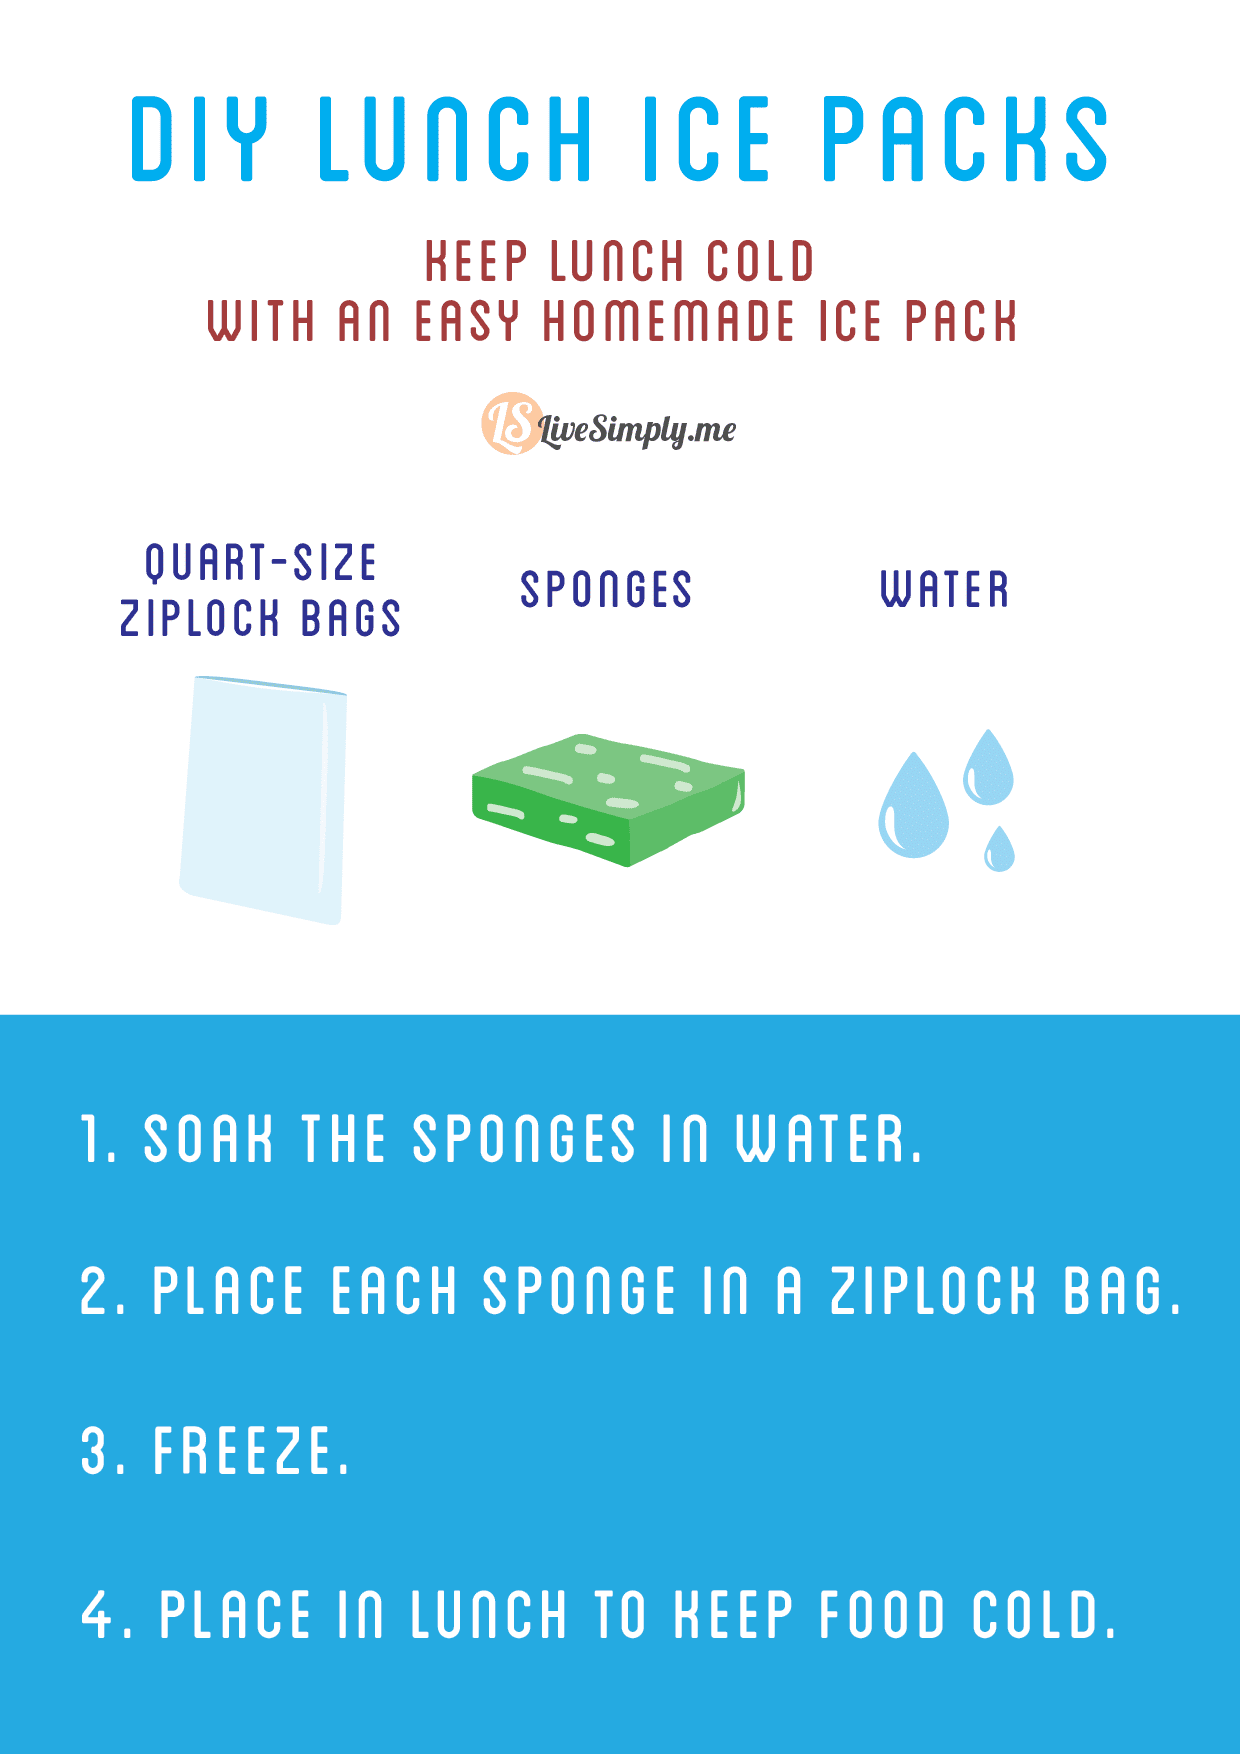
Ingredients
- 2 cups water
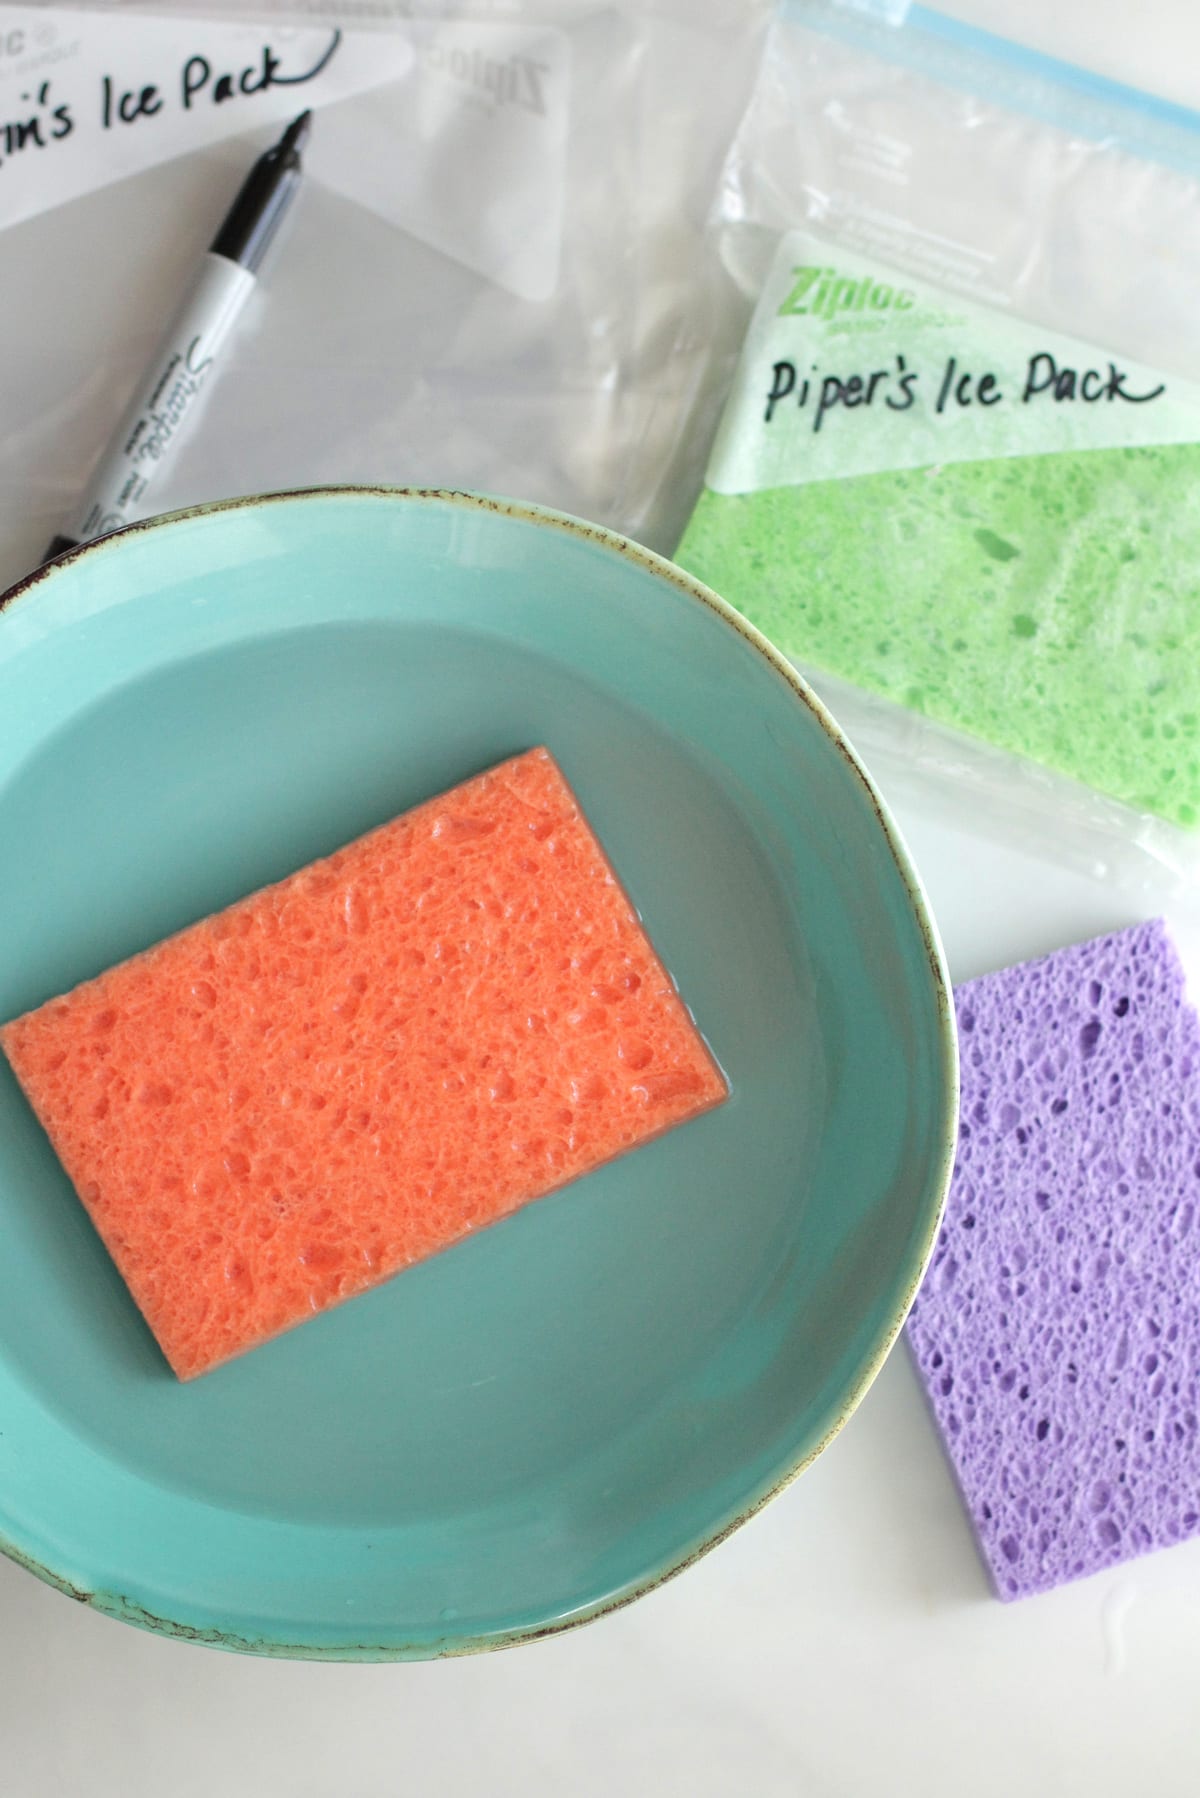
- 4 sponges or any absorbent sponge
- 4 ziplock bags sandwich size
Instructions
- Fill a large bowl with water. Immerse the sponges, one at a time, in the water.
- Remove each sponge from the water. Do not squeeze. Place one sponge in each bag, removing the air as you seal the bag.
- Freeze the sponges until needed.
- Reuse the sponges by repeating the process.
Homemade ice packs are perfect for keeping lunch cold or loving on homemade boo-boos.
More Simplicity:


Clever idea! I must also add that I LOVE Costco. We save a bundle and feel like the quality of the Kirkland products is excellent. I also agree that they carry a lot more organic/clean options than I would have imagined at least at our South Bend, IN location. Thanks for all the info and work you put into the blog.
Thank you, Susan! I agree–the Kirkland brand products are excellent! I’ve always been so impressed with the variety and quality. Thank you so much for sharing!
these would be great also for headaches, i have a ziplock bag w/ rice in it, but it like this idea. plus, i can cut it into the shape of an eye pillow too. awesome! thanks
Great idea, Bettina! Thank you for sharing!
I use these to put in my cat’s bed to keep them cool in the summer
Great idea, Natalie!
How long will one sponge pack keep a lunch cool, if it’s in an insulated lunch box? (Such a great idea!)
Hey Wendy, I only need my sponges to stay cold for about three hours (until lunchtime), but I’m sure they will keep much longer in an insulted bag. You could also wrap the baggie in a washcloth to help keep it cold even longer.
This is so neat Thank You for sharing this.
Hey Ramona, You’re so welcome! Happy lunch-packing :).
What an awesome idea! I’m totally going to Target today to buy some of these! And you could cut them smaller, if needed, or into fun shapes!
Thanks, Rachelle. I love the fun shapes idea. I can’t wait to see what you come up with!
Would it work if you put the sponges in Seal a Meal bags and just reused them, or would they get moldy?
Hey Terri, I’m not sure what Seal a Meal bags are. As long as the sponges are regularly returned to the freezer I believe they won’t grow mold.
What a wonderful idea! Simple and economical!
Thank you Michell. Enjoy!