Last week, our family spent some time getting ready for a new school year, mainly purchasing new shoes (how did their little feet grow two full sizes in just a few months?) and finding the right uniforms. The good news is that the kids are excited about a new school year (and their new shoes).
Don’t worry, we’re still enjoying the last few weeks of summer, too. There are plenty of popsicles left in the freezer.
Want to Save This Recipe?
Enter your email & I’ll send it straight to your inbox. And you’ll get new recipes & tips each week.
I really do love that we’ll be getting back to school soon. As a working mom, sending the kids to school provides me with a solid six hours of uninterrupted work time in the day–something that’s challenging to find during the summer months. I have a project that I would like to complete and share with you (a body-care resource), and those six hours are exactly what I need to cross the project finish line. And the kids are ready to get back to their Montessori work, too.
During the school year, we have to live by a schedule–something that’s incredibly appealing to my schedule-loving personality (#formerteacher). I find that our whole family just functions better when we have a set schedule during the week.
During the summer that schedule goes out the window (along with regular showers and everything else that’s expected during the school year, lol). Three months of a schedule-less home is just enough time for me to realize that schedules are a much-needed blessing.

As we prepare to embrace the scheduled season of life again, I’ve started taking some practical steps to making the first few months of the school year a smooth one.
First, I went through the kids’ closet and drawers– donating anything that no longer fits and taking inventory of socks and undies (school year essentials). I also grabbed the weekly clothes basket from the back of the closet. That basket is an absolute necessity for getting out the door on time during the school year. If you have kids at home, I highly recommend trying the basket idea.
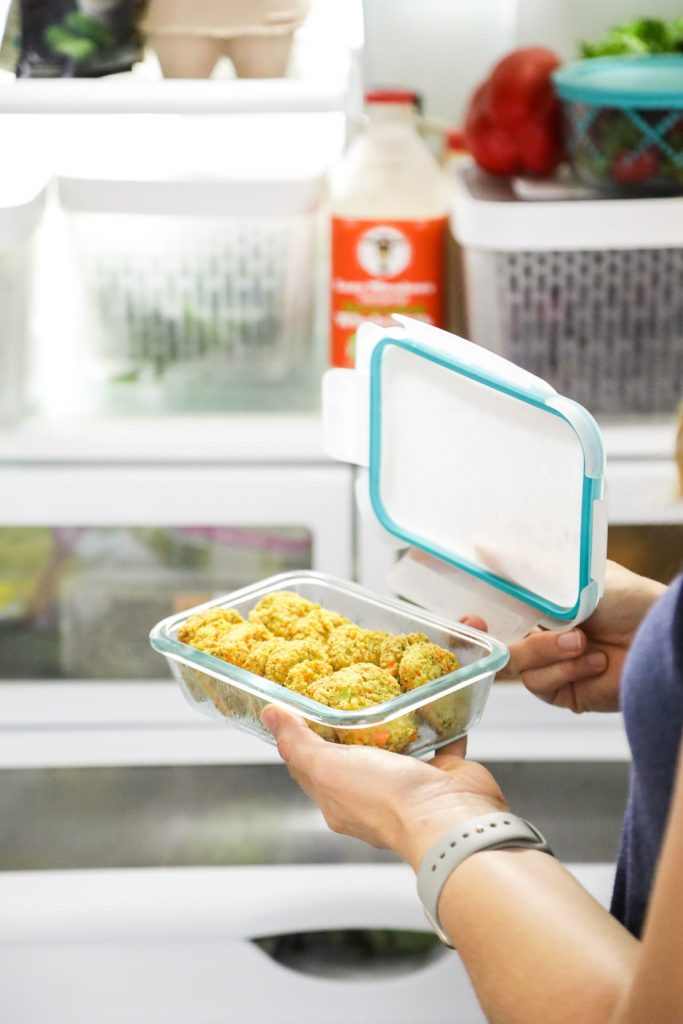
Second, it’s time to start thinking about a plan for school lunches…
My goal for school lunch is to pack a simple (because there is only so much time in a day), nourishing meal that the kids will actually eat (this means new food experiences are saved for dinner or the weekends). To keep things simple, I tend to pack the same foods over and over again: soups, leftovers (like chicken and rice), quesadillas, and sandwiches (like jelly and seed butter–their school is a nut-free campus, or tuna salad).
The kids are getting older, and a bit more opinionated about what they like, so we’re going to sit down in the next week to talk about what they would enjoy in their lunchbox this year. Together, we’re going to make a list of lunchbox ideas. A list that will be kept on the fridge for easy reference throughout the year. Maybe we’ll even assemble the ideas on individual cards and place them in a jar, and each week they can pull out a few cards (hmmm, how many?) to help shop and prep for their lunches. <–Maybe that’s being too ambitious? That sounds like a lot of work, doesn’t it? But it could be a way to keep lunch-packing fun and organized. Hmmm…
I’ll keep you posted on what we end up doing with our list of lunchbox ideas.
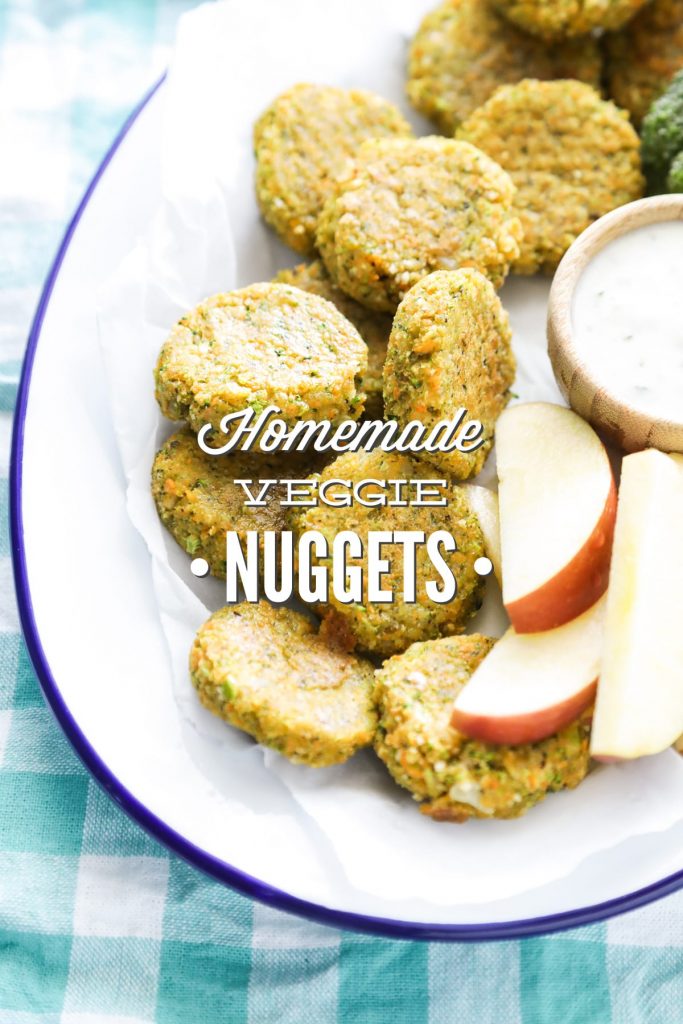
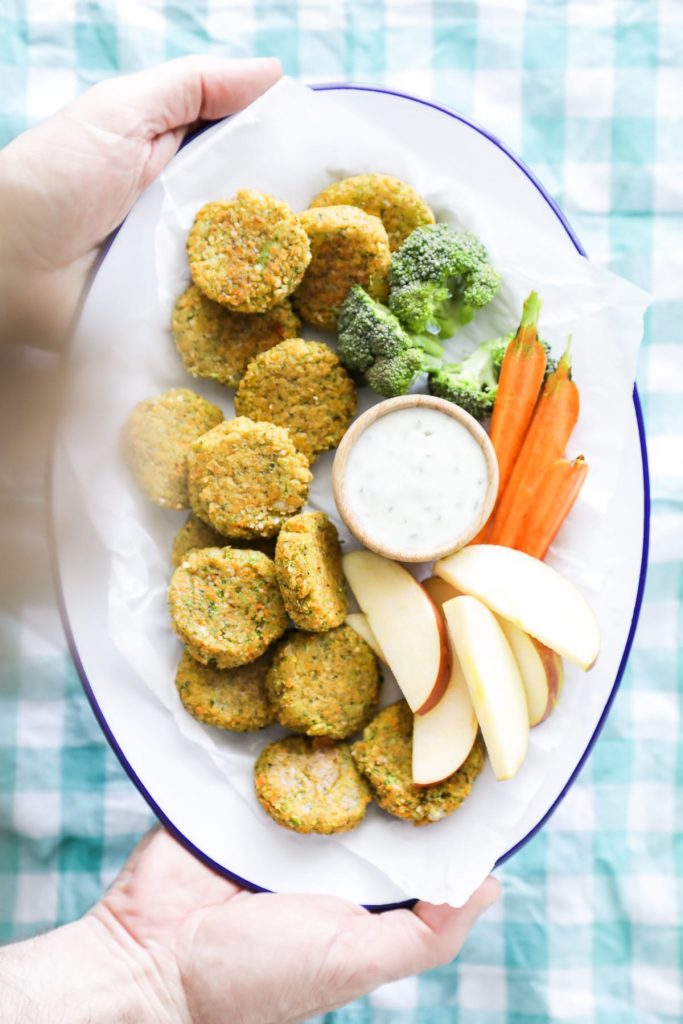
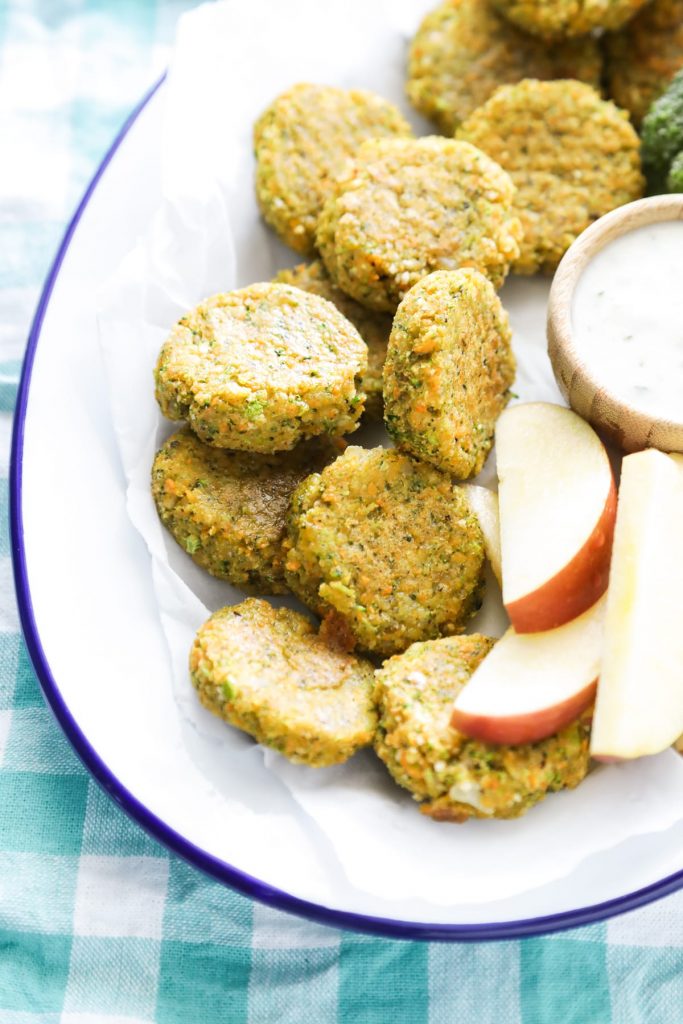
Today’s recipe, Homemade Veggie Nuggets, is one of the foods that will definitely be going on the list of lunchbox ideas for the upcoming year. These nuggets are made entirely out of veggies (along with some cheese and breadcrumbs), making them a fun way for kids (and adults) to enjoy vegetables and a nugget at the same.
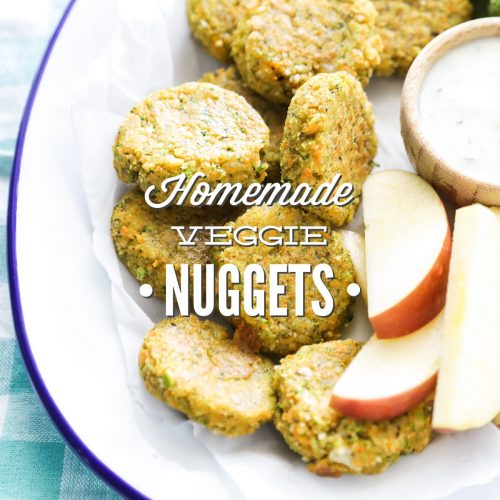
Homemade Veggie Nuggets
Ingredients
- 1 medium russet potato cooked and peeled, skin removed* (about 1 cup of cooked, peeled potato)
- 3 medium carrots peeled and roughly chopped (about 1 1/2 cups once roughly chopped)
- 2 medium broccoli crowns roughly chopped (about 2 1/2 cups once roughly chopped)
- 3 medium garlic cloves (or 1/2 tsp garlic powder)
- 1 cup breadcrumbs
- 1/2 cup finely shredded cheddar cheese
- 1 tsp salt
- 1/2 tsp black pepper
- 1/4 tsp paprika (optional)**
- 1 egg whisked***
Instructions
- Preheat the oven to 375F.
- Add the veggies to the food processor (cooked potato, raw carrot, raw broccoli, and garlic cloves). Pulse until all the ingredients are chopped very small. Add the remaining ingredients, whisking the egg first before adding it to the food processor, and pulse until the ingredients are well combined.
- Use a cookie scoop, if desired, to form balls about 1” in diameter.
- Set the balls on a parchment-lined cookie sheet and spray (or lightly rub) a bit of oil (such as: avocado, coconut, or olive oil) on the parchment. Slightly flatten the balls.
- Bake the nuggets for 15 minutes, flipping once (you'll need a heavy spatula, like a metal spatula, to get under the nuggets), or until lightly browned on both sides. They will be soft and tender.
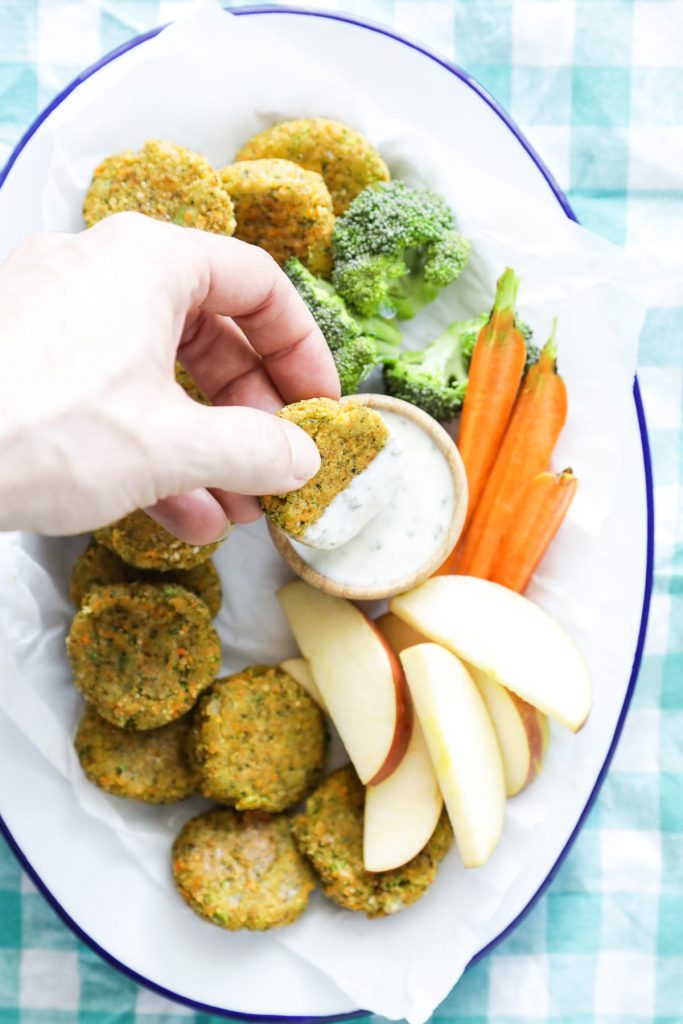
- Allow the nuggets to cool for 10 minutes (or longer) until they're easy to handle. Enjoy the nuggets plain or with a dip (honey mustard, ranch, or ketchup).
Nutrition
Hi! Any suggestions on substitutes for the egg?
Hey Shelley, Possibly a flax egg?
How do you think the nuggets would turn out without the cheese?
Hey Elizabeth, Probably okay, but that’s just a guess.
These look great. It we don’t usually have so many fresh veggies on hand. My lottleset refuses to eat pretty much everything. Can any of the veggies come from frozen?
Hey Kim, You could try frozen veggies. The only issue may be the extra water content that comes from using frozen veggies, so you’d probably want to defrost and squeeze out the extra water first before chopping everything.
Hi, Kristin, did try it with the cauliflower and it worked out great! Put about the same if not a little less than the broccoli. My picky son ate it and that says a lot! We ate them with a chipotle dip, yum!. Thanks for your great healthy recipes!
Yay, Linda! That’s so great to hear!! The chipotle dip sounds amazing–great idea.
Can you add maybe some cauliflower and zucchini to this recipe to add to the healthiness?
Hey Linda, You could probably add cauliflower without any issue. Zucchini has a high water content, so you’d need to shred and squeeze the water out first before adding it to the mixture. If you try either one, I’d love to hear how it goes!
Do you have a suggestion on a gluten free bread crumb I could use to make these gluten free? They look delicious and I think my kids would love them!
Hey Monique, Ian’s brand makes a gluten-free panko bread crumb that would work. Here are “homemade” options, too: http://thismessisours.com/recipes/3-secrets-taking-bread-out-of-gluten-free-bread-crumbs-gluten-free-vegan/.