Want to Save This Article?
Enter your email & I’ll send it straight to your inbox. And you’ll get new recipes & tips each week.
My journey to simplicity started with food. Little did I know ditching the processed food and learning to use my oven would ignite a fire within my soul for getting back to simple living.
Now, I’m not talking about throwing out the washing machine and bathing in the creek (all power to you if you want to go that route), rather slowly making changes to take back the food we eat and products used with clean, real ingredients. Companies daily fill our heads with the idea that we need to buy lotion, granola bars, and make-up. Trust me friends, I used to buy into this mentality too, until my “aha” simplicity moment. The moment I realized I don’t need a company feeding my body toxins disguised as food or body products loaded with ingredients my skin (and body) can’t recognize.
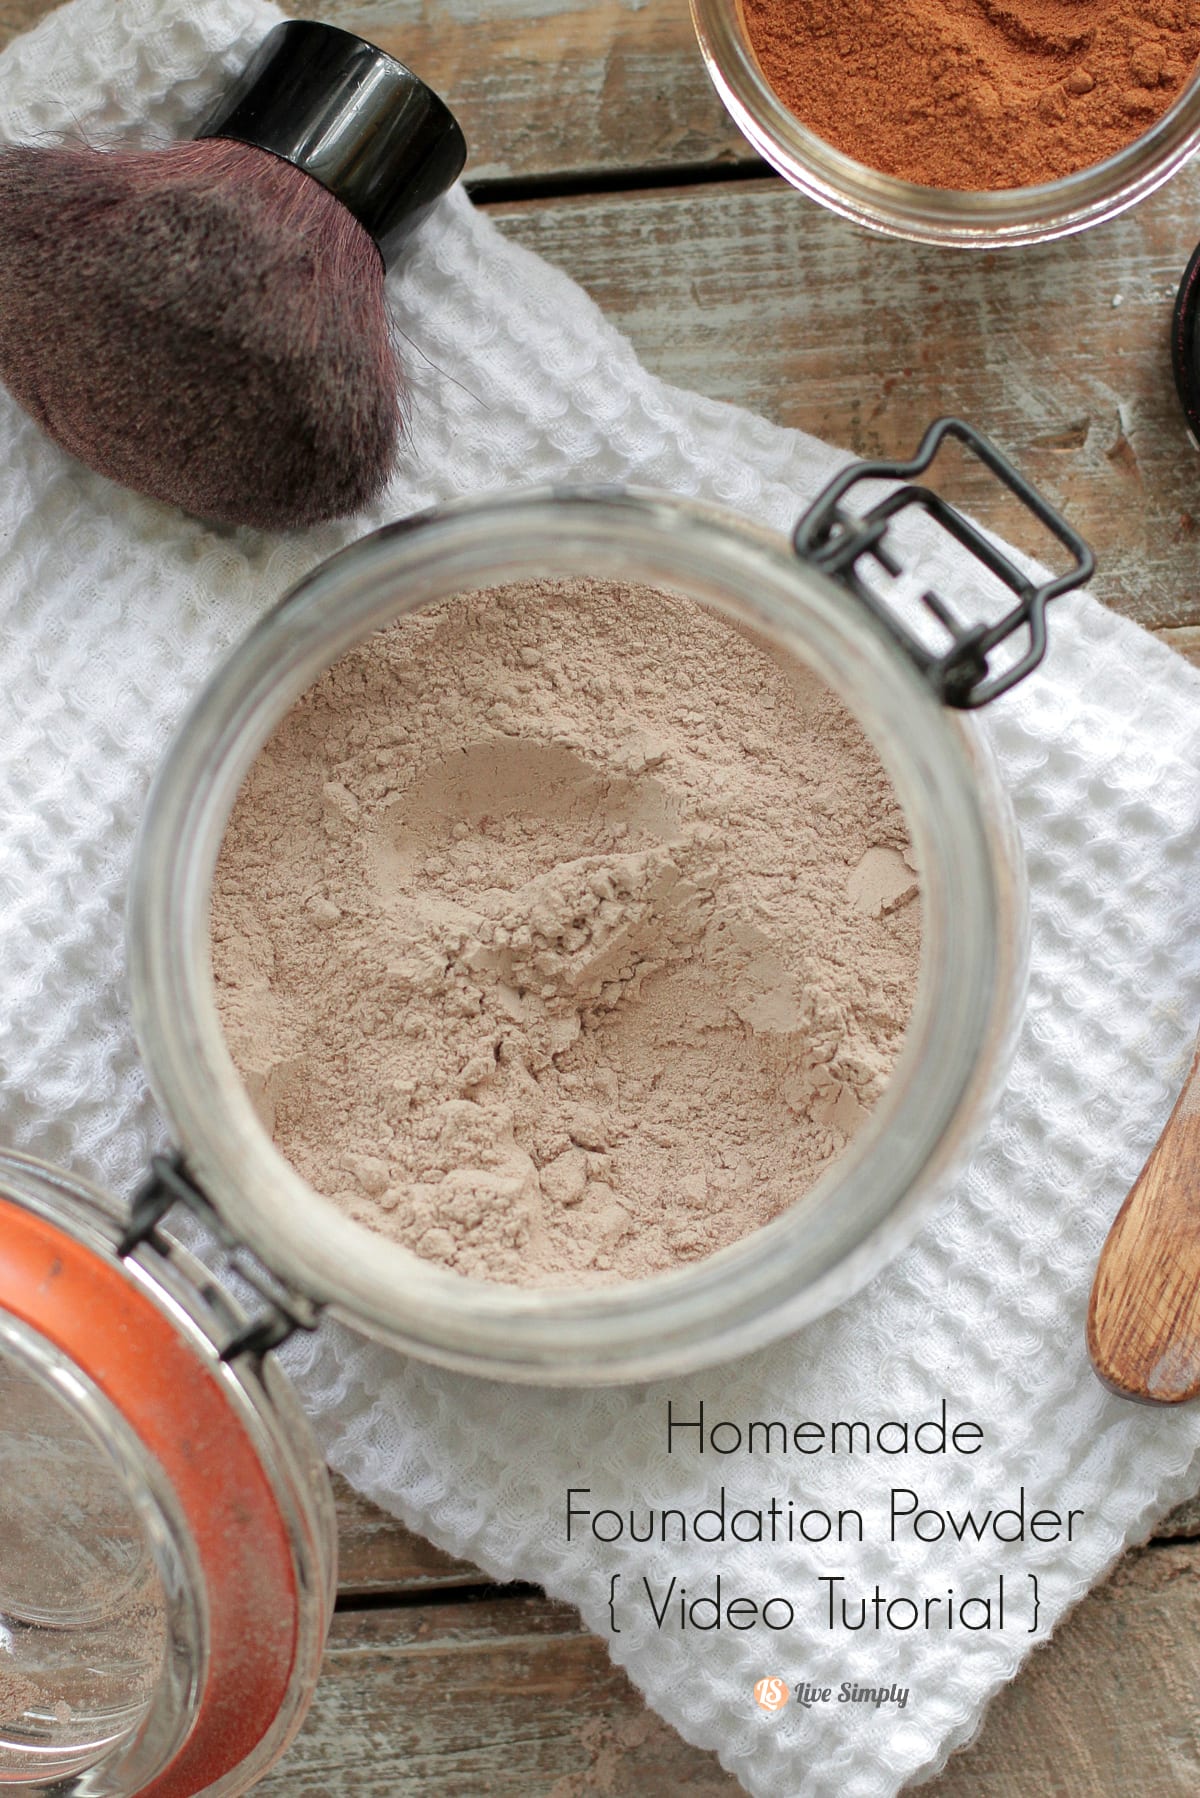
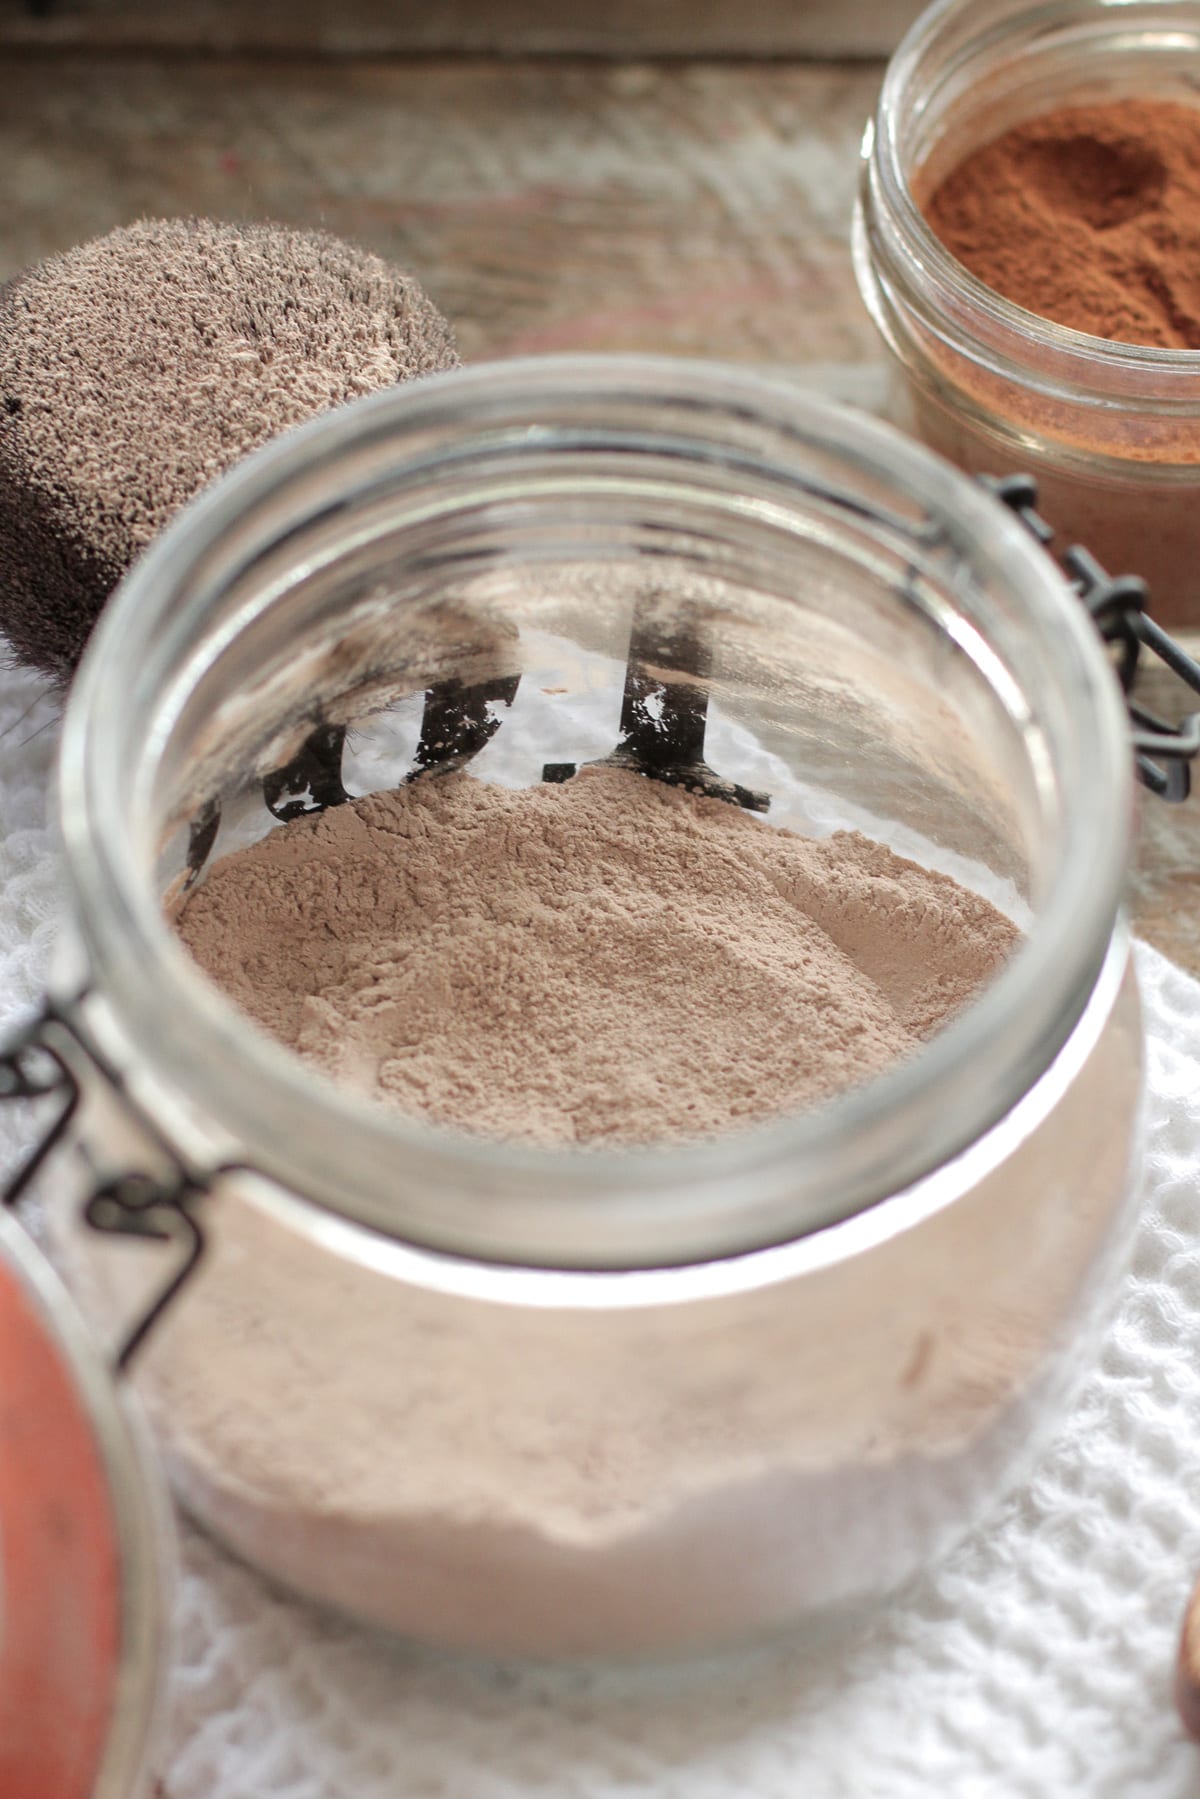
One of my first DIYs was a simple foundation powder. With a bit of cocoa powder, healing clay, arrowroot starch, and a handful of spices, I whipped up a homemade foundation powder that quickly replaced my favorite store-bought powder. Over time as I switched out more products for homemade versions like: toothpaste, laundry soap, body wash, and lotion, I realized making my own products saves money.
Since publishing my first DIY (homemade foundation powder), I’ve received many questions: Does this actually work? How do you mix it? How does this look on your skin? I try my very best to answer each question, but without a visual, words can only explain so much.
I finally braved-up and faced the camera without any make-up to bring you a video tutorial on how to make this wonderful homemade version of foundation powder. This video is designed to demonstrate making foundation powder start to finish, including what the powder looks like when applied to the skin. You can find the original recipe (and lots of comments, questions, and answers) here. I’ve also provided the recipe (unaltered from the original) below.
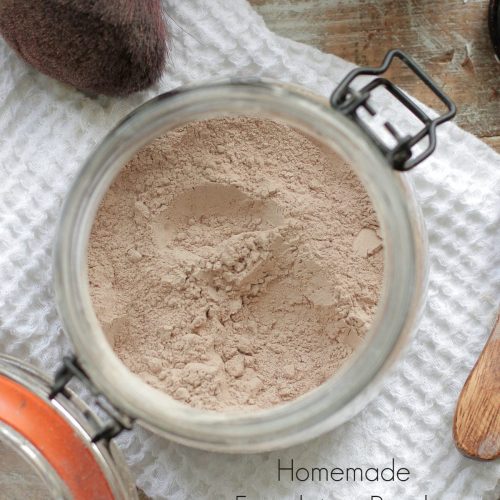
Homemade Foundation Powder
Ingredients
- 1/4 cup arrowroot flour starch similar to corn starch (a thickening agent), but without the GMOs.
- 2 TB unsweetened cocoa powder or cacao powder
- 1/2 tsp ground cinnamon
- 1/4 tsp ground ginger
- 2 tsp bentonite clay or kaolin (very gentle), or French green
Instructions
- Gather your ingredients and a non-metallic bowl (Bentonite Clay should not come in contact with metal). The amount you use of each ingredient will greatly depend on your skin complexion.
- Mix all your ingredients in the bowl, starting with the arrowroot as your base. Add each ingredient, adding the cocoa powder slowly, one tablespoon at a time, until you reach the desired shade. Whisk together.
- Test the color by placing a small amount on your face (or arm) with your finger or a brush. It may take a little tweaking the first time to make the perfect shade for your complexion.
I’m so excited to try this recipe, I don’t ha e arrowroot powder but do have xanthan gum, could I use that instead? Thank you
Hey Sandy, I’m not very familiar with xanthan gum, so I can’t say for sure if it will work.
I use quite a bit of xanthan gum in my DIY recipes and while it works so well to naturally thicken homemade shampoos (you only need a pinch) and to even emulsify oils and water phases if they aren’t too complex (it acts like a physical emulsifier….it physically keeps the water and oil blobs at a close distance to each other but doesn’t allow each to coalesce to one another and separate), it’s real job is to draw in water. In this application where you want this to be a fine, dry (at least dry of water) powder, using Xanthan gum will no doubt draw water into it by one of two means….by getting the moisture from the humidity in the air or drawing it from your face. So to make a long story short, I don’t think it will work as you were hoping it would. It would become thick from outside moisture or dry your skin out badly. Things like clays are better because they tend to draw out oils and toxins and doesn’t draw water in too well as anyone who has ever struggled to make a mask from a clay like Bentonite would know. The high electrical charge the clays have make it better for toxins, a better base for this powder than xanthan gum. Plus, xanthan gum is so incredibly expensive, it would be a shame for you to use it on a powder like this and not be happy with it. In a pinch, use corn starch if you have it (it’s often a GMO product but at least you can get the other materials for later while you have something more useful for the powder now. So sorry my answer is so lengthy but I do hope my “book” has helped you 🙂 lol
Hi Kristin! This was a suggested DIY after reading about a lotion (which I’ll be making as soon as I get my hands on the carrot seed oil I ordered). I use Bob’s Red Mill brand and have tapioca flour; I shouldn’t have a problem if I use this instead of arrowroot right? I can’t wait to make this and am going to try the benzonite clay. Thank you!
Hey Kathryn, I’ve never tried using tapioca flour and don’t have much experience with that flour even in baking. If it’s a fine, powdery flour then I think it will work well. Start with half this recipe, just to make sure the tapioca will work.
You’ll love bentonite clay, it’s pretty amazing stuff. I also use the clay twice a week for a facial mask.
hello do you have recipe for liquid foundation?
i have very dark acne scars and needed full coverage
thanks much for all your ideas
sooraya
Hey Sooraya, I don’t have a liquid foundation recipe. After many failed homemade experiments, I purchase an organic concealer to wear under this foundation powder for special events. I use Pacifica brand; they also make a liquid foundation.
Pacifica is amazing!! That’s what I use too. I have never been able to get these natural
colourants to work in a liquid form. I think the pigments are just not naturally dense enough. But yes, Pacifica all the way for the thinks I can’t and now won’t bother to make when they make it so beautifully and naturally. 🙂
I made your foundation recipe and am happily surprised at how well it works. Once I felt comfortable with it I made some for my daughter who pays a lot for her mineral make up. She likes it! This will save us both a lot of money and help her skin, because she typically wears a lot of her other foundation and it wasn’t good for her skin. Thanks for sharing.
I’m so happy you like the powder, Mindy! I love that you made some for your daughter too. Enjoy!!
Beautiful!! Thank you, I’ll be making this..
Thank you, Susan!
Great video Kristin! I was actually wondering if you shot this with you Canon 6D? I am on a mission to find a great camera for my videos and love the look of this. I have to say, also, I made the powder and LOVE it! Any tips for getting it to a finer consistency? I actually added some beet root powder and it has such a grain to it.
Thanks for all you do!
Hey Jennifer,
Thank you. This was shot with my Canon 60D (the same camera I use for photography). You can find the equipment we use here: https://livesimply.me/resources/resources-for-food-bloggers/.
I’m so glad you like the foundation powder. If you have a spice grinder I would run the powder a few times and then use a cheese cloth to separate the grain from the powder. The beetroot powder will cause the grainer texture, but the refining and grinding should help.
You are a wonderful videographer!! I can’t imagine making a video of my DIYs…no one would watch because watching the grass grow would be more exciting…lol. Your’s looks so beautifully shot and perfectly edited. Just a gorgeous video. 🙂
Thank you, Dani H!
Hi
Do you have ideas for eyeshadows?
Hey Elizabeth, Here’s a good recipe for eyeliner from a blogger and friend: http://www.healthstartsinthekitchen.com/2013/12/27/homemade-eyeliner/.
Hiya, just wondering why you have included ‘hot’ spices in your mix like cinnamon, nutmeg and ginger? What is the purpose of them in the mix? Those spices can literally strip the hide off of someone with sensitive skin, so I’m wondering if it is for the color they add to the mix, or is it because you feel they ‘stimulate’ the skin for added color? I’m not trying to be critical, just wondering the purpose because for someone with sensitive skin, maybe other types of clays would be a better option? Thanks…
Hey Cathy, The small amount of cinnamon used shouldn’t cause any irritation. I wear the powder daily and have very sensitive skin. But, if you’re concerned with irritation, I would suggest leaving it out or cutting the amount in half. The spices add a warm “glow” to the powder.
If your skin is that sensitive Cathy, you might benefit from what I do and use NOW brand’s Moroccan Red clay as the base (it’s not really red at all…it looks like a darker bronzer colour) and then just add the lighter powders to scale the colour down rather than start white and build the colour up. Hope that helps.
Thank you so much for this ! It is really easy ( and so cheap) to make and it works wonderfully ! May be it’s because I use a coconut oil based face cream before applying the powder but it find it sticks perfectly well. I love that it is made with such healthy ingredients, and good for the skin ! What I like most about this powder is that I am not afraid to reapply some in the evening before going out. Having a skin quite prone to acne, any other powder always left my skin looking worse the next day. It smells great (I used tea tree oil) and leaves my skin feeling so soft. I have been using for a month now and I am just so happy with it 🙂 !
Hey Eloise, Thank you so much for sharing. I agree, I loved that this powder leaves the skin feeling and looking great! And being able to reapply without worrying about breaking out is a huge plus!!
it worked. thank you very much 🙂
Yay!! I’m so glad, Marlene. Enjoy!!
Where do you buy the zinc oxide? The link is not working. Thanks! I have enjoyed reading your site.
Elaine did I miss something here?
I didn’t see zinc oxide written as an ingredient !
Hey Fahmeida, It’s not. She wanted to add some. I think she saw the link on a different page here on the blog.
hello. i’ve made this today, and the color is very cold, and grey, where yours are more warm. what have i done wrong? 🙂
Hey Marlene, I think adding more cocoa powder (1/2-1 teaspoon at a time) will help bring warmth to the powder. Let me know if that helps.
Can you substitute peppermint oil for the lavender oil?
Hi Shannon, Peppermint it a “hot” oil and when applied without a carrier oil can burn and irritate the skin. I think the peppermint would create an irritating powder.
Hello,
I made this foundation last night & am unsure of what I’ve done wrong but when I put it on my face the powder seems to stick in my pores & I look spotty. Any way to fix this? It’s made a lot & seems a shame to waste it.
Thanks
Hey Caitlyn, I’m sorry to hear your powder is sticking. I wrote about this issue after a couple readers expressed an issue. You can find my tips in the question/answer section of the original recipe post here: https://livesimply.me/2013/06/27/homemade-foundation-powder/
Thanks heaps, i’ll have a look. Might just need a bit of tweaking
No problem, let me know if you have any questions :).
I don’t know if you eventually fixed your issue, but I was having the exact same problem with the powder being patchily applied – I noticed that when I changed the brush from a flat-top kabuki style brush to a blush/powder brush (as the author of the foundation powder recipe recommends), it worked fine for me after that… I don’t know if that has something to do with it?
Very interesting, Indrani! Thank you for sharing.
I leave the powder dry. Maybe if the oils are not completely distributed perfectly throughout, the colour might not go on evenly. I love the idea of the oils but I have the greasiest skin and fear oil where I might be able to do without it. Plus the oils may cause this mixture to become rancid faster, wouldn’t it? Where the dry powder blend should last a very long time, no? Please, please correct me if I’m wrong. I really want to learn whatever I can. 🙂
Hi Kristin! Just made this recipe and tried it on my wrist and I LOVE it!! My comment/question is actually about your tools you use. 🙂 where did you get that wonderful wooden spoon? I’ve seen it throughout your posts and I just love it! Thanks so much for this recipe and all your others. 🙂
Hey Tiffany, Thank you so much. I’m so glad you love the foundation powder! That little spoon is my absolute favorite (I’m sure you can tell from pictures ;)). I found it at a local kitchen store. I get the rest of my bottles, jars, and utensils from Home Goods or Pier 1.
Thank you!
I loved this video! Great idea Kristin.
Thanks, Laura!
I am pregnant and have read not to use essential oils. Is there something else I could use that would work well?
Hey Ashley, Somehow I missed your question. I apologize! Some essential oils are safe during pregnancy, lavender I believe is one of them. You could also leave out the essential oils.
Does this have an “expiration date” because they’re all natural? That recipe makes a lot of foundation! 🙂
Hey Beth, No expiration date. If using the essential oil, I’d try to use within a year. Enjoy 🙂
What a great video. Love your blog. How did you compress your blush. I made the recipe on the blog and its a loose powder but I liked how you had it compressed.
Kristin, I love this idea! I’m totally making this! Thanks for the recipe and I LOVED the video!! It was beautiful 😀
Thank you, Diana! I hope you like the powder- I love how lightweight it feels while still providing good coverage. Enjoy :).