I love makeup!
In fact, I find makeup to be pretty magical!
I can wake up in the morning, gulp graciously sip down my lemon water, coffee, green juice, eat breakfast, and dab a little makeup on and suddenly I go from “Who is that woman?” to “Wow! Who is that woman?”
Okay, maybe I’m not stopping traffic, but for a mom of two little kids, makeup somehow possesses the magical powers to make me feel “put together.” I can go from frumpy to polished, ready to hit the playground and looking half-way decent while doing so.
Who pays attention to the multiple stains from morning breakfast splattered on my shirt, the 5 dirty wipes stuffed in my pocket about to fall out, and the hair that hasn’t been washed in two days, when I have makeup on?
At least that’s what I am telling myself…please don’t burst my mommy bubble!
I love makeup, but I have a problem.
Makeup does NOT love me.
I have seriously sensitive skin.
The moment any foreign substance comes in contact with my skin, it attacks! Leaving behind some serious battle scars. In my late teen years I began to battle break outs here and there. I believe this was largely due to my poor diet and the amount of chemical-ridden “beauty” products I used. My face would always react poorly and I would turn to more chemicals which promised to help “beautify” my skin.
Real food has certainly helped my skin! The past few years I have seen huge improvements in the condition of my face in particular.
About 6 months ago (update as of September 2014: I’ve been making homemade products for two years), I decided food wasn’t enough and so I ventured down the world of “natural” beauty products: soaps, deodorant, and toothpaste.
I’m talking real, natural products.
I scoured the aisles in stores and was greatly disappointed to find all the “natural” products (Aveeno, Burt’s Bees, even Arbonne) were far from real ingredients. Since the skin absorbs anything that is placed on it within a mere 26 seconds, I wanted my products to contain ingredients I would feel safe floating around in my bloodstream. I wanted products made from ingredients I could eat.
I finally found what I was looking for. I use a local line of products which contain food-grade organic ingredients for soap, lip balm, and toothpaste. I purchase Primal Pit Paste for deodorant. Even after searching and searching I couldn’t find makeup products which suited my new requirements. Why not make my own?

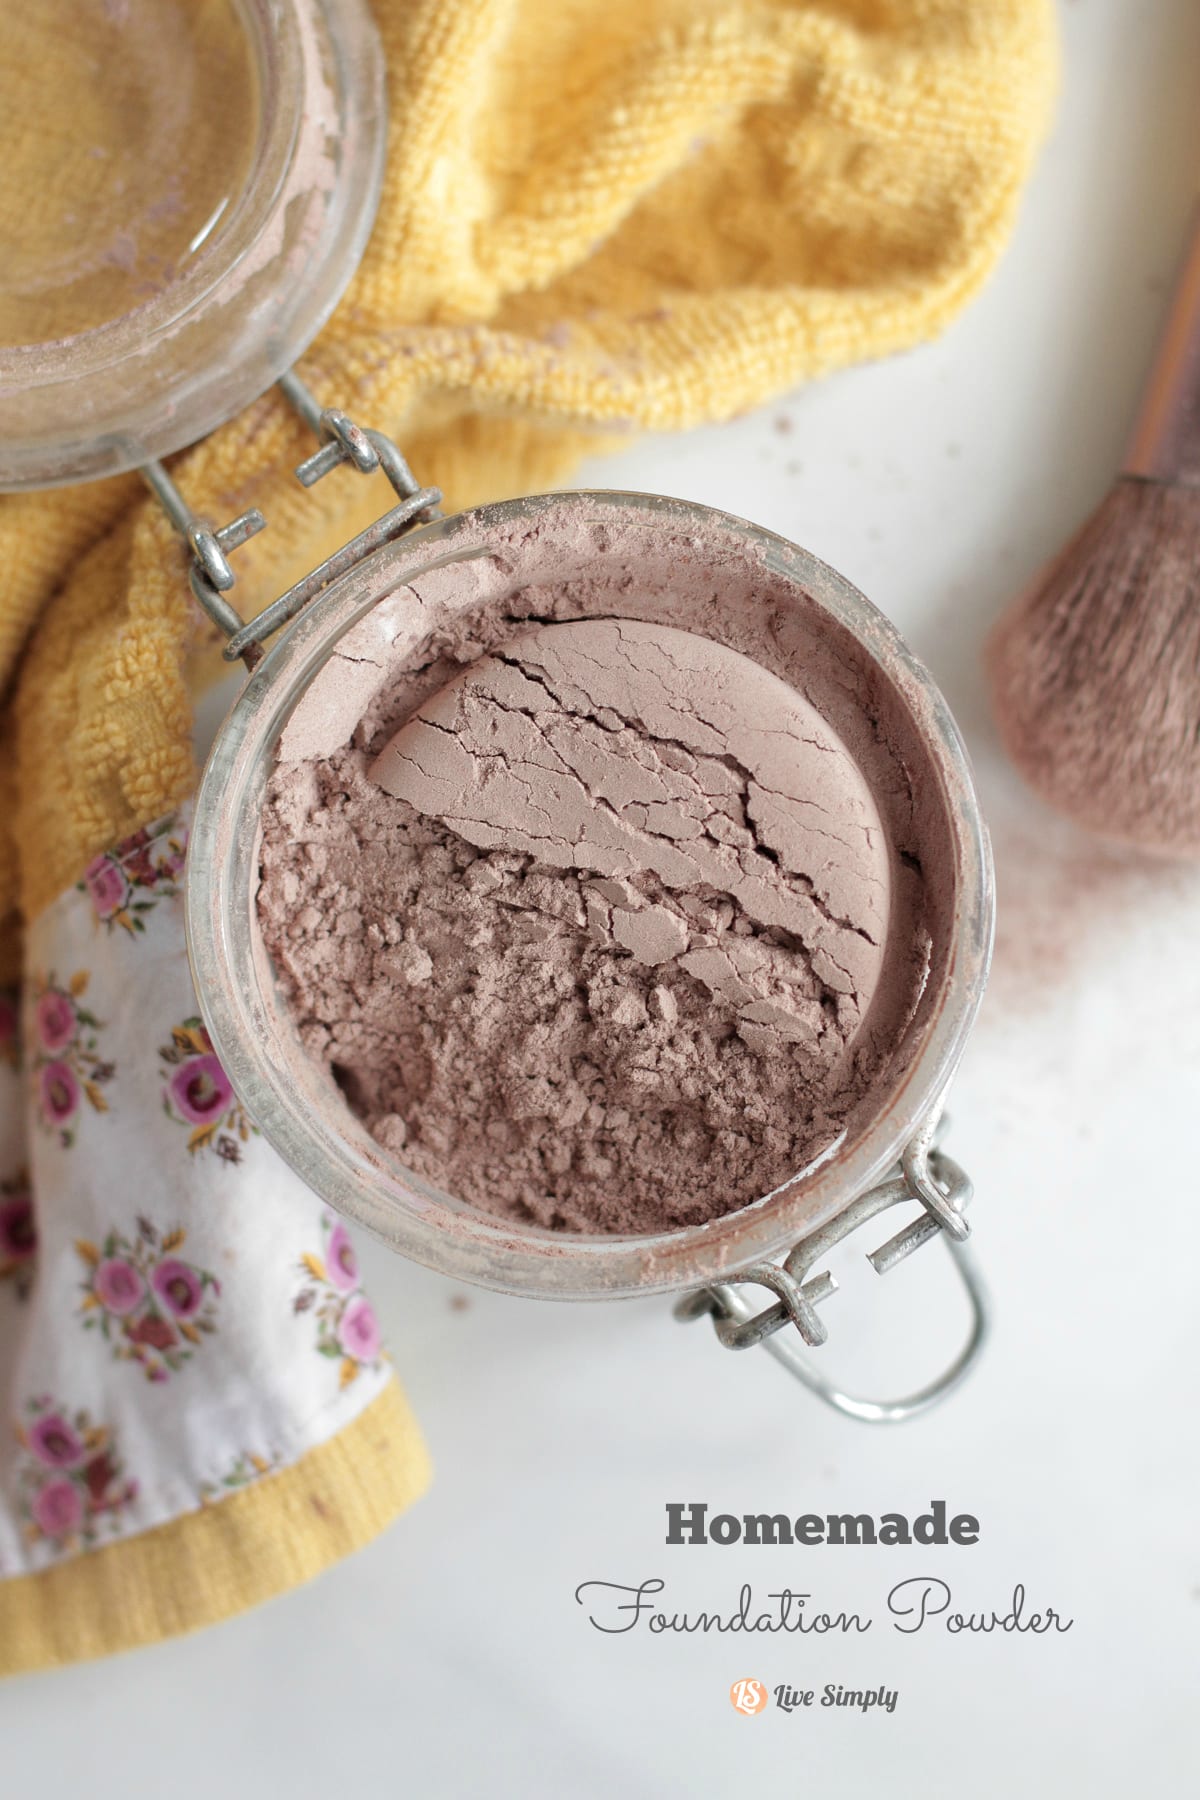
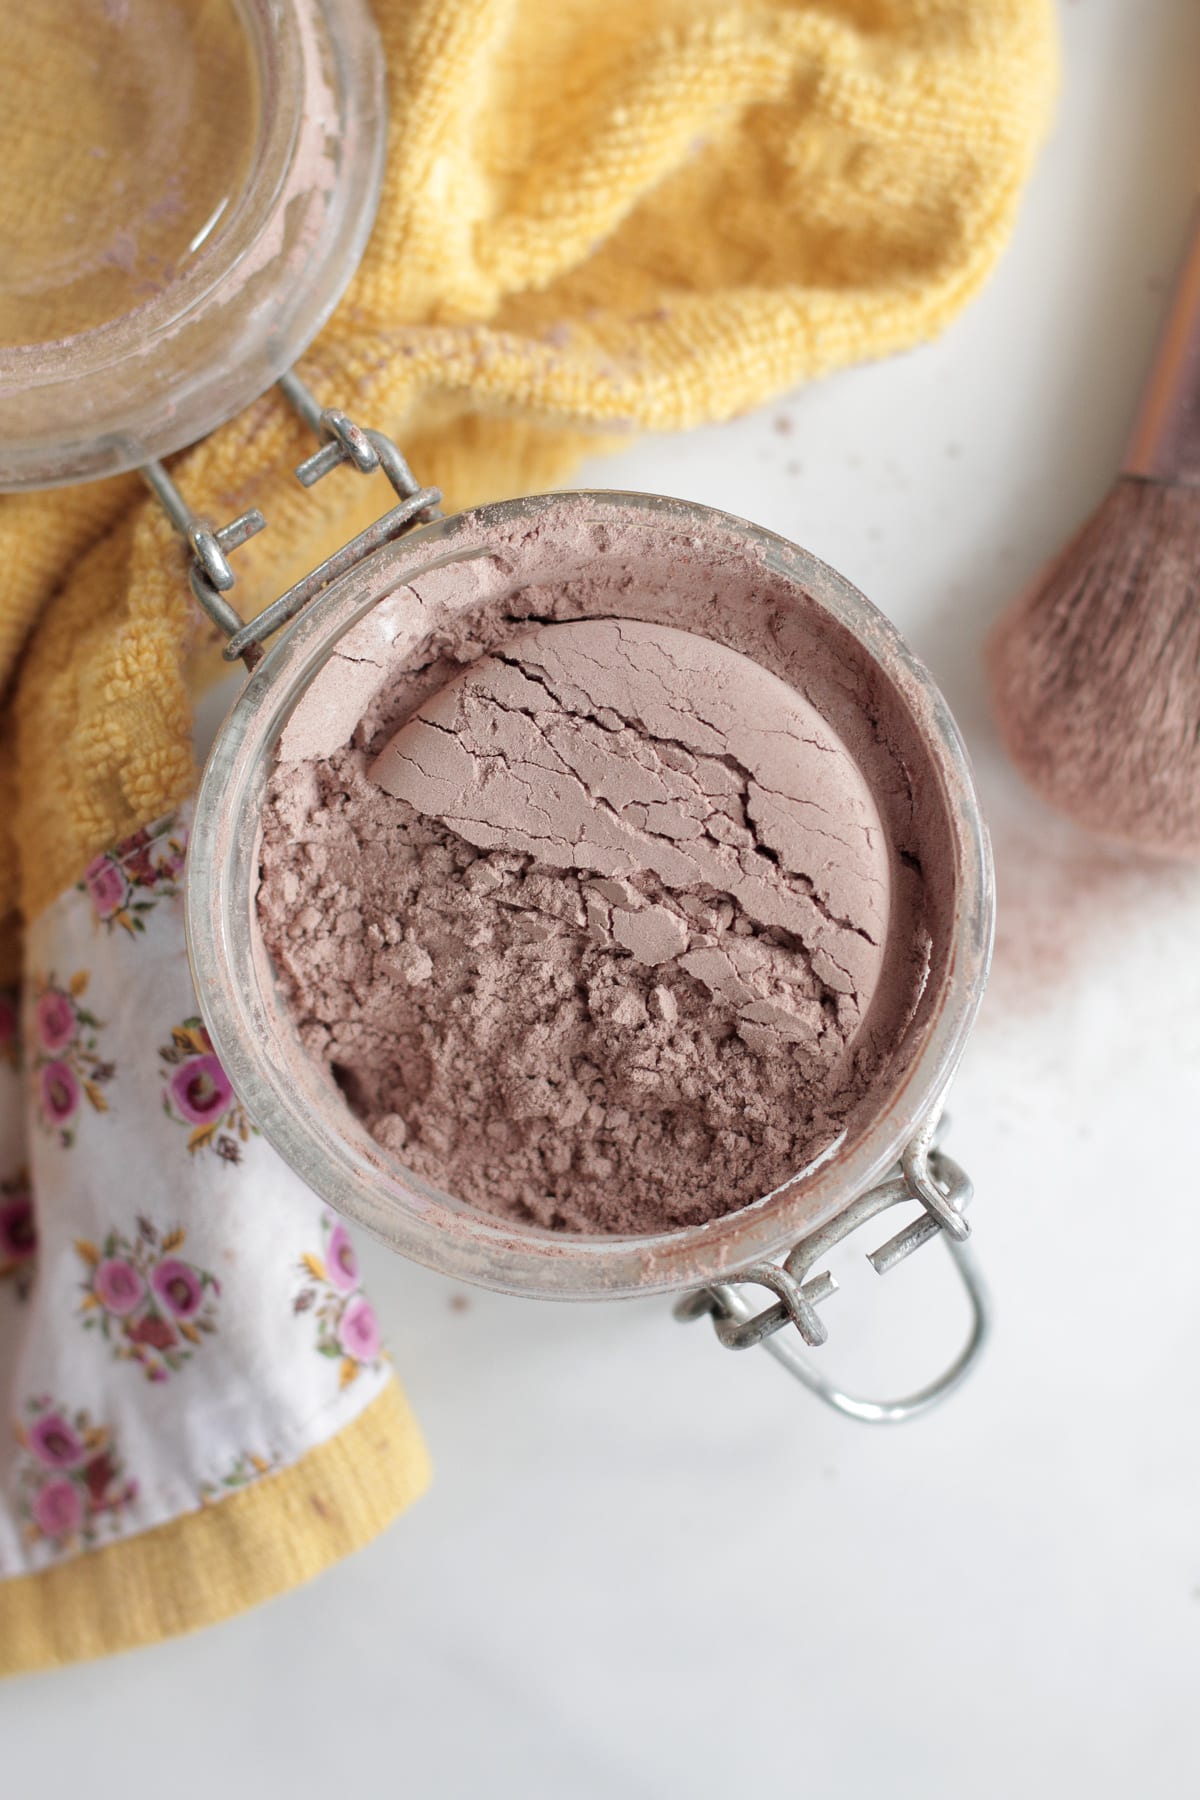
My first concoction was homemade foundation powder makeup. I have fallen in love with this homemade mineral-like foundation powder. I have tweaked it a bit over the past few months, adding a few ingredients. I love the coverage this makeup gives me without drying my skin or leaving me looking like a pan of bacon grease at the end of the day. Homemade foundation powder is made with ingredients that are be safe to eat. In fact, many of these ingredients you may already be using in your real food kitchen.
Want more good news? This makeup is super inexpensive to make.
To think I used to pay $30 for a container of toxic makeup! The initial cost of purchasing ingredients may be pricey, but these products will last through dozens of batches of homemade foundation powder makeup and can be used in the kitchen, too. The true cost is significantly less expensive than many toxic makeup options.

Homemade Foundation Powder
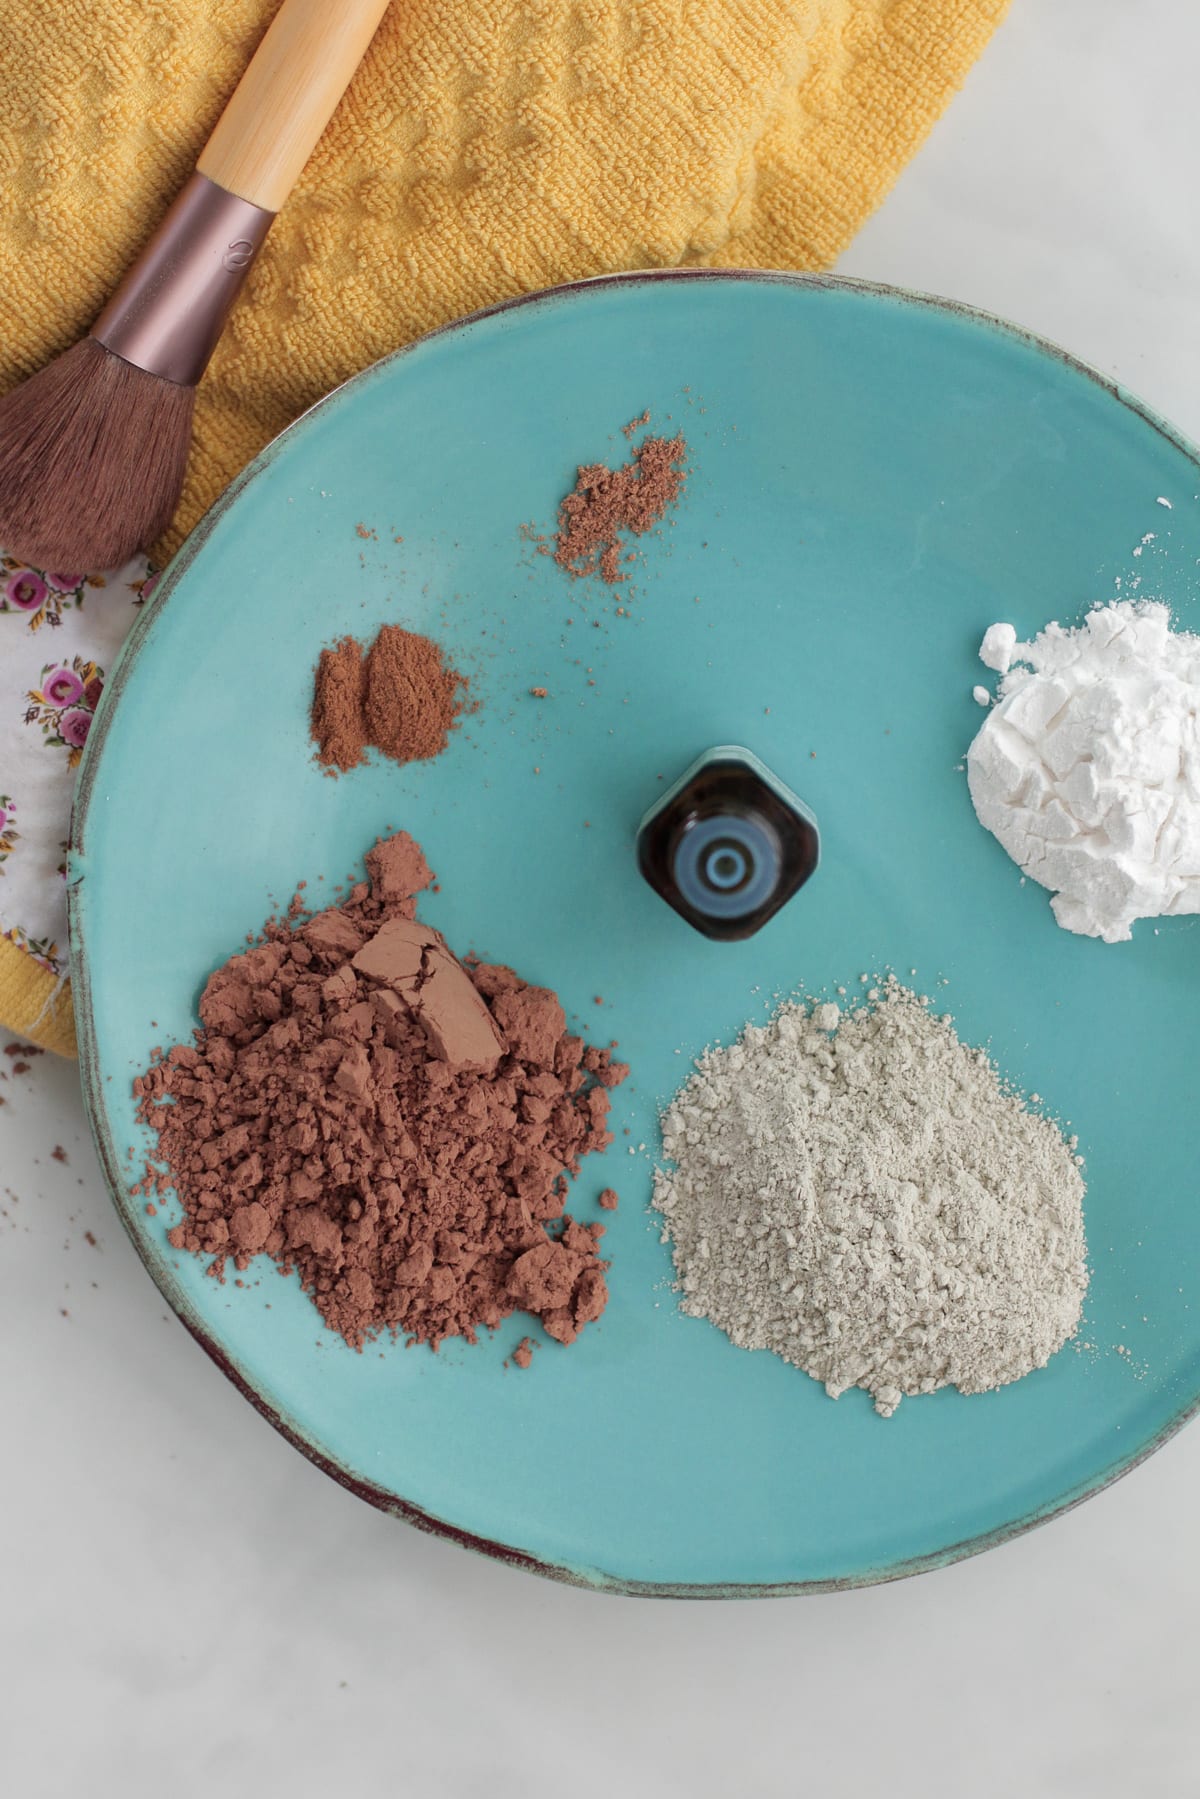
Ingredients
- 1/4 cup arrowroot flour starch similar to corn starch (a thickening agent), but without the GMOs.
- 2 TB unsweetened cocoa powder or cacao powder
- 1/2 tsp ground cinnamon
- 1/4 tsp ground ginger
- 2 tsp bentonite clay or kaolin clay (very gentle), or French green clay
Instructions
- Gather your ingredients and a non-metallic bowl (Bentonite clay should not come in contact with metal). The amount you use of each ingredient will greatly depend on your skin complexion.
- Mix all your ingredients in the bowl, starting with the arrowroot as your base. Add each ingredient, adding the cocoa powder slowly, one tablespoon at a time, until you reach the desired shade. Whisk together.
- Test the color by placing a small amount on your face (or arm) with your finger or a brush. It may take a little tweaking the first time to make the perfect shade for your complexion.
To Use:
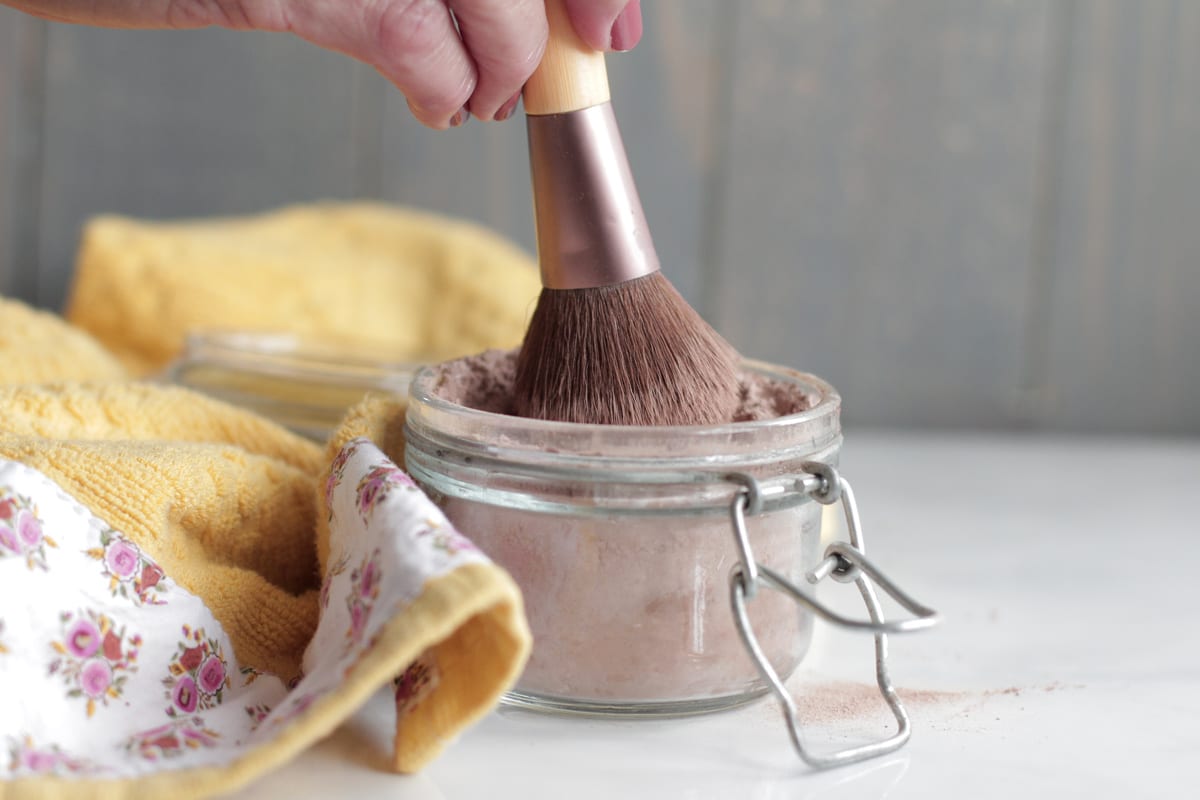
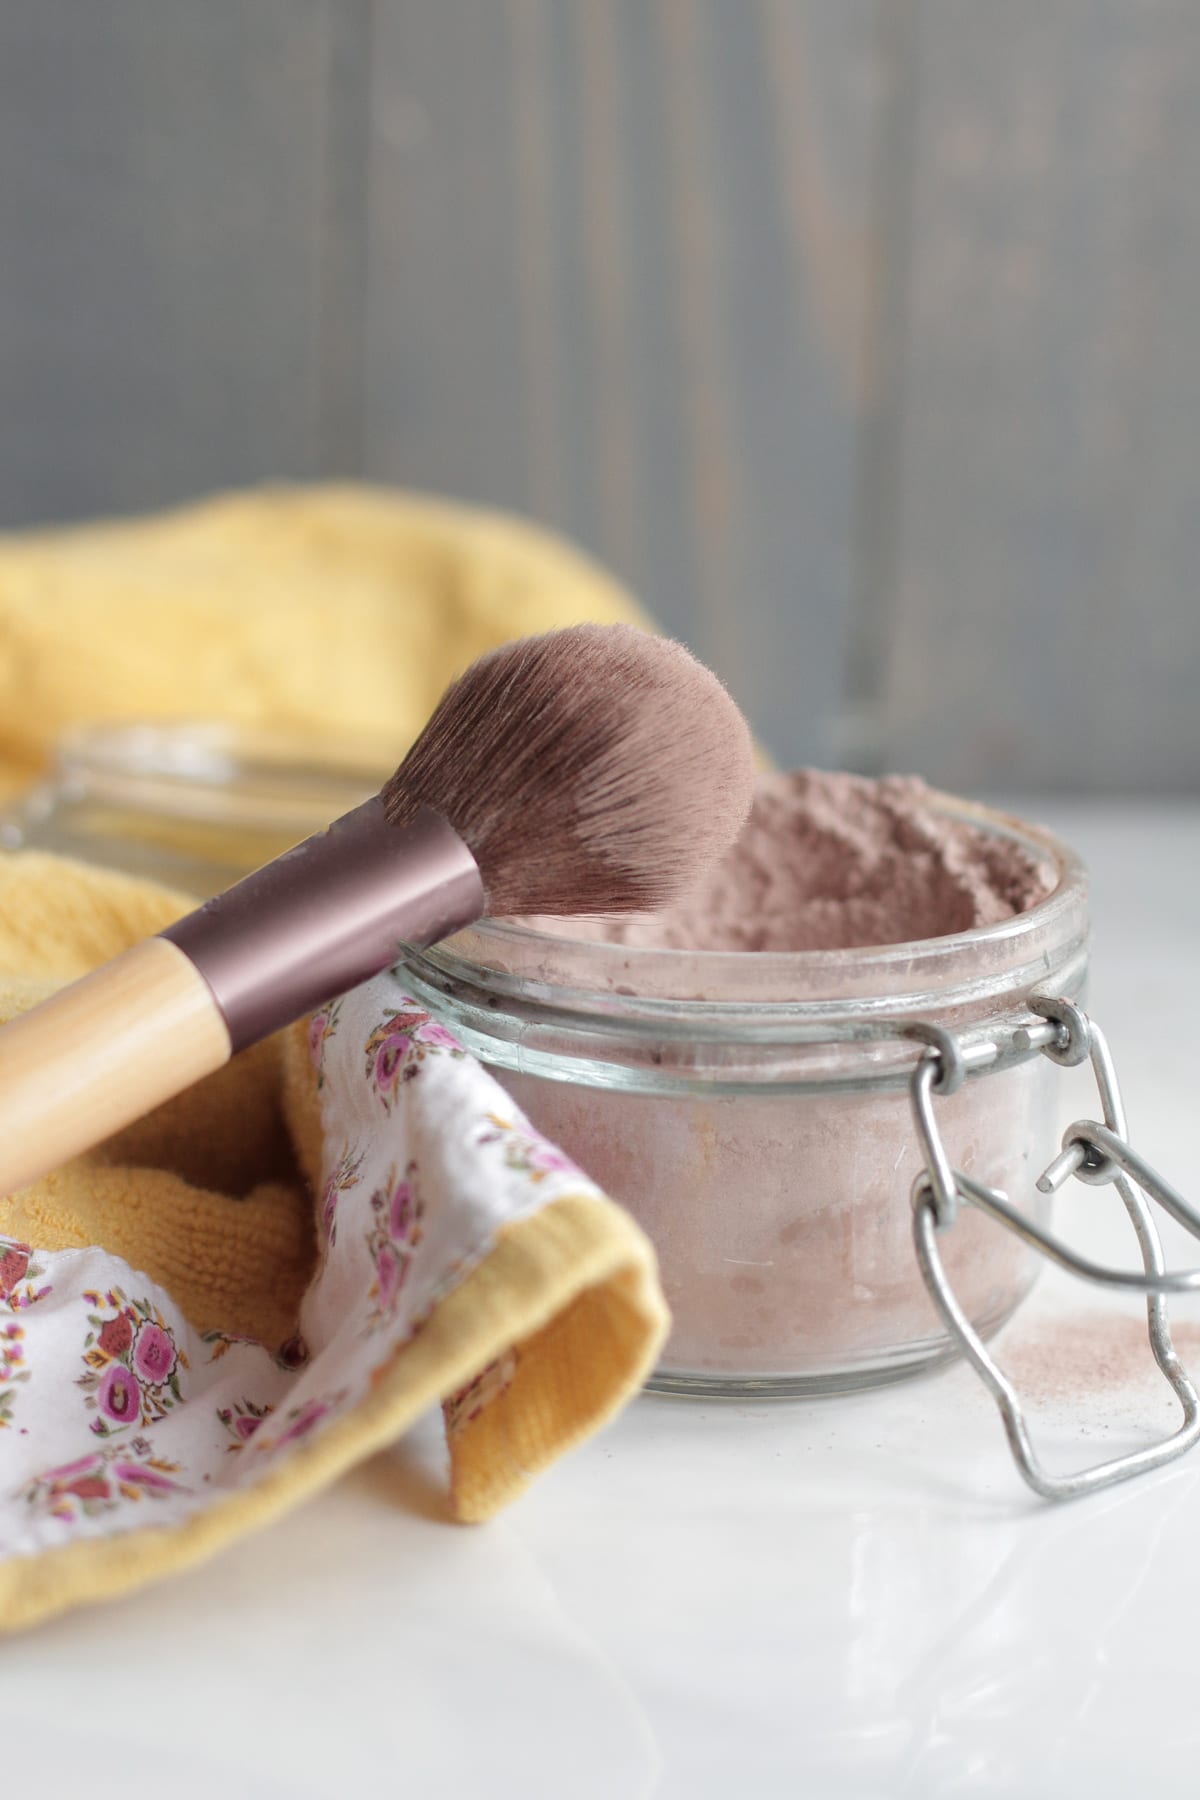
- Store your foundation powder in a small container and use a dry sponge or brush to apply. I use a liquid foundation (2017 Update: Here's a list of my favorite store-bought natural makeup products.) under this foundation powder. You can also use this foundation powder without a liquid foundation for light coverage.
Video
Notes
Store your foundation powder in a small container and use a dry sponge or brush to apply. I use a liquid foundation under this foundation powder on days when I want more coverage. You can also use this foundation powder without a liquid foundation for a lighter coverage.
Now you’re ready to face the day, Mom.
And I think making your own homemade foundation powder makeup might even give you a bit of bragging rights at the playground today.
Q & A
Q: What kind of coverage does this provide?
A: This foundation powder will provide a light to moderate coverage. If you’re looking for heavy coverage, this powder isn’t for you, at least not as a solo makeup product. If you’re looking for heavier coverage (without the makeup looking heavy), I recommend using a liquid foundation underneath this powder foundation. My current favorite brand is Ilia. I use their True Skin Serum Foundation under my powder. I recently shared everything you’ll find in my (natural) makeup bag, here. You can also use this foundation powder without a liquid foundation for a lighter coverage.
Q: This doesn’t stick to my face. Help!
A: I guarantee I’ve made countless jars of the powder (around one jar a month), and I haven’t ever had this issue. Truthfully, I’m not sure why a few people have sticking issues. Listed above in the ingredients are the actual brands I use to make this powder. I’d recommend buying ingredients that are high quality and very fine. Since I’m not in your kitchen (or bathroom) making this with you, I simply don’t know why the powder didn’t stick. I’d recommend wiping your face with a damp cloth to see if any powder stuck to your face. It may be that you are experiencing the difference between heavy, cake-like, store-bought powder and homemade, light powder. A few other questions to ask: did you wash your face and then apply this powder? Did you moisturize before applying this powder (this is my recommendation)? What kind of application tool did you use-powder brush, finger, washcloth? (I recommend a powder brush.) It shouldn’t roll-off your face, there should be stick. You can find my video tutorial for making homemade foundation powder, here.
Q: Does the cinnamon irritate your skin?
A: No, it doesn’t. This recipe calls for very little cinnamon compared to the main ingredients. The ratio is very low. Cinnamon can cause skin irritation, if you are worried, leave it out, or test a small amount. I would not suggest applying cinnamon directly to your face without a mixture like this foundation. Cinnamon is actually beneficial for your skin and helps heal, particularly with blackheads. I feel more comfortable applying a small amount of cinnamon found in this powder than the chemicals in store-bought powder.
Q: If I don’t like it, did I waste my money?
A: No, you didn’t. I personally love this foundation powder. I literally use it daily and know many other readers and friends who do as well. I’ve bought countless foundation powders over the years and thrown many away. Talk about a waste of money! Everyone has different tastes. If you don’t like this powder, I’m not hurt, it’s just a difference in taste. Here’s the great news–when you buy powder and don’t like it at the store, you’ve lost $10-30. Ouch! When you buy the ingredients for this powder, you’ve gained kitchen and bathroom ingredients. The cocoa and arrowroot can be used in the kitchen. Arrowroot is basically corn starch without the GMOs. The clay makes a fantastic mask! Add a little with water and apply to the face. Your skin will thank you. The spices are common cooking spices.
Q: Can I skip the clay?
A: I don’t recommend skipping the clay. You can still make a great foundation without it, but if you are looking for corrective issues, like redness or mild acne to be resolved, the clay is needed. French clay or kaolin clay are also good choices.
Q: I want to turn this powder into a liquid foundation, can I just add coconut oil?
A: I’ve experimented with liquifying this recipe with zero success! Adding a liquid like coconut oil just darkens the cocoa and you end up with a nice edible chocolate. Freeze it and you’ll have a chocolate bar. I recommend purchasing a liquid foundation from a natural brand. My favorite brand is Ilia. I use their True Skin Serum Foundation under my powder.
Q: I love your recipe so much I want to feature it on my blog. Can I do that?
A. So glad you like the powder and I’m honored you’d like to feature Live Simply’s recipe on your blog. The content here at Live Simply is copyrighted so we don’t allow duplication. If you’d like to use a picture with a link back (recipe needs to stay here at Live Simply), please contact me here and we can talk. I love a good blogger shout-out and am happy to work with you so the recipe is properly featured with credit. Of course, feel free to share across social media or mention the recipe in a blog post with a link back.
Can you use Kaloin Clay, instead of Bentonite?
Hi rweich, I don’t have any experience with Kaloin clay. From what I’ve read Kaloin clay should work for cosmetic use, but you may have to adjust the cocoa powder as the clay is very white.
I love this! I have 100% carob powder. Do you think I could use this in place of the cocoa? Thanks!
Hi Amanda, I think carob powder would work perfectly in this recipe.
I was looking up bentonite clay since that is the ingredient I don’t have and need to get. The one I saw on Mountain Herbs says it’s 18% aluminum. I made my own deodorant to avoid aluminum. Is this really harmless to be putting on my skin? Otherwise, I can’t wait to make it!!!
Thanks!!!
Hi Shannon, I make all my own products to avoid toxic ingredients too. Aluminum is part of the structure of all clay. The aluminum found in natural bentonite clay is safe and naturally-occurring, not the man-made aluminum found in most store-bought beauty products. Natural aluminum can’t be absorbed by the body like man-made aluminum, and isn’t toxic. I actually use this clay to make toothpaste (recipe on the blog) and many people use it for detox purposes as it pulls out toxins. It’s also a fantastic facial mask as it draws out impurities.
Hi, I made your recipe today & was really impressed with it. I made a half batch & other than being a tiny bit yellow on my skin, it was a good mix. Next time I’ll use less ginger. I traded the vitamin e for tea tree oil, it was easier to find. I read some comments & was worried about it not sticking, so I was generous with the bentonite clay & the lavender. After 10-11 hours of wear, I could still feel with my fingers that it was still on my face, but my face felt great. Thanks!
Hey Karen, Thank for coming back and sharing your experience. The beauty of making your own powder is being able to play with color, sounds like you are already doing that by adding less ginger, and figuring out a great color combo for your skin. Enjoy the powder :).
Can I use tapioca flour/starch instead of arrowroot? Also, is cocoa powder and the starch comedogenic in any way?
I love this recipe, and am going to try it, but I know that cinnamon and cloves and other spices sometimes make me sneeze. Don’t think I will have problems with the cacao. Have you ever run into this, or should I just go for it?
Hi Kirsten, I haven’t had any issues with the spices, but you could certainly leave them out and still have a great powder. Enjoy :).
Hi, I tend to sneeze a lot, especially with dust & fine powders, but this powder didn’t make me sneeze. I was pleasantly surprised!
Hi Karen, Wonderful, so glad you hear it didn’t make you sneeze :).
Just want to say I LOVE this powder ! It’s so soft and smells amazing ! If anyone hasn’t already come across this.. here’s a tip I discovered.. I applied it with a makeup sponge for more coverage around areas that need it. Works great ! Thanks for this recipe !
Hey prezshannon, So happy to hear you love it! Wonderful tip, thank you for sharing!
I couldn’t find bentonite clay can I use green clay?
Hey Prezshannon, I’ve never used green clay, but I know other people who use it for this recipe. You may need a bit less depending on how rich the color is.
Do you happen to know if the bentonite clay powder packages sold with winemaking kits are the same thing? (I work at a brew your own facility)
Hi Susan, I wish I knew the answer, but don’t know anything about the bentonite clay that comes with wine-making kits. I believe there’s only one kind of benonite clay.
I wondered about the color. I’m also fair skinned and made the recipe. Is it really supposed to be 4 Tablespoons of cocoa? Mine seems quite a bit darker than yours so I was just making sure. Thank you!
Hi Jenny, 4 TB is the amount I use. I use less during the winter as my skin isn’t exposed to the sun. The wonderful thing about this powder is you can play with the clay depending on season and your need. If it’s a too dark add a little bit of the arrowroot.
Thanks, that makes sense. Would you mind sharing what your winter recipe is for when you’re more fair skinned? I have a good brush that helps with coverage and it seems to have pretty decent coverage, possibly buildable coverage too. It’ll be awesome to cut out that expense every couple months!
Beautiful website, and I’m really looking forward to trying this recipe out! Thanks you 🙂
Thanks so much! Enjoy the foundation powder :).
Just thought everyone here would like to know our hilarious experience with this powder. Four of us made it, ranging from rosy white to African -American and the same mixture worked on everyone’s skin. Feels just like a powder. So…. My friend gets home from work yesterday and announces she can no longer wear the powder to work (she is a daycare teacher-2year olds). She said three of her kids licked her face, LOL, then…. A parent licked her face!!! She said she was handing a kid to his dad and he licked her face!!! Said she smelled like chocolate and he wondered if she tasted like it too!! OMG!! We coud NOT stop rolling in laughter, it was so funny! So either we used the wrong kind of cocoa powder or it just smells chocolate-y. Either way thanks for the recipe and definitely thanks for the laughs…. I told my friend maybe she needs to test out your pumpkin lotion next! ROFL,
Kristen, That is absolutely hysterical! Thank you for the laugh and sharing such a cute story. 🙂
Yikes! That’s pretty bold to lick someone’s face!! Hey maybe we have an aphrodisiac on our hands here…. lol
Yes, very interesting and bold. lol. Quite the experience!
Two questions: could I use rhassoul clay instead of bentonite and could I use a different EO or just leave it out completely? Thanks! I can’t wait to try it!
Hi Robyn, I haven’t used rhassoul clay before, but from my reading it sounds like it will work well. My only concern would be color. The rhassoul looks a bit more gray to pinkish in color. You may need to play around with the ratios of ingredients to achieve the best color. You are welcome to use any essential oil safe for skin. I personally like the smell of lavender, but any EO will work perfectly. You can also leave it out. Enjoy the powder :).
I’m allergic to ginger and was wondering how it would affect this recipe if I just omitted it? Or could you suggest something I could use to replace the ginger?
Hi Tylere, You can easily leave the ginger out. It won’t have a huge effect on the overall product.
Try ground mustard! It is a creamy yellow color, more finely ground (with better quality brands). It also has almost no scent, whereas ginger can give a nose-stinging scent. Try it!
Thanks for the suggestion. Does it stain at all?
I have the same problem. The powder does not ´´stick´´ on my face. It is like it does not want to spread. It merges in one small places. It is like powders particles was electrically charged.
I am sorry for my english but i it is not my native language, but i wanted to make my own powder and i do not know why it does no work.
In fact i use only corn starch powder + cocoa powder + cinnamon powder because i dont have other ingrediens yet but have found a receips and it should work.
Please help me, i dont want to give up DIY powder 🙂 Thanks so much
Hi, I’ve tried your recipe but I am having two problems I was hoping you could help me with.
I’m using Arrow root powder, ginger powder, cinnamon powder, Vit E, Lavender Essential Oil, and Bentonite clay.
1. It does not stay on my skin at all
2. Clumps continuously form.
I would really appreciate some advice from you! Thank you!.
Truthfully, I’m not sure why a few people have sticking issues. Listed above in the ingredients are the actual brands I use to make this powder. I’d recommend buying ingredients that are high quality and very fine. We are working on a video tutorial which I hope will help the handful that have expressed this issue. Since I’m not in your kitchen (or bathroom) making this with you, I simply don’t know why the powder didn’t stick. I’d recommend wiping your face with a damp cloth to see if any powder stuck to your face. It may be that you are experiencing the difference between heavy, cake-like, store-bought powder and homemade, light powder. A few other questions to ask: did you wash your face and then apply this powder? Is your face greasy, did it just sink in? What kind of application tool did you use-powder brush, finger, washcloth? (I recommend a powder brush.) It shouldn’t roll-off your face, there should be stick. Also, for clumping be sure to whisk the ingredients together. There will be a couple small little clumps, size of a dot from a pencil, but nothing large or continuous throughout the make-up.
I have the same problem, does not stay on my skin, uneven coverage, and clumps form. Not sure of the purpose of the vit E oil. My store bought powder foundation goes on much thinner and smoother. I washed my face, I have very dry skin and am very fair. In fact only 1tbsp of cocoa powder was almost too much. Tried my finger tips so I could grind the powder more finely and control application. I have not read all of the other posts yet, any other suggestions? Thanks
Hi TGP, The arroworoot and cocoa powder should be fine in texture. The bentonite should also be fine enough to not clump or stick. You can try sifting the mixture (like flour) to get any clumps out and even whisking. Also, make sure you apply to a moisturized (not oily, just moisturized) face. The vitamin e oil provides moisture for the skin as the bentonite can have a drying effect when used alone, for some people. It also helps give a bit of “stick”. Try applying with a brush too. The unevenness may be coming from applying with your finger- the brush should help.
So I just made some and tried it on but the powder is invisible! It didn’t cover up redness and looked no different than before I put it on. I didn’t have the clay or vitamin e oil (used tea tree oil instead). Could this be because I skipped the clay? Or could it just be my skin?
Hi Jay, I don’t recommend skipping the clay. You can still make a great foundation without it, but if you are looking for corrective issues, like redness or mild acne to be resolved, the greenish bentonite clay is needed. If you want a corrective powder, the bentonite is what I recommend and use in my recipe. For more of a white clay the French clay is a good choice. This powder will provide a light to moderate coverage so if you want a bit for coverage for certain areas I recommend an organic concealer in the beginning. I used an organic concealer in the beginning and I actually found this recipe helped heal (the clay helps in the healing too) and over time I felt comfortable wearing it without anything underneath.
Thanks for replying so quickly! And thank you for answering my question with such a detailed answer. I will definitely try and locate some bentonite for the next time I make this recipe. 🙂
Would there be a way to add zinc oxide in here to give the powder some sun protection?
I was reading the comments and I saw mention of using coconut oil to give it more of a liquid foundation coverage, how would I go about mixing that? I made the powder, but it doesn’t hold to my dry skin very well.
I Laurin, This powder will act as a loose powder, but it should stick to your skin. Can you describe what’s happening when you apply it? I’ll try to help troubleshoot. I’ve tried coconut oil and it just darkens the powder and doesn’t apply well. I personally haven’t had success with that method. If you are looking for a liquid foundation Scratch Mommy has a wonderful recipe, I’ve started using it under this powder for fancy events: http://www.scratchmommy.com/smooth-finish-diy-organic-foundation-sunscreen/
Do you have any suggestions to have the makeup be appropriate as a sunscreen?
Hi Mary Rose, Here’s a great recipe for sunscreen foundation. I’m not sure you could make the powder with sunscreen protection.
I put the 4 TBSP of cocoa in and it was way to dark, had to start over…is that the correct amount? The second time I used 4 tsp, much better:-)
Glad you found the appropriate amount for your skin tone. I use 4 TB mixed with the arrowroot, but that does change in the winter, due to less sun exposure. One reason I love this recipe is the fact that I can play around with the shade, each season.