I love makeup!
In fact, I find makeup to be pretty magical!
I can wake up in the morning, gulp graciously sip down my lemon water, coffee, green juice, eat breakfast, and dab a little makeup on and suddenly I go from “Who is that woman?” to “Wow! Who is that woman?”
Okay, maybe I’m not stopping traffic, but for a mom of two little kids, makeup somehow possesses the magical powers to make me feel “put together.” I can go from frumpy to polished, ready to hit the playground and looking half-way decent while doing so.
Who pays attention to the multiple stains from morning breakfast splattered on my shirt, the 5 dirty wipes stuffed in my pocket about to fall out, and the hair that hasn’t been washed in two days, when I have makeup on?
At least that’s what I am telling myself…please don’t burst my mommy bubble!
I love makeup, but I have a problem.
Makeup does NOT love me.
I have seriously sensitive skin.
The moment any foreign substance comes in contact with my skin, it attacks! Leaving behind some serious battle scars. In my late teen years I began to battle break outs here and there. I believe this was largely due to my poor diet and the amount of chemical-ridden “beauty” products I used. My face would always react poorly and I would turn to more chemicals which promised to help “beautify” my skin.
Real food has certainly helped my skin! The past few years I have seen huge improvements in the condition of my face in particular.
About 6 months ago (update as of September 2014: I’ve been making homemade products for two years), I decided food wasn’t enough and so I ventured down the world of “natural” beauty products: soaps, deodorant, and toothpaste.
I’m talking real, natural products.
I scoured the aisles in stores and was greatly disappointed to find all the “natural” products (Aveeno, Burt’s Bees, even Arbonne) were far from real ingredients. Since the skin absorbs anything that is placed on it within a mere 26 seconds, I wanted my products to contain ingredients I would feel safe floating around in my bloodstream. I wanted products made from ingredients I could eat.
I finally found what I was looking for. I use a local line of products which contain food-grade organic ingredients for soap, lip balm, and toothpaste. I purchase Primal Pit Paste for deodorant. Even after searching and searching I couldn’t find makeup products which suited my new requirements. Why not make my own?

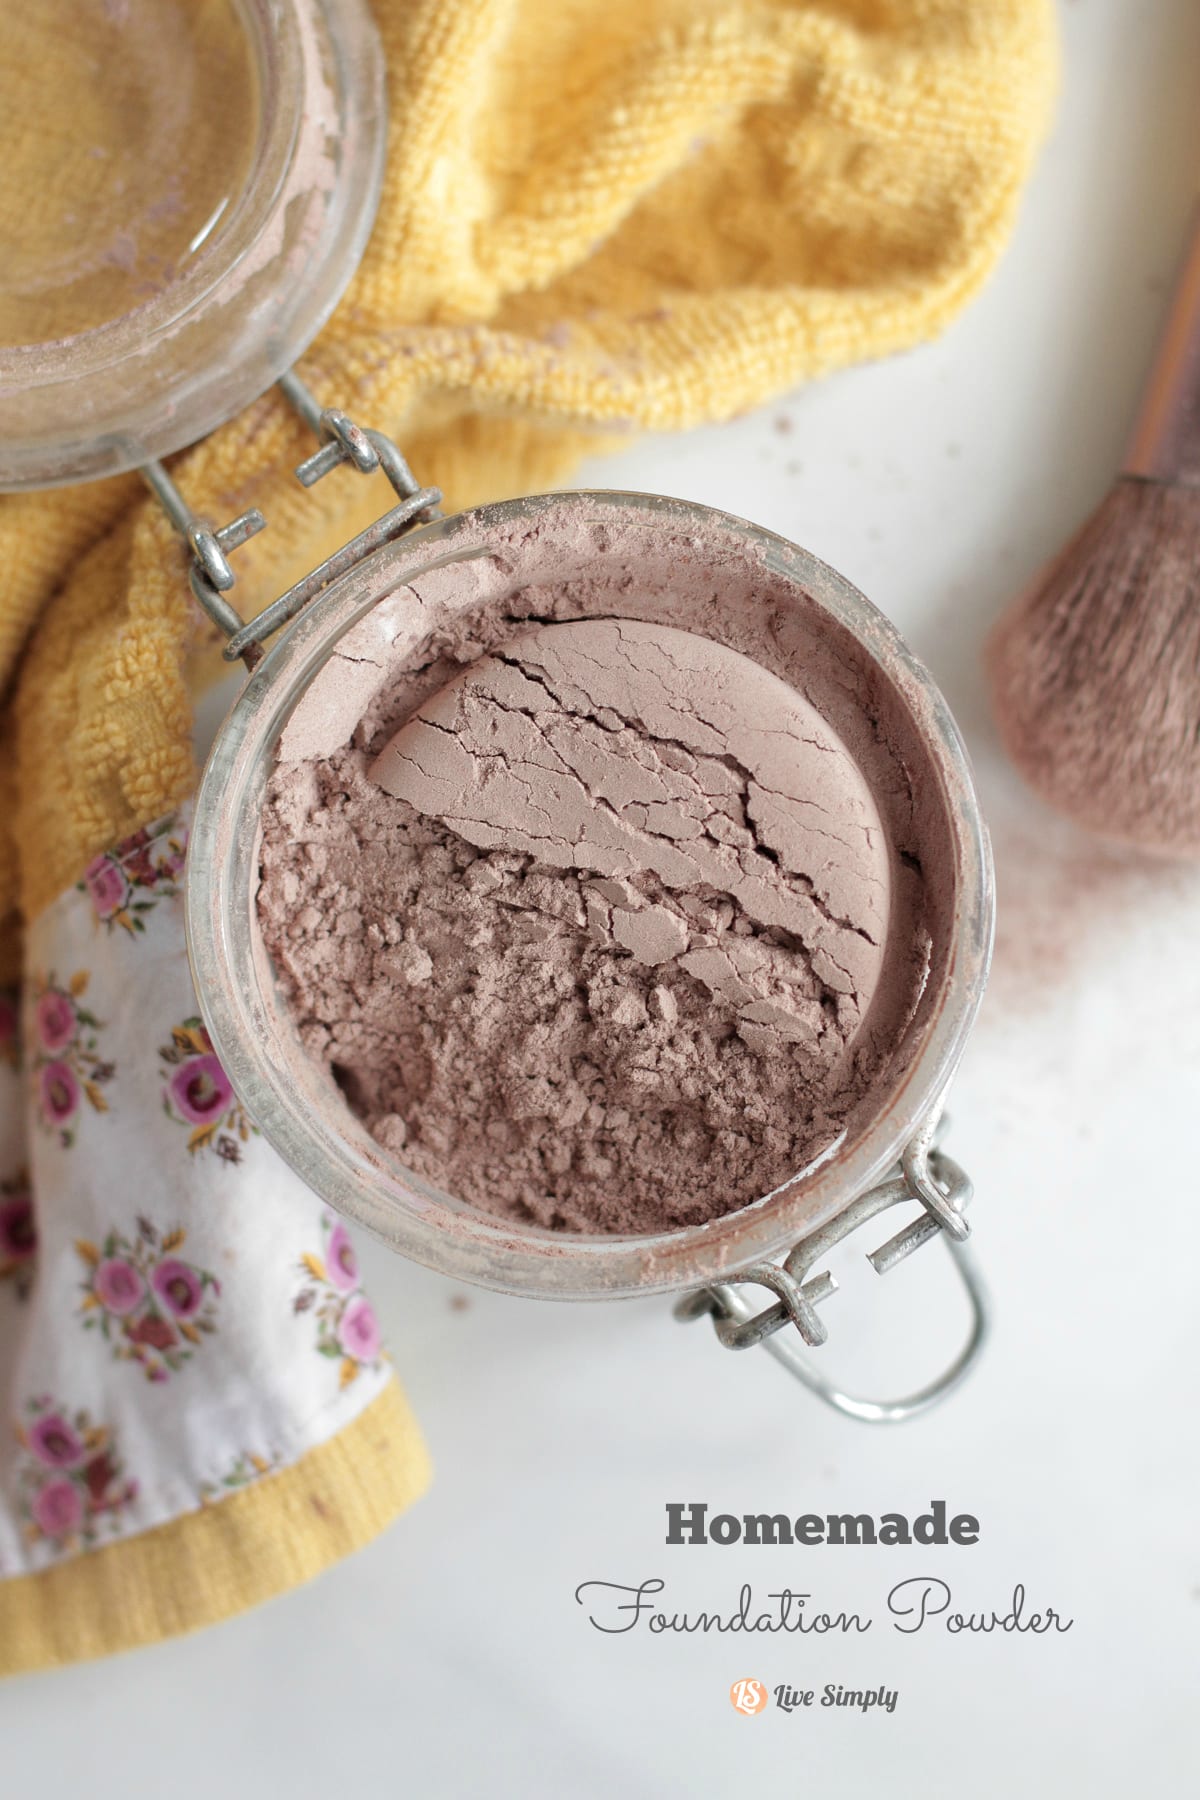
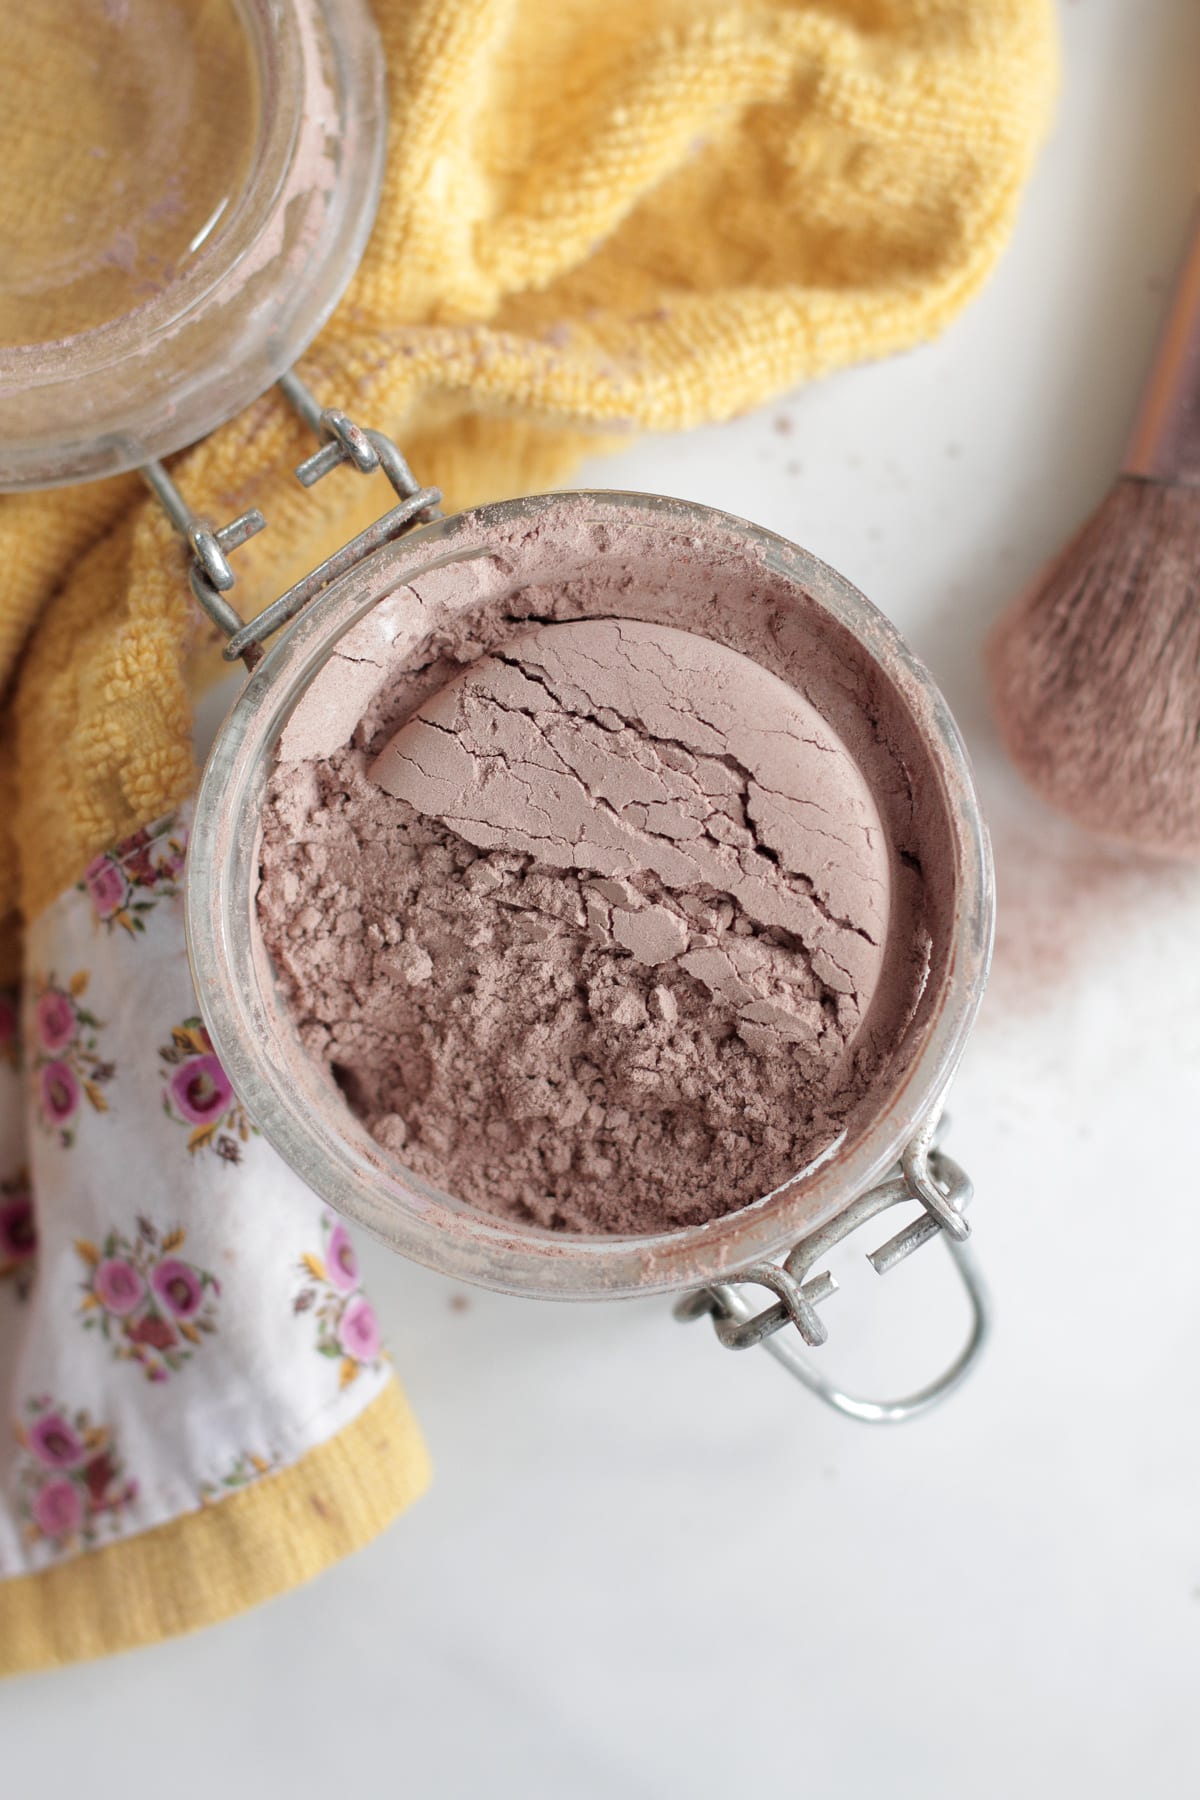
My first concoction was homemade foundation powder makeup. I have fallen in love with this homemade mineral-like foundation powder. I have tweaked it a bit over the past few months, adding a few ingredients. I love the coverage this makeup gives me without drying my skin or leaving me looking like a pan of bacon grease at the end of the day. Homemade foundation powder is made with ingredients that are be safe to eat. In fact, many of these ingredients you may already be using in your real food kitchen.
Want more good news? This makeup is super inexpensive to make.
To think I used to pay $30 for a container of toxic makeup! The initial cost of purchasing ingredients may be pricey, but these products will last through dozens of batches of homemade foundation powder makeup and can be used in the kitchen, too. The true cost is significantly less expensive than many toxic makeup options.

Homemade Foundation Powder
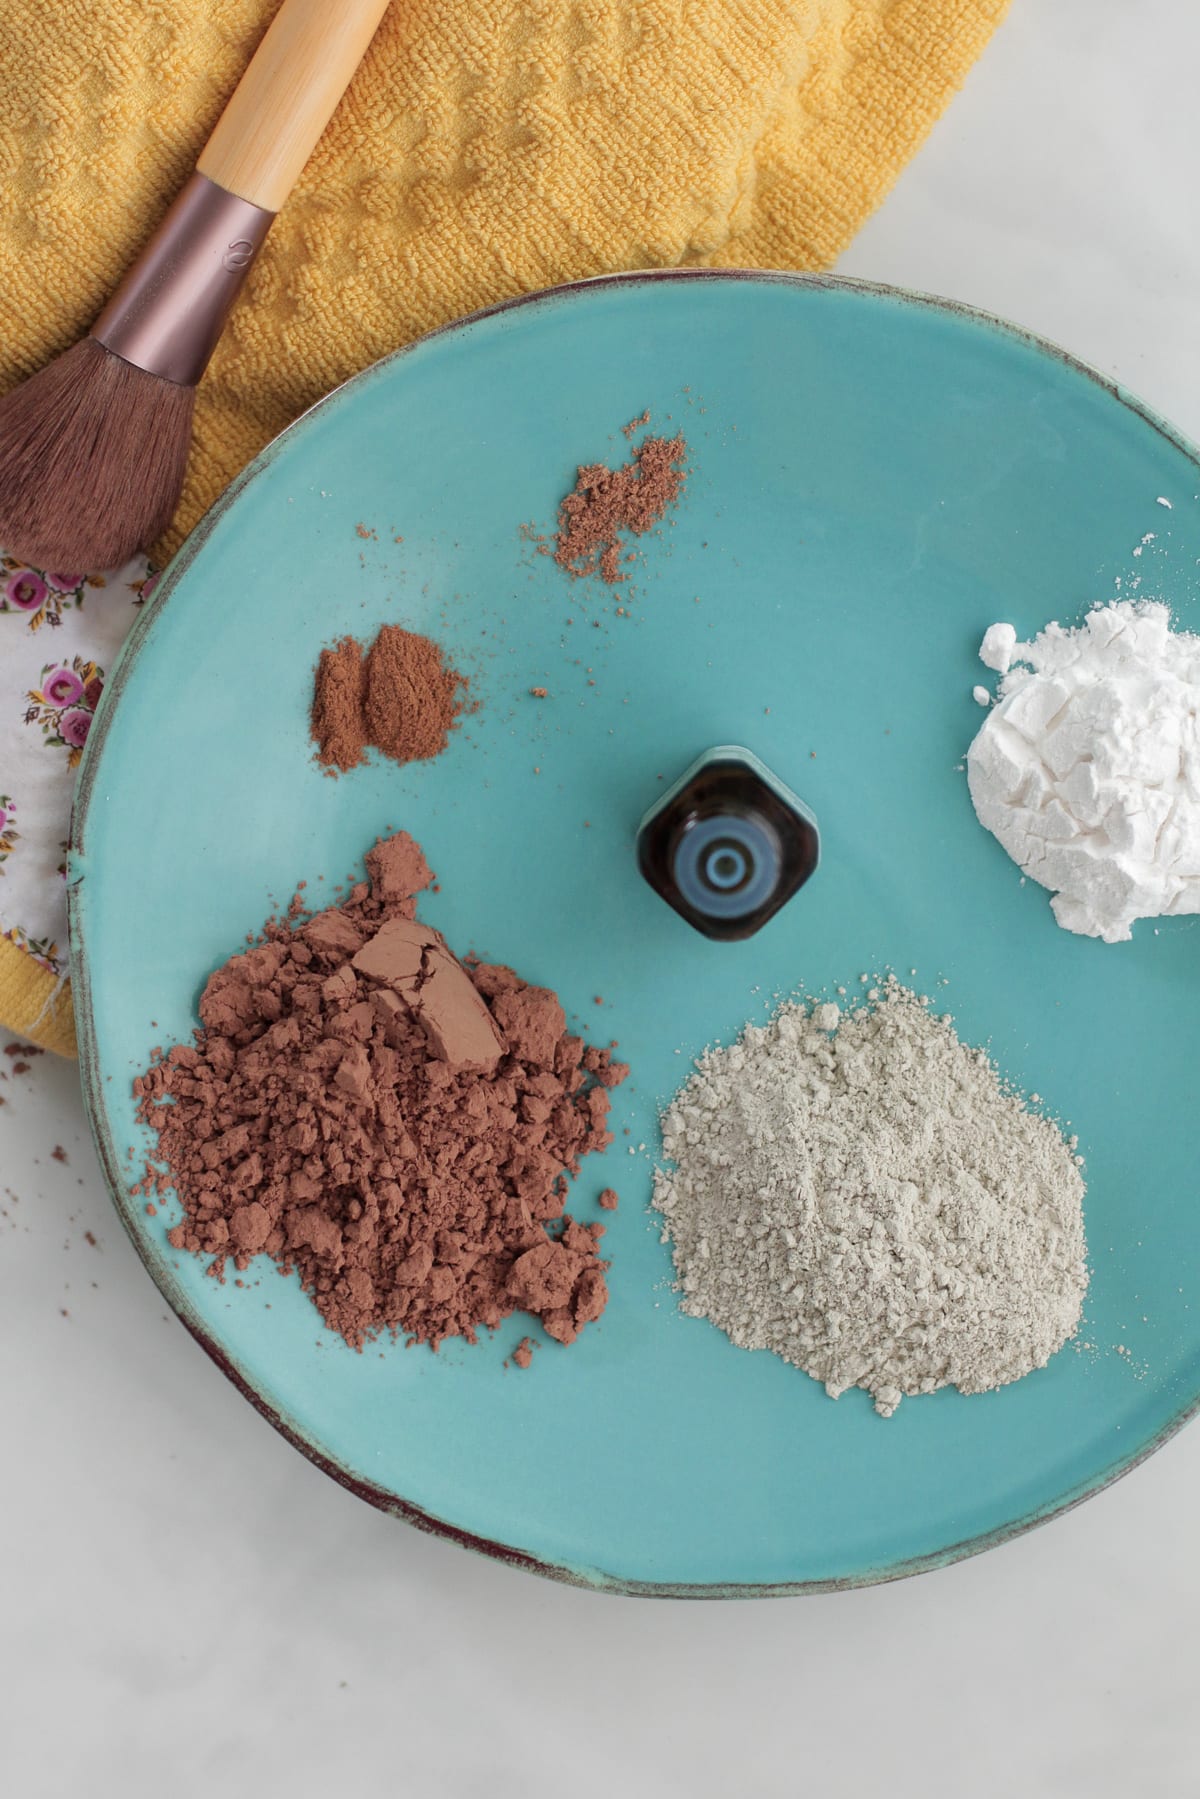
Ingredients
- 1/4 cup arrowroot flour starch similar to corn starch (a thickening agent), but without the GMOs.
- 2 TB unsweetened cocoa powder or cacao powder
- 1/2 tsp ground cinnamon
- 1/4 tsp ground ginger
- 2 tsp bentonite clay or kaolin clay (very gentle), or French green clay
Instructions
- Gather your ingredients and a non-metallic bowl (Bentonite clay should not come in contact with metal). The amount you use of each ingredient will greatly depend on your skin complexion.
- Mix all your ingredients in the bowl, starting with the arrowroot as your base. Add each ingredient, adding the cocoa powder slowly, one tablespoon at a time, until you reach the desired shade. Whisk together.
- Test the color by placing a small amount on your face (or arm) with your finger or a brush. It may take a little tweaking the first time to make the perfect shade for your complexion.
To Use:
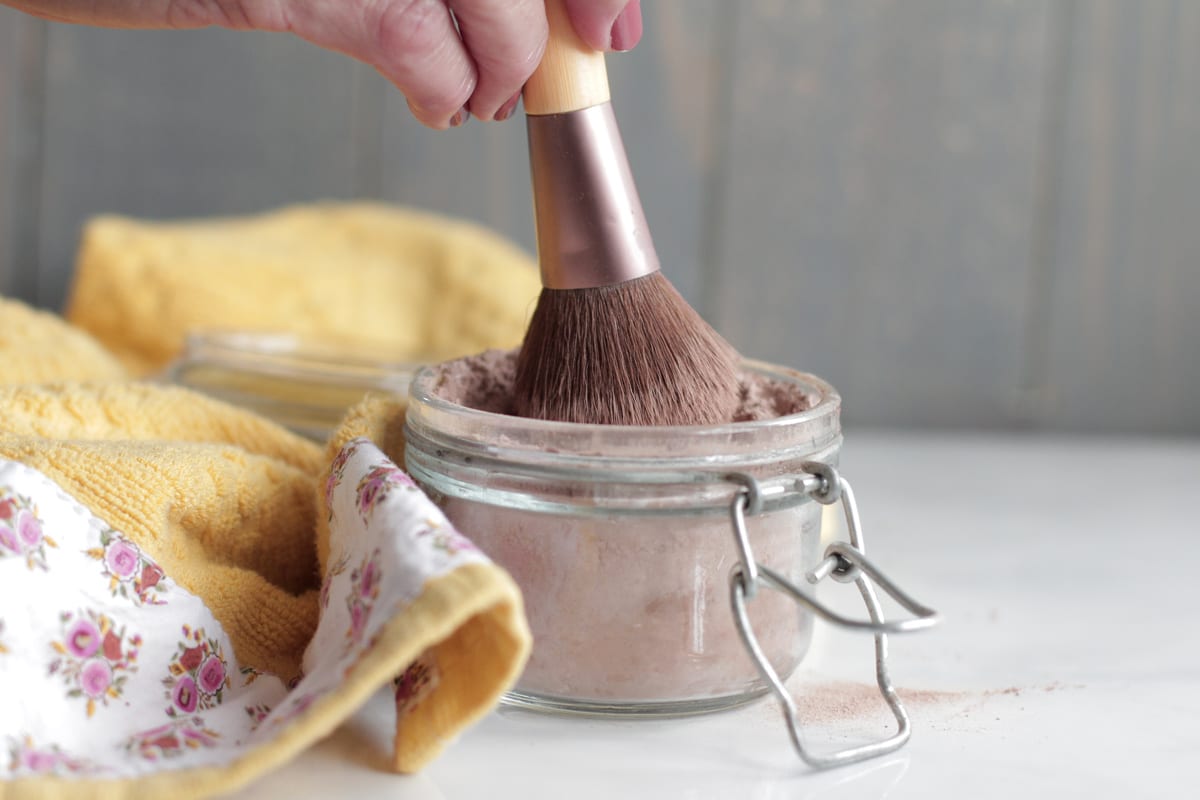
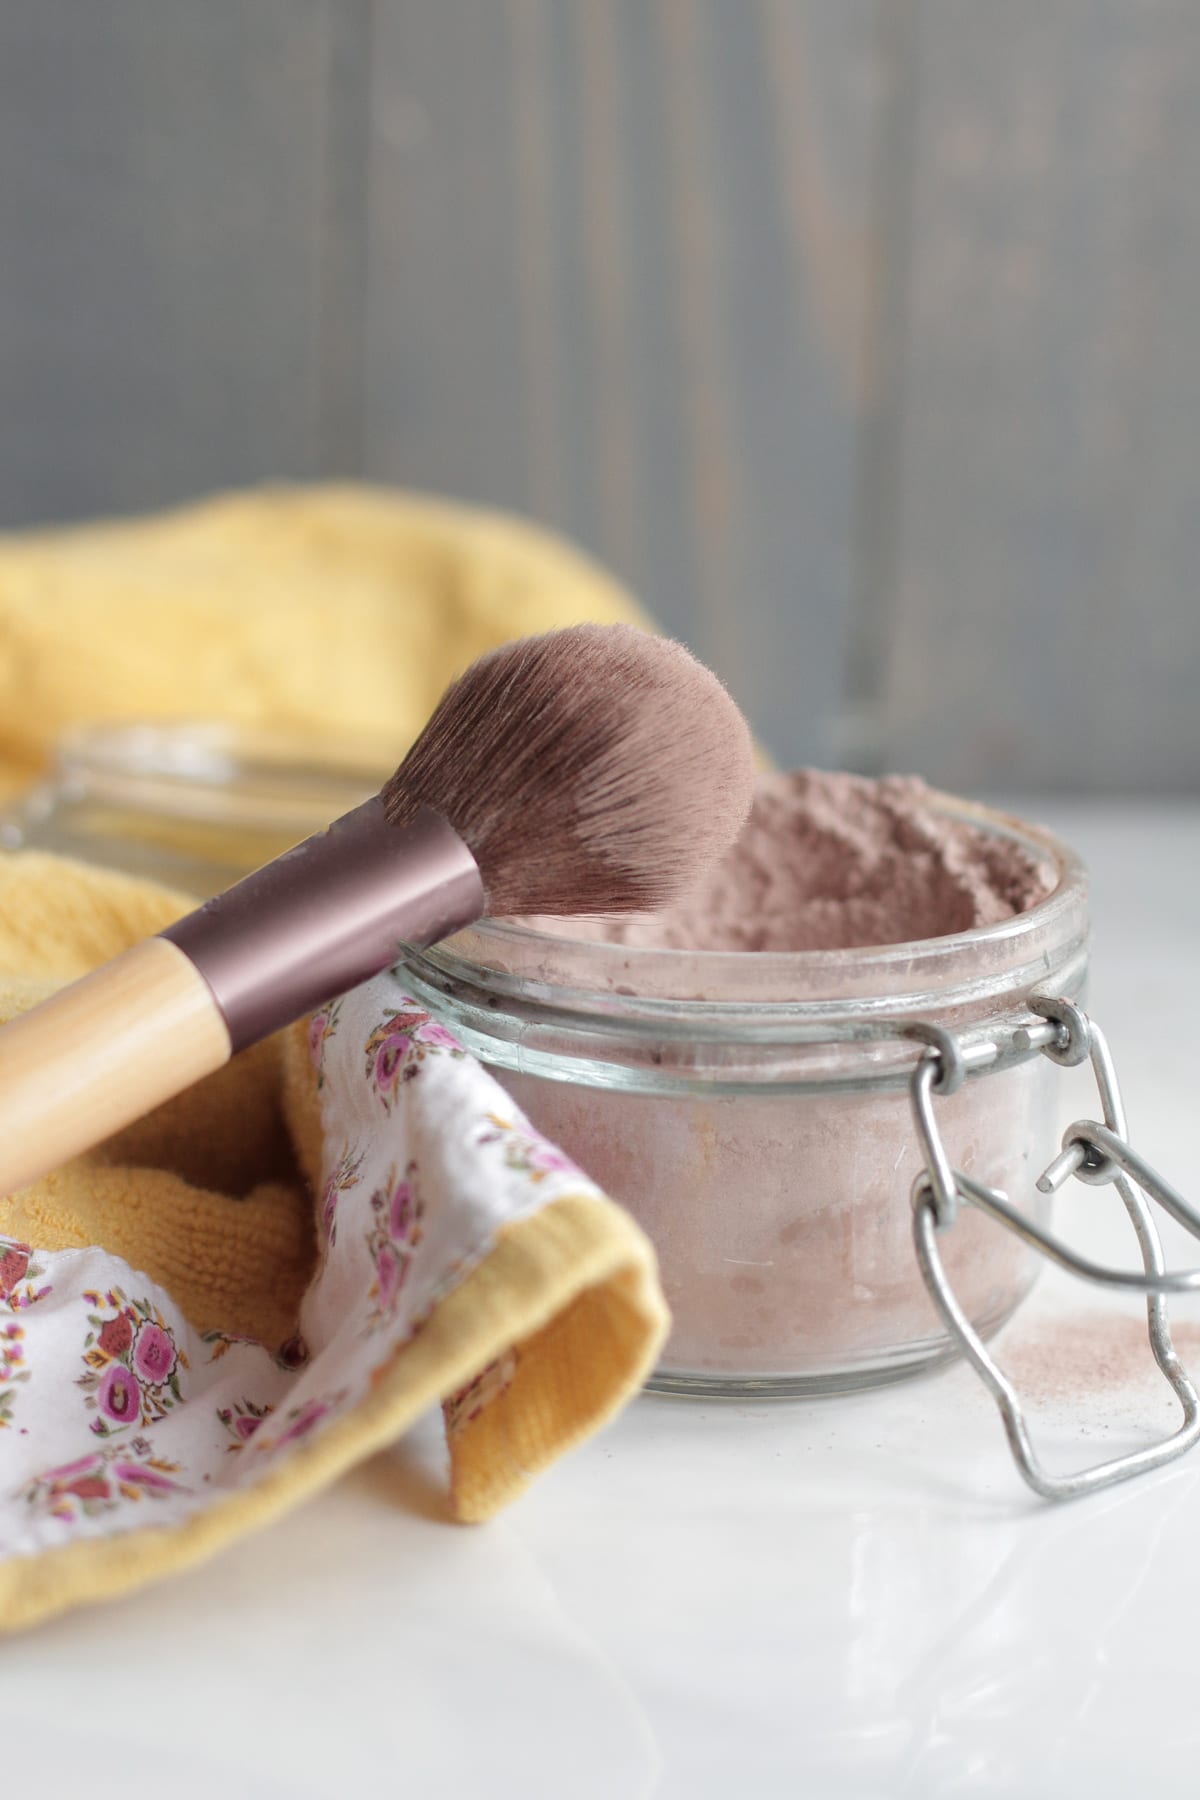
- Store your foundation powder in a small container and use a dry sponge or brush to apply. I use a liquid foundation (2017 Update: Here's a list of my favorite store-bought natural makeup products.) under this foundation powder. You can also use this foundation powder without a liquid foundation for light coverage.
Video
Notes
Store your foundation powder in a small container and use a dry sponge or brush to apply. I use a liquid foundation under this foundation powder on days when I want more coverage. You can also use this foundation powder without a liquid foundation for a lighter coverage.
Now you’re ready to face the day, Mom.
And I think making your own homemade foundation powder makeup might even give you a bit of bragging rights at the playground today.
Q & A
Q: What kind of coverage does this provide?
A: This foundation powder will provide a light to moderate coverage. If you’re looking for heavy coverage, this powder isn’t for you, at least not as a solo makeup product. If you’re looking for heavier coverage (without the makeup looking heavy), I recommend using a liquid foundation underneath this powder foundation. My current favorite brand is Ilia. I use their True Skin Serum Foundation under my powder. I recently shared everything you’ll find in my (natural) makeup bag, here. You can also use this foundation powder without a liquid foundation for a lighter coverage.
Q: This doesn’t stick to my face. Help!
A: I guarantee I’ve made countless jars of the powder (around one jar a month), and I haven’t ever had this issue. Truthfully, I’m not sure why a few people have sticking issues. Listed above in the ingredients are the actual brands I use to make this powder. I’d recommend buying ingredients that are high quality and very fine. Since I’m not in your kitchen (or bathroom) making this with you, I simply don’t know why the powder didn’t stick. I’d recommend wiping your face with a damp cloth to see if any powder stuck to your face. It may be that you are experiencing the difference between heavy, cake-like, store-bought powder and homemade, light powder. A few other questions to ask: did you wash your face and then apply this powder? Did you moisturize before applying this powder (this is my recommendation)? What kind of application tool did you use-powder brush, finger, washcloth? (I recommend a powder brush.) It shouldn’t roll-off your face, there should be stick. You can find my video tutorial for making homemade foundation powder, here.
Q: Does the cinnamon irritate your skin?
A: No, it doesn’t. This recipe calls for very little cinnamon compared to the main ingredients. The ratio is very low. Cinnamon can cause skin irritation, if you are worried, leave it out, or test a small amount. I would not suggest applying cinnamon directly to your face without a mixture like this foundation. Cinnamon is actually beneficial for your skin and helps heal, particularly with blackheads. I feel more comfortable applying a small amount of cinnamon found in this powder than the chemicals in store-bought powder.
Q: If I don’t like it, did I waste my money?
A: No, you didn’t. I personally love this foundation powder. I literally use it daily and know many other readers and friends who do as well. I’ve bought countless foundation powders over the years and thrown many away. Talk about a waste of money! Everyone has different tastes. If you don’t like this powder, I’m not hurt, it’s just a difference in taste. Here’s the great news–when you buy powder and don’t like it at the store, you’ve lost $10-30. Ouch! When you buy the ingredients for this powder, you’ve gained kitchen and bathroom ingredients. The cocoa and arrowroot can be used in the kitchen. Arrowroot is basically corn starch without the GMOs. The clay makes a fantastic mask! Add a little with water and apply to the face. Your skin will thank you. The spices are common cooking spices.
Q: Can I skip the clay?
A: I don’t recommend skipping the clay. You can still make a great foundation without it, but if you are looking for corrective issues, like redness or mild acne to be resolved, the clay is needed. French clay or kaolin clay are also good choices.
Q: I want to turn this powder into a liquid foundation, can I just add coconut oil?
A: I’ve experimented with liquifying this recipe with zero success! Adding a liquid like coconut oil just darkens the cocoa and you end up with a nice edible chocolate. Freeze it and you’ll have a chocolate bar. I recommend purchasing a liquid foundation from a natural brand. My favorite brand is Ilia. I use their True Skin Serum Foundation under my powder.
Q: I love your recipe so much I want to feature it on my blog. Can I do that?
A. So glad you like the powder and I’m honored you’d like to feature Live Simply’s recipe on your blog. The content here at Live Simply is copyrighted so we don’t allow duplication. If you’d like to use a picture with a link back (recipe needs to stay here at Live Simply), please contact me here and we can talk. I love a good blogger shout-out and am happy to work with you so the recipe is properly featured with credit. Of course, feel free to share across social media or mention the recipe in a blog post with a link back.
I tried this powder last night! I ordered good, quality ingredients and spices. I did find that ginger is a tad course, so I put everything in the grinder before adding the Bentonite clay. I had trouble with this sticking. I followed the recipe, although I did have to use less cocoa powder. It smells absolutely wonderful! But, it seems to just roll off my skin. I used the same amount of oil and lavender, but it doesn’t stick. I use argan oil as a moisturizer and it does a great job matifying, but it is invisible with not even any light coverage. I will be trying again tonight using Bob’s Redd Mill White rice flour, since it is very fine, and mustard powder instead of ginger. The ginger is a bit coarse, even my high quality brand, and has a “stingy” scent. Mustard is very powdery soft with almost no scent and gives more of a yellow tone but not like tumeric! (which I will also try in small amount). Nutmeg is a bit course too so I eliminated that. My skin felt so soft after applying this with my Eco tools Kabuki brush, and smelled so great! My husband was smelling my face… but the only problem is getting any tiny bit of coverage, its just a clear powder really. Any tips? I did include the clay and added a little more, which helped. Perhaps spices just are not pigmented enough for coverage.
Hey Ashlynn, I’ve never tried using rice flour before, so I’m not sure how that will work. The cocoa powder, clay, and arrowroot should stick enough that by the end of the day, when you wipe your face off, the powder rubs off on a wet washcloth. Ground ginger is usually very, very fine and powdery. I’m not really sure what’s happening.
Perhaps I will try finding a different brand of ginger, I would still like to reap its benefits in my makeup! I will be experimenting with this until I find something that works! My skin tends to be dry so perhaps I need more moisturization!
Sounds good, Ashlynn. Let me know how it goes.
For those of you with pink undertones, try rose Kaolin clay:
http://www.amazon.com/16oz-Natures-Oil-100%25-Kaolin/dp/B00DBAI24W/ref=sr_1_1?ie=UTF8&qid=1414774799&sr=8-1&keywords=rose+clay
It just might work for you! I will be trying this recipe as soon as I receive my Amazon order. I have yellow undertones, but I came across this in my research! I will try using ginger since I cannot find yellow clay.
I can’t wait to hear how it works, Ashylnn!
Hi –
You may have already answered this (sorry I did not have time to read all of the wonderful comments) but what kind of brushes do you use since the benonite clay can not come in contact with metal? All of my brushes have metal at the base.
Thanks!
Hey DeAnna, It’s okay for the brush to have metal on the end, just as long as you’re using the tip of the brush (the end of the brush) for the powder. My current brush (pictured) has a metal base, but the metal never touches the bentonite.
Thank you so much!!
In your frequently asked questions you ask, “If I make this and don’t like it did I waste my money?” You can use it as a dry shampoo if you don’t want to use it as a foundation! Apply with a brush to the scalp and brush out.
Great idea, Cindy!
I apologize if someone already asked this; there’s too many comments to sort thru! Does the lavendar serve any purpose other than scent? Can I leave it out and get the same results?
Thank you!
Hey Katie, There are a lot of comments on this thread, so no apologies :). The lavender adds a pleasant scent, but also a soothing and healing property for the skin, but it can be left out. You’ll still have a wonderful foundation powder without the lavender EO.
Wonderful recipes!! Can’t wait to try 😀
Thank you, Muktangan! Enjoy the foundation powder!!
I can’t wait to try this out! But I do have a question: do you have a recipe or idea for concealer?? I have a ton of acne scars & continual acne (trying my best to find out the most natural way to clear up my face) and my currant foundation (all mineral, but costly!! ) does not even come close to covering my scars.. 🙁
Hey Rachel, I’ve experienced the same issue with scars, so when I go out for an event I use an organic concealer and this foundation powder powder over the top. I’ve used Physician’s Formula brand with good success. They make an organic line which isn’t perfect (for ingredients) but much better than other store-bought alternatives. Scratch Mommy also sells an organic foundation, although it’s not as thick as what you’ll get from a store-bought concealer: ScratchMommy.com.
I made this yesterday and it goes on nicely! I added an extra T. of cocoa powder to adjust the color for my complexion. The only thing I was worried about was smelling like a spice rack – not that that’s a bad smell, but, well, you know…Anyway, the spice smell dissipates quickly, I even had my hubby smell it after a bit and he agreed – no smell 🙂
I may add a few more drops of the vitamin E oil as I live in New Mexico and it’s dry dry dry here!
Yay, that’s awesome, Sue! Enjoy the foundation powder!
Woah! Such an awesome concept! I’ve never seen a DIY foundation before!
http://breakfastatvogue111.blogspot.com/
Thanks, Courtney. Enjoy!
I just made your foundation powder and am amazed! I left out the vitamin e and lavender oil because I didn’t have it, but intend on getting some later and adding it. I used shea butter as a moisturizer underneath so the powder would stick since i left the oils out. I cannot believe how much this looks like my expensive foundations, maybe even better. It soaks into your skin later so even though it looks powdery, that only lasts about half an hour. Also wanted to mention I think your video tutorial on this is great, and now I have utensil envy. Must get some wooden spoons! 🙂 Thanks so much for your blog. It’s been so informative.
Hey Tracy, Thanks for coming back to share how it’s working for you. I’m so glad you love the powder, and it truly saves so much money!! Enjoy!
i tried the powder today but it didnt match my indian skin.we usually have orange tint in our cosmetics to suit our skin colour.i tried it with turmeric powder but none suited my complexion.plz help me to get that orange shade
Question: How do you get rid of the clumps that occur from adding the liquid vitamin e and the essential oil?
Hey Loren, I generally whisk the powder for about a minute after adding the vitamin e and essential oil. You could also run it through a spice grinder, if you desire, but that would be more work.
Aren’t the whisk and spice grinders metal?
Hey Sarah, Yes, you’re right about the spice grinder–good catch! Thank you for mentioning that. Considering the metal inside, if a spice grinder is needed, then add the bentonite afterward. The bentonite is naturally very fine; I think some people have more of an issue with the cocoa powder (cocoa can vary with brands). A whisk doesn’t have to be metal, and other materials can be used as a whisk, if needed, like a plastic or wood fork, etc.
I have a comment and two questions.
If you have a food coop nearby, check it out. Our local coop has a bulk area with many of the ingredients in this and some of Kristin’s other recipes available to be purchased in whatever quantity you choose (arrowroot powder, beet powder, cocoa powder, lavender and calendula blossoms). There were three different cocoa powders with slightly different shades which would allow an additional way to customize your shade.
Now for my questions. My skin is quite dry; I’m not dealing with acne or redness, so would it still be best to include the bentonite clay? Does it have any benefit for dry skin?
I understand that you like the scent of lavender. Have you tried any other essential oils whose scent you like for this recipe?
Thanks! I love your website.
Hi Julie, I’ve tried making the powder with the clay and without. When I first started using this recipe I didn’t use the clay, but found I liked the added benefits of clay and started incorporating it into my recipe. You can leave it out and still make a good powder.
I have tried other oils. Any oil that’s safe for direct contact with skin (meaning no need for a carrier oil) would work great.
Calcium Bentonite clay (Green Clay) is this clay ok to use in foundation powder
Yes, that’s perfect!
would this work without nutmeg and ginger?? I don’t have those and I wanted to know if they are a must, or not! Thank you for an answer and THANK you for your amazing website! oxoxox
Hey Roxana, You can leave the nutmeg and ginger out of the recipe and make a great foundation powder. Enjoy :).
hi kristin,, thank you for the recipe sharing..may i know how long it takes to last longer? Is it one month?
Hi Sariyan, The powder will last about six months as all the ingredients are shelf-stable. Enjoy!
Can’t wait to try this! Have you thought ever thought about or heard of people adding Maca powder? I just always have some in my kitchen and am curious if it could be a good addition.
Hey Katelyn, I don’t have a lot of experience with Maca powder, so I’m not sure if it would work in this recipe. If you try it, I’d love to hear what you think!
I just had to leave a comment regarding the homemade foundation recipe: THANK YOU SO MUCH! I have never had anything feel so good on my face, or control oil like this. I made my batch following your recipe, except I didn’t have nutmeg so I just added an additional amount of ginger. I also left out the vitamin E oil and per your recommendation, used tea tree oil instead since my skin is the exact opposite of dry.
I hate thinking about how much money I have wasted over the years on products!
I don’t need a lot of coverage, but the one thing I have that I hate is oily skin, and NOTHING ever has worked like this. I want to broadcast this recipe to the world and all the others that struggle with controlling oil on their face lol.
I had even used the bare minerals line of products, and all it did was settle in my pores and look cakey. This recipe goes on smooth and looks great, and I have far from perfect skin. I am so happy, and I just thank you so much.
Hey Darla, Thank you so much for sharing! Yay for homemade solutions!
4 Tbsp of cocoa powder? Is that correct? I followed your recipe exactly because I assumed that since you were fair skinned and I am fair skinned, the ratios would work for me. That being said, when I added in that amount of cocoa powder the color was WAYYYY too dark for me. I ended up quadrupling the other ingredients to make up for the excess cocoa powder. Maybe I am missing a step, or could it be that the cocoa powder is to read 4 tsp? Just checking. Thanks for giving people with sensitive skin a recipe that may work for them, regardless 🙂
Hey Heather, 4TB is the amount of cocoa powder I like to use. I live in Florida and while I have fair skin, I also have a tan for a good the year, so the 4TB works great. This recipe is great for the fact that you can play around with the amount, adjusting as you mix. So glad you found the right combo for you. Enjoy!!
Wonderful info. Pls for Africans, do we use less or more of cocoa powder and will corn starch come out well instead of arrowroot powder?
Hey Stella, You’ll probably have to play around with the cocoa powder- adding more as needed. Corn starch should work too, just watch for any irritability.