Want to Save This Article?
Enter your email & I’ll send it straight to your inbox. And you’ll get new recipes & tips each week.
I knew it would happen!
The moment came this week.
Family vacation.
There is something about a week of no responsibilities to cue my body– it’s time to bring on the sneezing, coughing, and aches. It seems to happen every year. Walking around Disney World with a bag full of tissues hoarsely singing “It’s A Small World” is not what I’d call ideal.
This year I decided to go on the defensive.
I’ve found eating real food with plenty of good fats, lots of veggies and fruit, homemade probiotics (such as kombucha and yogurt), and getting enough sleep really do help keep my family healthy and away from frequent sickness. It’s amazing how the body when nourished and cared for works beautifully in the healing and staying well departments.
But, here’s the deal…
We live in a world when even the most well nourished bodies get sick. It happens. I think that’s part of being human, and well, let’s face it, there are many times I don’t get a great amount of sleep (I’m a mom and a bit of an overachiever) and maybe forget to feed myself something other than a mere apple for breakfast and lunch.
As I mentioned before that long trail of wordiness (vacation brain), I went on the defensive this year.
Last year (after family vacation) I learned of a miraculous little liquid called Elderberry Syrup. Have you heard of it? It’s pretty darn amazing. It’s delicious and boosts your immune system, making it ideal for the winter months when colds and the flu abound. Don’t believe me? I know, I may be starting to sound like the local Witch Doctor to some, but trust me this stuff is good.
Elderberry syrup is a proven remedy for preventing and recovering from the flu, colds, excessive mucus, sore throats, and contains large amounts of antioxidants, potassium, beta carotene, calcium, phosphorus, and vitamin C. Source
See, good stuff!
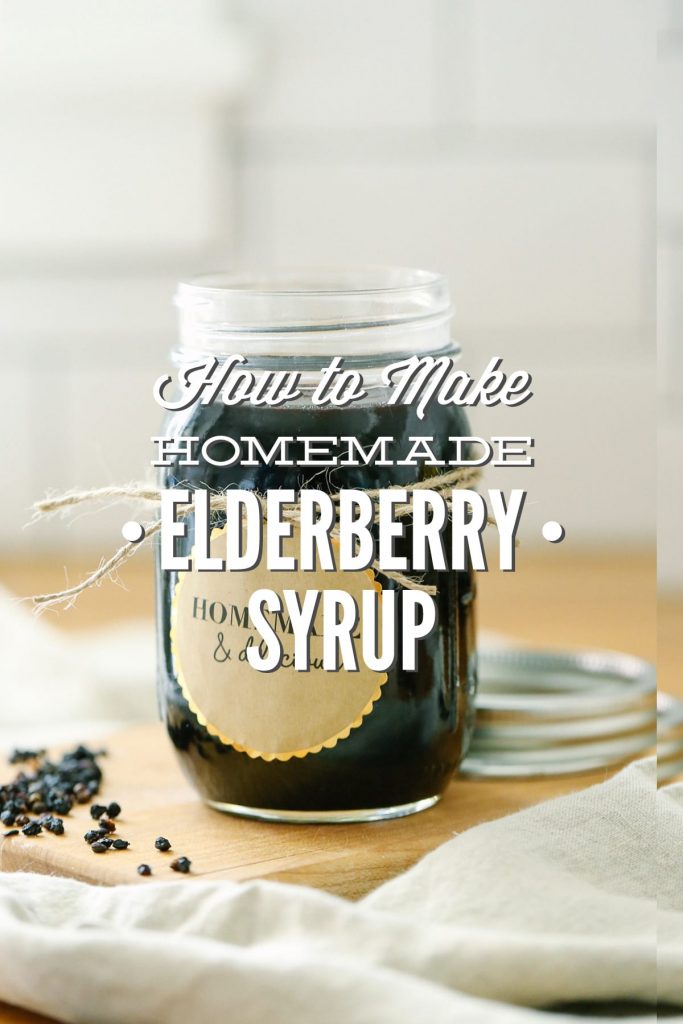
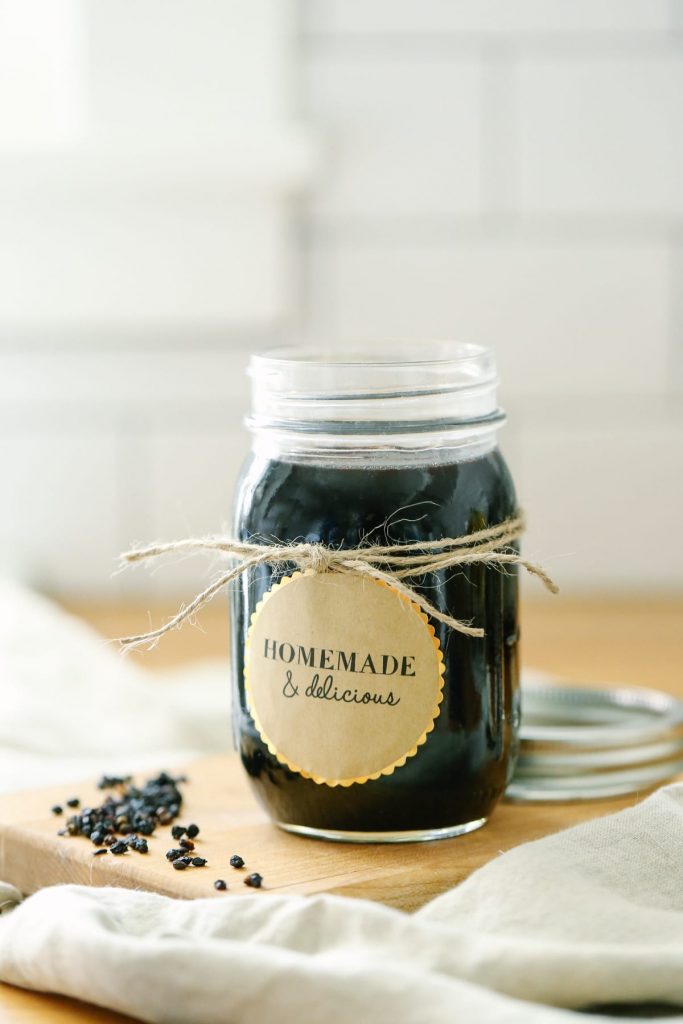
I started buying elderberry syrup at the health food store. Let me tell you, those bottles of black syrup aren’t cheap. For about 6oz. I would pay $16. Woozers! Between four people taking a tablespoon a day, I just couldn’t afford those bottles for long. Liquid gold! I quickly found making elderberry syrup at home was easy and cheap.
This year, while packing vacation goodies, I was sure to make a batch of this immune-boosting syrup to get the added protection I needed from any cold that may come my way.
And guess what?
This vacation has been a sick-free relaxing week!
Making the syrup only requires a few simple ingredients and can be made in 45 minutes, start to finish. The result is a syrup that’s delicious (so kiddos easily take it), immune-boosting, and can last for a couple of months when stored in the fridge.
I make pint-sized batches at a time and give each of us a tablespoon daily. If a sickness strikes, I give the syrup every 4 hours with a dosage of 1 teaspoon.
Simple.
Immune-boosting.
Kid-friendly.
Budget-saving.
Now, that’s my kind of syrup.
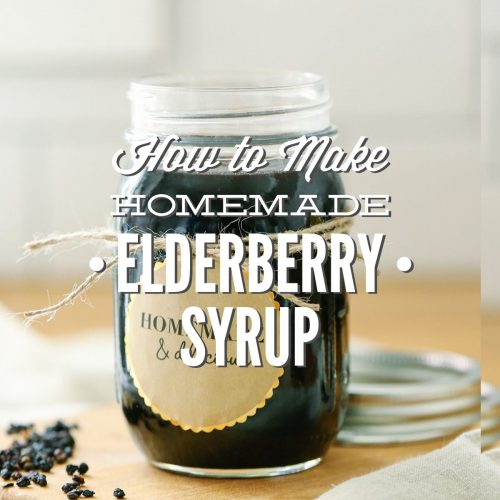
Immune-Boosting Elderberry Syrup
Ingredients
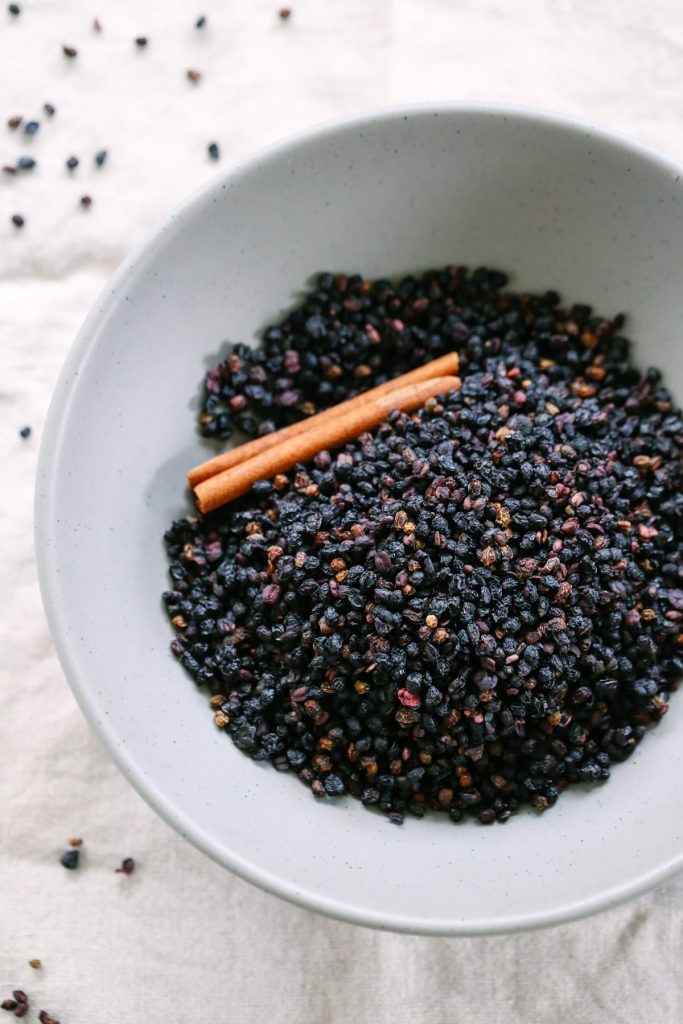
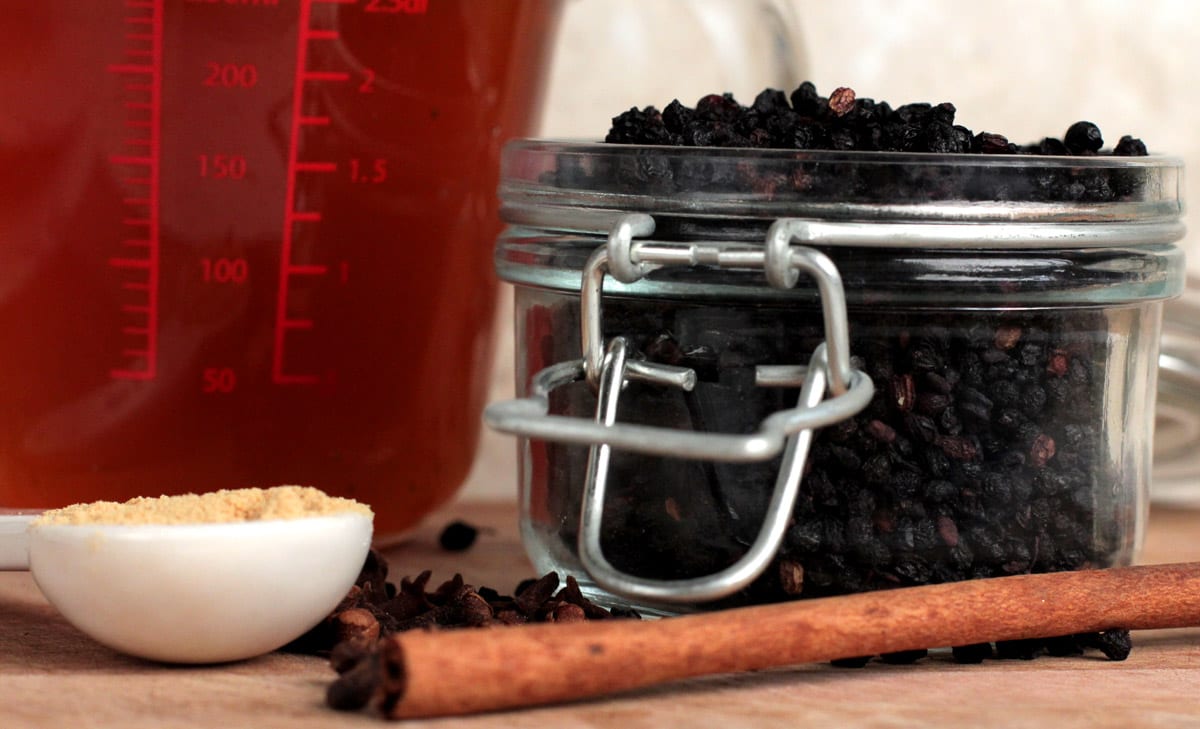
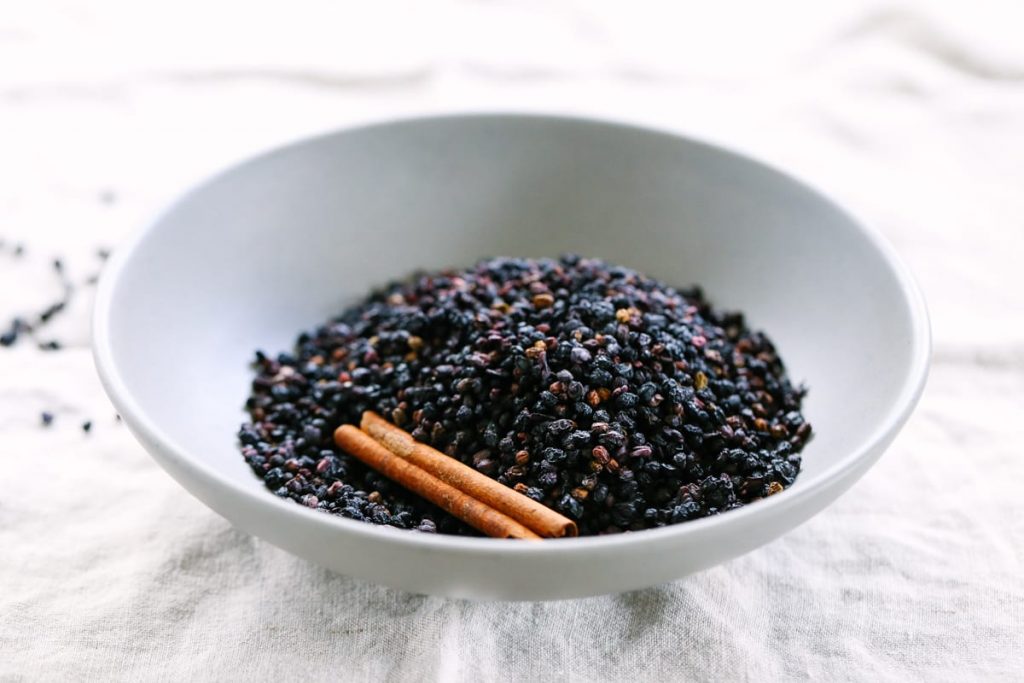
- 3/4 cup dried elderberries
- 3 cups water
- 1 cinnamon stick
- 1 tsp ground ginger
- 4 whole cloves
- 1 cup honey
Instructions
- Add the berries, water, cloves, ginger, and cinnamon stick to a large pot and bring to a boil.
- Once boiling, reduce the berry mixture to a simmer. Allow to simmer for 30 minutes.
- After 30 minutes, remove from the heat.
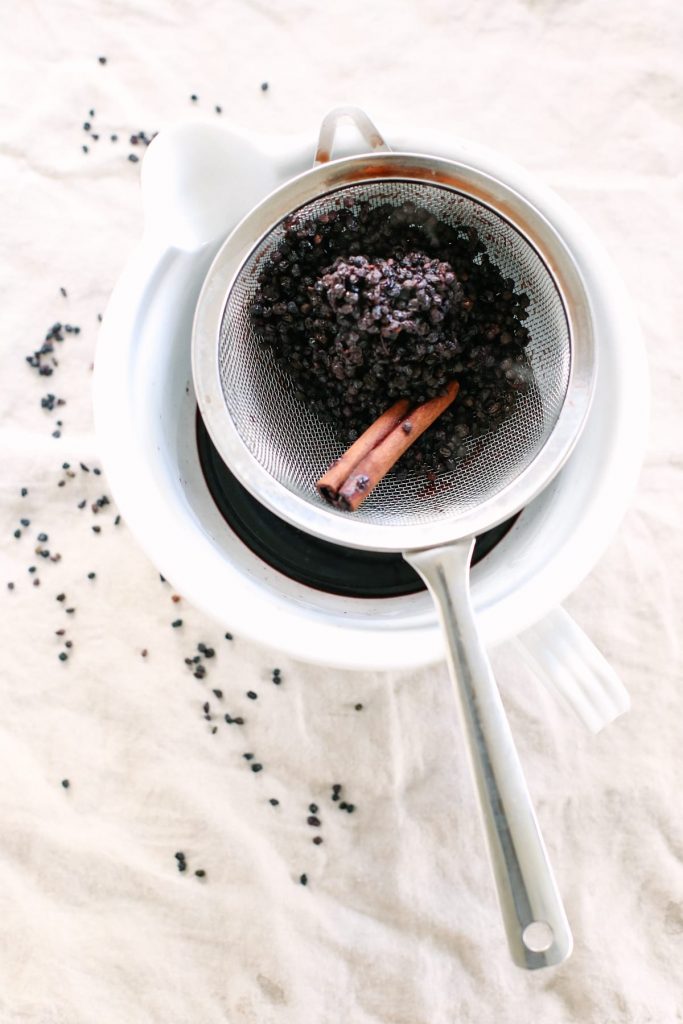
- Strain the berries from the juice. I use a cheesecloth and small mesh sieve over a bowl. Push the berries in the strainer down with the back of a wood spoon to remove any extra juice. Stir in the honey. The berry mixture should still be warm, not hot, just slightly warm.
- Now you have the perfect syrup for fighting off the sniffles this season. Keep in the fridge. Take 1 tablespoon daily by spoon or even mix it in a smoothie or with sparkling water.
Nutrition
Oops…where you BUY your ingredients
i can’t wait to make a batch! I’m wondering where you but your ingredirnts from? I’m torn between cinnamon sticks (cinnamonum sp) and (cinnamonum verum)….what do you use?!
Hey Karice, I love Frontier brand. They are a family-owned and operated company and sell amazing spices!! I usually purchase my cinnamon sticks from the health food store, Frontier directly, or Frontier on Amazon. Here’s Frontier’s site: http://www.frontiercoop.com/products.php?cn=Cinnamon+Sticks. For elderberries, I usually either purchase berries from Amazon (linked above) or through Mountain Rose Herb.
Thank you so much for the response!
I showed this to a friend and she was concerned the syrup may need a stabilizer as the nutrients would quickly be lost? Any thoughts on this? I’m really excited to make it. My elderberries just came today.
Hi Carrie, It’s generally recommended that homemade elderberry syrup be used within a couple of months for freshness. So as long as you’re not keeping it long-term you won’t need to worry about nutrients being lost. If you’re not sure the syrup will be used within that time frame, you can also freeze some of the syrup to help preserve it for long-term use.
Do you have to use the honey? We are staying away from sugar and would use stevia if its for the sweetener only. I know honey has it’s own benefits.
Hey Lisa, Honey does add value to the syrup, plus it helps make it more of a syrup vs. a watery liquid. While honey is a “sugar”, it’s a natural sugar that also has healing benefits and is not processed like the sugars commonly consumed (which lack any value.) You could add stevia, if desired.
Could I use ground elderberry? I guess I would use less if it’s ground?
Hey Louise, I don’t have any experience with ground elderberries, but I believe they will work in this recipe. I think you’re right, just reduce the amount compared to the whole berries.
Doesn’t boiling the berries reduce the nutrients or no?
Hey Beverly, The berries are only brought to a boil and then simmered over low heat. This process extracts the benefits from the elderberries without ruining any beneficial properties.
how long does it last?
Hey Donna, The syrup will last at least a month when stored in the fridge.
I wish there was any easier way to share your recipes … like on facebook
Hey Jessie, There are share buttons at the bottom of all posts. Hope that helps. 🙂
I have been wondering about making elderberry syrup gummies. Do you think it could work?
Hi Lynda, Elderberry Gummies are delicious! My kids love them. I haven’t published my recipe, yet, but I believe Wellness Mama has a great recipe.
could you use fresh elderberries? my sister lives down the road from me and she has an elderberry tree that produces lots of berries. or would you have to dry them?
Hi Ali, I’ve never had the opportunity to use fresh elderberries, so I’m not sure about using them. I have a feeling the reason most of us use dried berries is because we don’t have access to fresh. If you try the fresh berries, I’d love to hear how it goes.
I like to make Elderberry tea when I feel a bit down and tired and needing a pick me up. I use my own dried Elderberries, I put some Sage, a Clove, some Ginger and even some Raspberry leaves in it, put it in my favorite tea pot and let it steep after it boils for about 5-10 minutes. We love it with some Honey in it for a bit of a sweetener.
I love to pick Elderberries here on our small farm and dehydrate them to my specks and then store them in a good tight fitting jar, and use as needed.
Now I will have more of a reason to pick and dry these little berries.
Thanks for the recipe and I will be sure to make it soon.
Hi Sharon, That tea sounds absolutely delicious. I need to try making some. 🙂
I’m going to try making this at home as soon as I can get my hands on dried elderberries. 🙂 We reposted your recipe. Thanks so much for sharing!
Thank you for sharing :).
Why not just blend the berries and water, after is has soaked, in a blender instead of straining?
If you decide to do that, I would use a hand blender (immersion blender) and then strain the extra pulp/berries. It’s worth a try. The berries after steeping are much like veggies in broth, all the good stuff has been extracted.
Where do you get your dried elderberries?
Hi Jo, you can order them off of Amazon!
LS Team
I am making this now! Do you let it simmer covered or uncovered? Thanks!
I usually cover it.
Thank you! I cooked it uncovered, and it still turned out great! I will cover it next time. Do you give your son a Tbsp also, or less?
I give my three year old a Tablespoon a day and my one year old, half a tablespoon. So glad it came out well for you. I need to make some more.
Oh dear, first you said you leave the lid off when simmering? And now you say you usually cover it? Very confusing. Never mind will check it up, I am sure to find my answer.
Hey Rosina, I’ve done both–you’ll still create a good syrup :). I usually just put the lid on the pot.
How many months does it last?
How much does this make? Thx!
This recipe makes a little less than a quart. I’m always excited about how much I get and for so little money!
Great! I was hoping to get that much. I will try it out, thank you!
I am going to try to make this!
This post came at the perfect time, I was just thinking about whipping up a batch before the holidays, thanks for the super clear instructions.
Your welcome! It really is so easy. Enjoy 🙂
Immune-Boosting Elderberry Syrup http://t.co/e49vjHi8q2
Good morning, I am making this elderberry recipe as we speak and was wondering if there might be a printer friendly copy I can make to keep with the binder I am creating on healthy recipes? Thank you
Hey Chris, This recipe is an older recipe before we used a recipe “card” with a printable option. The best option is to copy and paste the recipe into a Word Doc and edit, then print. Enjoy the syrup!
Hi,
Do you know if this syrup is safe for use during pregnancy and lactation? Thanks!
Hey Bethy, I did some research on this topic and it looks like there isn’t much conclusive evidence that elderberry syrup is safe during pregnancy or breastfeeding. Some sources say it’s okay, while others say to avoid it.
Hi, when you simmer for 30 minutes, lid on or off?
Hey Ashley, I recommend not using a lid.
Are you using dried or fresh cloves?