When we started our real food journey, nine years ago, there were very few packaged foods on the market that were made with real ingredients. Because of this, I had to learn how to make what felt like everything we ate, from mayo to bread to granola bars.
Today, there are quite a few quick, store-bought, made-with-real-ingredient options on the market.
Want to Save This Recipe?
Enter your email & I’ll send it straight to your inbox. And you’ll get new recipes & tips each week.
What I’m able to purchase pre-made versus make at home has changed quite a bit over the past nine years (i.e. I no longer make mayonnaise since there are a few real food-based, store-bought options). Even with the “better” convenience food options, I believe it’s still vitally important to learn how to make these foods at home.
Why?
Because knowing how to make these easier-to-find-in-the-store foods, allows us to be more informed consumers.
For example: If I know how to make mayo–the basic ingredients needed– I won’t be easily fooled into thinking that a complicated ingredient list on a store-bought option, with unpronounceable ingredients, is okay. Knowledge is power. I truly believe that a lack of basic cooking knowledge has led us, as a society, to accept anything and everything as “food.” Something that’s sitting in a store and sold for our consumption must be nourishing, right?!
Today, we’re going to make granola bars. Granola bars are one of those foods that could be purchased or made at home, but to be honest, the homemade version just tastes so much better. Plus, knowing how to make your own bars, and the ingredients required, helps us be better informed when we’re looking for bars to purchase from the store.
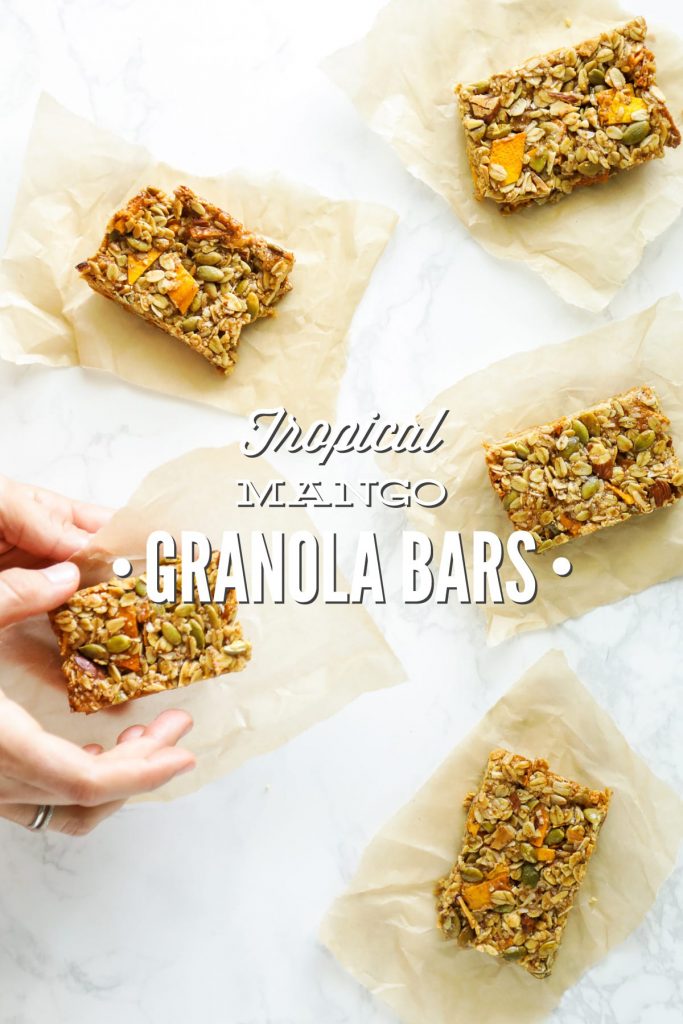
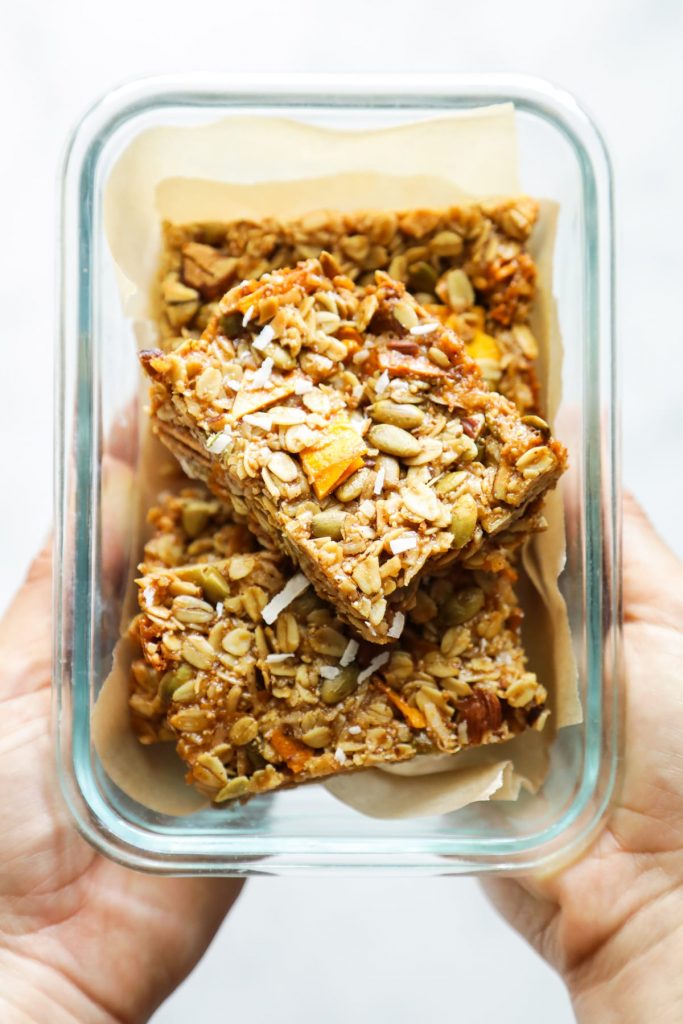
Once we know how to make granola bars, it’s easy to customize the bars to our liking–adding different nuts, seeds, fruits, and spices. In the past, we’ve made no-bake granola bars and baked granola bars–both very similar recipes with little tweaks to customize the bars. Today, we’re going to tweak the recipe one more time to make tropical granola bars.
Granola bars are a labor of love–they require spending extra time in the kitchen–so if you like these bars, I recommend making a double batch (in two pans) and freezing the extra bars. This way you’ll have plenty of bars to enjoy and won’t have to make them as often.
PS: I shared my favorite store-bought granola options over in this travel post.
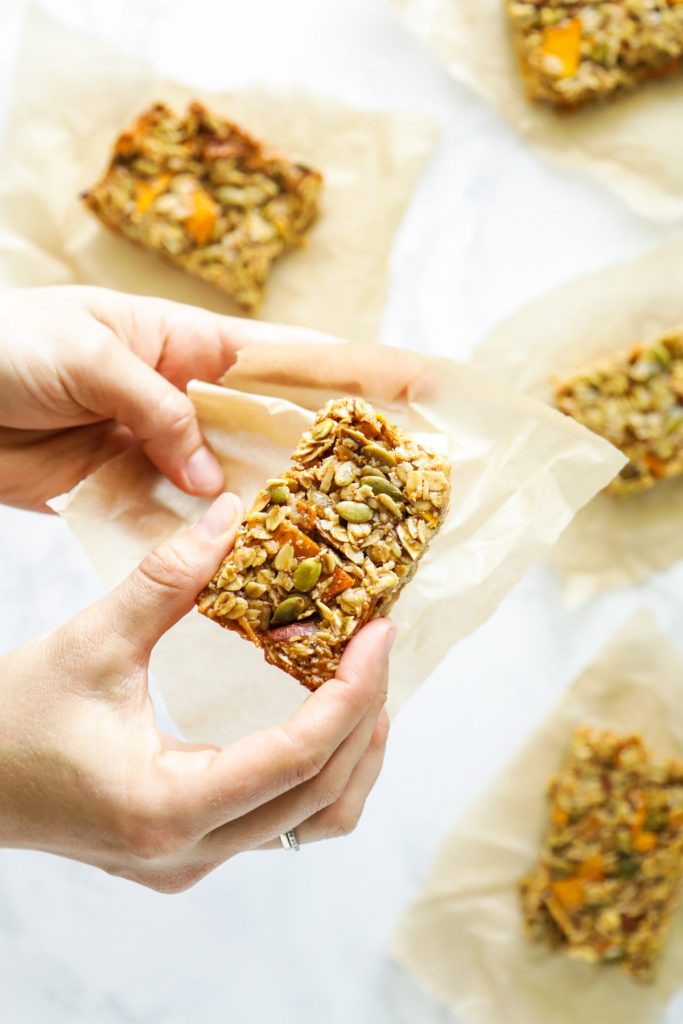
(Homemade) Tropical Mango Granola Bars
Ingredients
- 1 cup old-fashioned rolled oats (110g)
- 1/3 cup sliced almonds unsalted (40g)
- 1/4 cup pumpkin seeds raw and unsalted (54g)
- 1/3 cup honey (118g)
- 1/4 cup coconut oil (55g)
- 1/4 cup almond butter (65g)
- 1 1/2 tsp pure vanilla extract
- 1 cup unsweetened dried mangos chopped (85 grams before chopping)
- 1/2 cup unsweetened shredded coconut (40g)
- 1/4 tsp ground cinnamon
- 1/8 tsp ground ginger
- 1/8 tsp ground nutmeg
- 1/4 tsp salt
Special Equipment:
- sharp knife
- 9x9 baking pan the pan in the photos is just slightly larger
- parchment paper
- sheet pan
- small saucepan
- large mixing bowl
Instructions
- Preheat the oven to 350°F and line a baking sheet with parchment paper.
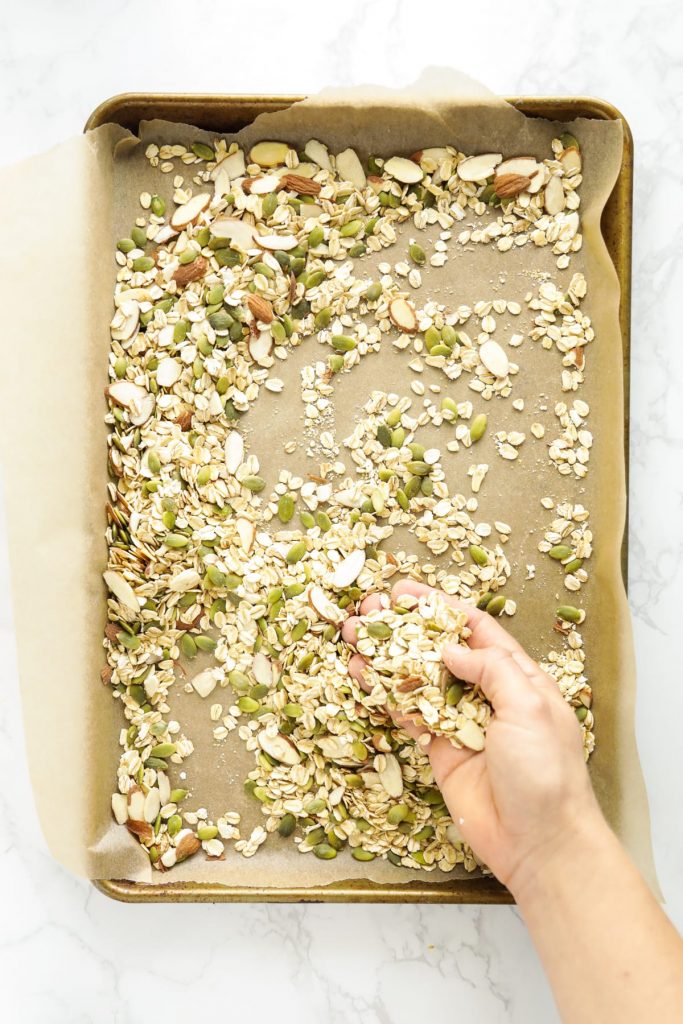
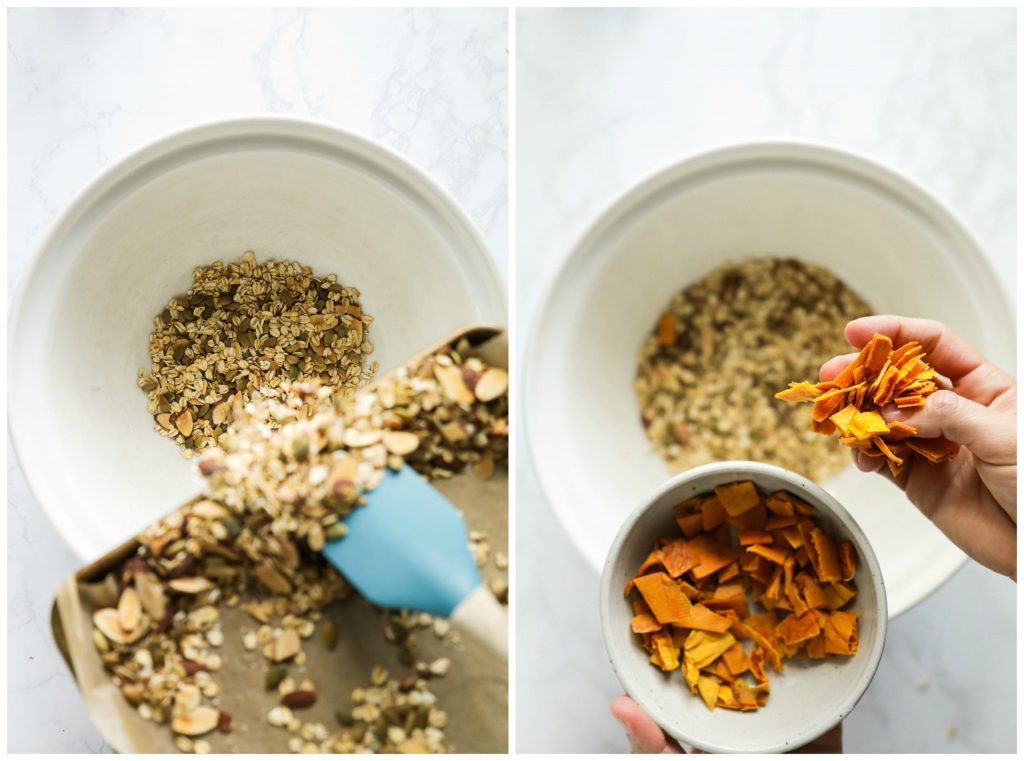
- Spread the oats, almonds, and pumpkin seeds onto a baking sheet and toast in the oven for 10 minutes, or until golden and fragrant.
- Meanwhile, line a 9x9 baking dish with parchment paper and grease lightly (I use an avocado spray for greasing, coconut oil will also work).
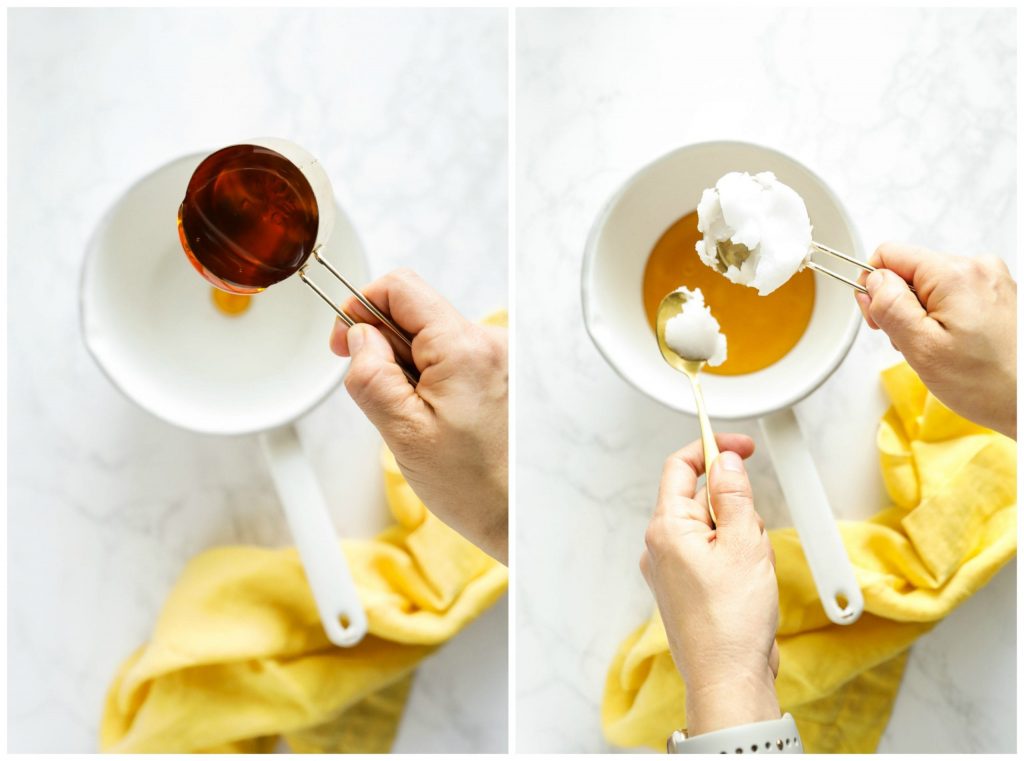
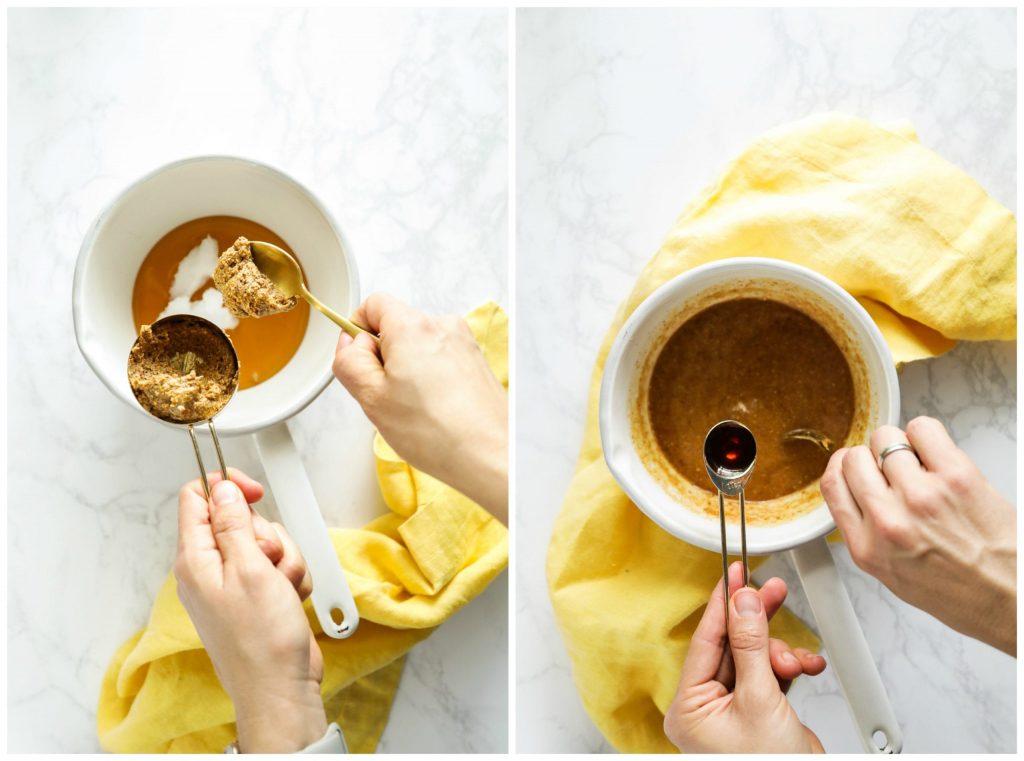
- Add the honey, almond butter and coconut oil to a small saucepan and stir over medium-low heat until the coconut oil has melted, then stir in the vanilla.
- When the oat mixture has finished toasting, add it to a large mixing bowl, then mix in the chopped dried mangos, shredded coconut, cinnamon, ginger, nutmeg, and salt.
- Pour the warm honey mixture over the dry ingredients and stir to combine completely.
- Spoon the mixture evenly into the prepared 9x9 pan, then pack it down firmly with your hands or the back of a measuring cup.
- Bake for 20 mins, until the bars are lightly golden.
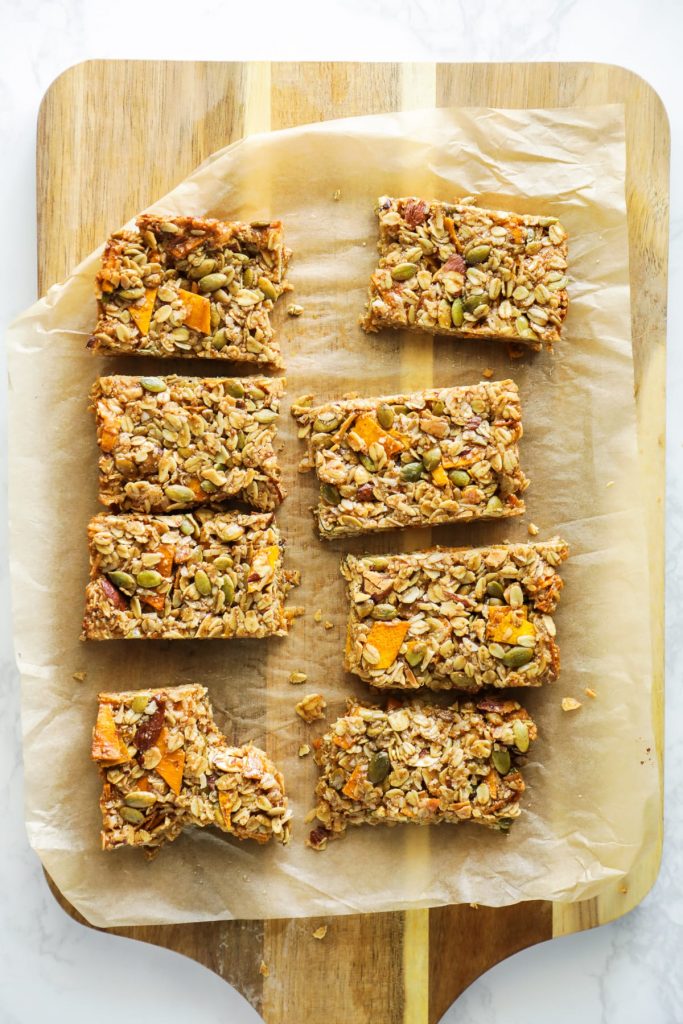
- Let the bars cool completely before cutting into squares with a sharp knife. (I've let the baking dish sit on the counter overnight, covered, and then cut the bars in the morning.)
- Store the bars in an air-tight container, in the fridge, for up to 2 weeks, or in the freezer for up to 6 months.

Hi so when you mention dried mango, is it like dehydrated fruit or freeze dried fruit? And what will the shelf life be?
Thank you for your recipe.
Hey Shirin, Dehydrated fruit (not freeze dried). About 2 weeks in the fridge.
I just tried this recipe. It came out really well. I had no problems at all. Thank you!
Hi, love this recipe but can’t get the bars to stick together. Any tips?
Hi Kyle, I’m so sorry it didn’t stick well… It sounds like the honey mixture didn’t cause them to stick. Did you try putting them in the fridge? Please let us know if there’s anything else you need help with!
LS Team.
I am eager to try this recipe, but we don’t much like shredded coconut in our home (although I use coconut oil often). Is there something I could substitute for the shredded coconut that would maintain the same general texture and taste?
Thank you!
Hey Susan, I think you could leave out the coconut without any issue.