Want to Save This Article?
Enter your email & I’ll send it straight to your inbox. And you’ll get new recipes & tips each week.
This may sound silly coming from a girl that’s been living in what’s considered spring weather, for 90% of you, for over 6 months now (Florida… what can I say?), but I’m going to say it…
The warmer months have finally arrived. Woohoo!
Even this Florida gal is feeling the change in the seasons. In Florida this means tourists are visiting the beaches, my garden is starting to flourish, and the kids are requesting to spend hours outside each day.
No matter where you live, or what the entrance of spring may look like, I think most of us are finally feeling the need to break out the shorts and flip-flops and bask in the sun. And that’s exactly why I’m here today, to help you enjoy the sun during these warmer months.
This sudden urge to break-free from our houses and spend hours upon hours outside is not always welcomed by our skin, at least not mine.
My fair skin doesn’t enjoy the same enthusiasm for long hours in the sun as much as I’d like, so precautions must be taken. This usually means a good sun hat, a nice layer of protective clothing, some homemade sunscreen, and plenty of H20. I’m quite the bathing beauty at the beach. “Um lady, it’s summer time, not winter!” My children have also inherited my shade-lovin’ skin, so they get to enjoy the same extra precautionary measures.
Despite even the best precautionary measures, there are times when our skin gets a bit too much sun and some TLC is needed. My go-to natural remedy is usually aloe vera since its cooling properties soothe and comfort. This year I decided to think ahead and plan for the warmer months of beaches and parks and create a soothing lotion that won’t leave my skin all slimy (yea, I’m talking about you Mrs. Aloe Vera), but will still provide a soothing relief for those times when the skin needs some TLC.
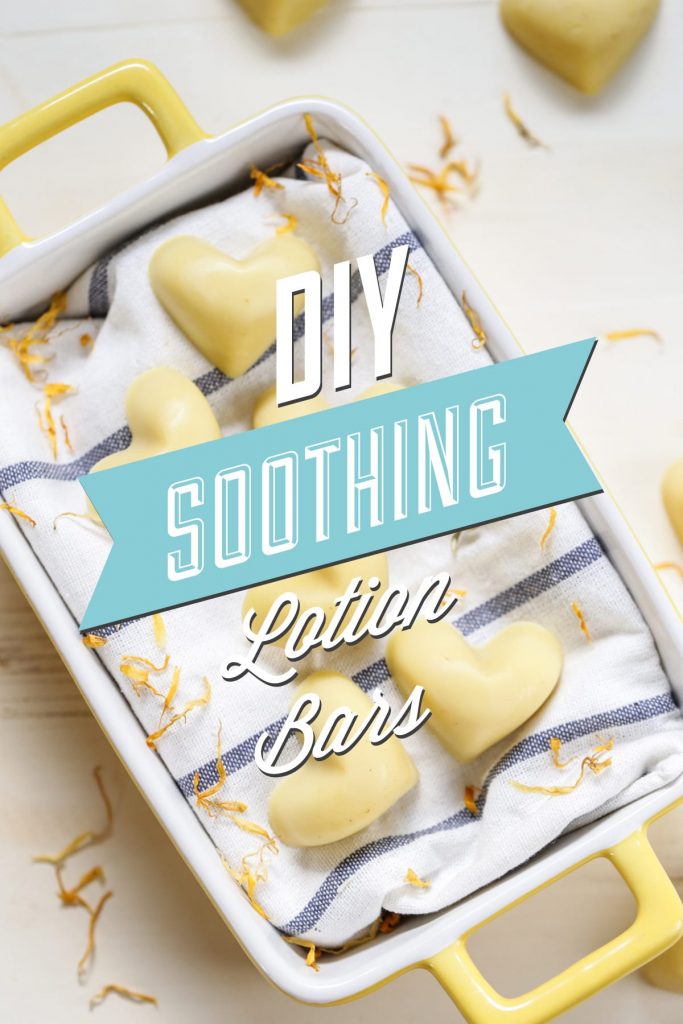
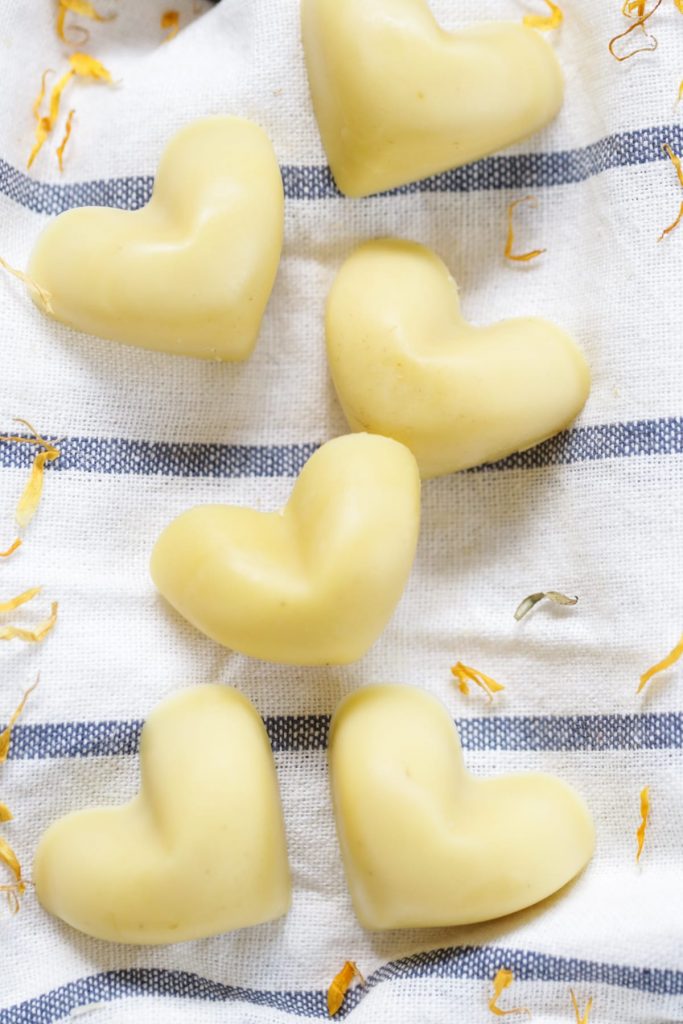
Let me introduce you to my new little spring/summer friends: DIY Soothing Lotion Bars. Say “hi” little guys.
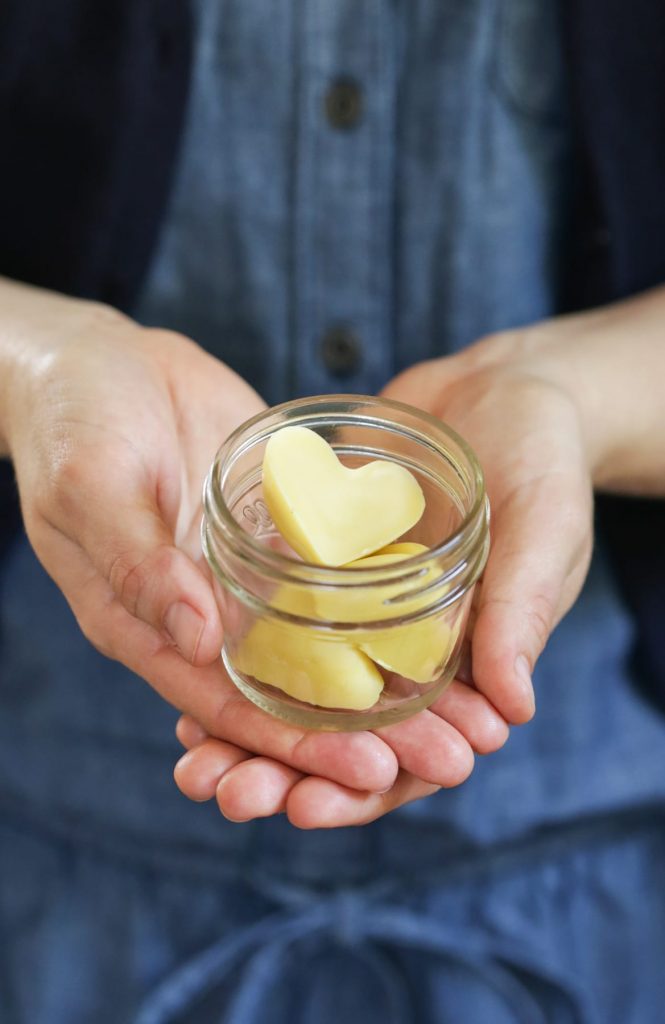
DIY Soothing Lotion Bars are super easy to make, requiring just a few natural ingredients which you probably already own if you’re into making homemade products. Each ingredient is specifically blended together to provide the skin with ultimate soothing comfort. Even if your skin never gets to the point of needing TLC because you tan rather than fry, these bars can be used anytime you’d like. They don’t need to be reserved just for those times of TLC skincare. These bars are easy to carry in a purse and make lovely “I hope you have a soothing summer” gifts.
Let’s take a look at a just three of the many soothing ingredients in these lotion bars:
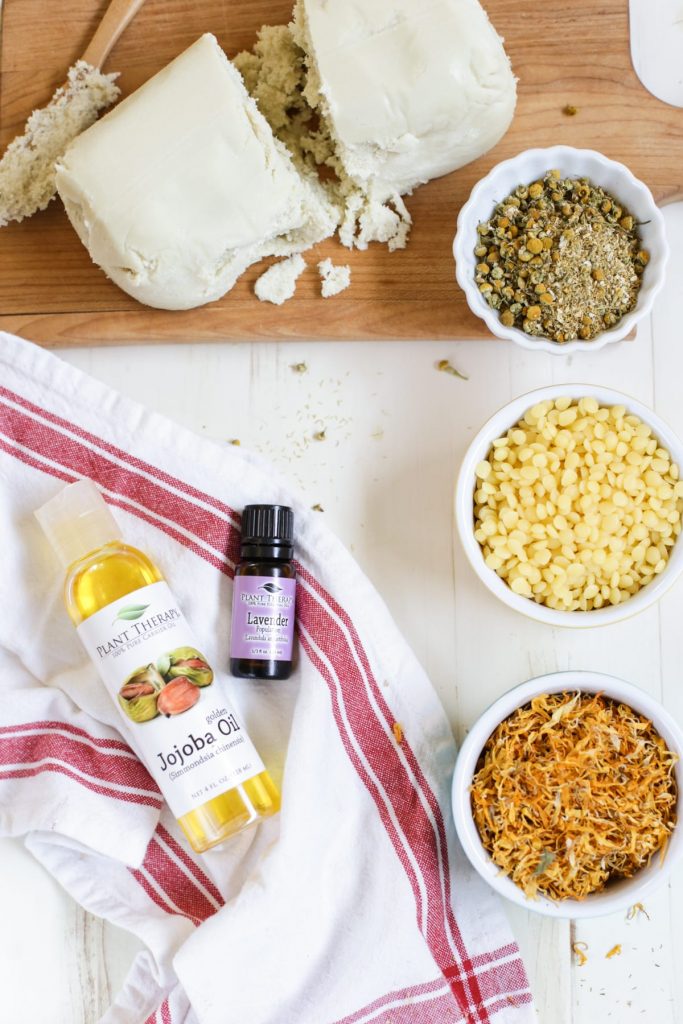
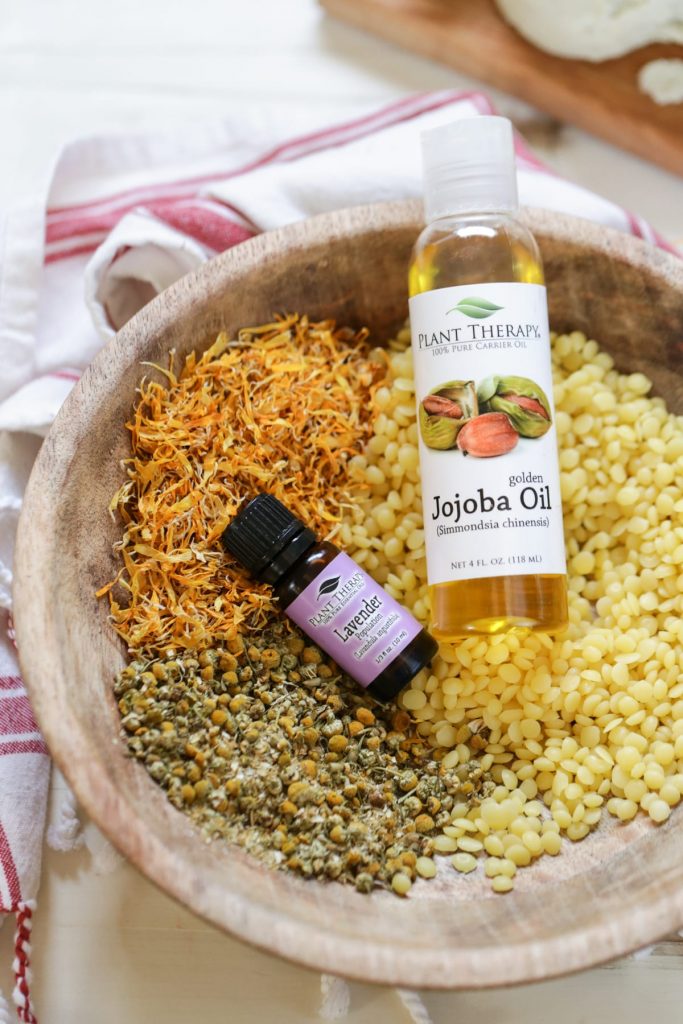
- Calendula: This well-respected healing herb works to reduce the damage from extra sun exposure and soothe irritated skin with its anti-inflammatory properties. I also use this herb to make homemade boo-boo cream.
- Chamomile: Yep, this is the same stuff I drink at night before reading my favorite book. Chamomile contains flavonoids which help to protect the skin from free radicals and damage from the sun. The soothing herb is sometimes used to help conditions such as: rashes and acne.
- Lavender Essential Oil: This healing essential oil helps soothe the skin and speed up the healing process with its anti-inflammatory properties.
To get you started with this simple spring/summer project, I’ve teamed up with Plant Therapy to show you exactly how to make your own DIY Soothing Lotion Bars.
DIY Soothing Lotion Bars
Ingredients
- 1/4 cup coconut oil regular ol' virgin coconut oil used for cooking
- 2 TB Plant Therapy's Jojoba Oil
- 1 TB dried calendula
- 1 TB dried chamomile or 1-2 pure chamomile tea bags
- 1/4 cup shea butter
- 1/2 cup beeswax pellets
- 25 drops Plant Therapy's Lavender Essential Oil
- 1 silicone mold or silicone muffin cups
Instructions
- In a double boiler (or a pot filled a quarter of the way full with water and a heat-safe bowl over the top), melt the coconut oil and jojoba oil (already in liquid form) together. Once melted, add the dried herbs: calendula and chamomile. Place a lid over the top of the double boiler. Over medium heat, infuse the herbs in the oils for 30 minutes. By the end of this time the oil should change color from a light yellow to a dark yellow/orange.
- Separate the herbs from the oil by straining the oil through a fine mesh sieve. Discard the herbs (or compost in a garden). Wipe the double boiler to remove any leftover herbs. Then return the oil to the double boiler. Bring the heat back to medium-high (enough to get the water underneath boiling). Add the shea butter and beeswax to the infused oil, and stir until melted.
- You'll need to work quickly during this next step:
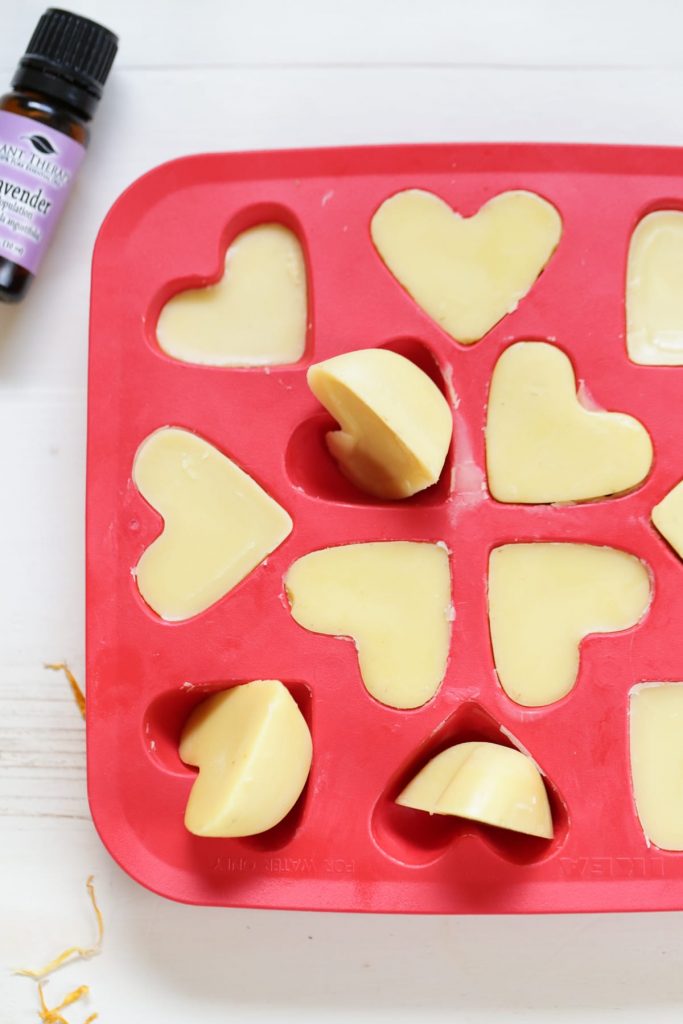
- Turn off the heat and remove the liquid lotion from the heat. Add the lavender oil. Immediately pour the liquid lotion into the mold(s). There's no need to grease the mold(s) before adding the lotion. The lotion bars will require 10-30 minutes to fully set, depending on the temperature in your workspace. Remove the bars from the mold and store in an air-tight container until needed.
Video
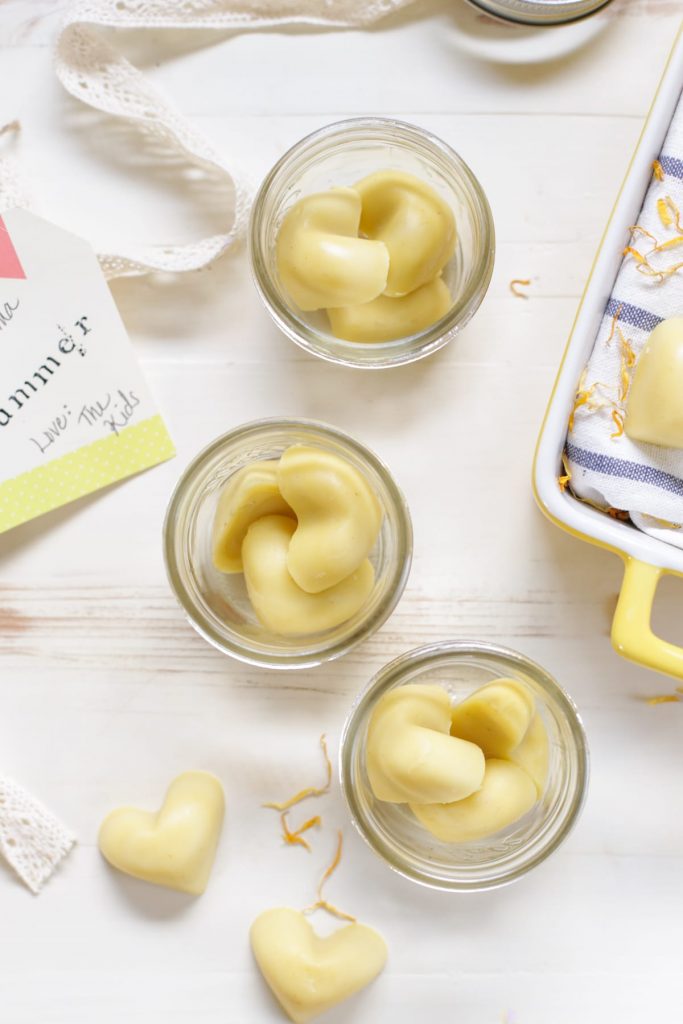
Don’t forget to make extra lotion bars for family and friends, or your child’s teacher. These bars are the perfect warm weather gift! DIY Soothing Lotion Bars are safe to use on children.
Disclosure: This post was written as a collaboration with Plant Therapy. As a blogger, I’m privileged to partner with companies making a difference in the natural and real food world. I only partner with companies and products I 100% love and believe in. I’m not an affiliate for Plant Therapy; I simply enjoy their oils
More DIYs You May Like:

Hi Kristin,
I absolutely love your blog. I am starting on my nontoxic/natural beauty journey and am exited to make these. Question: I cannot stand the smell of lavender – is there another essential oil I could use instead?
Thank you!!
Hey June, Thank you so much! I’m so glad you’re enjoying the blog! In this recipe you could skip the essential oil (lavender is pretty unique) and just rely on the herbs for the soothing. 🙂
Hi Kristin,
I just wanted to thank you for all of the great ideas! I’m finishing nursing school and have learned quite a bit about parabens and their effects. Your natural products are so wonderful, and I’m thrilled to continue making them!
Hey Danielle, I’m so glad you’re enjoying the natural products! 🙂 Congrats on finishing nursing school!!
Where did you find your silicone mold? I like the size and shape of your hearts!
Hey Melissa, The heart mold is from IKEA.
Hi, sorry if this info is already in your post but I couldn’t find it… approximately how many bars or ounces does this recipe make? Thank you!
Hey Linda, I make about 9 bars with my silicone mold.
I absolutely love your blog. I am into the YL essential oils. Do you know if there is something I can replace the calendula with? I live in a tiny town in Mississippi and anything not sold at Walmart has to be ordered in. I was wanting to make these soon so I was wondering if there was something I have on hand that maybe I could substitute. Thanks so much for any help and for your great blog and recipes!
Hey Georgia, I’m so glad you’re enjoying Live Simply!
Calendula is a difficult ingredient to replace without visiting a special herb or health store. Chamomile is very soothing, so you could just replace the calendula with extra chamomile, or leave it out completely.
I could only find calendula petal powder. Do you think this would work? Should I use less since it’s a powder and not whole flowers? And thank you for the wonderful website you’re running. I visit it almost daily!
Hey Kristin (great name ?), The powder should work great. I would decrease the amount in this recipe by half when using a powder. Using the same amount won’t hurt either. Thank you so much–it’s so great to hear you’re loving Live Simply!
Could cocoa butter be used in place of Shea butter? I guess that would require more oil or less beeswax as cocoa butter is more solid than Shea butter?
I love all the diy tips and recipes!
Deb
Hey Debbie,
I believe you can sub cocoa butter for the shea butter without any issue. It’s so great to hear you love the DIY tips and recipes.
I made the lotion bars and I found they have a very waxy feel to them, and don’t really soften up very well when I rub them in my hands. Do you think this could be improved if I used less beeswax, and perhaps more of either the coconut oil or the shea butter? Thanks
Hey Amanda, Yes, this will definitely be approved with less beeswax. The more you use the lotion bars the easier they should be to rub on the skin.
Hello Kristin!
I know it’s been a while since this have been posted but I experienced the same thing and I have a question, is it possible to remelt the bars, add coconut oil/shea butter and then put it back into the molds? I feel bad about wasting the whole tray…
Thank you!
And also thank you for this blog, I find it amazing with a lot of great tips and ideas for myself or as a gift!
Hey Marion, I think you could melt the bars down and add more shea or coconut oil to help soften the bars.
Do you think the recipe would still work if I leave out the coconut oil and add more shea butter indstead? My skin does not like coconut oil 🙁
Hey Anna, You could replace the coconut oil with a different nourishing oil…maybe olive oil?
Thank you so much for your quick response! I putting the water on to boil now- so excited!
You’re very welcome, Felicia! Enjoy the bars!
Hi Kristin,
I have really been enjoying making all of you homemade beauty and cleaning products :). I have a question about these lotion bars – do you think you think I can make them without the calendula? I have not been able to find it locally and I really wanted to make these soon. Thanks!
Hey Felicia, Thank you so much. I’m glad you’re enjoying the beauty and cleaning products. You can skip the calendula in this recipe and still make wonderful lotion bars :). Enjoy!!
I cannot wait to make lotion bars for Mother’s Day gift. So I am wondering how long will the lotion bars be expired? I just need to know so I can label it for my mother. Anyway, thank you for sharing!!
You’re welcome, Joyce! These bars are perfect for Mother’s Day! I believe they will last about 12 months when stored in a cool, dark place.
Great! Thanks for the reply back 🙂
You’re welcome 🙂