This simple DIY shea butter lotion recipe (made with just 3 ingredients) is the perfect moisturizer for the whole body, face included, and may be used for acne-prone and aging skin.
Want to Save This Article?
Enter your email & I’ll send it straight to your inbox. And you’ll get new recipes & tips each week.
I’ll guide you, step-by-step, through how to make shea butter lotion, using shea butter and no coconut oil (because coconut oil can and will clog pores). The final product is a non-greasy, 100% natural moisturizer, with a creamy consistency and skin-soothing properties.
This recipe is used just like store-bought body lotions: to moisturize the face, hands, feet, legs, arms. Technically, this is more of a homemade body butter recipe: a thick moisturizing cream versus a pumpable lotion. (Make pumpable lotion recipe here.)
But whatever you call it, it’s one thing: AMAZING!
What is Shea Butter?
Shea butter comes from the “nut” (or pit) of the fruit found on the Karite Tree. It is soft, compared to cocoa butter, and has a strong scent when it’s purchased in an unrefined state.
I use unrefined shea butter in body-care recipes, but if you don’t care for the (natural) fragrance, I recommend using refined shea butter. Shea butter softens and moisturizes the skin, making it perfect for homemade lotion, shaving cream, and lip balm.
Benefits of Shea Butter
Shea butter is the main ingredient used to make homemade body lotion and many other skin care products.
- It’s naturally rich in vitamins and fatty acids, like vitamin A and vitamin E.
- It contains anti-inflammatory, antibacterial, and antioxidant properties. It’s ideal for sensitive skin and as an anti-aging product. There’s even evidence that shea butter could help with wrinkles.
- Shea butter helps to combat dry skin. It’s an emollient: traps moisture on the skin without clogging pores. There’s also some evidence to suggest that it may help to alleviate eczema symptoms and soften scar tissue. Source: Medical News Today
- Shea butter contains stearic acid, a naturally occurring fatty acid, that allows the butter to spread smoothly on skin without tension. This makes it ideal for a body and face moisturizer since it will melt right into the skin!
I personally use shea butter moisturizer every night before bed. And I’ve seen the texture and softness of my skin improve.
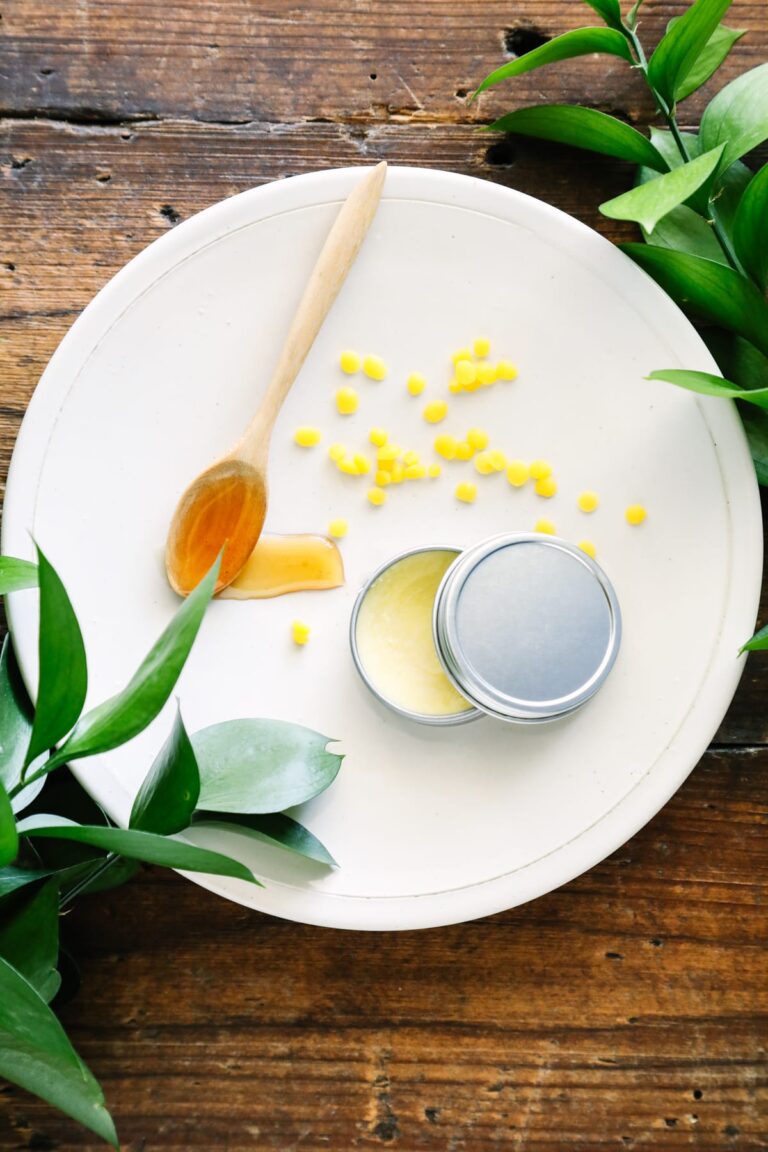
Before You Get Started: Ingredients & Tools
The natural ingredients can be found at most health food stores or online via Amazon. Each ingredient is carefully chosen for its natural moisturizing properties.
Video Recipe Tutorial
How to Make Shea Butter Lotion: Step-By-Step Instructions
Here’s the best way to make shea butter lotion, step by step.
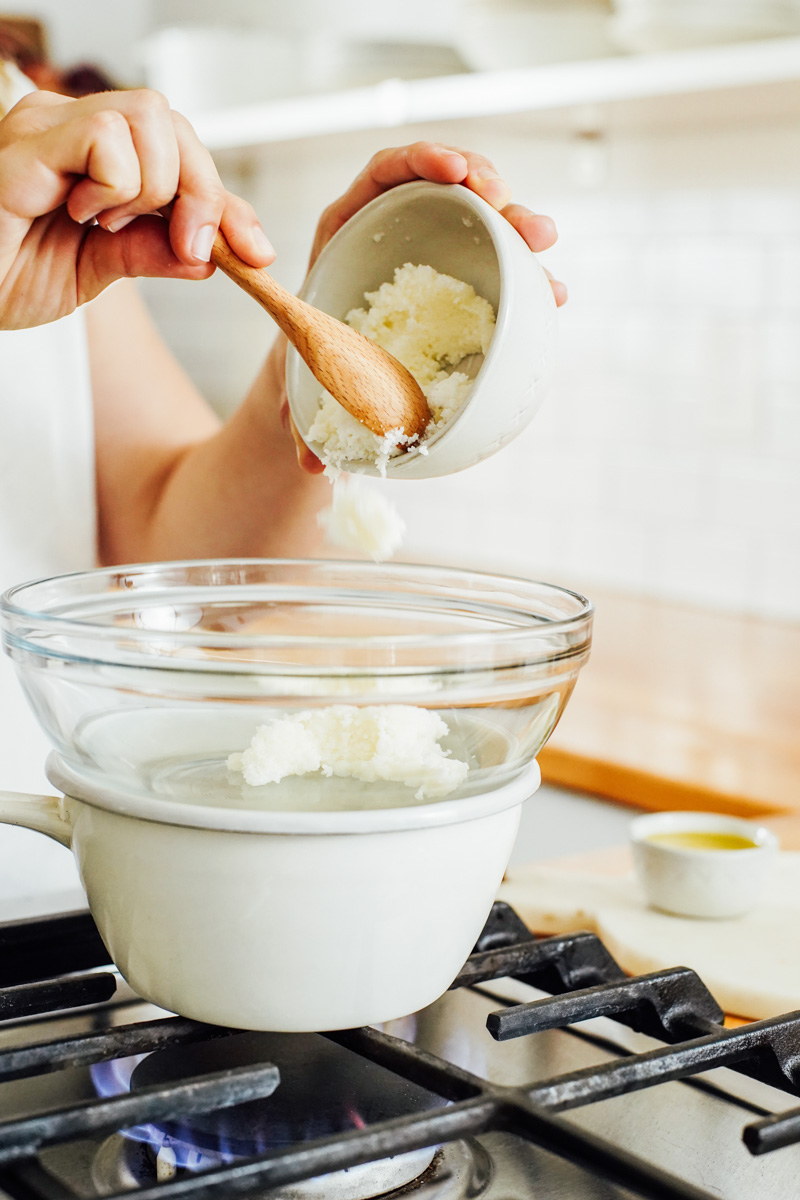
Step 1: Melt Shea Butter
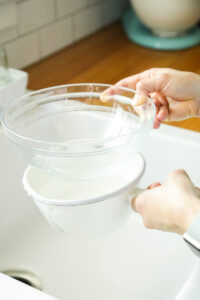
Heat the shea butter to melt it, don’t burn it. To avoid burning the shea butter, create a DIY double boiler. This will allow you to melt the shea butter without it directly touching the heat.
Place a medium-size glass bowl over a sauce pan filled 1/4 the way full with water. The glass bowl should sit just on top of the saucepan, without touching the water in the pan.
Over medium heat, allow the water in the saucepan to simmer. Then add the shea butter and melt.
Once the shea butter has fully melted (about 2-3 minutes), turn off the heat and remove the bowl from the heat.
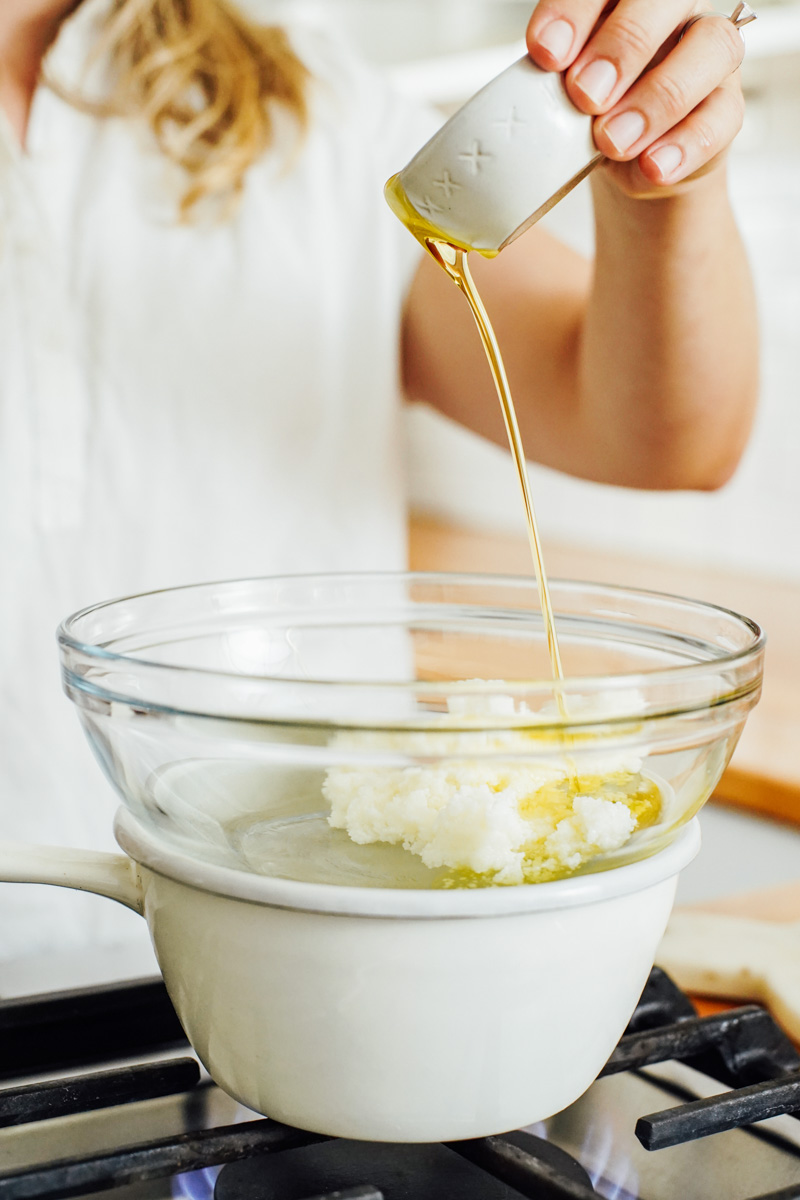
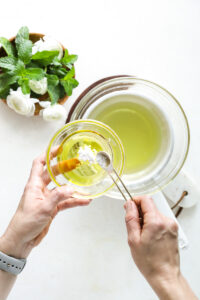
Step 2: Add Nourishing Carrier Oil
Stir 1 teaspoon of arrowroot starch into the liquid oil of choice (grapeseed oil, sweet almond oil, OR jojoba oil) and whisk to combine. Pour the oil (and arrowroot starch whisked in, if using) into the shea butter.
You can skip the arrowroot starch and add the oil directly to the shea butter at this step. The arrowroot creates a non-greasy lotion.
How do you make non-greasy shea butter lotion? Adding arrowroot starch, which is similar to cornstarch, is the best option. You’ll find this ingredient in the baking section at most grocery stores or online. This ingredient may also be used in cooking: make almond flour cookies and waffles or thicken stir-fry sauce.
Step 3: Cool in the Fridge
At this point, the shea butter and oil mixture should be cooler (along with the bowl).
If not, allow it to rest for a few minutes. Then place the mixture in the fridge and allow it to solidify (about 30 minutes to 1 hour, depending on location in the fridge and temperature).
Alternatively, speed up the process by placing the bowl in the freezer.
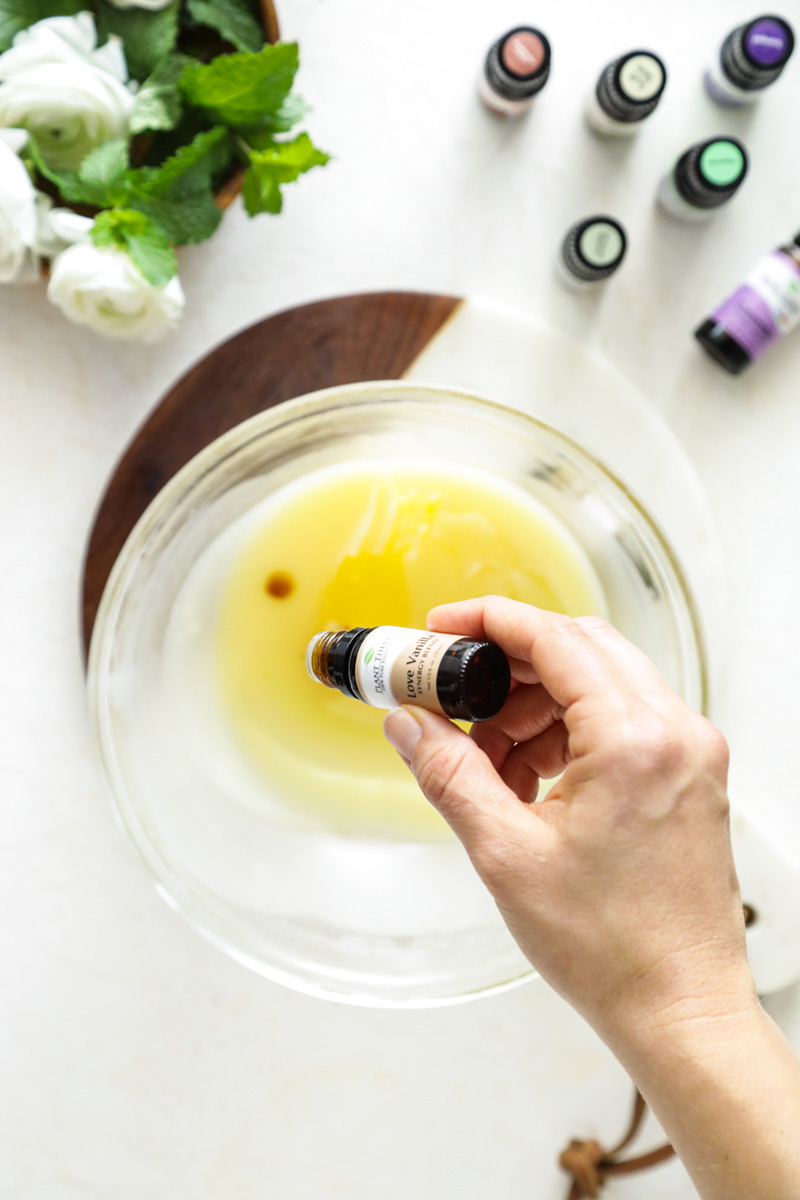
Step 4: Add Essential Oils
Once the mixture is opaque and firm (not solid as a rock), remove the bowl from the fridge.
Add the essential oil (or a combination of essential oils) of choice, if desired. Add up to 15 drops of skin-safe essential oils to this mixture. A few of my favorite essential oils to add are listed in the recipe below.
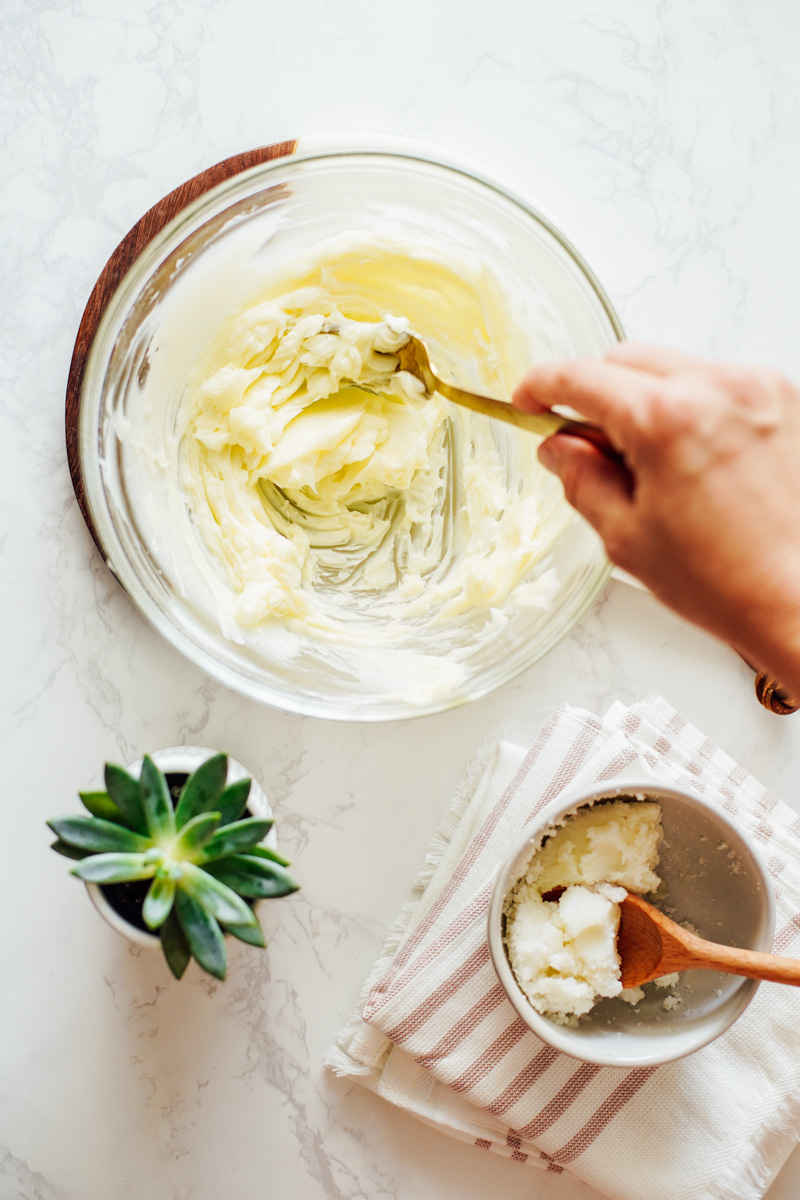
Step 5: Whip the Shea Butter
Use the whisk attachment and an electric mixer, hand mixer, or a fork to whisk the mixture until it appears “whipped.” This doesn’t take very long, just a few seconds using a mixer and a bit longer with a fork.
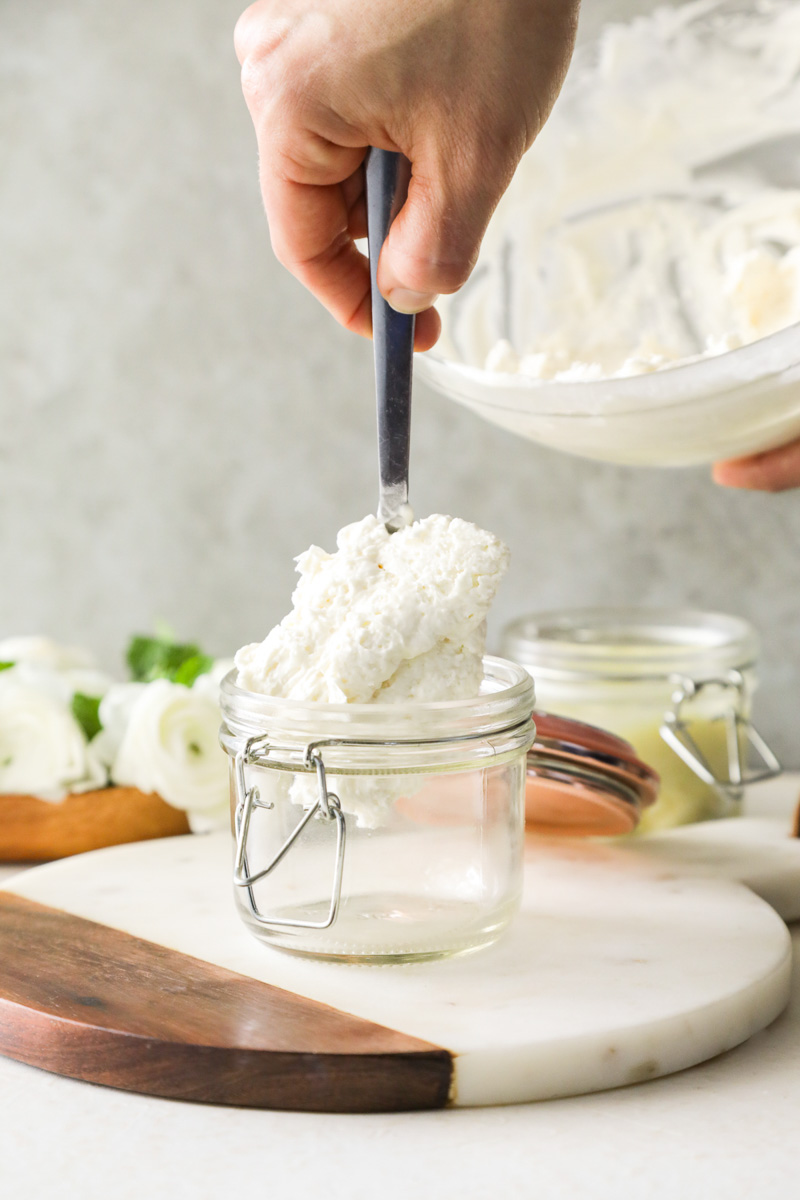
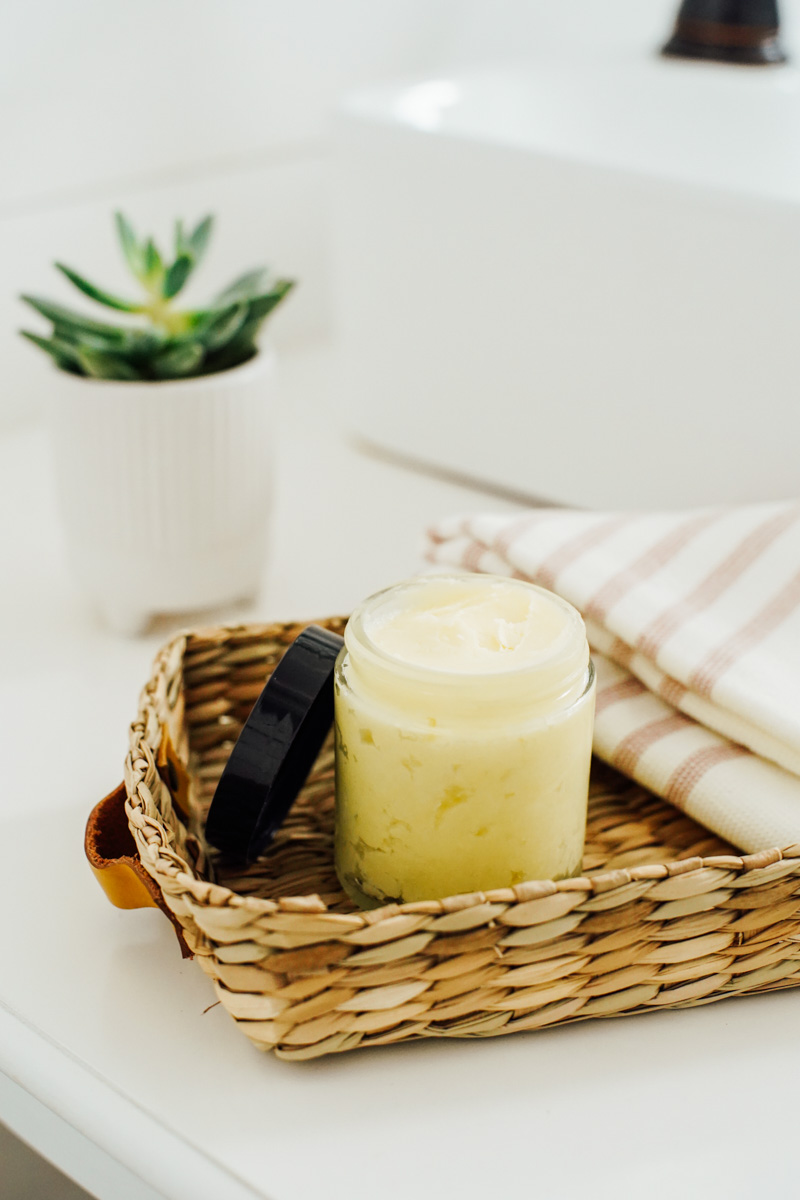
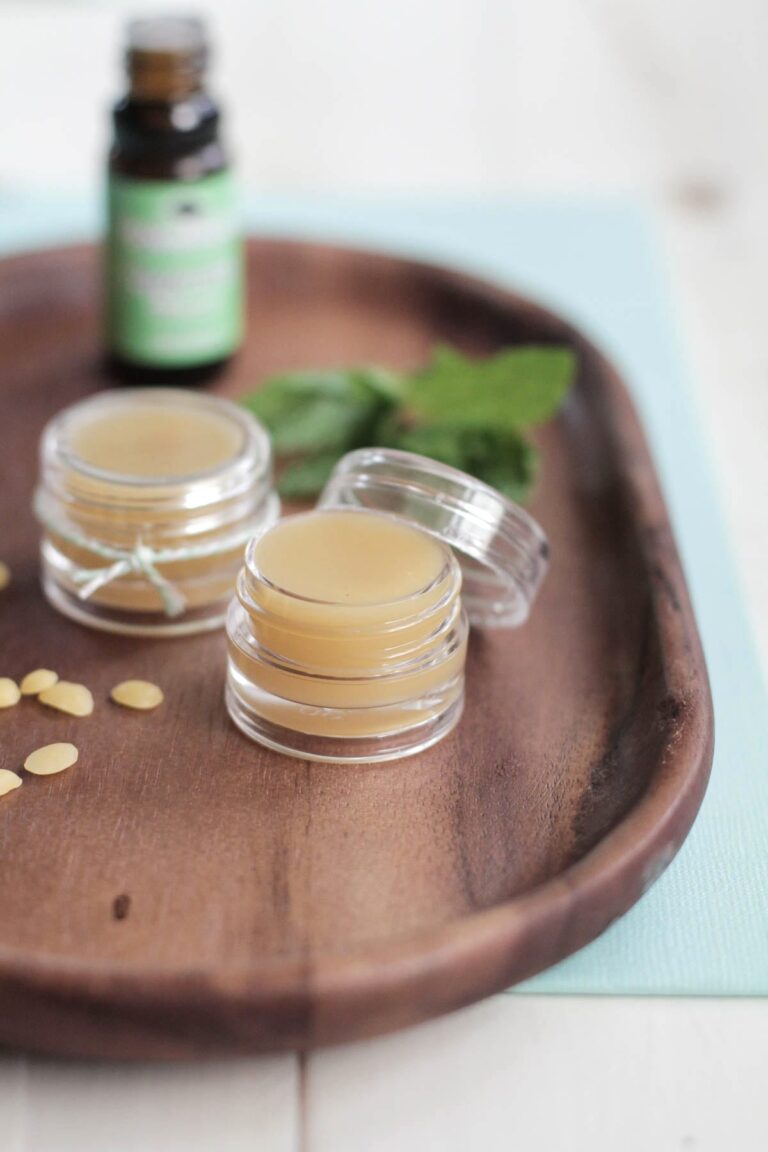
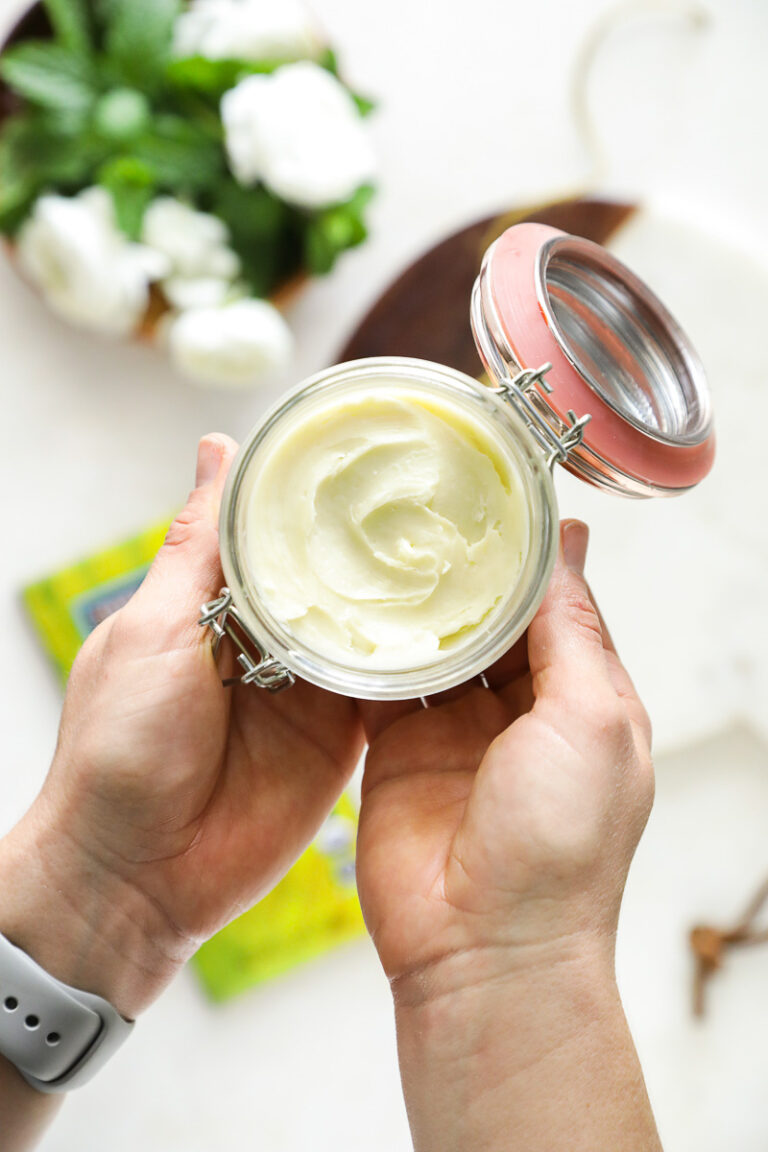
Step 6: Spoon Lotion into a Jar
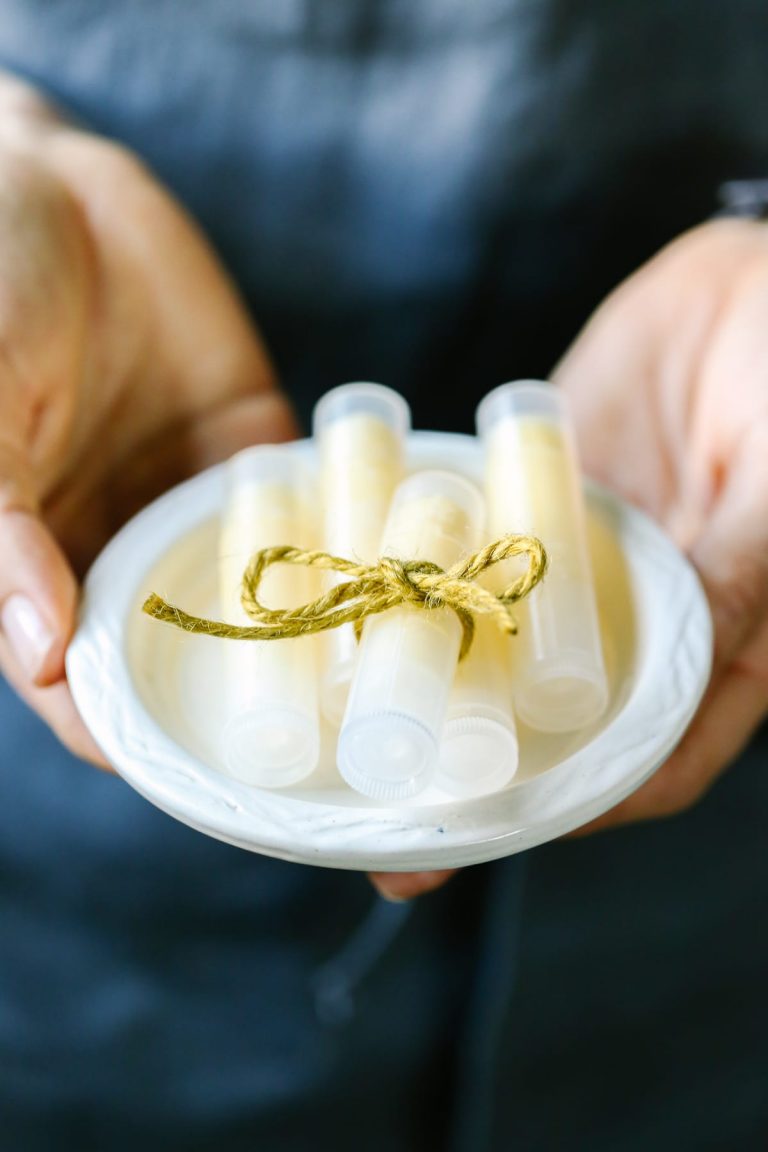
Now you get to enjoy this amazing homemade lotion recipe and all its benefits (we’ll talk about the awesome benefits in a minute). Or, share the lotion as a gift.
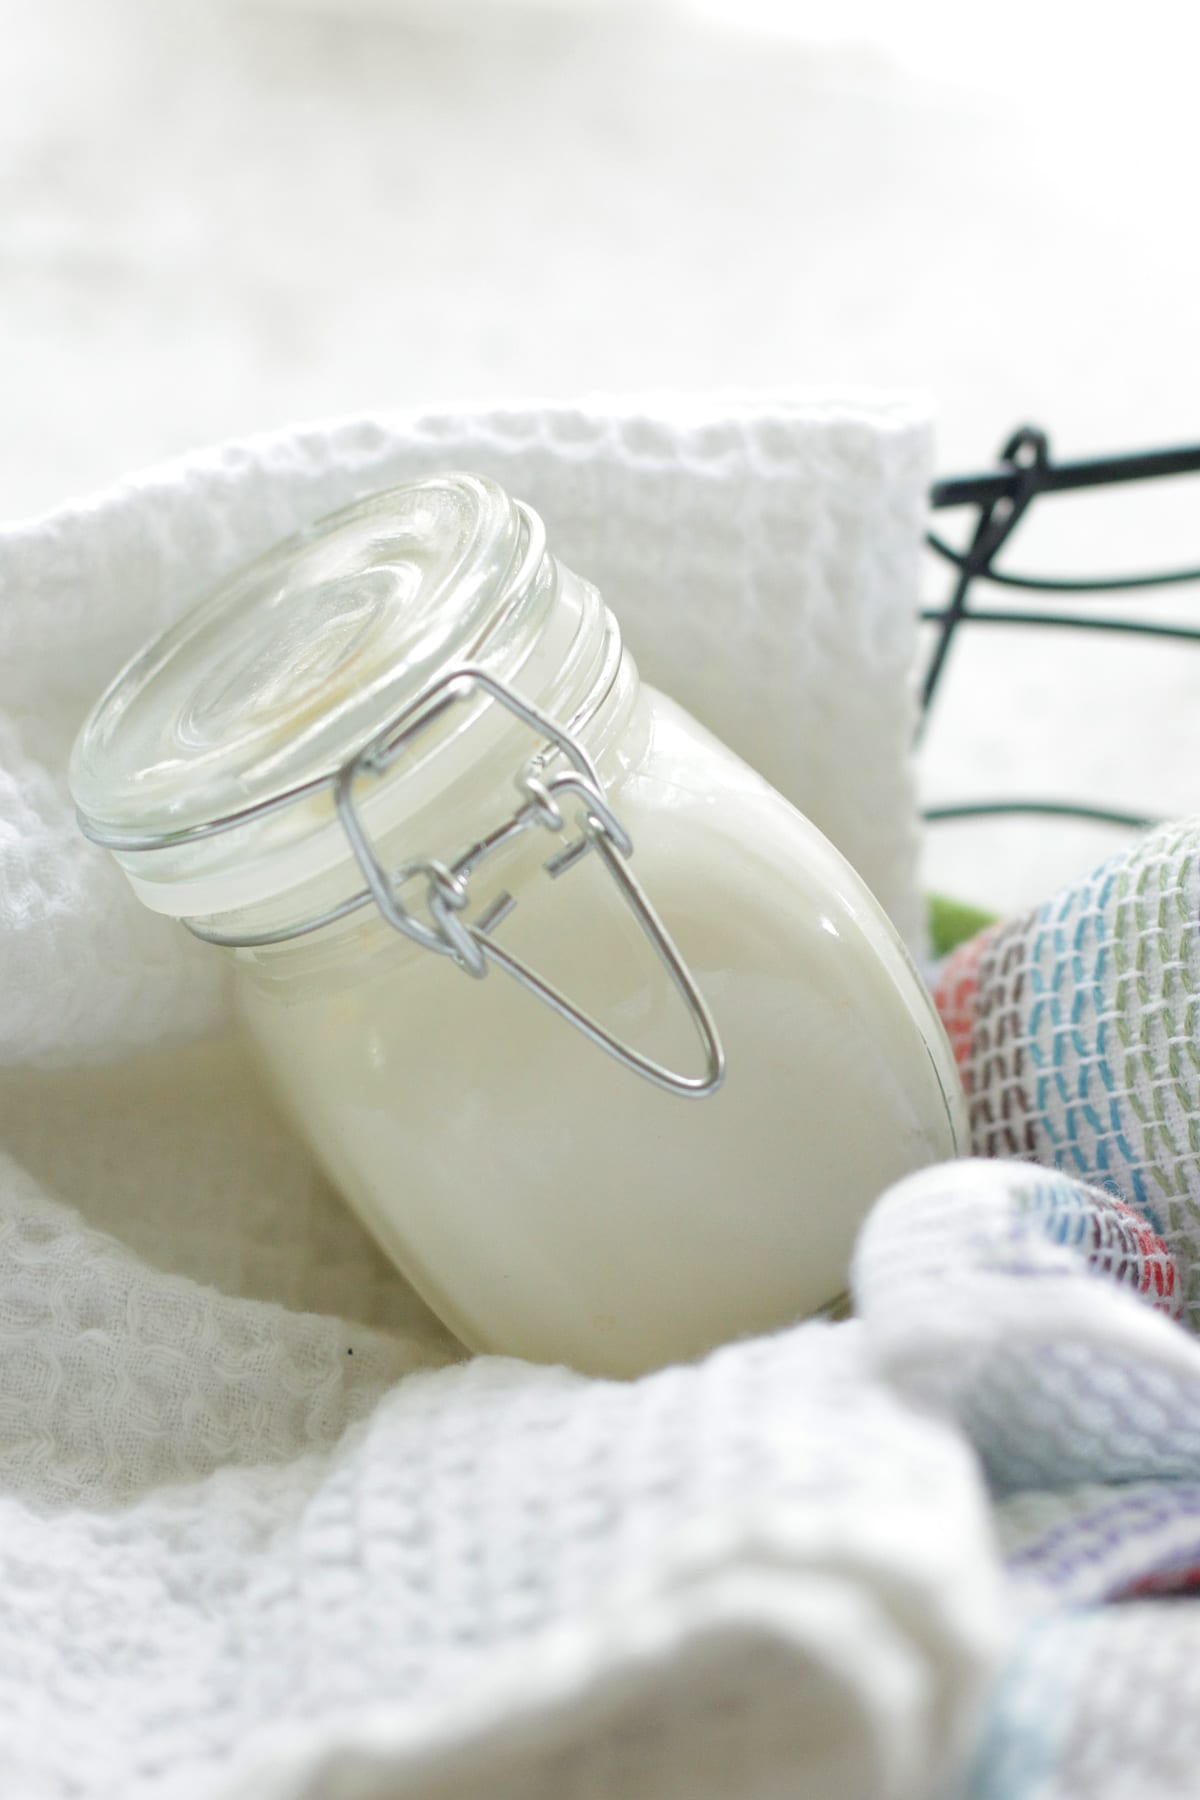
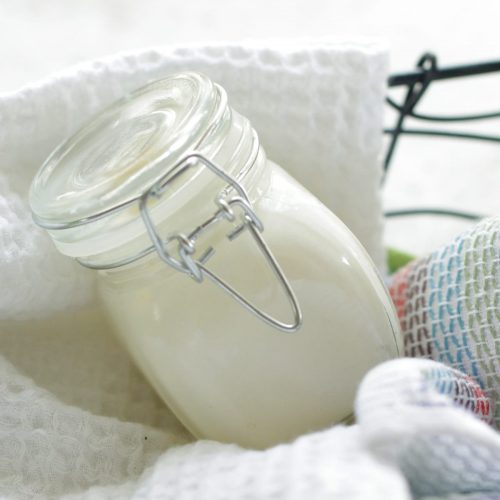
Choose a beautiful glass jar and spoon your creation into the jar. Add a label, if desired. And store the lotion at room temperature in a cool place (like a bathroom cabinet) for up to 6 months.

How to Choose a Carrier Oil
You can use shea butter alone as a body and face moisturizer, or you can mix it with a carrier oil to make a whipped body butter recipe or lotion (like this recipe).
Here’s what I recommend for a nourishing carrier oil to mix with the shea butter. The options absorb easily in the skin, making them the best options for a non-greasy lotion.
Jojoba Oil: Jojoba oil is made from a shrub that grows in Northern Mexico and the Southeast US. Jojoba is an emollient: a natural moisturizer that softens and moisturizes skin. Jojoba is the closest to our skin’s natural oil, making it ideal for all skin types.
Grapeseed Oil: This oil comes from pressed grape seeds. It has high amounts of fatty acids, vitamin E, and antibacterial properties. Grapeseed oil may be a great option for aging skin and for those with acne-prone skin.
Sweet Almond Oil: Made from sweet almonds and rich in vitamin A & E, fatty acids, and proteins.
Virgin Coconut oil is also an option, but as I’ll share in a minute, I don’t care for using coconut oil on my face. If you’re just using this lotion on your body, coconut oil may be a good option.
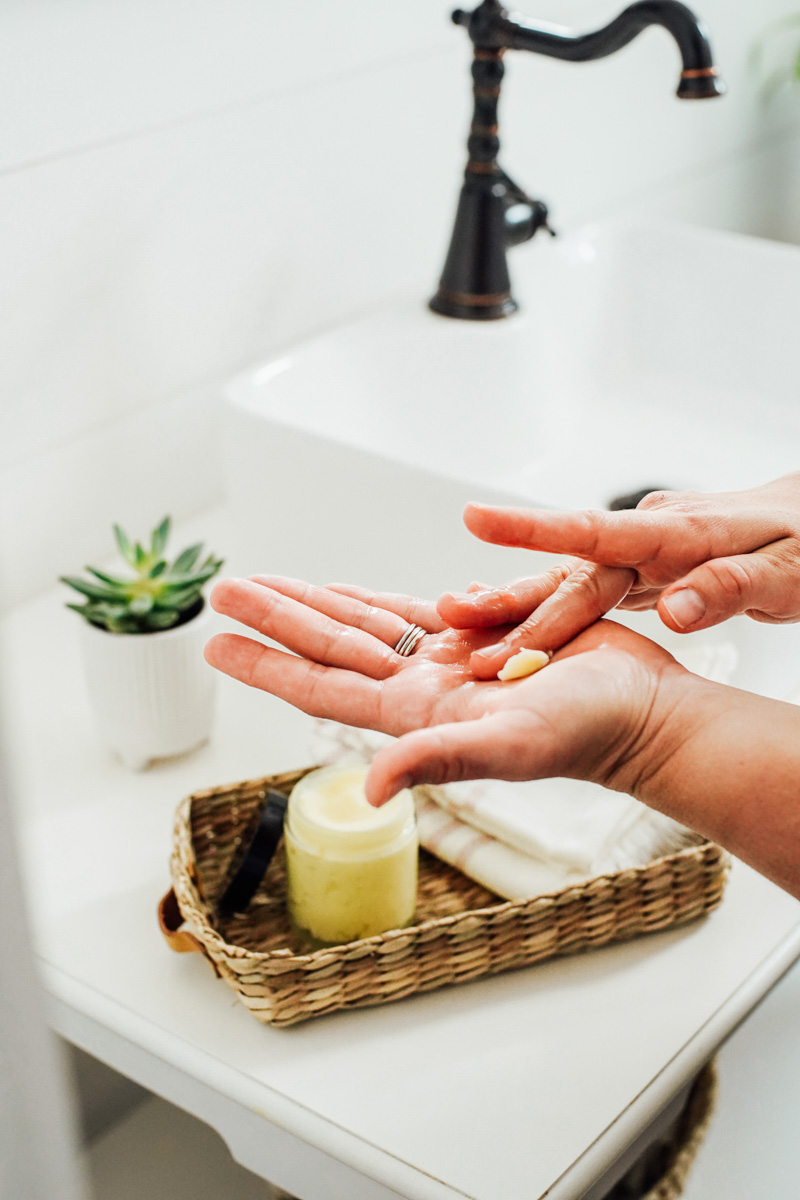
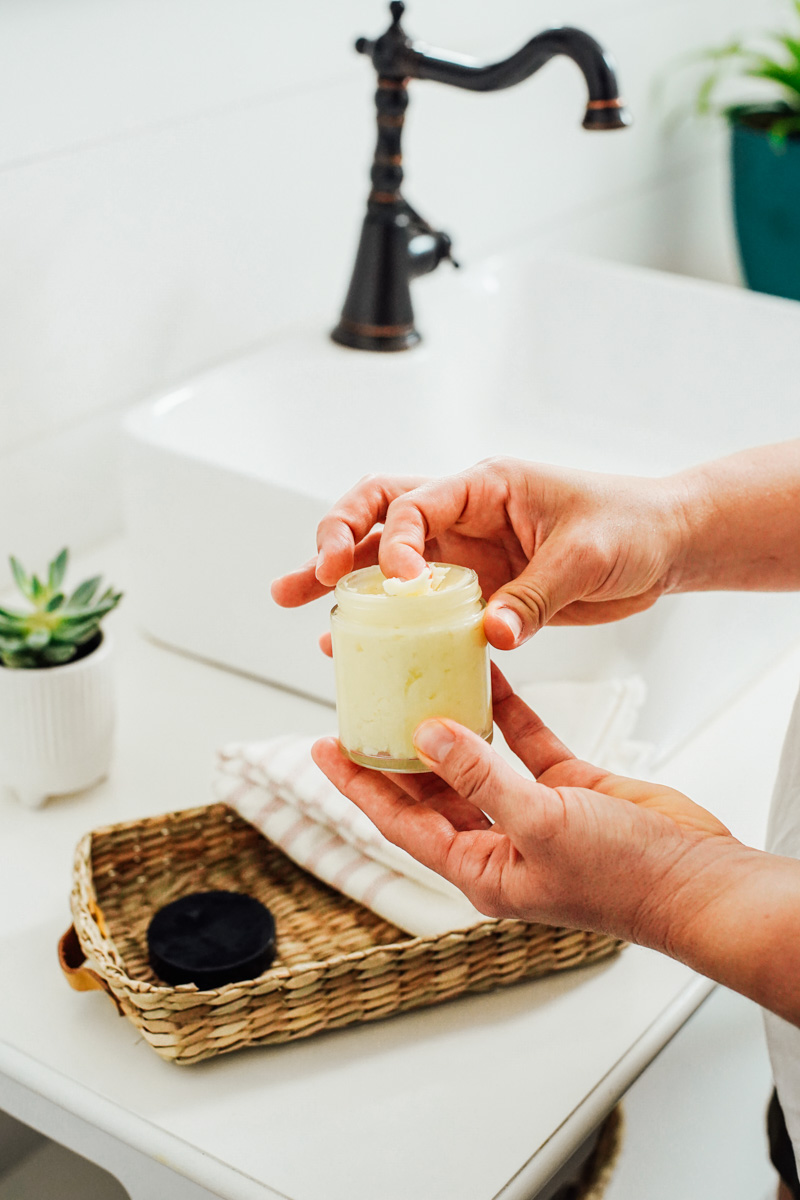
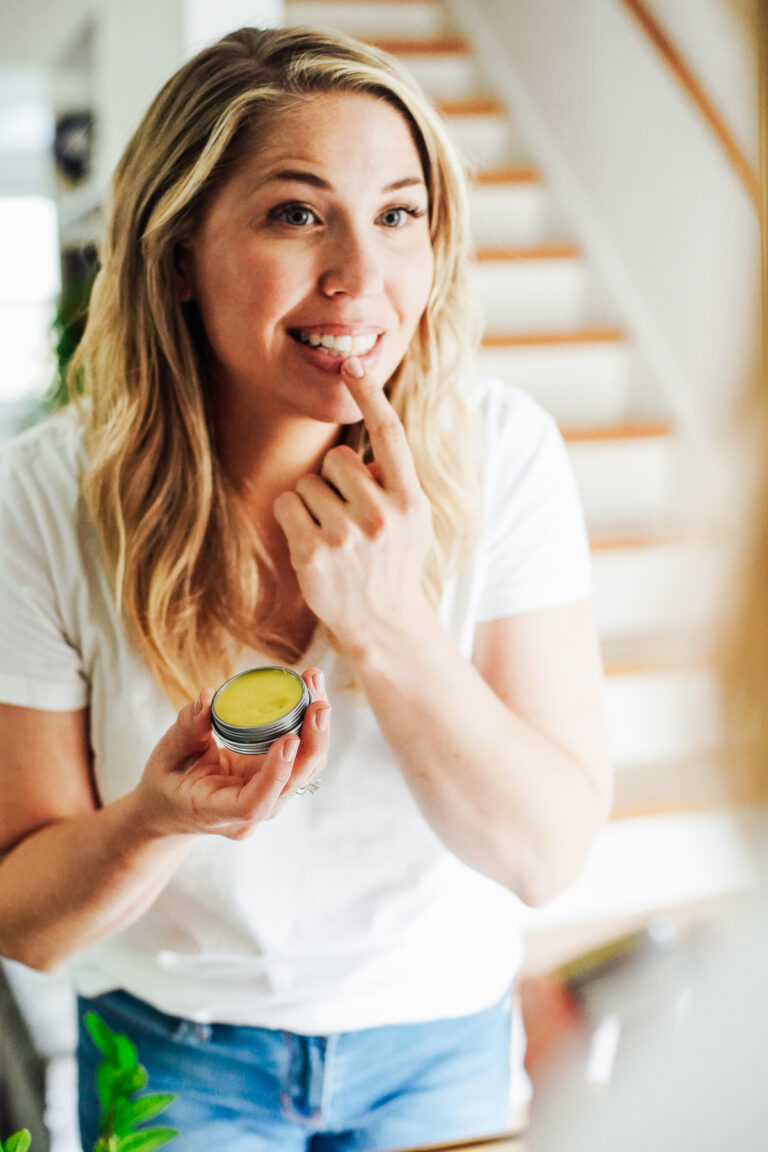
How to Use
Scoop a small amount of shea butter lotion out of the jar using your finger, then rub between your hands. The heat from your hands will soften the shea butter. Massage into your skin: face, arms, legs, feet, dry patches, etc.
A little goes a long way.
For the face, apply this moisturizer after cleansing (my favorite natural face cleansers) and toning (a spritz of rose water is my favorite). If you use any serums, apply a facial serum before applying the lotion.

What’s the Shelf Life?
This natural lotion recipe doesn’t use any preservatives. Store-bought lotions add preservatives to formulas out of necessity. Without a preservative, mold and other bacteria will grow in a water-based lotion.
This recipe doesn’t need a preservative because it doesn’t use water in the formula. This means you can make a long lasting moisturizing lotion, without using any preservatives and don’t need to worry about mold growth. Woohoo!
Store the final product at room temperature, in a cool dry place, for up to 6 months. I recommend keeping homemade shea butter lotion away from heat, like a hot steamy shower, since it will melt slightly. This recipe is intended for home use; not to be sold commercially.
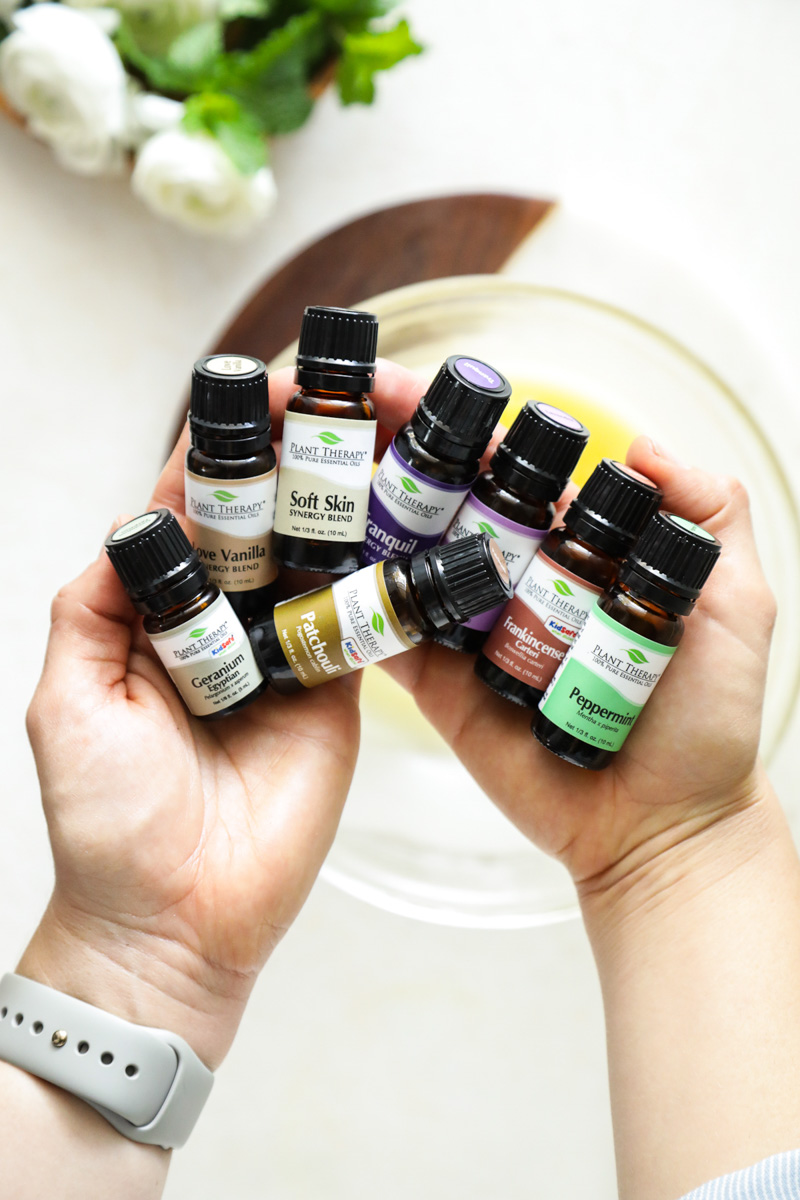
How to Add Essential Oils
If you want to scent your own lotion, essential oils are the best way to do this! Along with their scent, essential oils are easily absorbed by the skin for nourishment, and provide antibacterial and soothing properties.
Add one essential oil or a combination of essential oils, totally 15 drops, to this lotion recipe. The best essential oils for homemade lotion are…
- Roman Chamomile
- Frankincense
- Lavender
- Rosemary
- Jasmine
- Carrot Seed
- Rose
- Lavender
- Tea tree
- Sandalwood
- Geranium
Essential Oils to Avoid: Avoid citrus essential oils (like lemon or orange essential oil) if you plan to wear this lotion during the day when exposed to the sun. Citrus essential oils are photosensitive and can cause your skin to develop a rash or sunburn.
Lotion Without Coconut Oil, Here’s Why
You’ll notice that this recipe doesn’t use any coconut oil. A lot of lotion and homemade whipped body butter recipes rely heavily on coconut oil.
Coconut oil is not the cure-all. Gasp, I know. That statement is practically heresy in the natural living community. Toothpaste? Coconut oil. Smoothies? Yep, coconut oil. A boo-boo? More coconut oil. We use it for everything! I’ve learned the magical oil isn’t always suitable for every need.
Many years ago, I decided it was time to ditch the toxins found in our bathroom. From lotions to body wash to makeup, the amounts of toxins I put on my body was astounding. With the urge for simplicity and natural living, I started developing my own replacements for things like foundation powder and lotion.
One of my very first DIYs was a simple homemade moisturizer using coconut oil. After a few weeks of using this moisturizer on my face, I experienced multiple break outs, daily peeling, and dry skin patches. Here’s why…
There’s nothing wrong with coconut oil, but from a skin care perspective, it’s not the best moisturizer option for the face. If you use it on your face, it’s likely to clog pores and cause breakouts due to its chemical composition.
Shea butter does not clog pores and is the best moisturizer option. So skip the coconut oil on your face and instead turn to shea butter and a non-clogging carrier oil!
FAQs
6 More Ways to Use Shea Butter
- Use shea butter to make homemade deodorant. You’ll also need arrowroot starch for homemade deodorant.
- Combine shea butter, coconut oil, and castile soap to make homemade moisturizing shaving cream.
- Combine butter, carrier oil, and beeswax to make Shea Butter Lip Balm or a custom DIY Lip Balm.
- Jojoba oil, coconut oil, shea butter, and soothing herbs come together to create DIY lotion bars.
- Shea butter, aloe vera, chamomile, and coconut oil make a fantastic homemade diaper rash cream.
- Use shea butter combined with mango butter and cocoa butter to make a customized body butter.
Homemade Moisturizing Shea Butter Lotion Recipe (Without Coconut Oil)
Equipment
- 1 electric mixer or fork
- 1 medium-size heat safe bowl
- 1 medium-size sauce pan
- 1 4-ounce glass storage jar (or larger)
Ingredients
- 1/2 cup shea butter (4 ounces)
- 1 teaspoon arrowroot flour starch (optional, to make a non-greasy lotion)
- 2 tablespoons nourishing carrier oil such as: jojoba, sweet almond oil, or grapeseed oil. This can even be coconut oil or olive oil (if not using on the face).
- 5 drops lavender essential oil optional*
- 5 drops rosemary essential oil optional*
- 3 drops carrot seed essential oil optional*
- 2 drops tea tree essential oil optional*
Instructions
Step 1: Melt Shea Butter
- To melt the shea butter, make a DIY double boiler. This will allow you to melt the shea butter without it directly touching the heat.
- Place a medium-size glass bowl over a sauce pan filled 1/4 the way full with water. The glass bowl should sit just on top of the saucepan, without touching the water in the pan.

- Over medium heat, allow the water in the saucepan to simmer. Then add the shea butter and melt.
- Once the shea butter has fully melted (about 2-3 minutes), turn off the heat and remove the bowl from the heat.

Step 2: Add Nourishing Carrier Oil
- Stir 1 teaspoon of arrowroot starch into the liquid oil of choice (grapeseed oil, sweet almond oil, OR jojoba oil) and whisk to combine. Pour the oil (and arrowroot starch whisked in, if using) into the shea butter.
- NOTE: You can skip the arrowroot starch and add the oil directly to the shea butter at this step. The arrowroot creates a non-greasy lotion.
Step 3: Cool
- At this point, the shea butter and oil mixture should be cooler (along with the bowl). If not, allow it to rest for a few minutes.
- Place the mixture in the fridge and allow it to solidify (about 30 minutes to 1 hour, depending on location in the fridge and temperature). Alternatively, speed up the process by placing the bowl in the freezer.
Step 4: Add Essential Oils
- Once the mixture is opaque and firm (not solid as a rock), remove the bowl from the fridge.
- Add the essential oil (or a combination of essential oils) of choice, if desired. Add up to 15 drops of skin-safe essential oils to this mixture. A few of my favorite essential oils to add are listed in the recipe above. You can add your favorite essential oil or oils, not the ones listed above (if desired).

Step 5: Whip
- Use the whisk attachment and an electric mixer, hand mixer, or a fork to whisk the mixture until it appears "whipped." This doesn't take very long, just a few seconds using a mixer and a bit longer with a fork.

Step 6: Store
- Choose a beautiful glass jar (4 ounces or larger) and spoon your creation into the jar. Add a label, if desired. And store the lotion at room temperature in a cool place (like a bathroom cabinet) for up to 6 months.

Video
Notes
- Roman Chamomile
- Frankincense
- Lavender
- Rosemary
- Jasmine
- Carrot Seed
- Rose
- Lavender
- Tea tree
- Sandalwood
- Geranium
Natural Body-Care Simplified
Learn how to make your own body and beauty products with simple ingredients.
I wanted to thank you for the non-coconut oil recipe. I agree that it’s great, just not great for everyone all the time. My son (2), and my daughter (3.5) to a lesser degree, are fighting eczema this year and it’s been hard to watch. We have spent so much money trying to find soaps, lotions, creams, you name it to help it over the last two years. As we have been eating a paleo diet, the only item I have yet to eliminate is dairy, I need to find an alternative for my two 3 gallon a week, yogurt loving little ones, if that is the problem. I recently learned some people have a sensitivity to coconut oil, especially in lip balms. So I’ve been search to find recipes without to see if they work better. I’m looking forward to whipping this up this weekend after a little research on the oils to be sure they are safe for their ages. Do you use these on your children?
Hey Desiree, Yes, you can use this on kids. I would just skip the essential oils, or use a few drops of lavender for scent (kid-safe), or another kid-safe essential oil.
I just used this recipe to make Christmas gifts! I made 12 8oz jars using 1lb of shea & 1lb of cocoa butter, 4 oz jojoba oil, and 7 tsp of cornstarch. My oil blend was meant to be relaxing so I used lavender, sage, & ceaderwood. I did put it in the ice bath prior to refrigerating for about 5 minutes, it then took about 2 hours to cool out. Thank you! It’s so hard to find a recipient without coconut!
What a great idea, Celeste!
I’m allergic to almonds and in turn have a skin reaction from Shea Butter as most is processed in the same facilities as almonds. Is there an alternative you can recommend? Maybe Coco-butter or Mango Butter?
Hey Brigid, You could try mango butter. Here’s my guide to making a custom body butter: https://livesimply.me/2017/03/31/how-to-make-easy-body-butter/.
Hi,
Thanks for this great, minimalist recipe. I have been trying out different recipes and am looking for ones without water (even distilled) which seems to decrease the shelf life. Since I have a beekeeper connection I added 20g of beeswax and then added 5 drops of rosemary oil to the shea butter – almond oil mixture. I am curious to see how oily it feels when it has cooled off. My next approach will draw on this same recipe with the 1-2 tb arrowroot powder as you suggested. Thanks again!
Great looking recipe – can’t wait to try it! But can we just talk about how much your GORGEOUS marble/teak(?) cutting board makes me crave a good black and white cookie????
Thanks, Katie! The cutting board is from Target.
I put about teaspoon vitamin E oil in mine as it is an antioxidant, was wondering about the shelf life, it is really lovely leaves skin feeling silky. I am in Australia,
Hey Christine, It will keep for about a year :). I’m so glad you’re enjoying it!
I couldn’t agree more! I really think you need a variety of oils and natural ingredients for the best results, and coconut oil is unfortunately not a cure-all. One oil that I have been using regularly in my homemade moisturizer is Amaranth Oil… If you haven’t heard of it, you can read more about it here: https://www.5-am.co/5am-amaranth-online-shop/amaranth-oil-face-oil
WoW, That’s amazing.
Hi there!! I stumbled across your site a few weeks ago and tried the body butter recipe and LOVE IT!! Thanks so much for sharing. I did switch it up a bit and used half mango butter and half unrefined shea butter. I used argan oil for my light oil also. And of course, I used my own essential oil concoction. I wanted something that wouldn’t melt in the summertime and so far this working great as we have had some very hot Spring days here in Michigan. I also appreciate the fact that I did not see you pushing essential oil companies either. I can’t express how much I appreciate this!! I have my favorite companies that I researched extensively before diving into the essential oil life and one of the things I have noticed is all the fierce bickering in this industry. Big turn off! Anyways, again THANK YOU for sharing this recipe!!
Oh my goodness I left off the best part; I had just sent her another recipe:
“Sweet. I love all 3 of the things you made last go round. The body cream is the shiz”
Awesome, Judy! I’m so glad she’s enjoying everything!
Hi Kristin thanks for this one! I have been trying different recipes with my daughter as my tester. She loves this one – a direct quote –
“I like the aloe/coconut but it’s more of a lotion (I use on my face actually). But the one I love is the super thick one you made round 2. I don’t know what’s in it but it’s really thick.”
That’s awesome, Judy! Thank you for sharing.
Hi! I’m not sure if anyone has mentioned this already, but do you need an emulsifier or a preservative for this recipe? Will the shea butter & oil separate or will it go bad? How long does it last for?
Hey Michaela, You don’t need an emulsifier or preservative in a body butter type recipe. You could add some vitamin E oil to prevent the oil from going rancid, but I personally don’t since the recipe makes a very small amount.
Hello, maybe I missed an answer to this, I just made this today and agree it’s not really a butter or lotion as it’s pretty hard. But, love it still. That said, being a senior I don’t want to have to pull my skin to put lotion on my face. Is there something you can add to this to make it “glide” a little? Maybe vegetable glycerin? Thank you! Love your site!
AMB
Hey AMB, I suggest letting the product soften a bit on your hands (or fingertips), thanks to your body heat, and then applying it. That should make it more spreadable. Another option to just stir in more oil (another tablespoon or two).
what can i use instead of arrowroot powder because i cant find it in my country .by the way i love this recipe for my body .thank you
Hey, Maybe cornstarch, but I’ve never tried it to guarantee the results.
I would suggest you have the recipe print with the web address. I will sometime share a recipe and it’s nice to be able to give them the web address. Thanks! 🙂
It could be that the headers and footers info is not showing, this is generally a setting checkbox option on the print dialog box.
I have made both of your lotions. My legs and hands have never been so dry. I even added extra oil. Not sure what I can add or take away from this recipe to actually absorb into my skin to often instead of dry out?
Hey Tracy, Shea butter is in an incredibly moisturizing product. I would first try adding just shea to your legs and hands, and see if that helps, since shea is the product that will give intense moisture. If that helps, then you could just use the shea or increase the shea in this recipe. The other lotion recipe doesn’t contain shea, and I wouldn’t recommend adding it.
I know this may sound funny and has nothing to do with lotion, but maybe the skin needs hydration and help with locking in moisture? Drinking a fair amount of water and eating a diet rich in healthy fats has helped me with this. Just thinking out loud based on my skin experiences :).
Hello. I made this lotion this past weekend and I suspect I may have over whipped it. The texture is very hard. I’m wondering if its possible to melt it back down and start over. I did add the essential oils and realize they may be compromised, but at this point that may be preferable to throwing out the whole batch. What do you think? Is it worth a shot?
Hey Kathy, That’s possible. You can definitely reheat it. The final lotion/body butter will be very thick and may be a bit hard, but should be spreadable in the end.
just found this recipe yesterday and I’m so excited to try it out today!
Can i use different kinds of butter? such as using both cocoa butter and shea in this same lotion?
Thanx
Hey Mimi, Yes, you can! But cocoa butter will produce a very hard body butter/lotion. I would mix half cocoa and half shea. Enjoy!!
Hi Kristin, I don’t know why it’s taken me so long to see this recipe but glad I did. I like mixing things up and will try this recipe. My sister is addicted to my homemade body butters and lotions, as I am 🙂
Thanks, as always!! Love your blog.
Sue
Thank you so much, Sue! I’m so glad you’re loving the blog. Enjoy the body butter!
Thanks for this recipe. I went to boil the shea butter and added it directly to the pot instead of above the water. Can I still use the shea butter to make the lotion or do I need to start over?
Hey Doesn’t Follow Directions ;), If the shea has been mixed with the water, you’ll need to start over. Unfortunately, the water will separate from the shea and oil, and you’ll need an emulsifier (like a wax) to keep this from occurring.