Make the best popsicle recipes from simple ingredients: different kinds of fruit, coconut milk, fruit puree, Greek yogurt, and other healthy ingredients. Learn the steps to making easy DIY popsicles with and without fruit. From fudge pops to creamy popsicles to real fruit popsicles.
This is your ultimate summer guide to making easy popsicle recipes your whole family will love.
Want to Save This Recipe?
Enter your email & I’ll send it straight to your inbox. And you’ll get new recipes & tips each week.
It’s officially summer and there’s nothing like a homemade popsicle on a hot summer day! The kids are out of school and it’s set to reach 100 degrees by the weekend.
With summer here, I’m ready to embrace chicken on the grill, no-cook grazing boards made from pantry ingredients, and all the frozen treats (like our favorite homemade vanilla ice cream).
Why make your own?
3 reasons to stop buying popsicles and start making your own homemade popsicles this summer:
- Healthy: When you make your own popsicles, you know exactly what’s going in those popsicles. No high fructose corn syrup, artificial dyes, or mystery flavorings. Just healthy, real-food ingredients!
- Easy: It takes just 10 minutes of hands-on time to make your own popsicles. And there’s no cooking involved! Once made, they’re a healthy snack the kids can help themselves to on a hot day. A homemade snack or treat doesn’t get any easier than popsicles from the freezer.
- No Expensive Ice Cream Maker Required: Making summer treats, like homemade vanilla ice cream, requires an ice cream maker. But for DIY popsicles, you don’t need any expensive equipment; just a popsicle mold (you can keep this super basic) and ingredients already stocked in your pantry.
How do you make homemade healthy popsicles?
Are you in the mood for creamy popsicles made with yogurt or coconut milk? Or do you want to make something fruity with whole fruits, fruit juice, or fruit puree?
Once you know what kind of popsicle you want to make, here are a few basic principles for making your own popsicles.
Step 1: Flavor
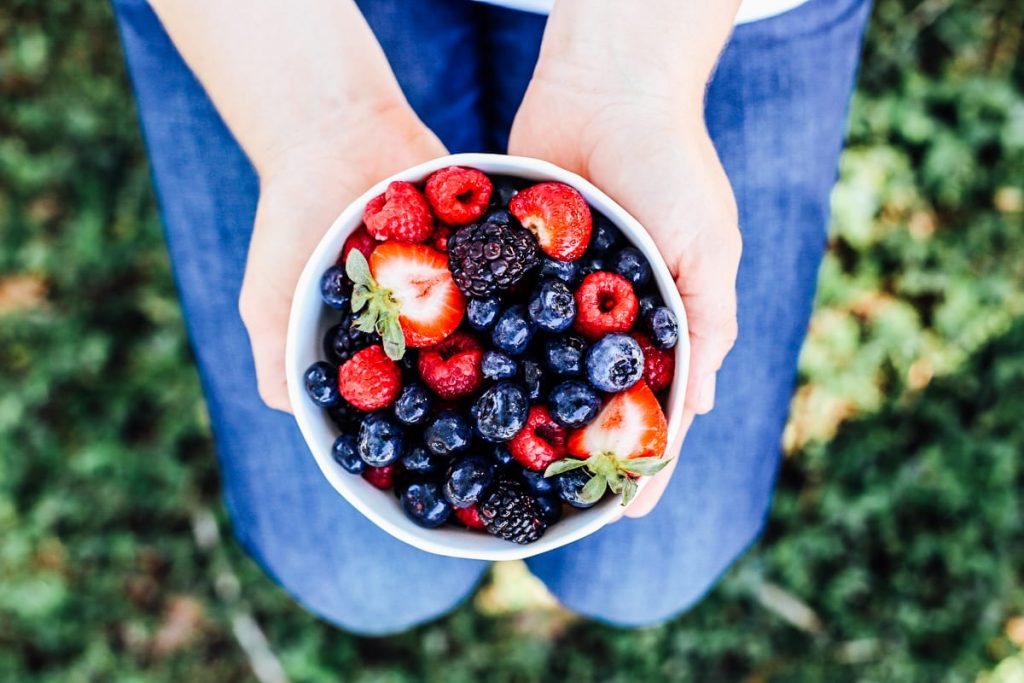
One of the best ways to make easy homemade popsicles is to use your favorite fruit: fresh or frozen, ripe or slightly overripe (a great way to put those extra berries or bananas to use before they go bad). With fruit, you don’t need any extra sweetener as the fruit itself is sweet. Blend up the fruit with a liquid, like coconut milk, almond milk, Greek yogurt. Or, skip the whole fruit and use juice (like orange juice). The easiest way to make popsicles is to place the ingredients in the blender and give everything a good puree.
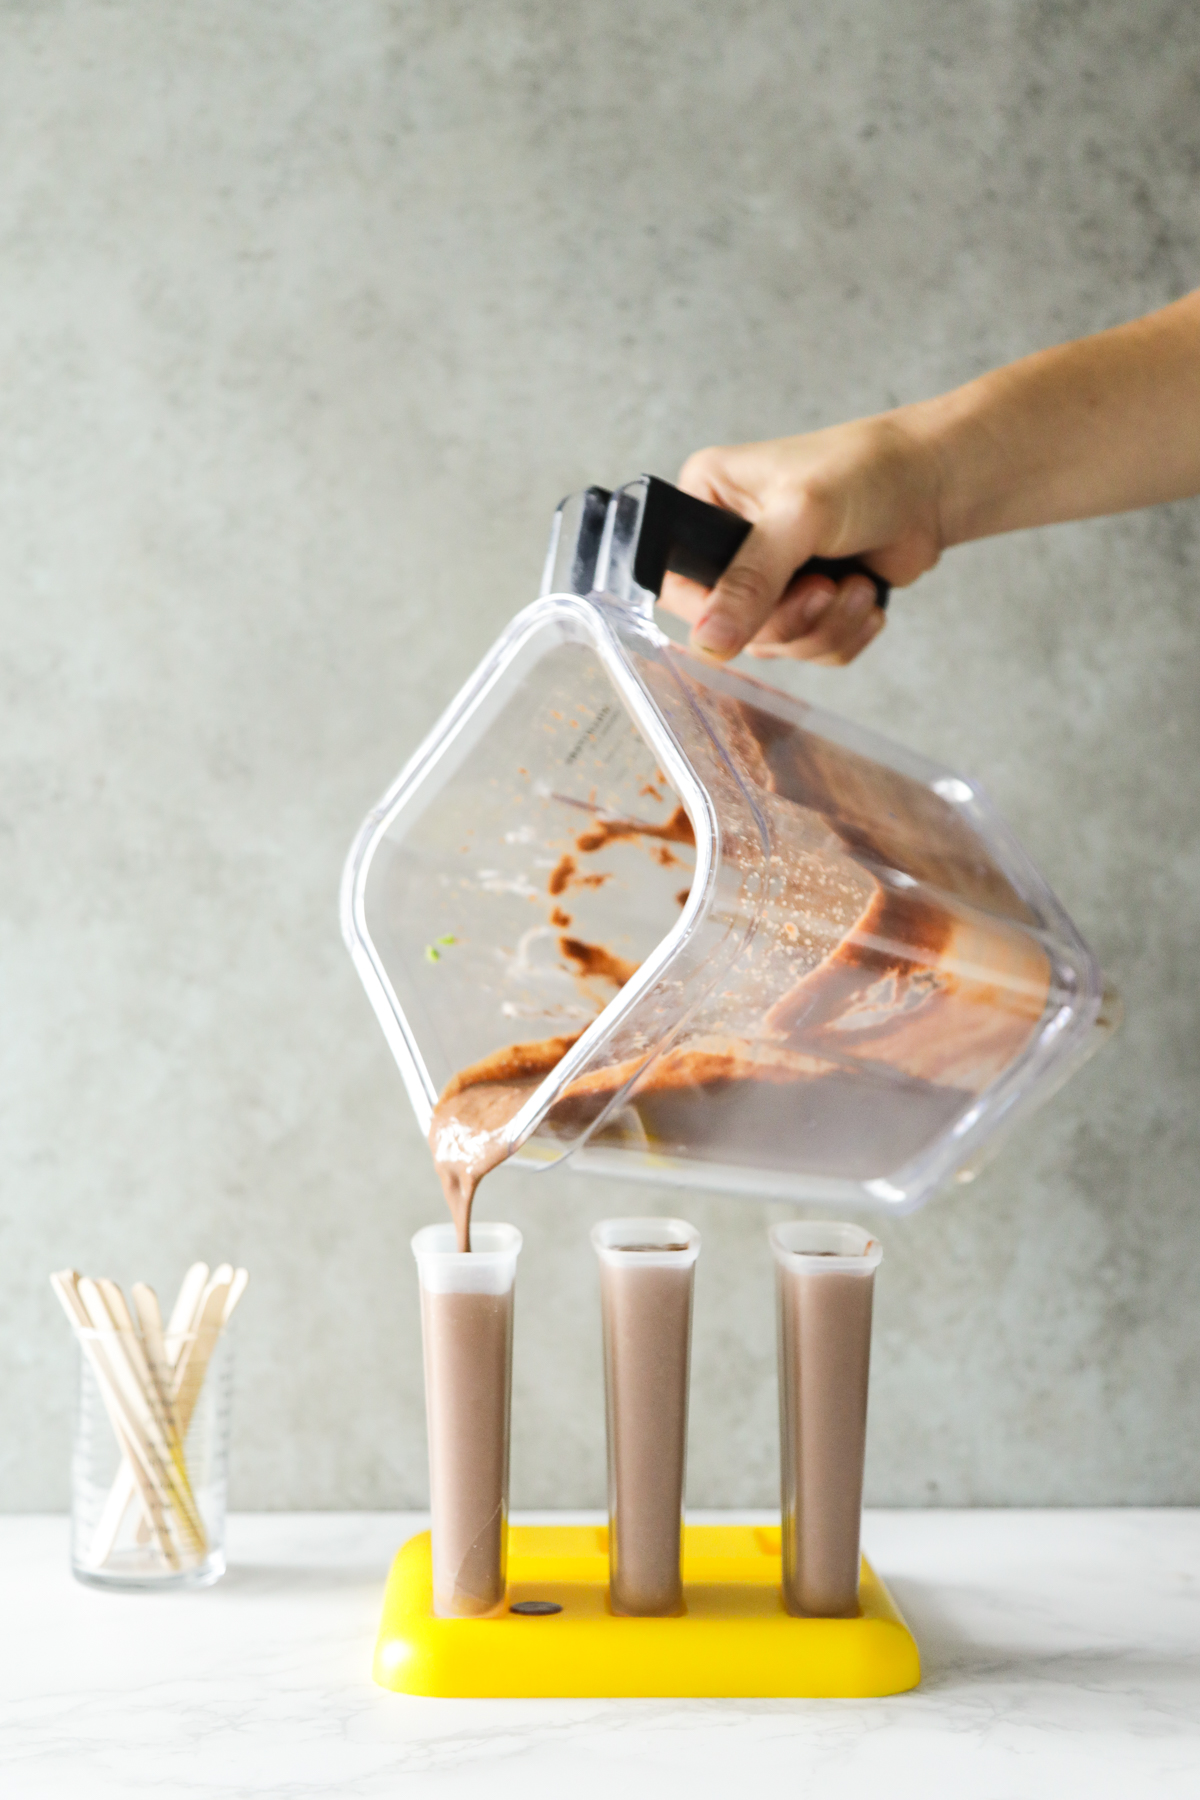
Step 2: Choose a Mold
After blending the popsicle ingredients, pour the mixture (which should resemble the consistency of a smoothie), into a popsicle mold. There are lots of options: make your own mold with plastic cups (little Dixie cups or small plastic yogurt cups work best), use a muffin tray, buy a reusable popsicle mold, or use a push up pop mold. Or, make fun dinosaur shapes with a special popsicle mold.
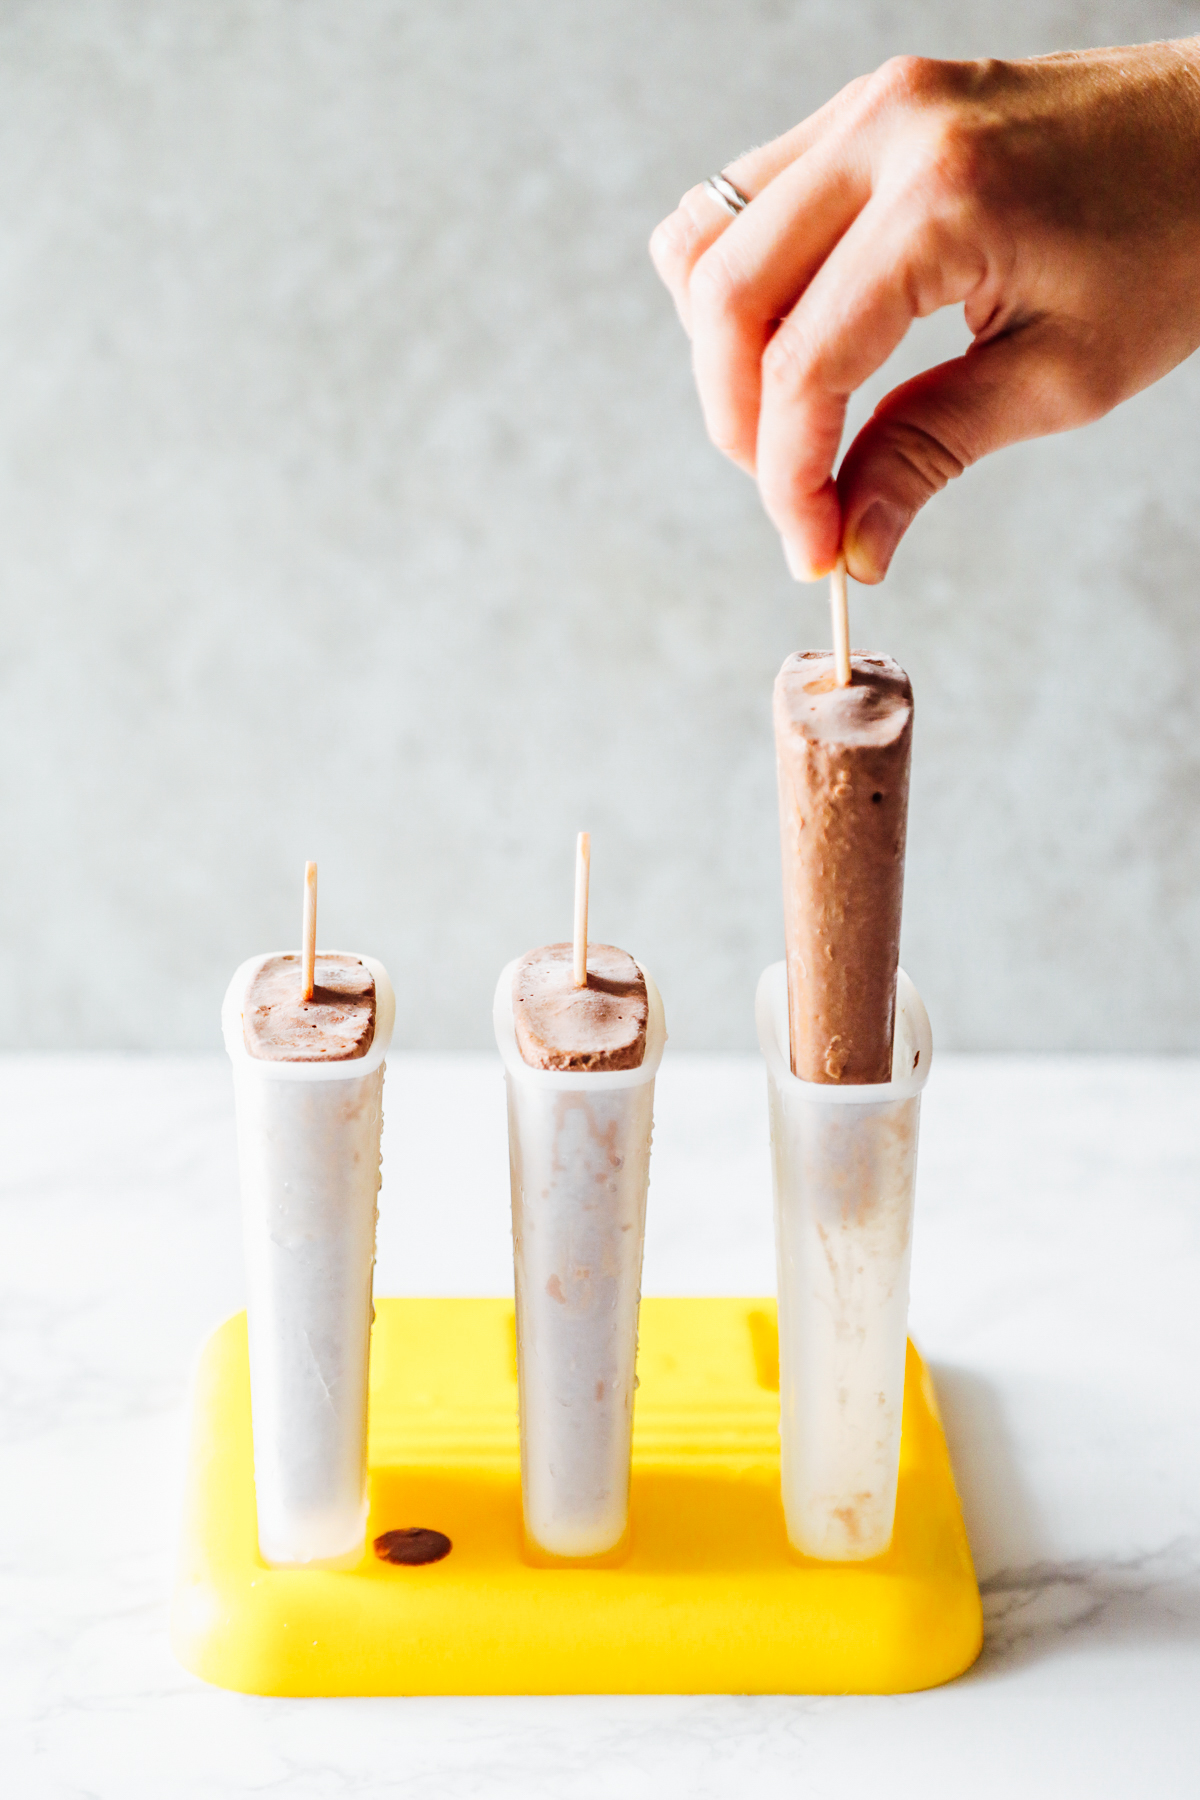
Step 3: Add a Stick
Without a stick it will be impossible to eat your popsicles once frozen. Most reusable popsicle molds come with reusable sticks. Personally, I hate cleaning those stick so I prefer to use wooden craft sticks, which the kids can just toss when they’re done.
Step 4: Freeze
Now you’re ready to freeze the popsicles. The time it takes to freeze the popsicle mixture depends on how thick it is. It takes about 4-8 hours to freeze homemade popsicles. The faster they freeze, the more they’ll resemble a store-bought popsicle (soft when you bite into it). To help them freeze quickly, place the popsicles in the coldest part of your freezer.
Step 5: Remove From The Mold
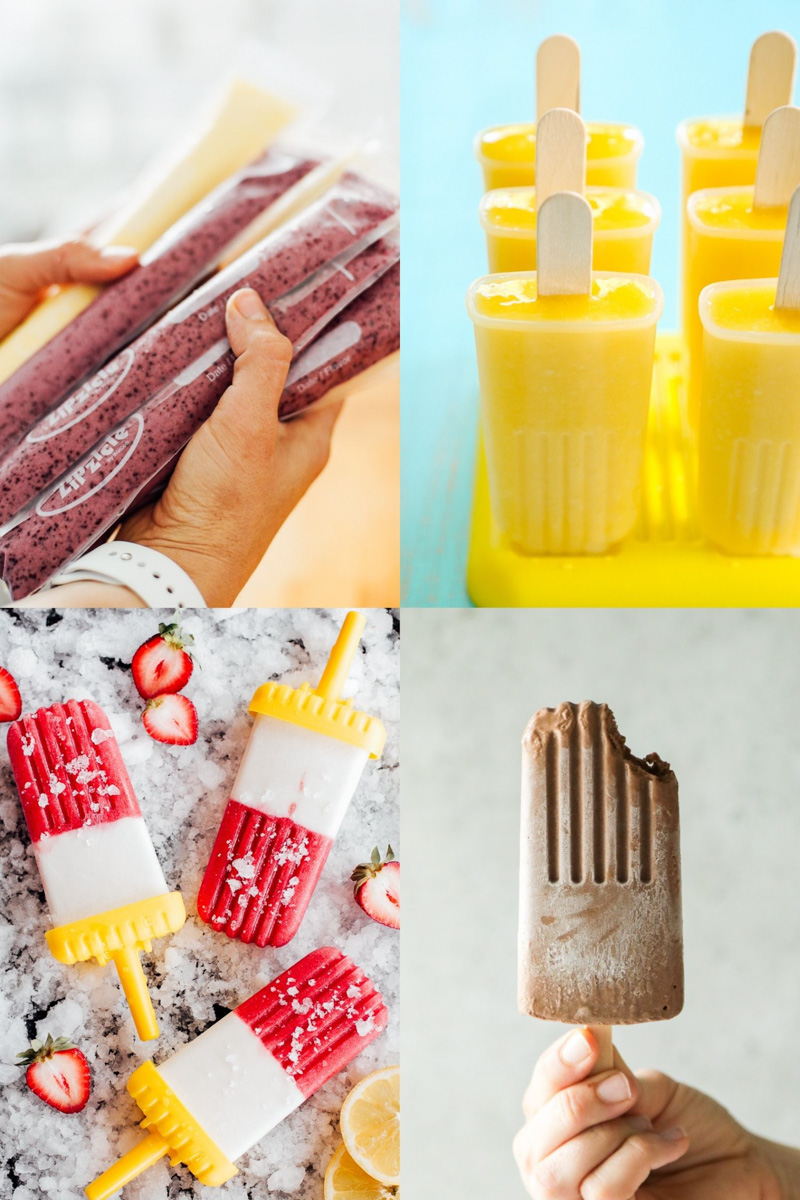
Once frozen solid, remove the popsicles from the mold by running the outside of the mold under cold water. This the easiest way to remove the frozen popsicles from the molds. I like to remove them all at once and store in a freezer bag to make it easy to grab and enjoy an ice-cold popsicle. The perfect treat on a hot day.
What Ingredients Do You Need?
There are so many delicious recipes and ways to make popsicles. You can create all sorts of different flavors with a few simple pantry ingredients. Here are the ingredients to experiment with for making your own fun treats.
Liquid: Yogurt, full-fat coconut milk (or another milk, such as: cow’s milk, almond milk, cashew milk), juice (apple juice, grape juice, pineapple juice, or orange juice), water, coconut water, or yogurt.
Fruit: Fruit may be blended with the liquid or chopped up and stirred into the liquid. Strawberries, blueberries, pineapple, kiwis, peaches, mangoes, cherries, raspberries, are just a few options. Steamed veggies can also be added, like carrots or beets. Or add raw spinach or avocado. When you freeze fruit, it becomes less sweet so adding sweetener is optional.
Sweetener: You may want to naturally sweeten homemade popsicles: honey, maple syrup, or a banana.
Herbs: During the summer, fresh herbs are bountiful (learn how to store fresh herbs). Blend up a few mint leaves or basil leaves for a subtle, fresh flavor.
Extras: Peanut butter, cocoa or cacao powder, lemon juice, chocolate chips, and vanilla extract are few of the fun ingredients you can add to make a unique popsicle.
Examples of how to make your own custom flavors with simple ingredients:
- Peanut Butter Fudge Popsicles: blend coconut milk, peanut butter, banana, cinnamon, and maple syrup.
- Blueberry-Yogurt Popsicles: blend blueberries, plain yogurt, and honey.
- Strawberry-Mint Lemonade Popsicles: blend water or coconut milk, strawberries, mint leaves, and lemon juice.
- Mango-Coconut Popsicles: blend mangoes and coconut water.
- Cherry-Lime Popsicles: blend cherries, lime juice, and water (or coconut milk).
The Best Popsicle Molds
You can’t make DIY popsicles without some sort of mold. Here are all the options for the best homemade popsicle molds:
- Reusable Popsicle Mold: I purchased my popsicle mold 4 years ago. $13 well spent! Popsicle molds are super easy to use and most come with reusable sticks/handles. I use this popsicle mold.
- Fun Shapes: Make dinosaurs and other fun shapes with special molds, like this.
- Dixie Cups and Wooden Craft Sticks
- Plastic Yogurt Containers and Wooden Craft Sticks: Wash and reuse small plastic yogurt cups. Glass will break in the freezer, so don’t use the small glass yogurt cups.
- Muffin Pan and Wooden Craft Sticks: The one issue with this option: it can be difficult to remove frozen popsicles from a muffin pan. Let the muffin tin rest for 5 minutes at room temperature to make it easier to remove the frozen popsicles.
- Push Up Pop Mold: A silicone reusable mold that requires no sticks. I use this push up pop mold.
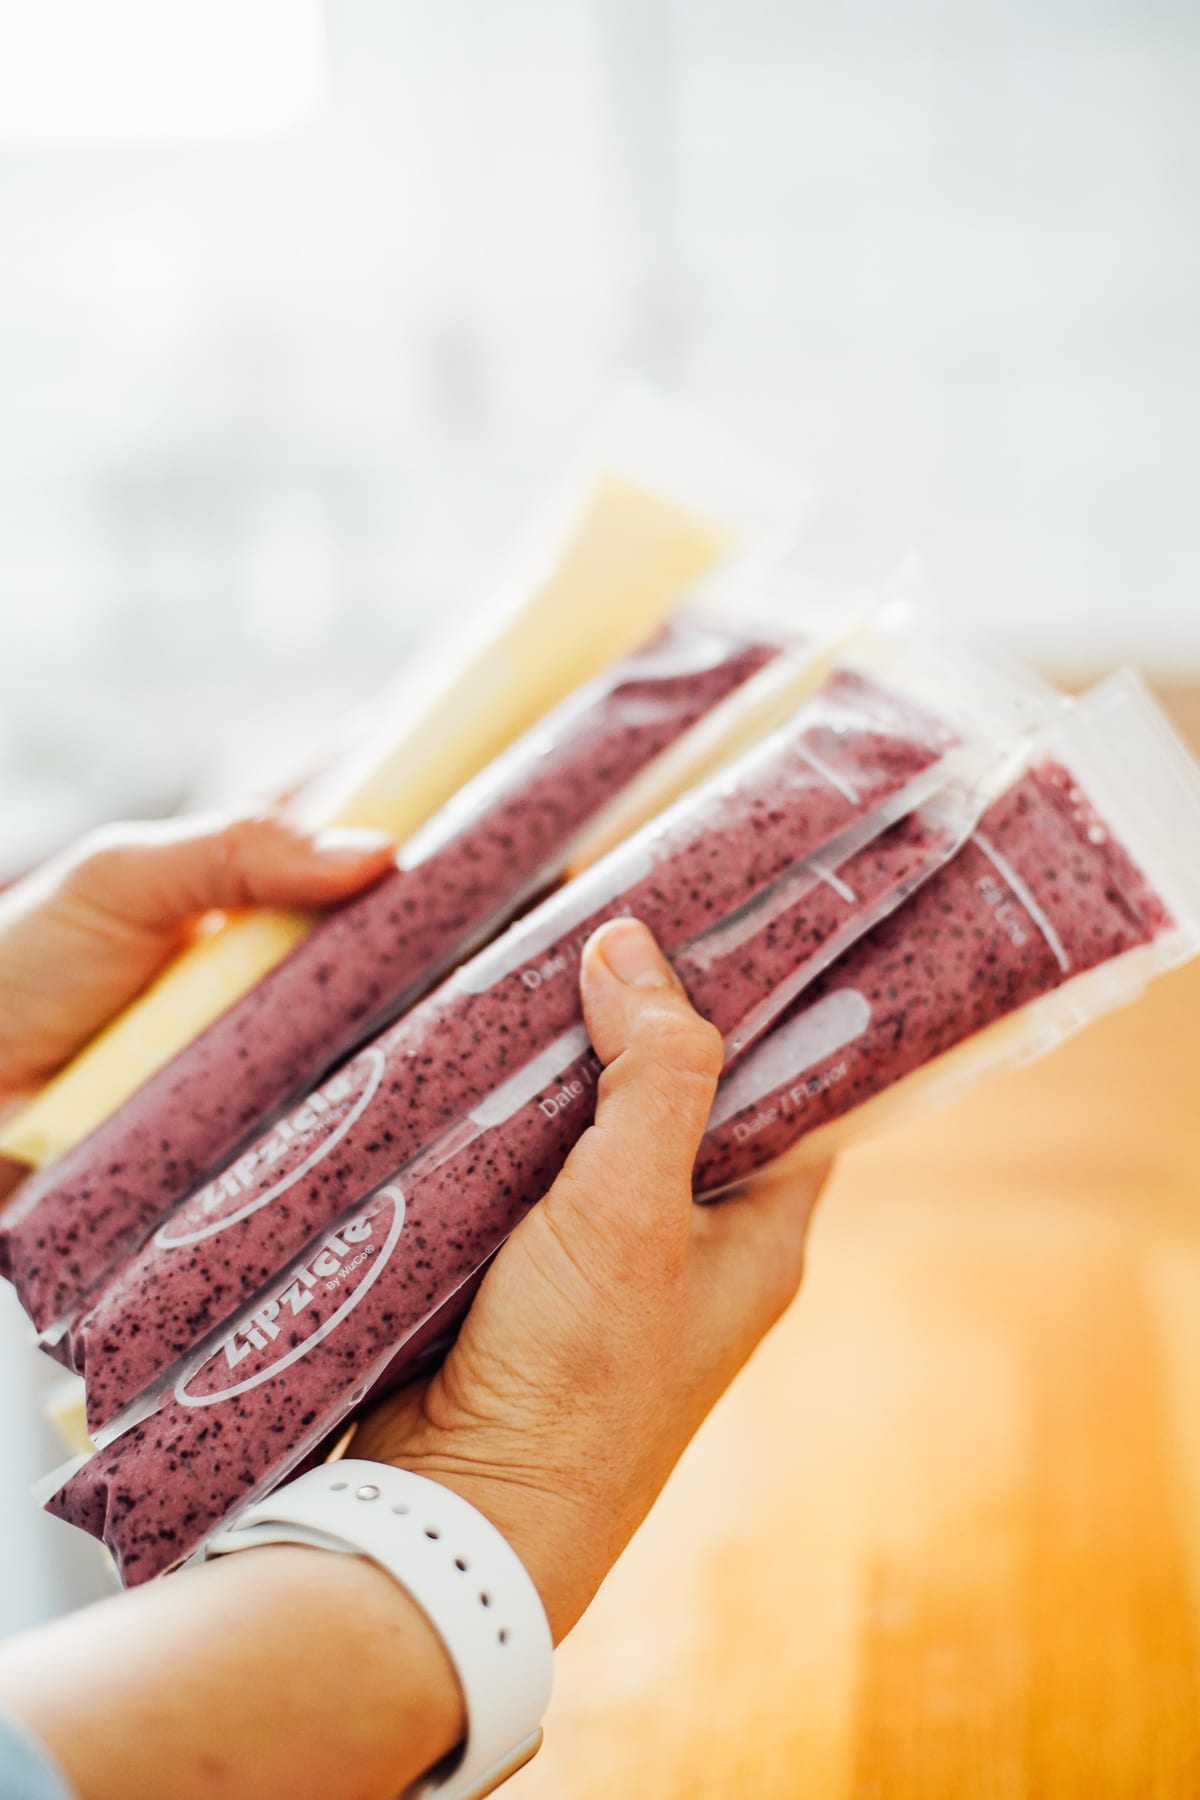
- Zipzicle Molds: Just like a Go-Gurt Mold, but for homemade treats. Great for making ice pops.
10 Easy and Healthy DIY Recipes
I can’t wait to share my favorite ways to make homemade popsicles. If you want to invite your kids into the kitchen this summer, these recipes are fun and easy to make with them.
This recipe collection represents a variety of different flavor combinations made with my favorite ingredients: fruit-based popsicles (using different fruits), creamy pops, and a homemade version of classic Fudgesicles. You can use a variety of different popsicle molds (see recommendations above) to make most of the recipes, unless noted.
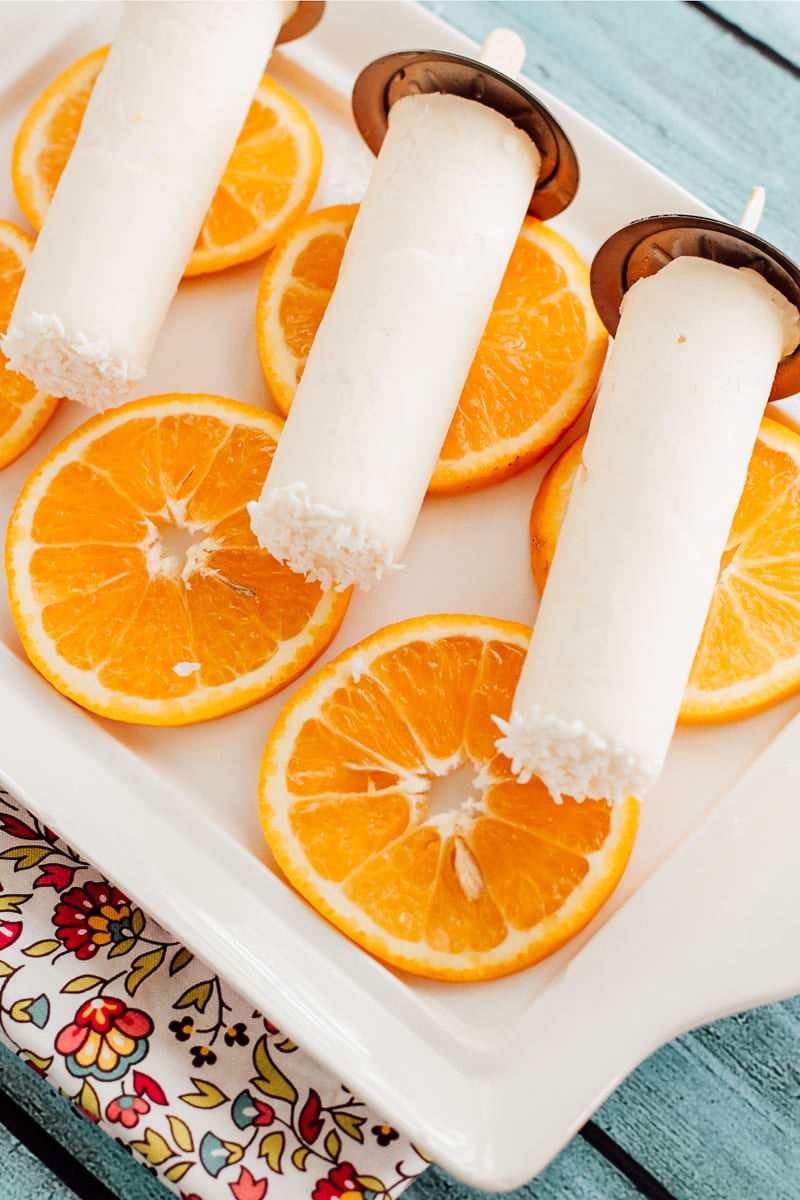
1. Orange Creamsicles
This healthy, homemade version of a classic creamsicle is made with orange juice, yogurt, and coconut milk.

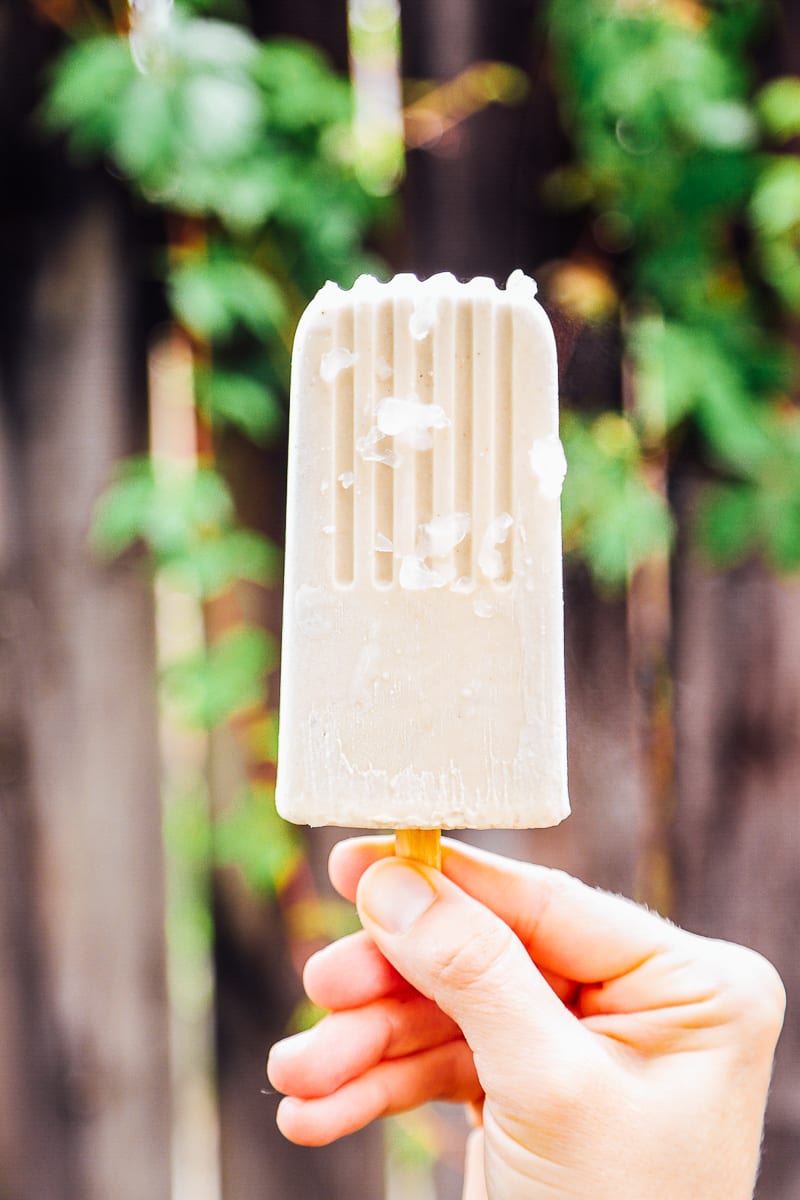
2. Peanut Butter Fudge Popsicles
If I had to choose my favorite popsicle, this is it because…peanut butter! It’s made by blending natural peanut butter and ripe banana (for sweetness) with coconut milk. Creamy and sweet with plenty of healthy fat!
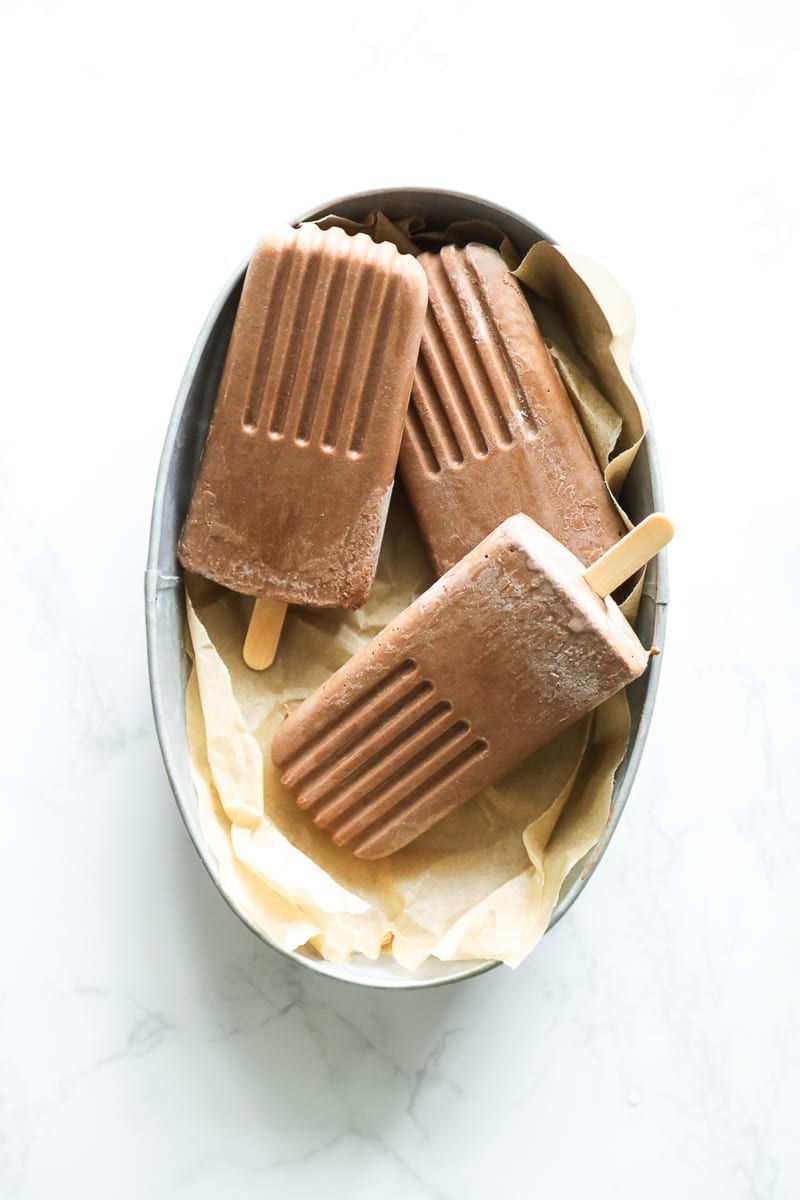
3. Chocolate Fudge Popsicles
Another knock-off from my childhood. This healthy version of the classic Fudgesicle is made with the simplest ingredients: cacao or cocoa powder, coconut milk, and maple syrup.

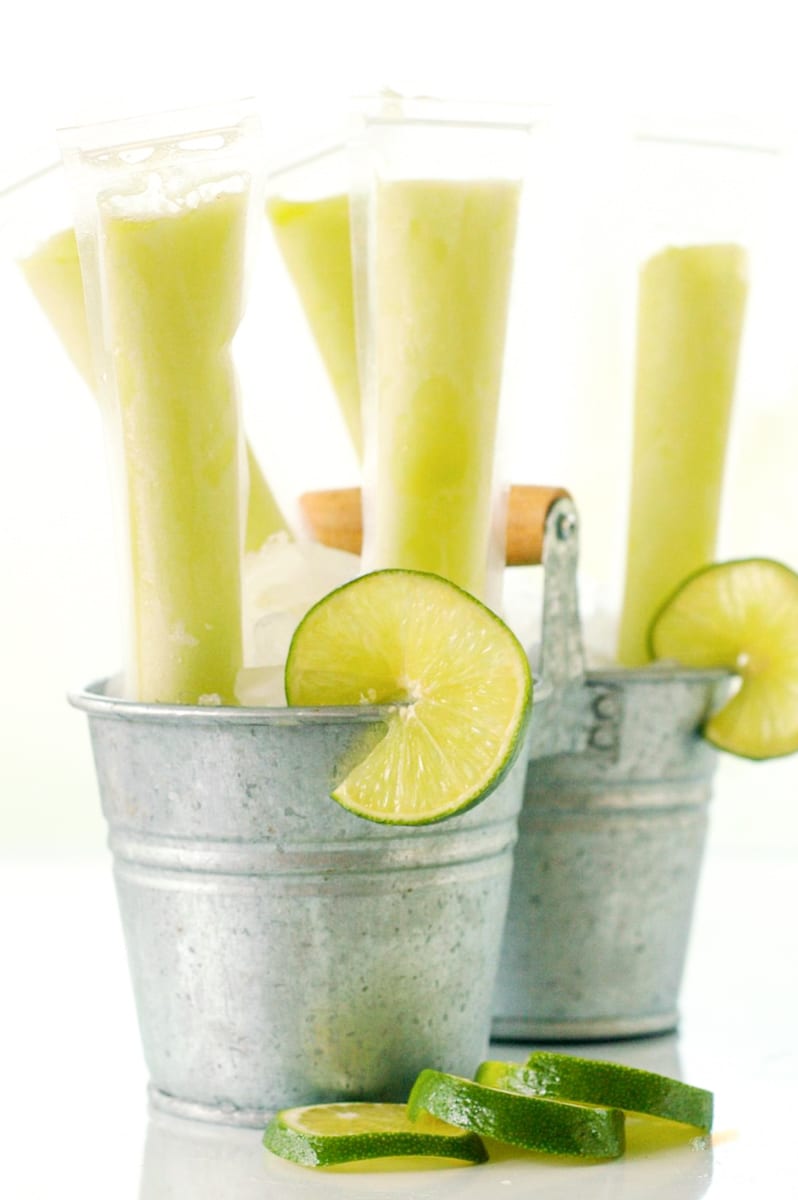
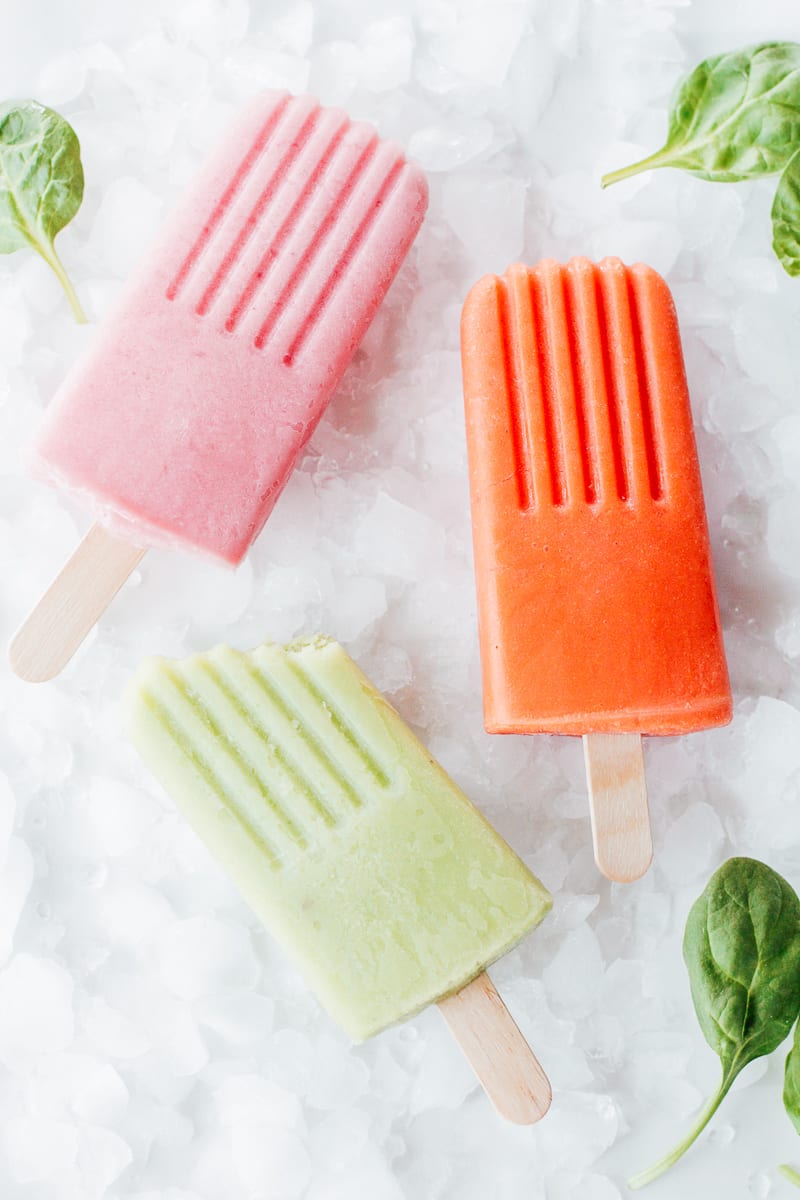
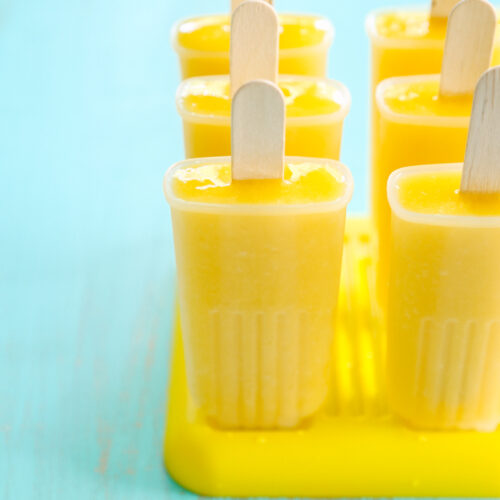
4. Fruity Ice Pops
Use DIY ice pop molds to make fresh fruit pops that are naturally different colors (no artificial dye needed!).
5. Fruit and Yogurt Pops
Blend up your favorite fruit with yogurt and honey. Pour into ice pop molds and freeze. A healthy (and on-the-go) snack or treat for a hot day!
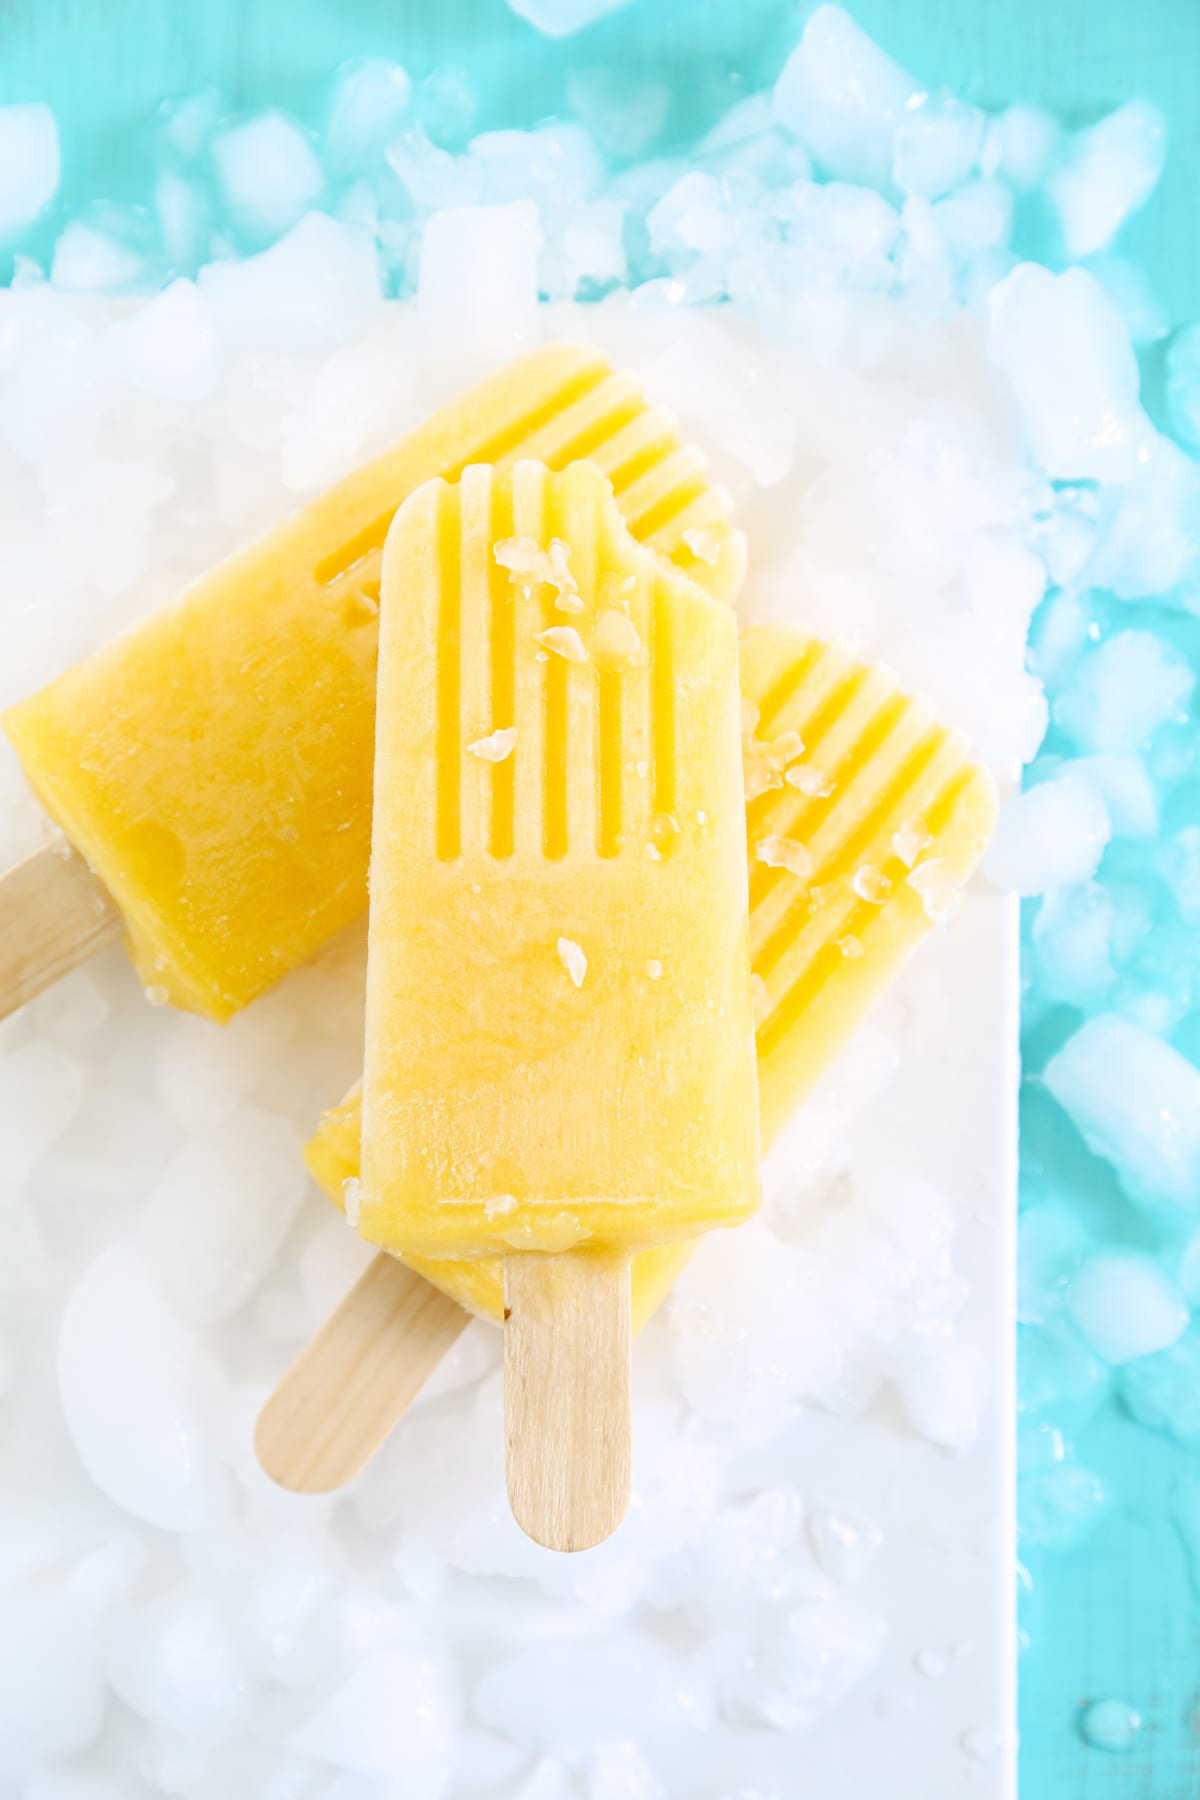
6. Mango Electrolyte Popsicles
Made with mango and coconut water, this popsicle is perfect for staying hydrated and cool on super hot summer days.
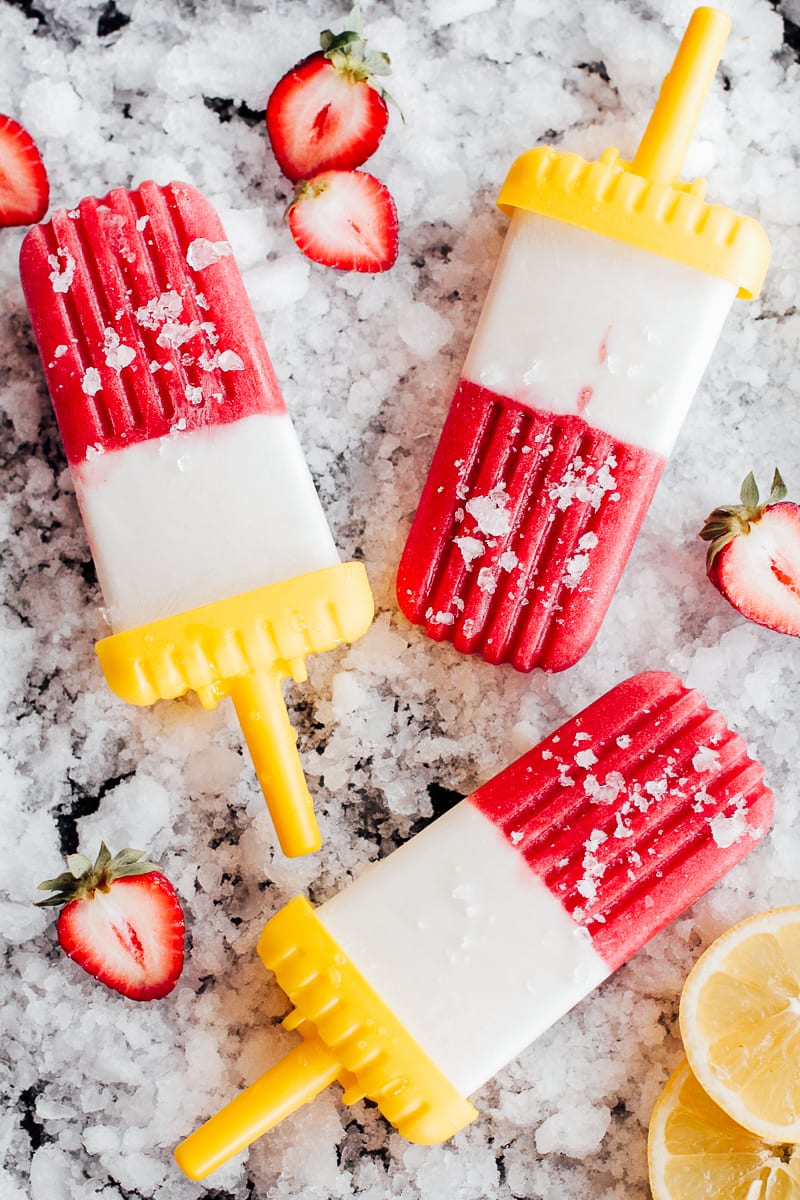
7. Strawberry Lemonade Cream Pops
One of my favorite homemade fruit popsicles made with frozen or fresh strawberries. This recipe is made in two steps: first by freezing the strawberry lemonade base, then later adding the coconut layer. This is the perfect way to use all those frozen strawberries from strawberry season.

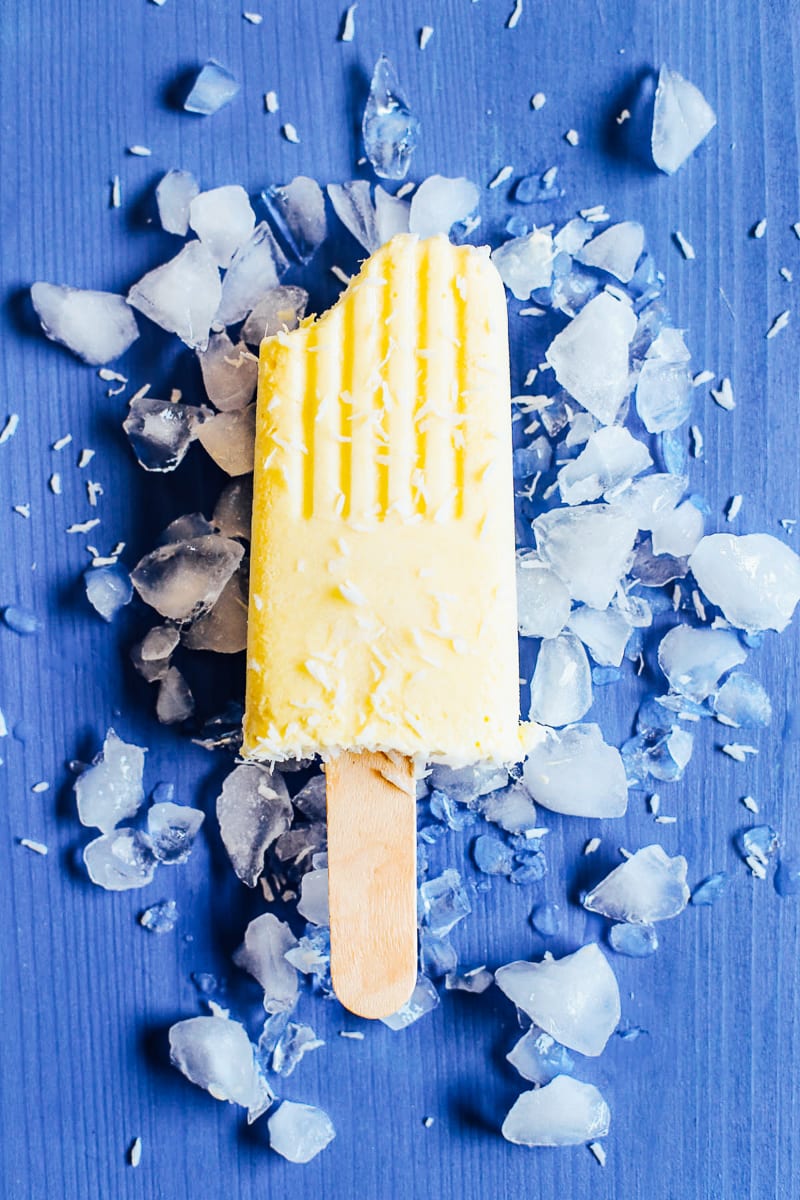
8. Pina Colada Popsicles
A virgin Pina Colada in popsicle form, made with just two ingredients: fresh pineapple and coconut milk.
9. Veggie-Packed Popsicles
Vegetables can be a delicious addition to a homemade popsicle. And with fun names, like Green Dinosaur and Tickle-Me-Red, the kids are sure to get on board with this veggie-packed treat.
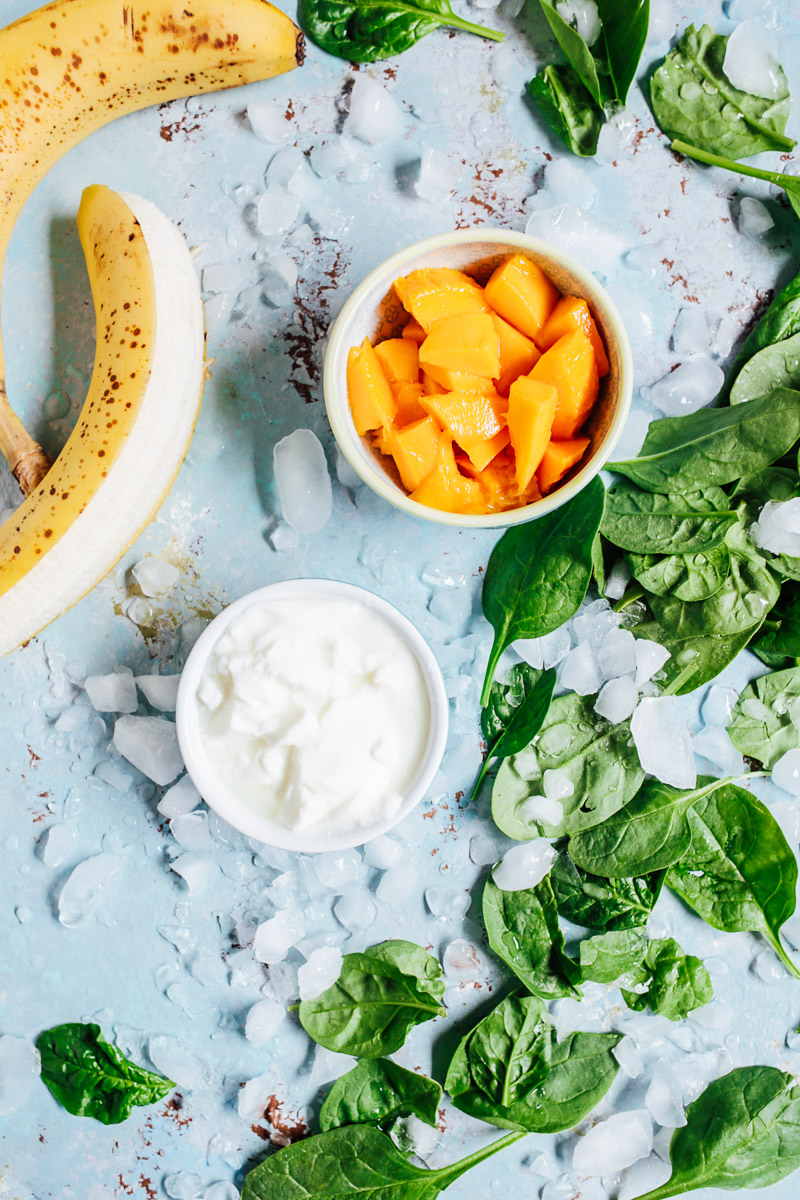
10. Mango Pineapple Smoothie Popsicles
The best part about making smoothies during the summer is that you can turn the leftovers in the best homemade popsicles. This mango pineapple smoothie recipe makes the best popsicles since it’s made with yogurt which = fruity and creamy popsicles!
How to Make a DIY Popsicle (The Easiest Beginner’s Recipe)
Equipment
- 1 set popsicle mold see suggestions for different popsicle mold options above in the article
Ingredients
- 2 1/2 cups frozen fruit strawberries, chopped pineapple, peaches, cherries, etc.
- 1 13.5 ounce full-fat unsweetened coconut milk
- 2 Tablespoons honey
- 1/2 teaspoon pure vanilla extract
Instructions
- Add all the ingredients to a blender and blend until smooth (about 60 seconds).
- Pour the mixture into a popsicle mold (see options in the article above). This is what I use. I'm able to make 6 popsicles with this recipe. The number of popsicles you'll make depends on the size of your molds. Insert sticks into the mixture (either wooden craft sticks or reusable sticks).
- Freeze for about 6 hours (between 4-8 hours is generally how long it takes for a popsicle to freeze).
- Store the frozen popsicles in the molds or remove all the popsicles from the molds and store in a freezer bag or freezer-safe airtight container. To remove from the mold, run the outside of the popsicle mold under cold water to remove the popsicle.
Delish!
Can I use something besides coconut milk?
Hey Cjlarie, Coconut milk is going to be the creamiest option. Almond milk, cashew milk, yogurt, or whole milk may work well.
Can’t WAIT to try these! I’ve been freestyling recipes all summer- the first batch was a big fail (coconut milk + mango which I was told tasted like “frozen milk”). I always add a huge handful of spring mix or salad greens and my kids have no idea their “treats” also have veggies! 😉
That’s awesome! So glad the recipes are helpful for you. Enjoy!!
Just a tip when making pops with strawberries or raspberries, once blended, pour the mixture through a strainer before pouring into molds. I made the strawberry lemonade, which my kids loved the flavor of, but they were put off by the seeds.
These are great recipies and I love the zipcicles pouches!
That’s a great idea, Sarah! Thank you for sharing. So glad you’re enjoying the recipes and zipcicles. I just made a bunch of zipcicles yesterday for summer, too.
That was a great article thank you so much.
yay! Popsicles. And summer! How do you get the wooden sticks to stay in/up in the molds while freezing? We eat so many of these all summer long that just using the reusable sticks that the mold comes with aren’t enough.
Hey Tamara, I had the same issue. That’s why I started using the wooden sticks. For thicker popsicles, the sticks stand up just fine. I pop them in as soon as the popsicles go in the freezer. For something that’s very liquid (like a coconut water popsicle), I let the mixture chill in the freezer (in the molds) for a bit until it’s more stable to support the stick. Hope that helps!