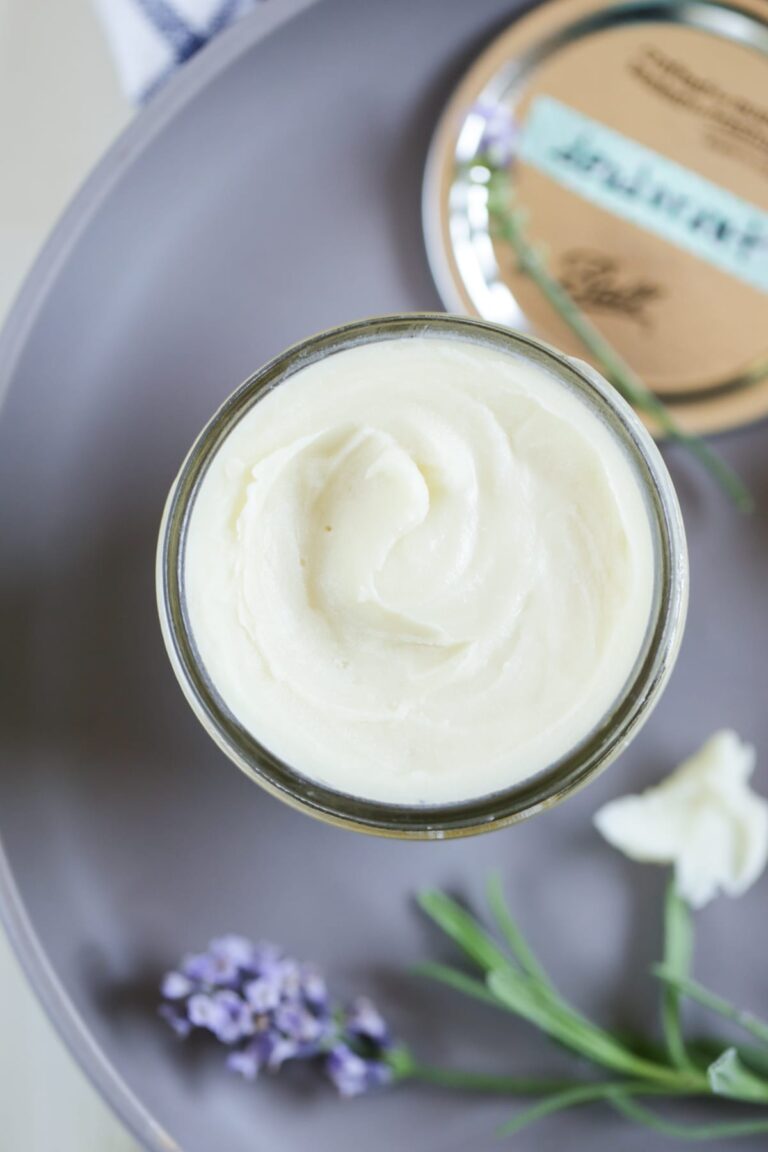
How to make the best homemade body butter with 2 simple, natural ingredients. This DIY whipped body butter feels luxurious and delivers maximum moisture to the skin. Let me show you how to make non-greasy body butter that works for any skin type.
Want to Save This Article?
Enter your email & I’ll send it straight to your inbox. And you’ll get new recipes & tips each week.
Body butters are no strangers to Live Simply. First, we made this ultra-moisturizing shea butter lotion. Then we made a simple lip balm and shea butter cream facial moisturizer.
Today, we’re making silky smooth body butter for the whole body: face, arms, legs, wherever you need moisture.
In this post, I’ll guide you through making homemade body butter via photos and a video.
Key Takeaways
- Simple Ingredients – You’ll need skincare butter (shea butter, mango butter, or cocoa butter), carrier oil, and two optional ingredients- arrowroot starch/flour (to reduce the greasy feel) and essential oil.
- Easy to Make – Melt the ingredients, chill in the fridge, then use a fork or hand mixer to whip. That’s it!
- Inexpensive – Body butter can cost a fortune if you buy it at the store, particularly from a natural company. Making body products, like body butter, is usually cheaper. Buying the ingredients is an extra cost, but once you have them, you can create multiple jars of your whipped body butter (and other products).
- Non-Toxic and Natural – No synthetic fragrances, preservatives, or other unwanted ingredients. Just nourishing ingredients that are good for your skin.
- Shelf Life – 6 months
What is Body Butter?
- Moisturizing – Body butter is a rich, moisturizing skincare product made with skincare butter like shea butter and cocoa butter.
- Lotion Alternative – Body butter can be used as an alternative to lotion since its primary job is to moisturize the skin.
- Full Body Use – It may be used on the entire body, from the face to the feet.
Lotion vs. Body Butter: What’s the Difference?
- Lotion is made with water and oil (and possibly butters) so it’s light, airy, and silky smooth. Homemade lotion needs to be used within a short time or a preservative should be used (due to the water and bacterial growth). It also requires an emulsifier to properly blend the oil and water.
- Body butter is made exclusively with butter(s) and oil(s), so it’s thick and dense. Homemade body butter will last for up to 6 months without a preservative.
Both body butter and lotion are used in the same way: to moisturize the skin. Body butter does deliver more moisture since it’s not cut with water. So it’s ideal for all skin types, particularly dry skin or during the winter months.
Before You Get Started: Ingredients & Equipment
DIY body butter is easy to customize to your liking. You’ll need just 2 natural ingredients.
From there, you’re welcome to add 2 additional ingredients, if desired, to make a non-greasy product or add a custom scent.
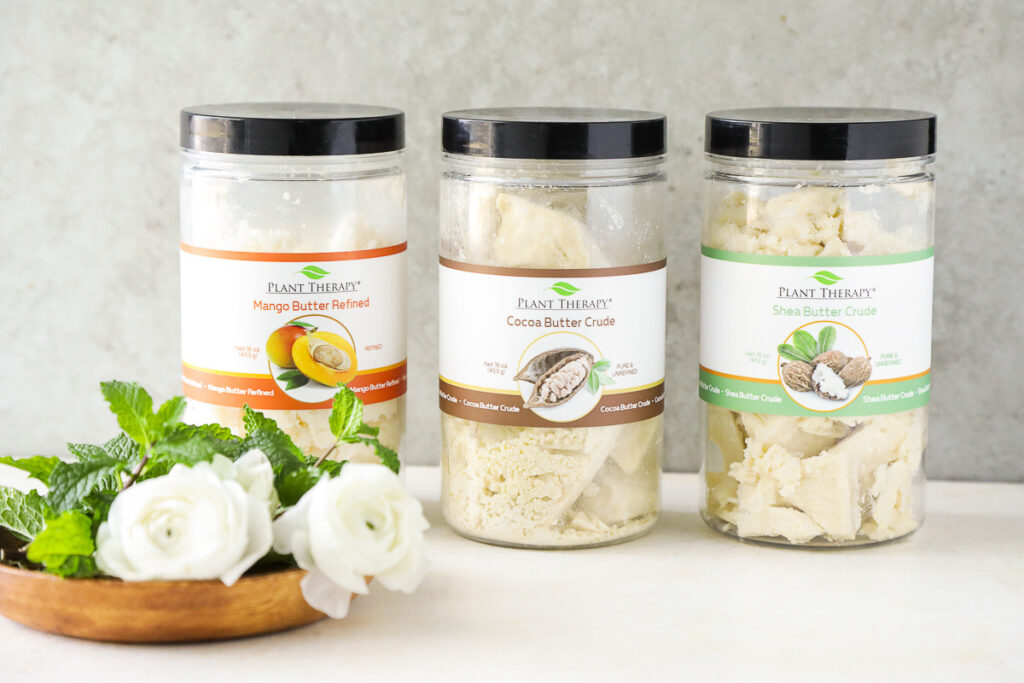
- 1/2 cup skincare butter – provides much of the moisturizing relief. Choose one of these options for the body butter: cocoa butter (hydrating and rich in vitamin E, chocolatey scent), shea butter (rich in fatty acids, vitamin E, ultra-moisturizing), or mango butter (rich in fatty acids, ultra-moisturizing).
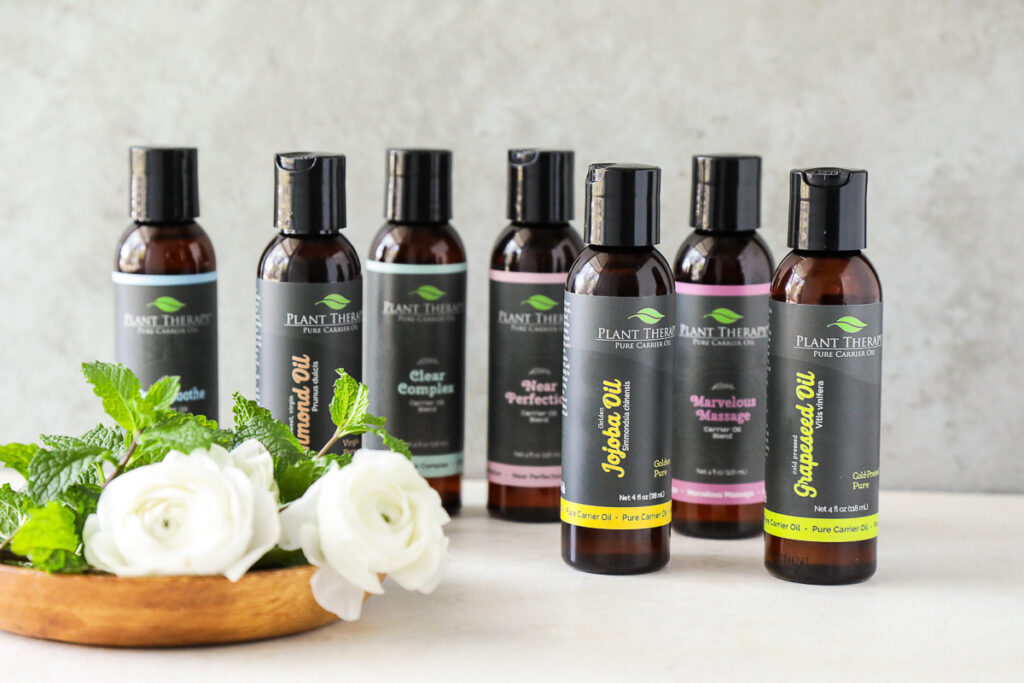
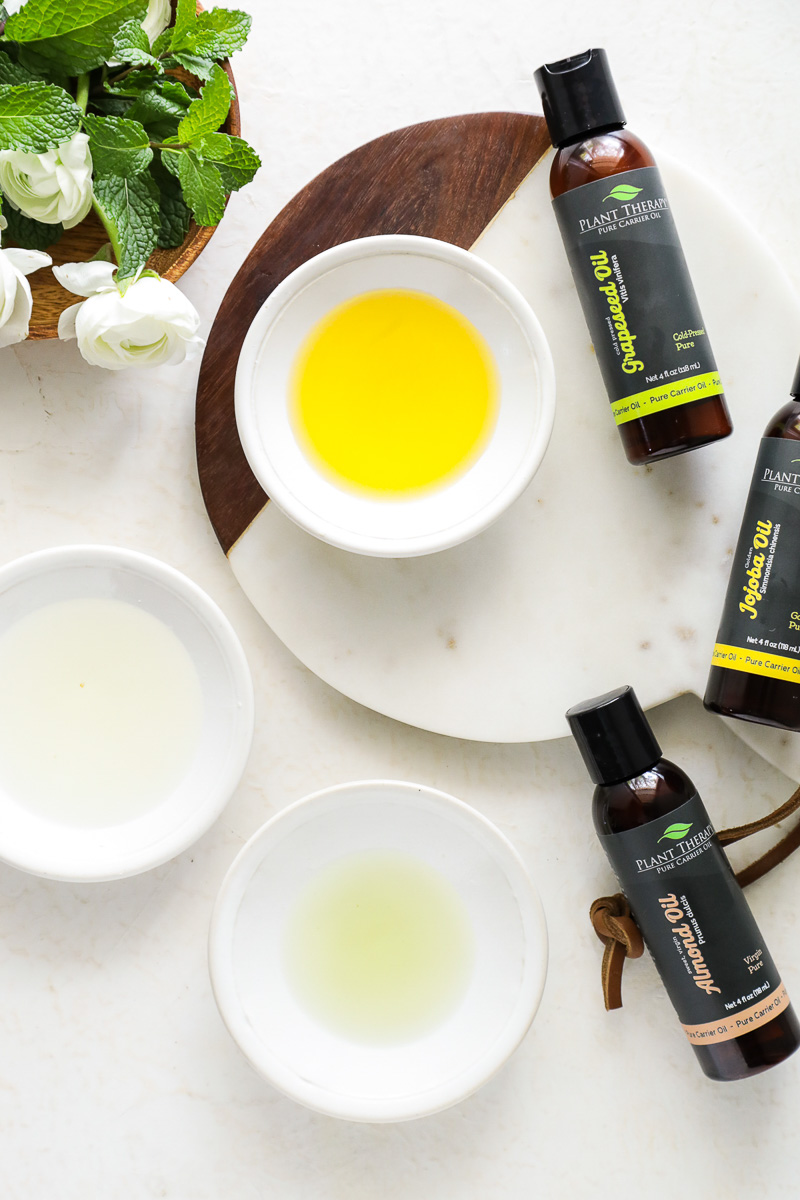
- 1/4 cup carrier oil – nourishes and moisturizes the skin. My favorite oil options are sweet almond, olive, sunflower, avocado, jojoba, grapeseed, and coconut oil.
- 1 1/2 teaspoons arrowroot flour starch (optional) – a natural starch that helps to reduce the oily/greasy feel by absorbing.
- 36 drops favorite essential oils (optional) – add an essential oil of choice for the amazing scent.
The ingredients may be found online, some craft stores, or health food stores.
Equipment
- small saucepan – used to create a double boiler by adding water to the saucepan and placing a heat-safe bowl on top. This method protects the fragile ingredients from burning.
- glass or metal bowl (large enough to fit on top of the saucepan) – to melt the ingredients, used with the saucepan to create a double boiler.
- fork or hand-mixer – use to whip the ingredients into a spreadable butter.
- fridge – to cool the ingredients once melted.
- glass storage jar – for storing the final product.
Learn More About Each Ingredient
1. Butter
Homemade body butter starts with a moisturizing skincare butter. Shea butter is the perfect base butter since it’s soft, easy to work with, and melts into your skin. My recipe calls for at least a 1/4 cup of shea butter.
From there, it’s up to you, the maker, to customize the body butter. You’ll need a total of 1/2 cup of butter. So use all shea butter (for a total of 1/2 cup shea butter), or mix the shea with a different butter: 1/4 cup of cocoa butter or 1/4 cup of mango butter.
Best Butters
- Shea Butter: Shea butter comes from the “nut” (or pit) of the fruit found on the Karite Tree. It has a strong scent when it’s purchased in an unrefined state. I use unrefined shea butter in recipes (including body butter). If you don’t care for the strong scent, use refined shea butter instead. Since shea butter is naturally soft, it makes a wonderfully soft whipped body butter. It may be used on its own with a carrier oil, or combined with another butter like cocoa butter or mango butter. See all the ways you can use shea butter to make your own body products.
- Cocoa Butter: Cocoa butter comes from cocoa beans, so it has a strong scent and smells like chocolate. Cocoa butter is hard at room temperature, and it melts easily. Cocoa butter is naturally hard and dense, so if you use it, mix it with shea butter or mango butter to make a softer body butter. See other ways to use cocoa butter to make your own body products.
- Mango Butter: Mango butter comes from the seed of mango fruit. It’s naturally soft, similar to shea butter, and can have a gritty texture before melting. It yields a soft, airy body butter when mixed with shea butter. If you don’t want to use shea butter (due to allergies) in my recipe, then mango butter is the best replacement.
2. Carrier Oil
A liquid oil is the second main ingredient used to make body butter. The oils used in skincare recipes are known as carrier oils, although I usually call them nourishing oils. The oil used is entirely up to you.
See all the ways to use carrier oils to make your own body products.
Best Carrier Oils
- Sweet almond oil, jojoba oil, or grapeseed oil are best for making a non-greasy body butter that is easily absorbed by the skin. Great for all skin types.
- Virgin coconut oil may be used, but it can be very greasy and clog pores. Avoid if you have body acne or sensitive skin.
- Olive oil is another option; however, olive oil can be extremely heavy and feel greasy. Just like with coconut oil, this is not an option for all skin types and you may not love the results.
3. (Optional) Arrowroot Powder
Whipped body butter recipes can be very greasy!
The good news is that there’s a simple solution for this issue: add arrowroot flour/starch. Arrowroot is a natural starch (used in cooking to thicken soups, sauces, and stir-fry) that will absorb the greasy feel of the butters and oils, without drying out your skin.
Substitution: Some folks use tapioca starch and cornstarch (which are similar to arrowroot starch); however, I haven’t used these ingredients so I can’t speak to their success.
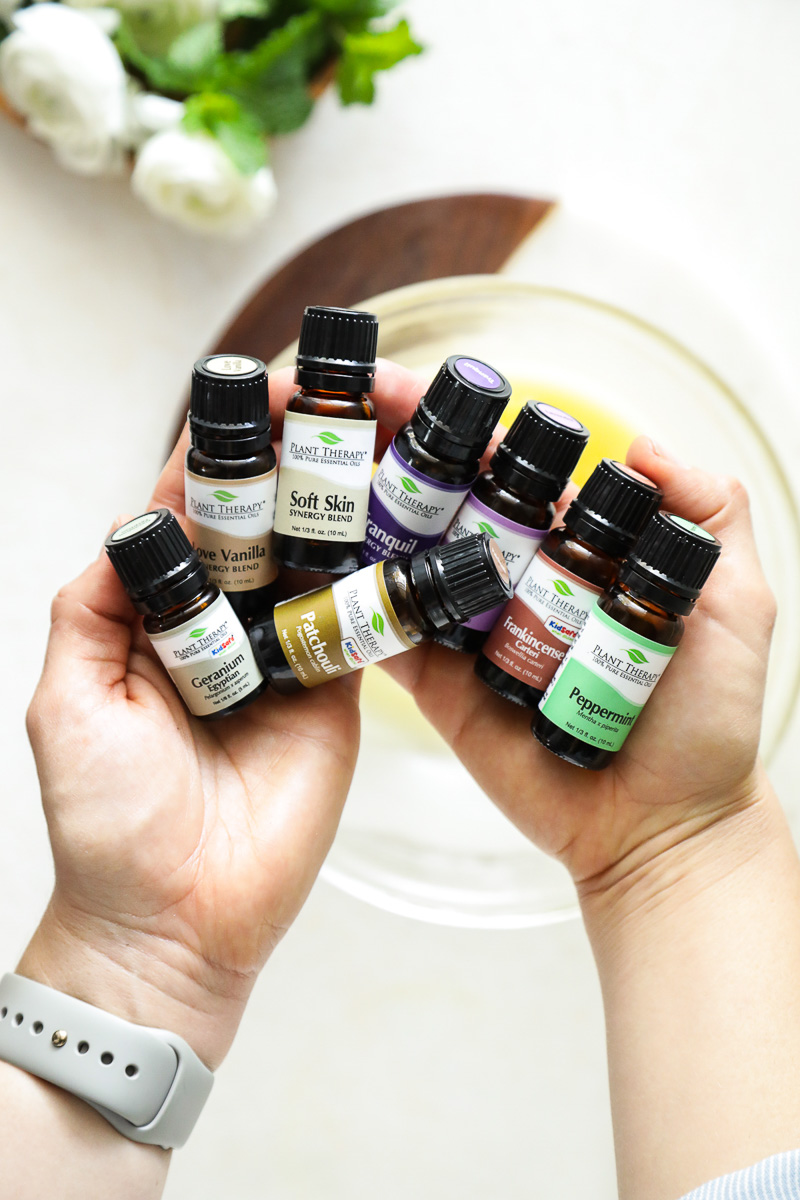
4. (Optional) Essential Oils of Your Choice
An essential oil may be added for scent and additional skincare benefits. Use just one essential oil, mix a few essential oils to create different scents, or an essential oil blend (a pre-blended bottle of essential oils). Currently, my favorite essential oils for body butter are lavender, geranium, and frankincense (carteri).
I use a 1% dilution in my body butter recipe. Before using any essential oil, read the back of the bottle for specific dilution recommendations.
Recipe Tutorial Video
How to Make Whipped Body Butter: Step By Step Guide
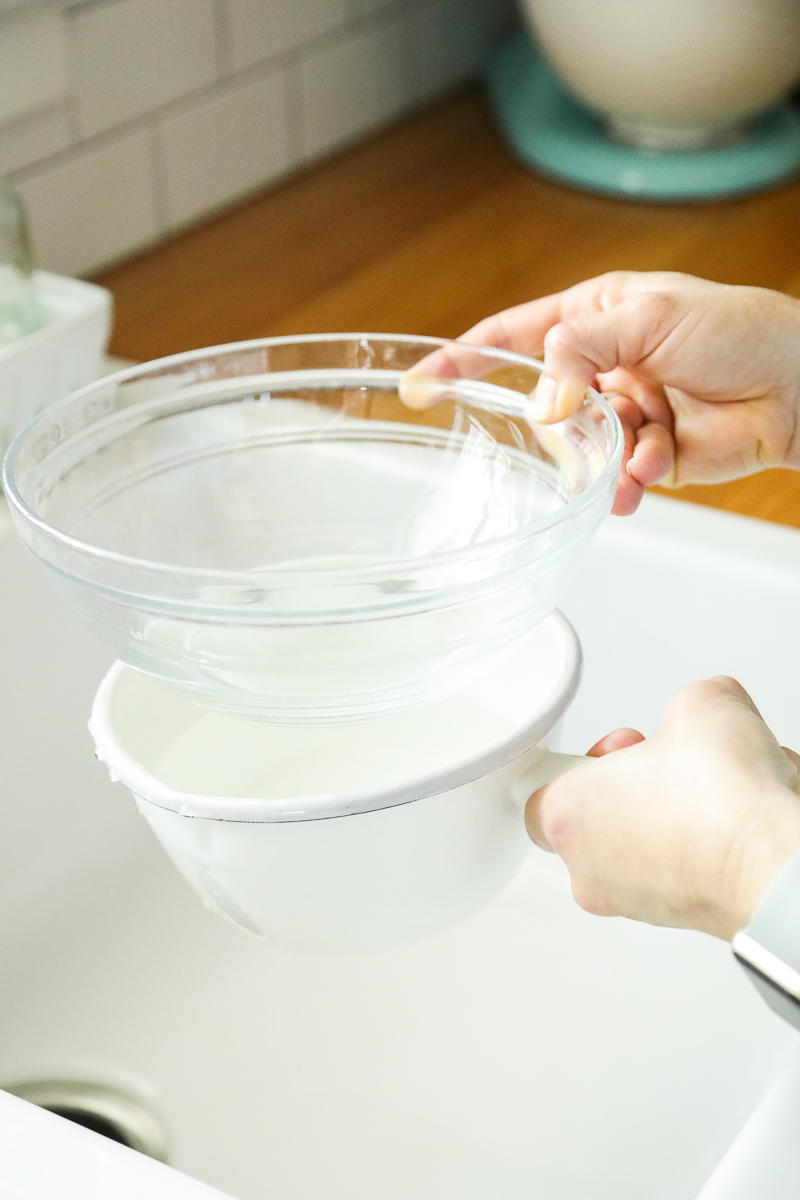
- Step 1: Melt the Butter in a Double Boiler. Partially fill a saucepan with water (about 1/4 of the way full). Then, place a glass (or metal) bowl on the saucepan. Place the butter(s) in the glass bowl. Turn the stovetop to medium heat, placing the double boiler on top of the heat. Allow the butter(s) to melt (about 3-5 minutes) fully.
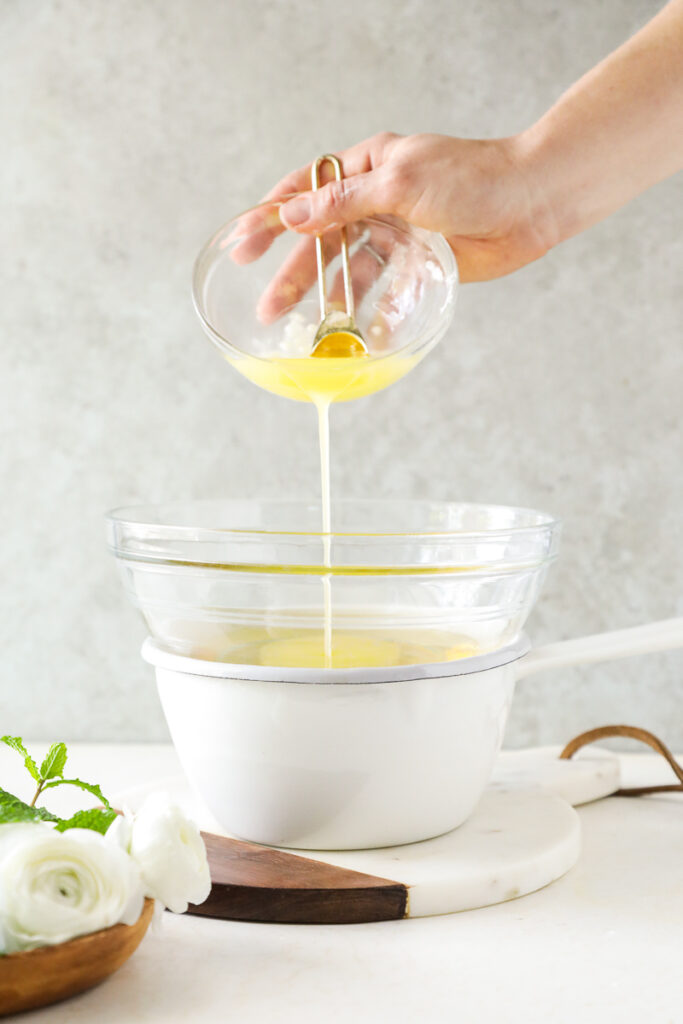
- Step 2 Combine Oil & Carrier Oil – If you plan to use arrowroot flour, whisk the flour into the carrier oil in a small bowl. Set the mixture aside. If you’re not using arrowroot flour, skip this step.
- Step 3 Combine the Melted Butter & Oil – Carefully remove the bowl (with the melted butter inside) from the double boiler setup. Add the oil (with the arrowroot flour, if using) to the melted butter, and use a spoon to stir and combine the ingredients.
- Step 4 Chill – At this point, the oil mixture should be cooler (along with the glass bowl). If not, allow it to rest for a few minutes. Then, place the mixture in the fridge and allow it to solidify (about 30 minutes to 1 hour).
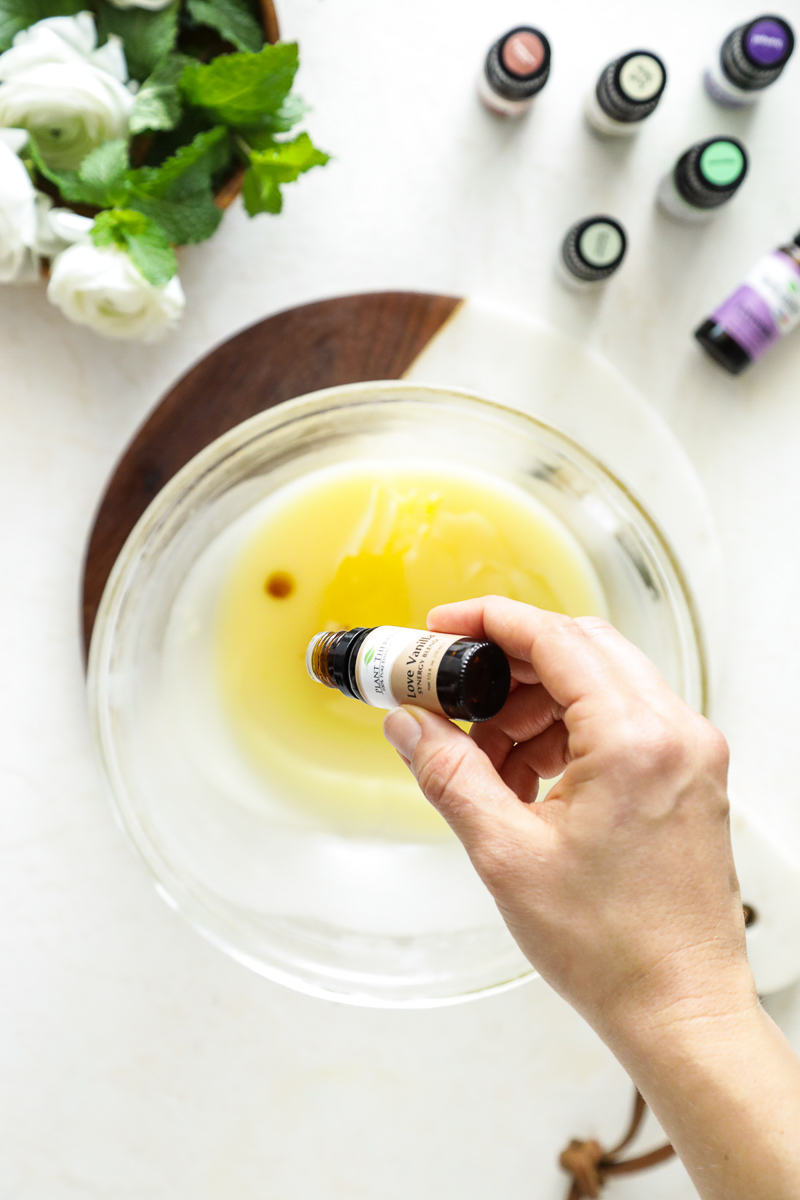
- Step 5 Add Essential Oil – Once the mixture is opaque and a bit firm (not solid as a rock), remove the bowl from the fridge. Add the essential oil of choice if desired. The essential oils must be added when the mixture is cool, as heat will cause the fragile essential oils to evaporate.
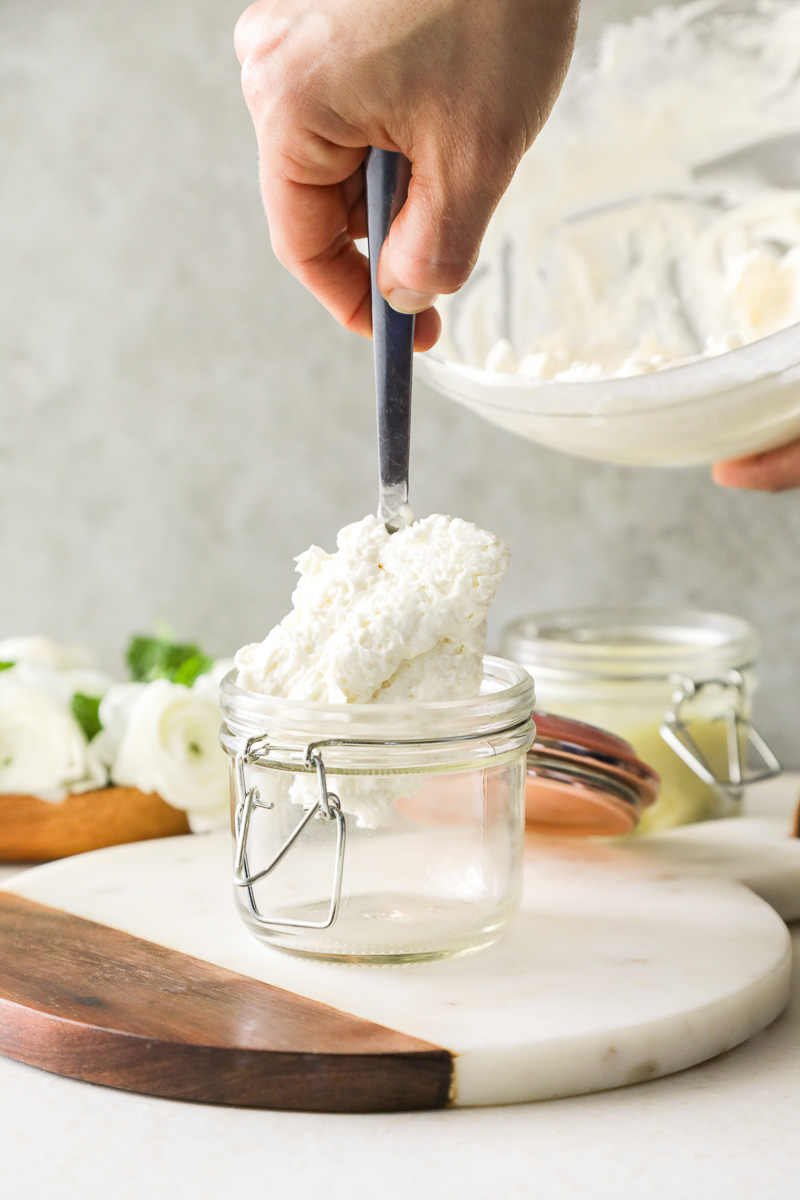
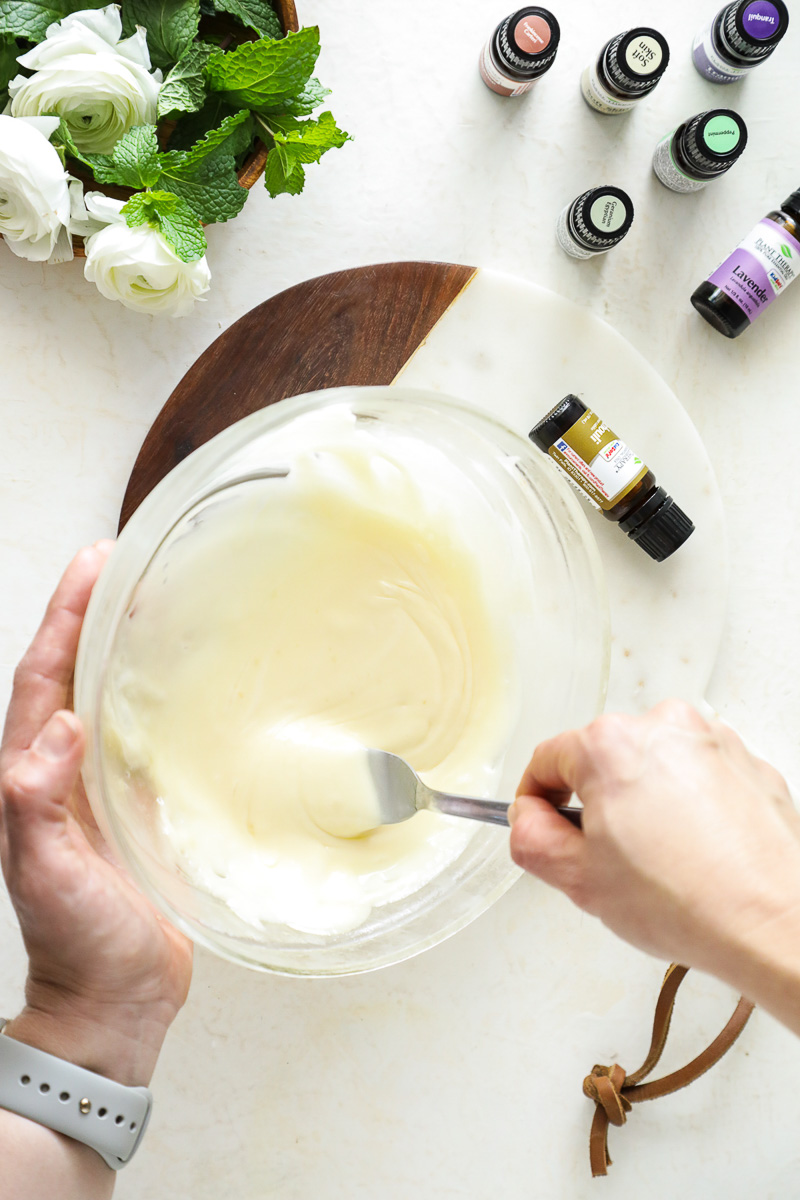
- Step 6 Whip – If you used cocoa butter, whisk the mixture with a fork until it appears “whipped.” If you used shea and/or mango butter, you can use the same technique with a fork or a hand mixer to “whip” the body butter. Just be careful not to over-whip the mixture.
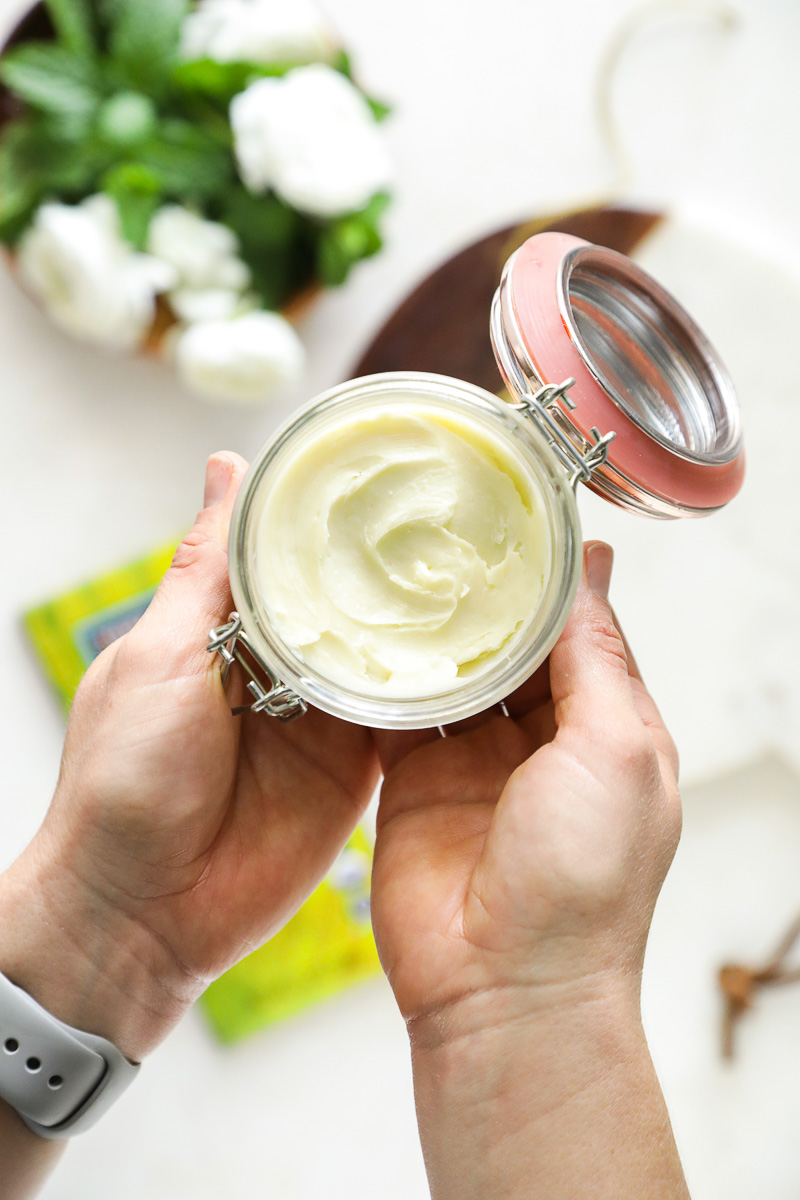
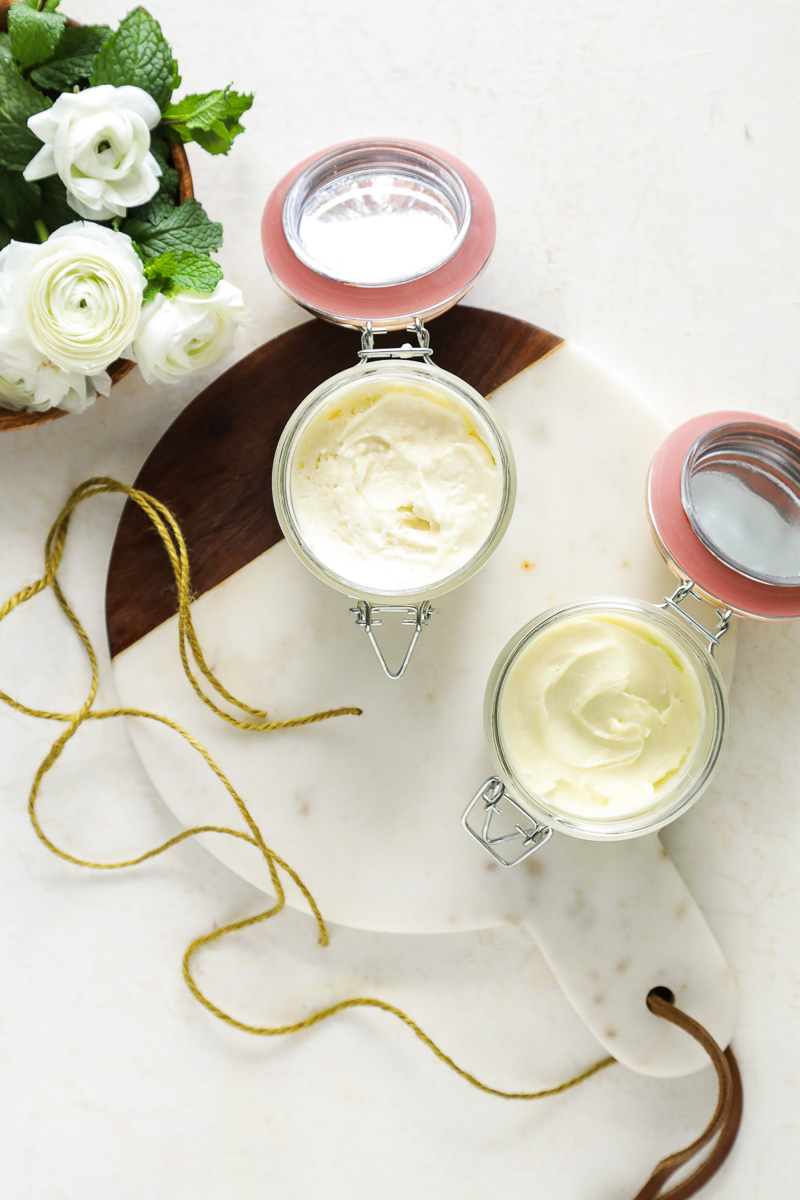
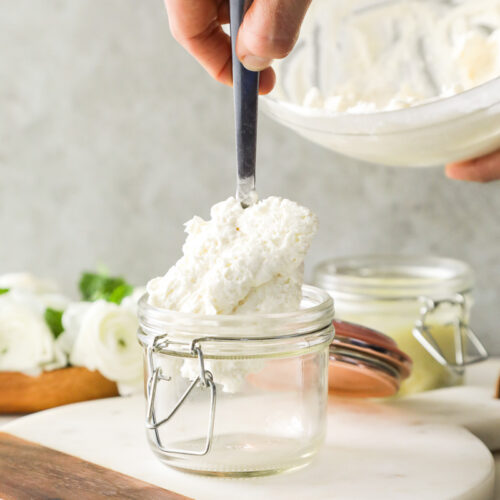
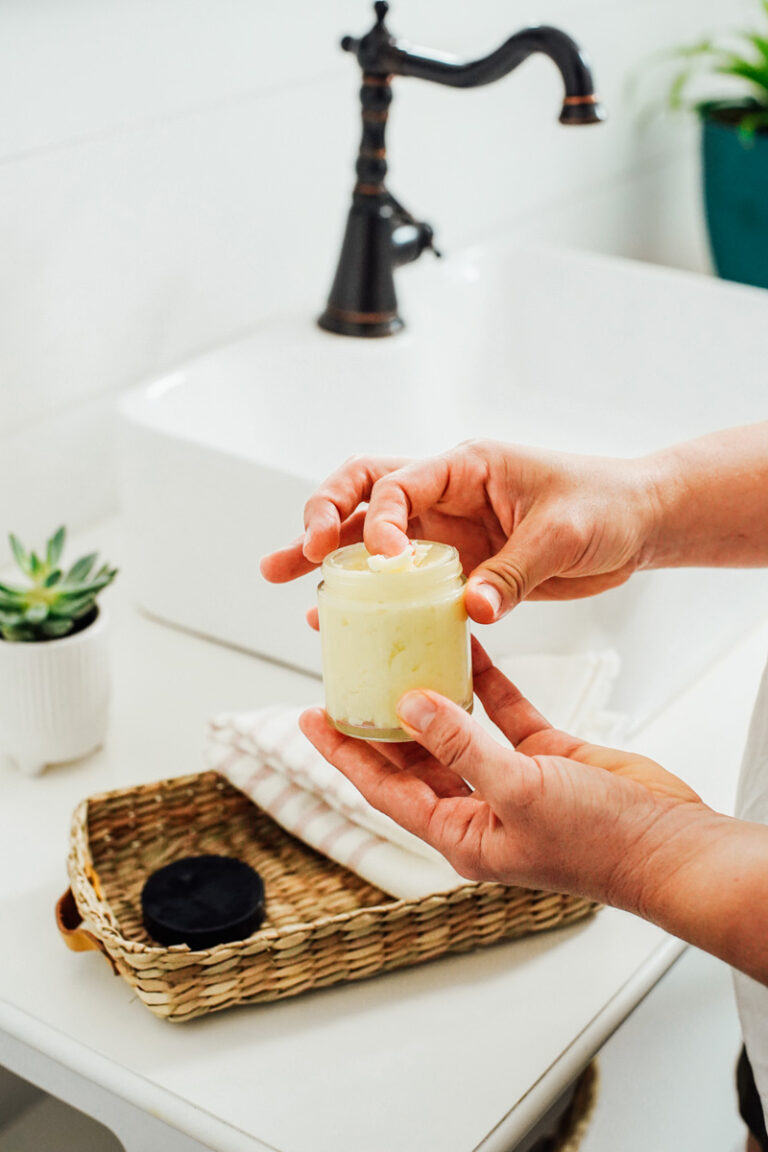
- Step 7 Spoon Into a Jar – Scoop the mixture into a jar and place the lid on the jar. Now it’s ready to use!


Storage: How Long Will It Last?
Store at room temperature (out of direct sunlight) in a sealed jar for up to 6 months.
What to Avoid Doing
- Don’t Use Hot Essential Oils – Some essential oils can irritate the skin and cause the skin to have a burning sensation. Avoid these “hot oils” such as cinnamon, clove, oregano, thyme, and lemongrass.
- Citrus Oils – Citrus oils, like sweet orange or lemon essential oil, are photosensitive and can make your skin more sensitive to the sun.
- Use Only a Little – If the body butter feels too oily, you’re most likely using too much. Body butter is much denser and richer than lotion (cut with water), so you don’t need much to moisturize the skin. Use a small amount, and it will absorb into the skin beautifully.
How to Prevent Hard Body Butter
If you want to create a soft, fluffier body butter, here are a few tips.
- Don’t Overwhip – When “whipping” the cooled ingredients, you only need a quick whip to create the body butter. Use a fork and whisk for 10-20 seconds for cocoa butter. For shea butter and mango butter, about 30 seconds with a hand mixer is plenty of time.
- Texture Depends on Ingredients & Temperatures – The outside temperature will affect the texture of the texture and softness of the final product. Cocoa butter will create a denser body butter. Shea butter and mango butter will create a softer final product.
- The Fluffiest Combo – Coconut oil and shea butter usually produce the fluffiest body butter.
How to Use This Product In Your Skincare Routine
Use this product anytime your skin needs moisturizing.
- Use a Small Amount – Scoop a small amount from the jar, then massage onto the skin. As you rub, the butter will melt into your skin. You only need a small amount at a time.
- Use When Skin is Damp – The best time to use this body butter is after showering when the skin is damp. Apply a small amount of product to your fingertips, then massage on the skin: arms, legs, feet, neck, and chest.
- Facial Moisturizer – This product may also be used as a moisturizer on your face. Avoid using coconut or olive oil in your formula if you plan to use it on your face. Or check out my homemade shea butter facial cream recipe.
How to Soften Body Butter Before Use: The body butter will soften or harden depending on the temperature in your home. To soften a hard body butter (which is normal and happens), place the butter in the bathroom while showering (not in direct contact with water). The hot steam of the shower will soften the body butter and make it easier to scoop out and spread on your skin.
FAQs
- Do I need to use a preservative? Since water is not used to make this product, you don’t need to worry about mold or bacterial growth. Do not incorporate water into the product when scooping the butter from the jar with your hands (i.e., after a shower, washing your hands, etc.)
- You say $4-6 per jar. What size jar are you referring to? This recipe makes one 6-ounce jar. The cost will depend on the ingredients purchased.
- Can I multiply the recipe without affecting the final product? Yes, you can! You can easily double, triple, or quadruple the recipe to make multiple jars.
- Would vitamin E oil work as the carrier oil? No, vitamin E isn’t a carrier oil. You’re welcome to add a small amount of vitamin E oil if desired, but you’ll still need carrier oil.
- How long do you mix the product to avoid “over-whipping”? The answer depends on the ingredients used. For cocoa powder, just a few seconds. About 30 seconds should be enough time for shea butter and mango butter.
4 More DIY Recipes With Shea Butter
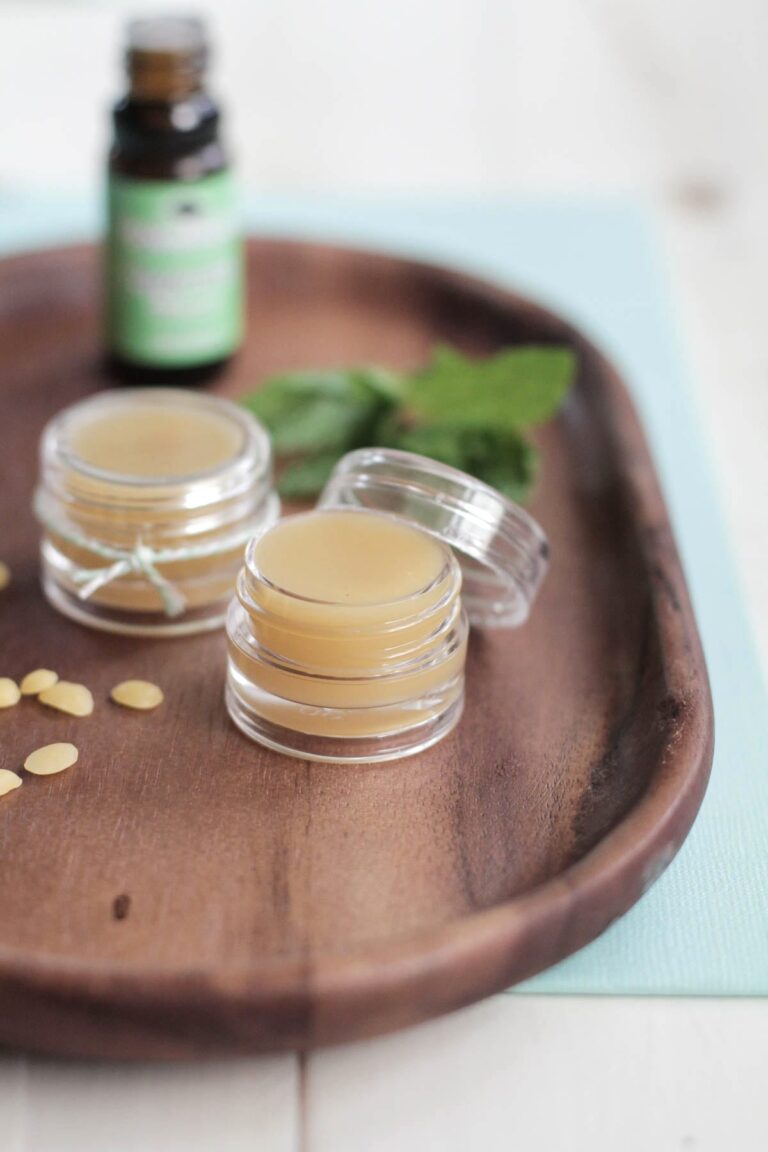
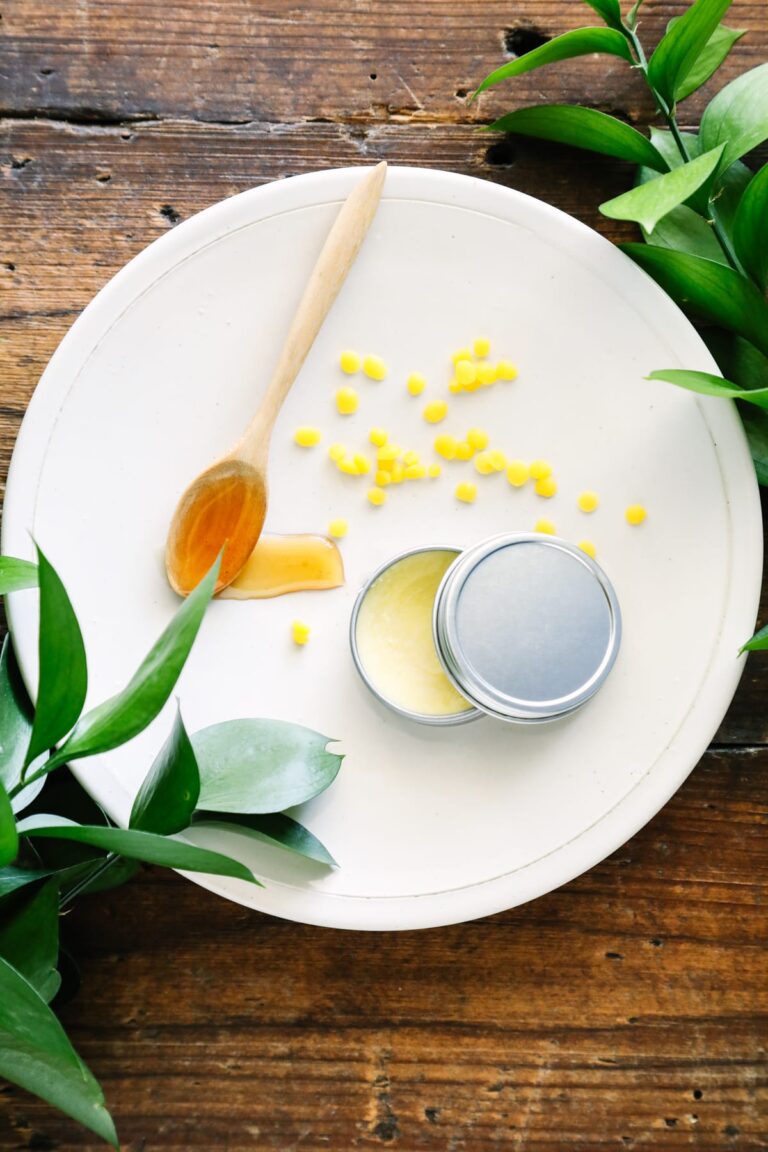
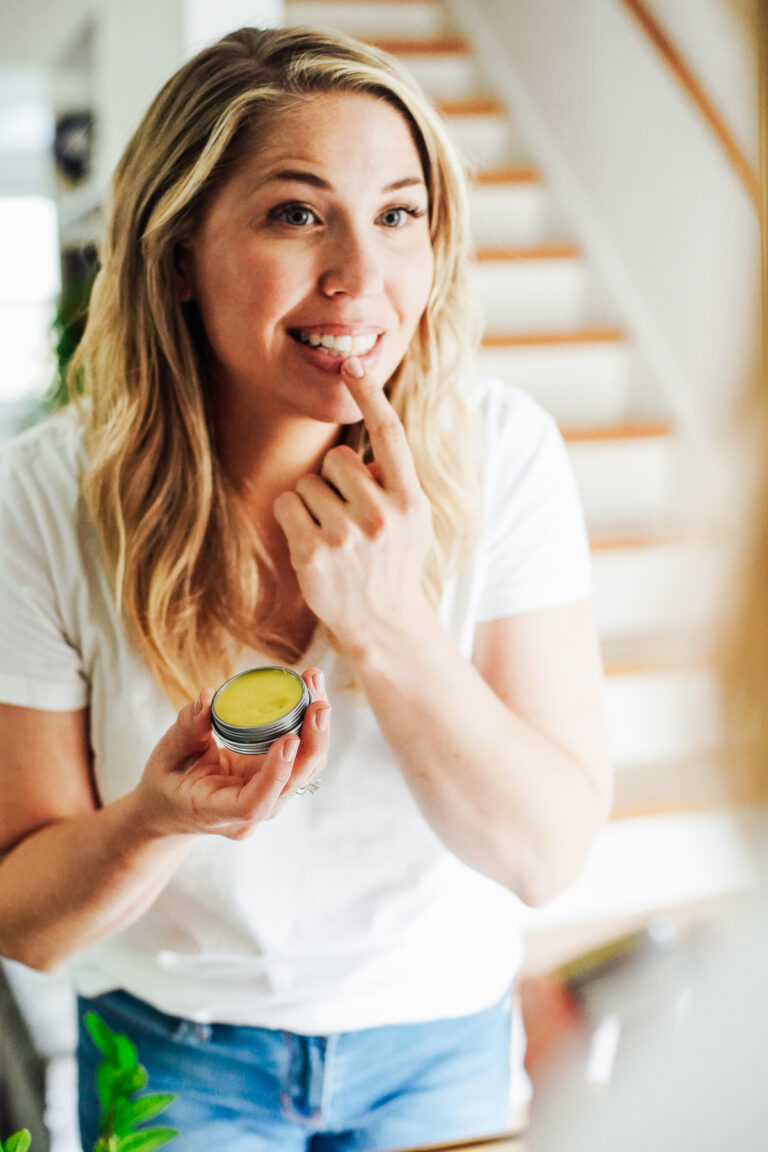
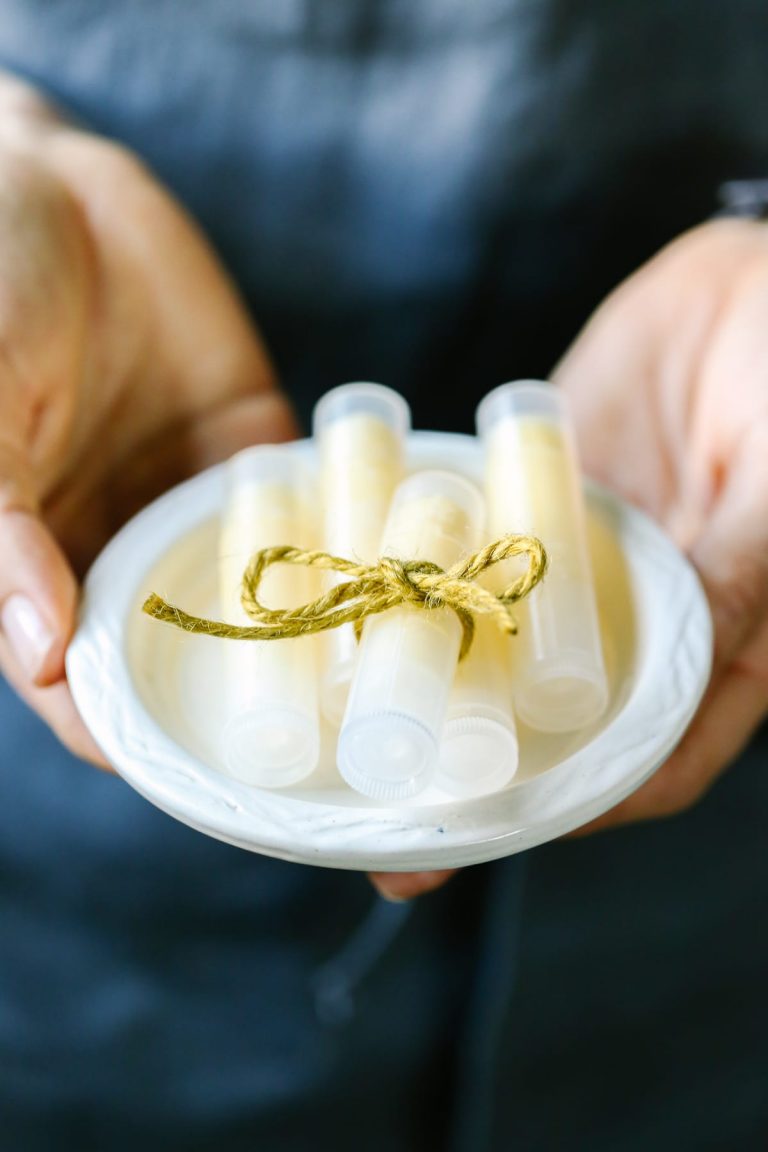
- Shea Butter Lip Balm – Use shea butter, beeswax, and oil to make a nourishing balm for chapped lips.
- Custom Lip Balm – Use any body butter of choice or oil to make this natural lip balm recipe.
- Lotion Bars – Moisturizing lotion in a solid bar, made with shea butter and beeswax.
- Face Moisturizer – Combine shea butter and oil to make an all-natural face moisturizer.
How to Make Homemade Body Butter (Non-Greasy)
Equipment
- 1 small-medium saucepan to create a double boiler and melt the butter(s)
- 1 medium glass or metal bowl big enough to rest on top of the saucepan to create a double boiler and melt the butter(s)
- 1 small bowl if using arrowroot starch to mix with the carrier oil
- 1 fork or hand-mixer to whip the body butter
- 1 glass storage jar to store the final product
Ingredients
- 1/4 cup shea butter unrefined or refined (41 grams)
- 1/4 cup mango butter or cocoa butter (41 grams mango butter or 34 grams cocoa butter or use 41 grams additional shea butter if using all shea butter)
- 1/4 cup carrier oil of choice: grapeseed oil, jojoba oil, sweet almond oil, or coconut oil (42 grams)
- 1 1/2 teaspoons arrowroot flour starch optional (5 grams)
- 36 drops essential oil of choice optional
Instructions
- First, make a double boiler: Partially fill a saucepan with water (about 1/4 the way full). Then place a glass (or metal) bowl on top of the saucepan. Place the butter(s) in the glass bowl. Turn the stove-top to medium heat, placing the double boiler on top of the heat. Allow the butter(s) to fully melt (about 3-5 minutes).
- If you're planning to use arrowroot starch/flour, in a small bowl, whisk the starch into the carrier oil of choice. Set the mixture aside. If you're not using arrowroot flour, skip this step.
- Carefully remove the glass bowl (and melted butters) from the heat source. Add the oil (with the arrowroot flour mixed in, if using), and stir to combine the ingredients.
- At this point, the mixture should be cooler (along with the bowl). If not, allow it to rest for a few minutes. Then place the bowl in the fridge and allow the mixture to solidify (about 30-60 minutes, depending on location in the fridge and fridge temperature).
- Once the mixture is opaque and a bit firm (not solid as a rock), remove the bowl from the fridge. Add the essential oil of choice, if desired.
- If you used cocoa butter, whisk the mixture with a fork until it appears "whipped." If you used shea and/or mango butters, you can use the same technique with a fork, or use a hand-mixer to "whip" the mixture. Don't over-whip!
- Spoon the whipped body butter into a glass storage jar with a lid. Place the lid on the jar. It's now ready to use. Store at room temperature (out of sunlight) for up to 6 months.
How to Use:
- Use this product anytime your skin needs moisturizing. Scoop a small amount from the jar, then massage onto the skin. As you massage, the butter will melt into your skin. You only need a small amount at a time.
- I love to use this product after bathing when my skin is still moist. I apply a small amount of product to my fingertips, then massage on my skin: arms, legs, feet, neck, chest.
Video
Notes
Natural Body-Care Simplified
Learn how to make your own body and beauty products with simple ingredients.
I melted the Shea, cooled it in the fridge, added the sunflower oil to whip and it’s very thin. Yes, I did use the arrow root.
Hi Cindy, thanks so much for trying the recipe and sharing the details!
Whipping after fridge-cooling can sometimes keep it softer, especially with sunflower oil (it’s lighter than the coconut oil in the original). Try these two tweaks next batch:
Let the melted shea cool just to room temp (not fridge) before adding oils.
Swap half the sunflower for a firmer oil like jojoba or sweet almond.
Let me know how the next try goes!
Hi! i used Shea butter, coconut oil and arrowroot as you mentioned.
After whipping the solution is liquid yellow and not white fluffy. What did I do wrong and can I fix it?
Hey Raj, Did you chill it? It should not be liquid.
Can’t wait to make it
Yay! Enjoy, Holly!
Good evening.
Would love to try and make body butter for my own self indulgence.
Where can I buy good quality shea butter so I achieve good results.
Many thanks
Hey Julie, I have linked an option from Amazon. Amazon is a great spot and where I buy my shea butter.
What kind of Shea, cocoa, and mango butter should I buy? Most places sell it in a tub or in the form of a solid block.
Hey Holly, Amazon is a great place to buy it. You’ll find a variety of sizes offered. There are links in the post above.
So, I’ve read the recipe a couple of times. You melt the Shea butter but the coconut oil is mixed with the arrowroot starch and isn’t melted before adding it to the Shea?
Thanks for clarifying,
Marnie
Hey Marnella, You melt the shea butter and oil, then add the arrowroot starch after this.
Thank you for the detailed guidance!
When you say “1/2 cup”, how do you account for the fact that these butters are in lumps and do not fit snugly into a cup? Do you have a recipe in grams?
Thank you in advance.
Hey MP, You’re welcome. There are grams provided in the recipe card :).
Hello! I just made your shea body butter with a combo of cocoa butter and shea. My final product looked amazing, then it hardened like a rock. Can I re-melt the mixture and add more shea, then re-whip to create a fluffy mixture? Or have I ruined it? Should it remain fluffy if using all shea butter?
Hey Trina, Cocoa butter is the hardest butter, so you won’t get a fluffy end product. The shea will soften it up, but won’t be light and fluffy.
Hi
I tried the recipe and it turned very greasy. What did I do wrong?
Hey Hanin, What oils and butters did you use? Did you add arrowroot?
Hi Kristin,
I made this body butter today using calendula infused jojoba oil & olive oil. Was very pleased on how it turned out. I only had to use the mixer for a short period of time after leaving it in the refrigerator for two hours. Thank you so much for sharing this. It was so easy
Love that variation, Colleen. Great idea. So glad you enjoyed making the body butter.