I do not know about your family, but in our house these few words resound a lot, “Mama, I’m hungry can I have a snack?”
In my quest to find real food that nourishes my family, I came to a dilemma: Finding satisfying snacks I felt good about feeding my family besides just fruit and vegetables.
Now, don’t get me wrong, fruits and veggies are great snacks and wonderful sources of nutrition, but sometimes you just need something sweet and chewy that makes you say “Mmmmm“. Problem is I’ve found most snacks from my local grocery store that are sweet and chewy and make you say “Mmmmm” are not nutrient-dense foods that fill you up and tide you over for meal time.
I was doing my best by choosing what I thought were safe and healthy options. I mean really, how bad can store- bought “natural” granola bars be, right?
Wrong!
When I took a look at my so called “healthy options,” I found ingredients like: corn syrup, sugar, caramel coloring, preservatives, and synthetic oils. Those are the ones I could read.
My kids and husband love those little oat bars with chocolate and sometimes peanut butter. If I was going to rid our pantry of those chewy, sweet bars, I needed a darn good replacement. One that would be equally if not more satisfying and unlike the store-bought bars, nourishing. Guess what?
I did it!

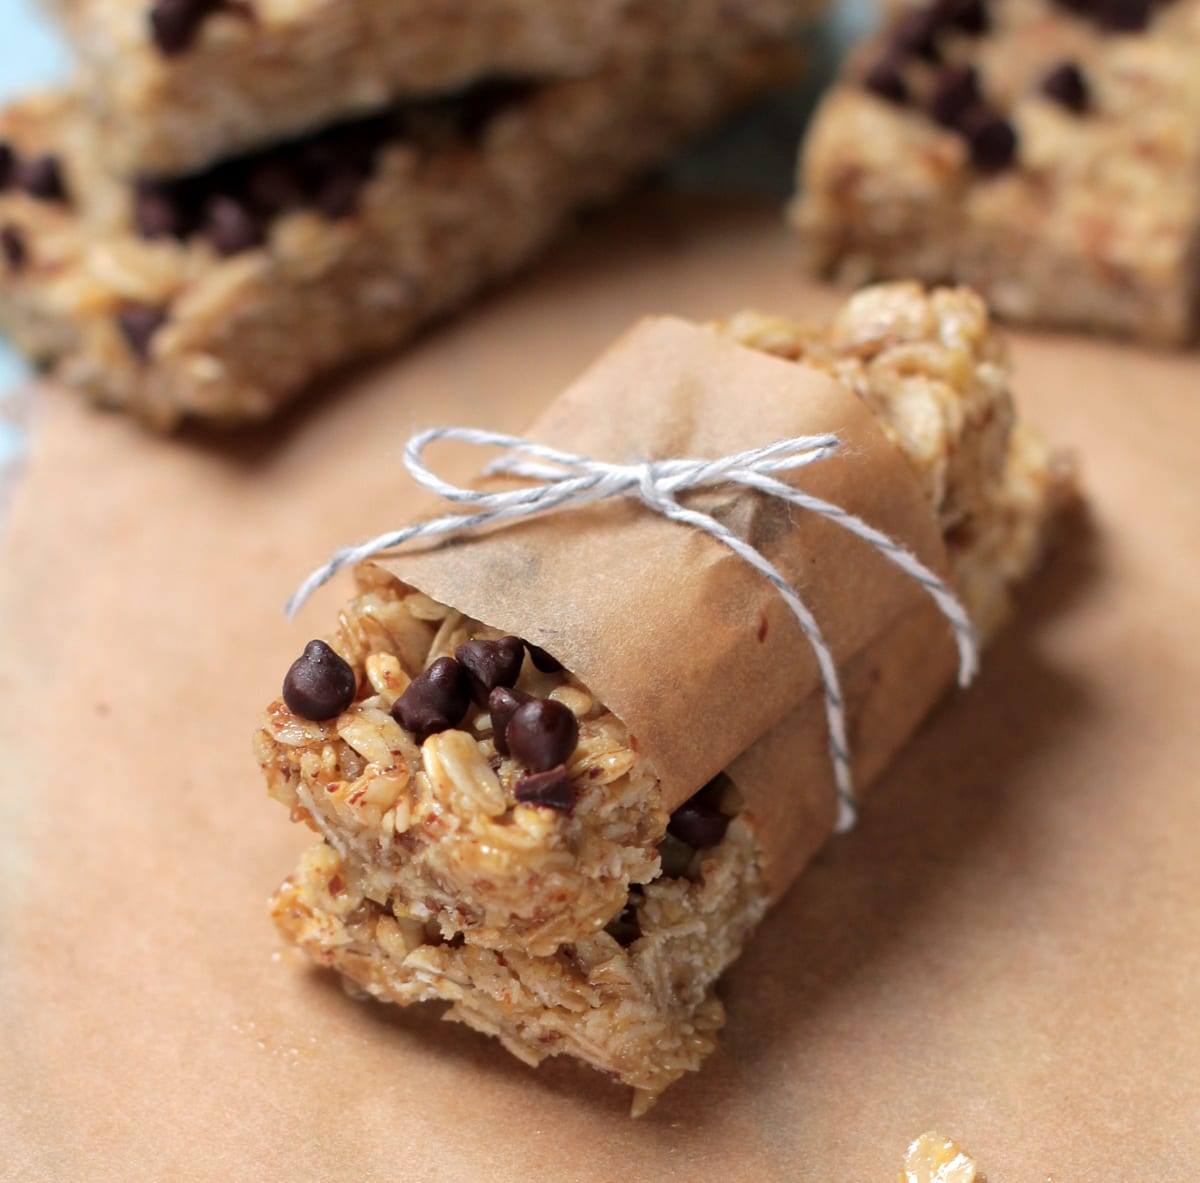
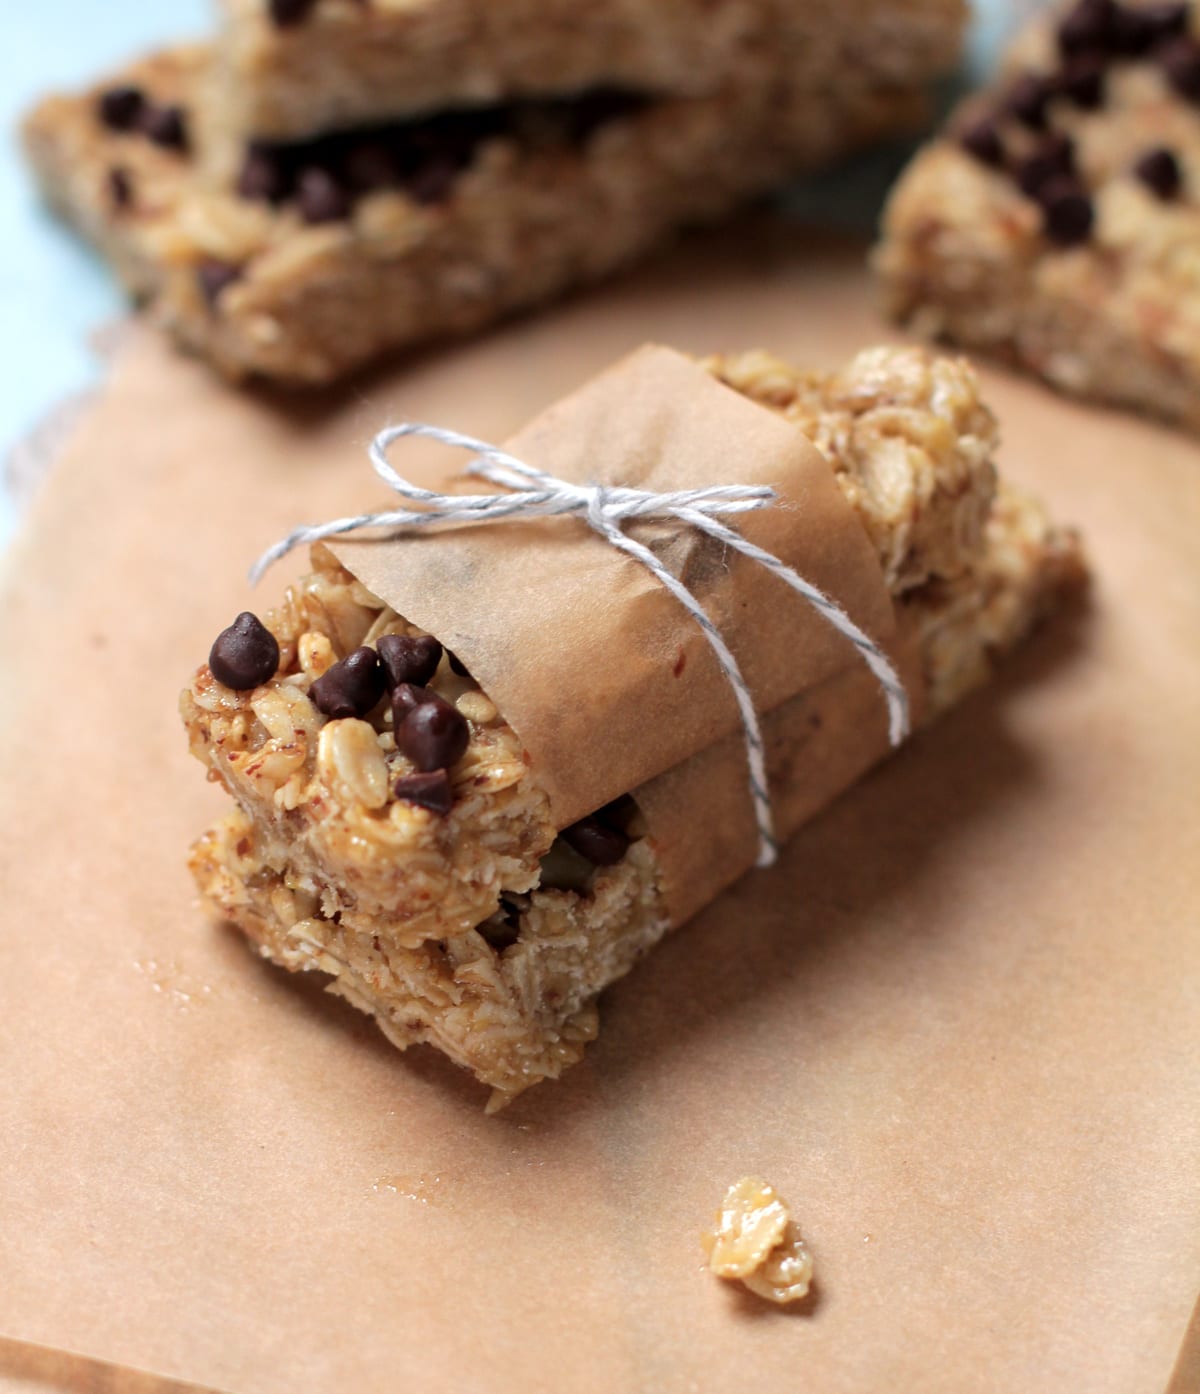
Not only are these bars delicious and nutritious, they are so easy to make even a caveman could do it. These chewy, store-bought knock-offs are a healthy snack and one I can feel good about feeding my family.
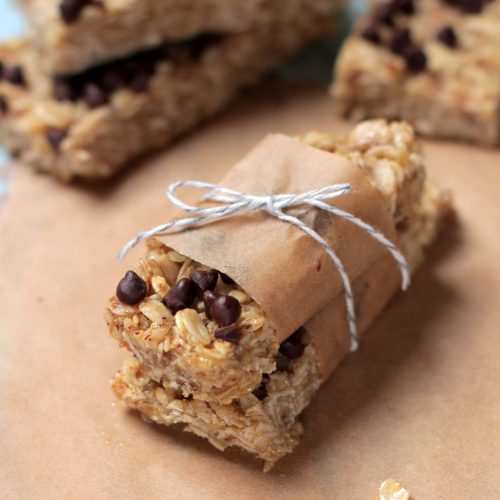
Homemade No-Bake Granola Bars
Ingredients
- 1/4 cup coconut oil or butter
- 1/2 cup honey
- 1 tsp pure vanilla extract
- 2 cups old-fashioned rolled oats
- 1/8 cup flax seed milled or whole
- 1/4 cup organic semi-sweet chocolate chips
- 1-2 TB peanut butter optional
- 1/3 cup dried fruit and/or nuts, optional
Instructions
- Heat your stove top to medium heat.
- To a saucepan over medium heat, add your coconut oil and honey. Stir to melt and combine.
- The oil and honey will start to bubble. When you see this, keep watch as it will soon take on a nice amber color, but do not let it get to dark or you will have made candy.
- Once you get a nice rolling bubble, let it go for about 30 seconds to a minute and then turn off your heat and add your vanilla.
- Add in the oats, flax seed, and optional peanut butter. Stir together until combined
- Line a 9x9 pan with parchment paper (be sure to have some extra hanging off both sides).
- Pour in the oat mixture. Using the back of a spatula press down about 1/2 inch until mixture is smooth.
- Sprinkle chocolate chips, nuts, and/or dried fruit over oat mixture. Place in the fridge for about 30 minutes to cool.
- The cutting process: Remove the pan from the fridge. Use the extra parchment hanging off sides as handles to pull your entire granola out of the pan and place on counter. It will be a solid piece. Cut width-wise into one-inch sections. Then one long cut down the center of the pan. This will allow for 12 individual servings all equal size.
- Note: This recipe can easily be doubled for 24 using a 9x13 pan.
- Store in an air-tight container in the fridge.
Nutrition
*Rolled oats can vary in texture and thickness between brands. If the bars are not “sticking” well reduce the oats amount by 1/4 -1/2 cup.
Note: Press the granola mixture firmly into the pan before cooling. This will help the granola bars “stick” once cooled.
2238 calories seems a little excessive.
Hey Ken, That’s for all the bars (which is a lot). You’ll find the calorie count has been updated to reflect the serving size.
These were delicious and simple!!! I used sunbutter (we don’t like peanut butter and my husband is allergic). I added the chocolate chips as I took the pot off the burner- they melted into the mixture and what a delicious mistake!! I’ll do this again, and next time add dried cranberries. I used an 8×8 pan and they were pretty thin but perfect size for little people.
I’m so glad you’re loving them, Kay!
These are my new go-to granola bars. I made them last night for breakfast this morning. They were a hit for my kids ages 15-3. My 11 year old even asked after school if there were any left. These are definitely going into the rotation. I accidentally mixed the chips in which completely melted them and made the bars extra sticky. Thanks, Kristin! I used butter, pb, and vanilla chips. Yum!
What are the nutritional stats for this recipe?
Hey Peggy, We don’t calculate nutritional information on Live Simply since the emphasis is on real ingredients versus numbers. This is a great site for doing this: http://www.myfitnesspal.com/recipe/calculator.
I can’t find the nutritional information (I know – I can compute – but thought maybe you had already done so)
Hey Leslie, We don’t calculate nutritional information on Live Simply since the emphasis is on real ingredients versus numbers. This is a great site for doing this: http://www.myfitnesspal.com/recipe/calculator.
Hi, I’m just wondering, for a nut free school, instead of chocolate chips and peanut butter, what other combo’s could I do as a nut alternative? My brain isn’t working and I can’t think. Maybe apricot and coconut? Thanks
Hey Emma, I bet apricots and shredded coconut would be delicious :). For a binder, I would try a seed butter instead of the peanut butter. You could also try a little variety of seeds and dried fruit in place of the chocolate chips.
Thanks! Maybe like a tahini? Would that be a seed butter?
Hey Emma, Tahini may work–I’m not really sure, but it’s definitely a possibility. Another option is a sunbutter (Maranatha makes a clean option–just sunflower seeds and salt).
Has anyone tried freezing these for storage?
Hey Molly, Yes, these freeze very well.
Thanks Kristin!
You’re welcome!
Hi Kristin,
Will that be OK if I toast the rolled oats before making these bars? Will they stick together?
Hey Shibi, I’ve never tried toasting the oats first (I think it’s a fantastic idea!!). I believe the bars will still stick together with the toasted oats.
These were easy to mix together, but they seem really sweet to me. Also, the bottom is really sticky – like all the honey mixture worked its way to the bottom.
Based on other feedback, I’m guessing I didn’t boil honey long enough. I think too that I would reduce honey to reduce the sweetness.
Hey Angela,
I’m sorry your bars were a bit too sweet and sticky.
Honey can really vary in sweetness (and even color) depending on the type and season. So that may be the issue for the bars being too sweet.
For the stickiness, I believe you’re right–boiling the honey a bit longer (similar to making candy or caramel) will help.
These are SO delish! I did find that storing them in the fridge helps them maintain their shape, otherwise they can get a tad gooey. Finally something to quench my sweet tooth without being too naughty 🙂
Awesome, Lindsey! Great fridge tip…thank you for sharing and enjoy!!
Thanks so much! I’ll try it again.
You’re welcome, Tamra! Let me know how it goes.
Kristin –
I am new to “clean eating” and made these bars last night. Unfortunately they did not turn out well. The coconut oil gave them such a strong unpleasant taste and the bars were just too gooey. We could never have been able to grab on the go. Did I use the wrong coconut oil? Is there a best type to use for cooking? Was there a secret to making them more firm?
Thanks for your help and I absolutely love your website!
Hey Tamra, I’m sorry they didn’t turn out well. You probably have a good cooking coconut oil…I use virgin coconut oil. I would recommend boiling the honey and coconut oil mixture a bit longer…similar to making candy. This will make the honey stickier. Also depending on your rolled oats, you may need to reduce the amount by 1/4 cup as rolled oats can very in thickness and texture with brands. Another tip is keep them in the fridge for a bit longer until they “harden” before cutting. Hope that helps :).
Do you soak the grains? If so, does that change the recipe?
Hey Maria, For this recipe soaking grains doesn’t work due to texture. If you wanted to soak and dehydrate the oats first and then use them in the recipe, that would be the best soaking option.
I love this recipe and the taste of these bars. I have made them twice and we really like them but they have turned out a little crumbly. Any suggestions? What about baking them? Thanks!
Hey Robyn, I’m so glad you like the granola bars. You can definitely bake them with success. I’d bake at 325 for around 30 minutes. That may help with the crumbly texture. Also, allowing the honey to bubble (similar to candy-making) should help the honey have a bit more stick (again, like candy) for holding the ingredients together.
Do you know of a way to make them crunchy? I would like them to be more like dry granola. I would think cooking them longer but how long?
I’m wondering if heating the honey until it bubbles, will denature the honey. I know you don’t want to heat honey too much to keep the beneficial properties of raw honey.
Hi Melody, The honey isn’t cooked long enough to be too much of a concern. I choose to use raw honey as I trust it more than the highly processed honeys generally found in the store. Even with the heating, the honey still retains many benefits.
Do you think you could use maple syrup and quick oats instead of whole?
Hi Jacqueline, Honey is what causes these bars to “stick”. I don’t think maple syrup would provide that. Quick oats have a much different texture and size then regular whole oats, so you’d need a different measurement than what is provided.
These are AMAZING!!! I made a batch on Sunday and had to make another one today. (both were double batches) All 3 of my kiddos and my husband love them. So thankful for pinterest and stumbling onto your site! I can’t wait to try more of your recipes. Thank you!
Hey Carrie, Yay! So happy to hear that and so glad the family loved them. Welcome to Live Simply!
I am so excited to make this recipe! I’m 7 months prego and I’m always thinking about snacks I should bring when I’m going to be out and about cause I always get hungry. I totally agree with you when we’re at the grocery store and you’re trying to find tha “all natural” granola bars that are far from healthy. My husband tried to make some granola bars but (don’t tell him) they weren’t the best tasting lol! Thanks for sharing this recipe!
Hey Erin, Congrats on the soon-to-be baby. Look forward to hearing how you like the granola bars. And shh, we won’t tell the hubs. That was sweet of him to try making some ;).
Hey Kristin and Candice I made the granola bars and I LOVED them! They are super duper tasty. 🙂 I wrote a review on them if you guys want to go check it out: http://eatrealstaysane.com/recipe-review-no-bake-homemade-granola-bars/
Thanks, Erin. Glad you liked them so much. We’d prefer to keep the original recipe here at Live Simply. Love a good review, but prefer the recipe stay at Live Simply with a link back for people to get the recipe. Thanks 🙂