You guys, today is a big day. A day many of you have been waiting for. It’s time for another homemade lotion recipe.
We’ve already made homemade lip balm and body butter, and today we’re making a silky smooth lotion.
Want to Save This Article?
Enter your email & I’ll send it straight to your inbox. And you’ll get new recipes & tips each week.
First, a little background story…
A few years ago, I started thinking about making the switch from a laundry-list-of-toxic-ingredients that I’d used to clean my home and care for the outside of body. My family had already been enjoying “real food” for a few years at that point.
Now, let me pause here, and go down a bit of a “rabbit trail.”
There’s an idea going around, which I first believed when making the cleaning and bodycare switch, that chemicals are bad. Friend, I would suggest just the opposite. When I talk about making the switch from toxic products to “more natural” products, I’m not talking about banning chemicals from our homes, because that’s impossible! Everything from baking soda to water has a chemical composition, and we certainly know those ingredients aren’t toxic.
When I talk about making the switch, I’m talking about choosing or making products that aren’t made with highly questionable/toxic ingredients. If you’re curious about some of the questionable/toxic ingredients used to make many of the beauty and cleaning products in the US, many of which are banned in Europe due to health concerns, I recommend checking out the Environmental Working Group’s Database. On the EWG site, you can check out overall safety ratings for products and brands, as well as individual ingredients.
Just remember, my natural living goal is to source or make safer products, not eliminate chemicals. Because that would mean having to eliminate my beloved baking soda, water, and vinegar, too.
Okay, back to the lotion story ;)…
My switch to more natural products started with bodycare items, particularly foundation powder and moisturizer.
I had read about coconut oil being a miracle product, so I switched out my store-bought moisturizer for coconut oil. Within a few months, it was clear that my skin didn’t think coconut oil was a miracle product. After much research, I determined that coconut oil just wasn’t something that I could use every day as a moisturizer.
Side note, I still use coconut oil for DIYs, so I’m not saying coconut oil is bad news. Rather, I’m just suggesting that everyone is different, and so the products we love and use will vary, too. My skin tolerates coconut oil in deodorant, and as an occasional post-shave moisturizer.
At that point, I decided to create a homemade lotion that would be shelf-table, and could be used in place of the coconut oil. After lots of trial and error, I developed a homemade lotion, which technically is a body butter, that’s thick and luxurious. My skin loved the change from 100% coconut oil to this new product. And here’s where my backstory meets today’s DIY lotion recipe…
I shared that lotion/body butter recipe two years ago on Live Simply. Since that time, I know many of you have tried that recipe, and love it! I also know, based on comments and emails, that many of you would like a creamier/less thick lotion that has more of a store-bought consistency.
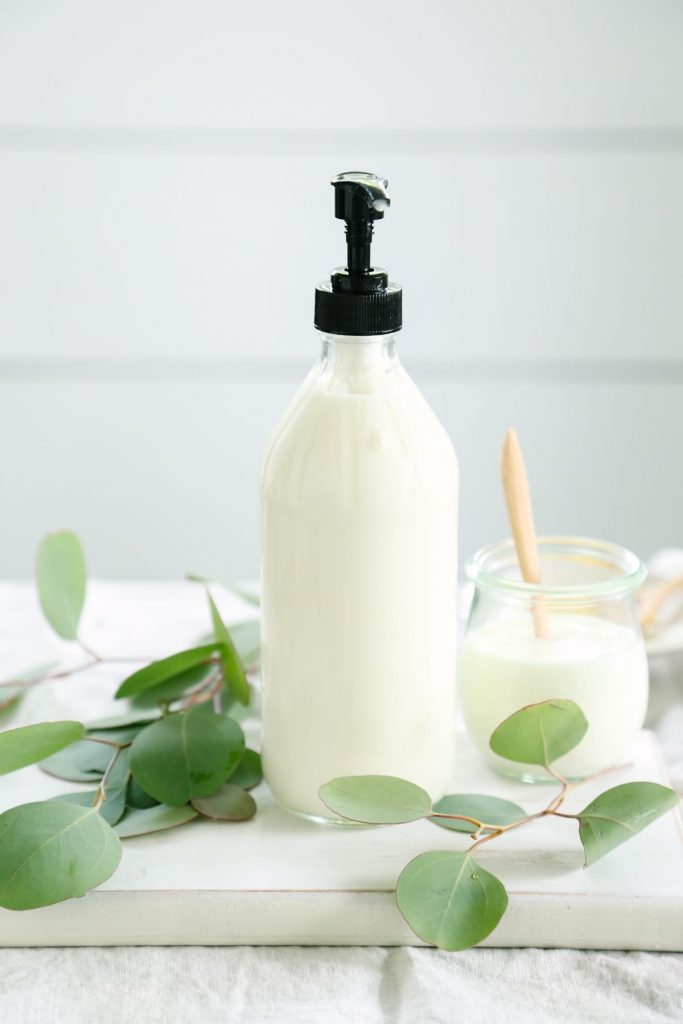
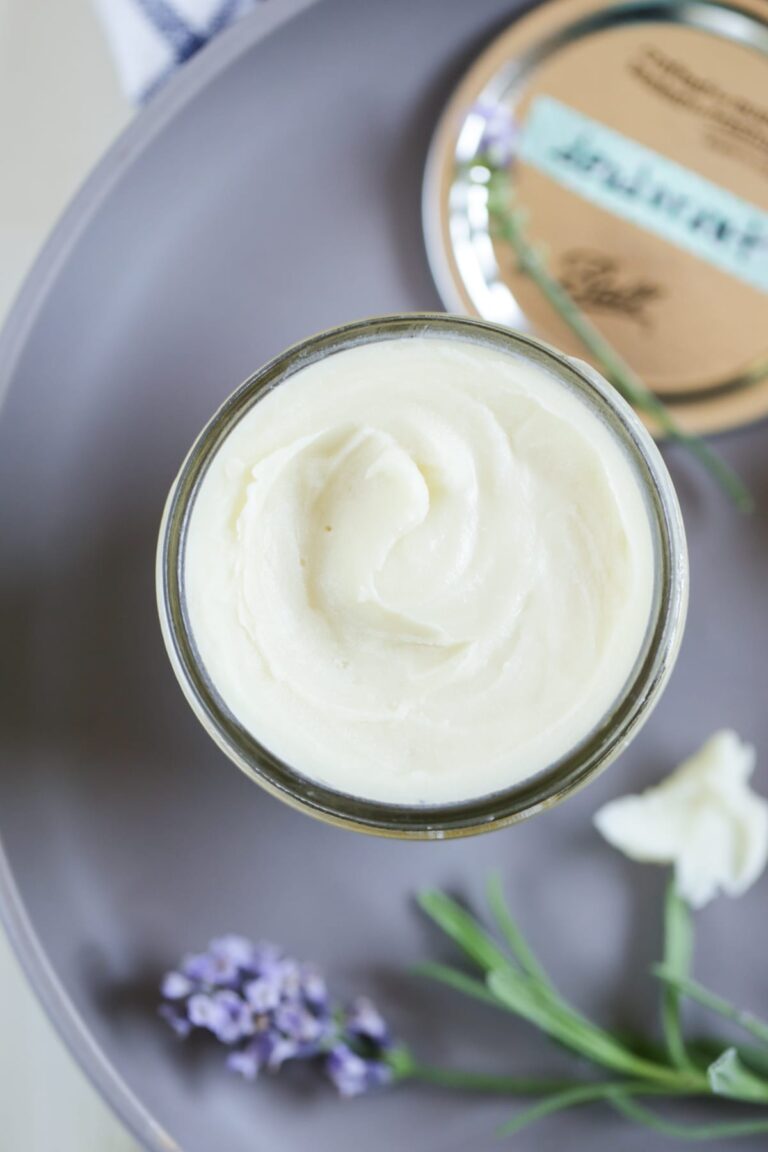
Today, I’m excited to share with you a new lotion recipe that’s soft, creamy, and even “pumpable.” Before I share the recipe, let’s chat about a few things to keep in mind…
1. This recipe is “pumpable.” This means the lotion is smooth and liquid enough to be used in a pump bottle. My ultra-moisturizing lotion/body butter is very thick, which means you have to store it in a jar (it won’t pump). While you can store this lotion in a pump bottle, cleaning the “straw” (what is that little thing at the base of the pump called?) is tricky, because well, you’re dealing with lotion.
If you use a pump bottle, know that you may need to replace the pump and straw if you can’t thoroughly clean them out before making a new batch of lotion. Alternatively, this lotion could also be stored in a bottle or jar, and then poured on your hand, or spooned out. I personally go with the jar (other than for photos here), since I store this in the fridge.

2. This lotion does require a number of ingredients, and is a bit of process to make. So if you’re feeling overwhelmed by the idea of making one more thing, let me encourage you…
You don’t have to make lotion to use “cleaner” bodycare products. It’s perfectly okay to purchase pre-made lotion.
Yep, that probably sounds contradictory for a homemade lotion chat. Here’s the thing, simple living isn’t about “doing it all.” In fact, if you’re “doing it all” you’re probably not living simply. It’s okay to say, “You know what, I’m going to make a homemade dinner for my family, and purchase a ‘cleaner’ lotion from the store.” I personally don’t make lotion the majority of the time because I have to prioritize other tasks and I know my health food store sells some decent lotion options.
If you’re going to purchase lotion, I highly recommend checking out the EWG. I personally like Every Day Shea brand.
With that being said, today’s recipe is for the folks who want to make a silky smooth lotion at home.
5 More DIY Recipes With Shea Butter
- Shea Butter Lip Balm – Use shea butter and oil to make this natural lip balm recipe.
- Honey Lip Balm – Use honey, shea butter, and beeswax to make an ultra-hydrating lip balm.
- Lotion Bars – Moisturizing lotion in a solid bar, made with shea butter and beeswax.
- Body Butter – This luxurious lotion is made with shea butter and oil and moisturizes the whole body.
- Face Moisturizer – Combine shea butter and oil to make an all-natural face moisturizer.
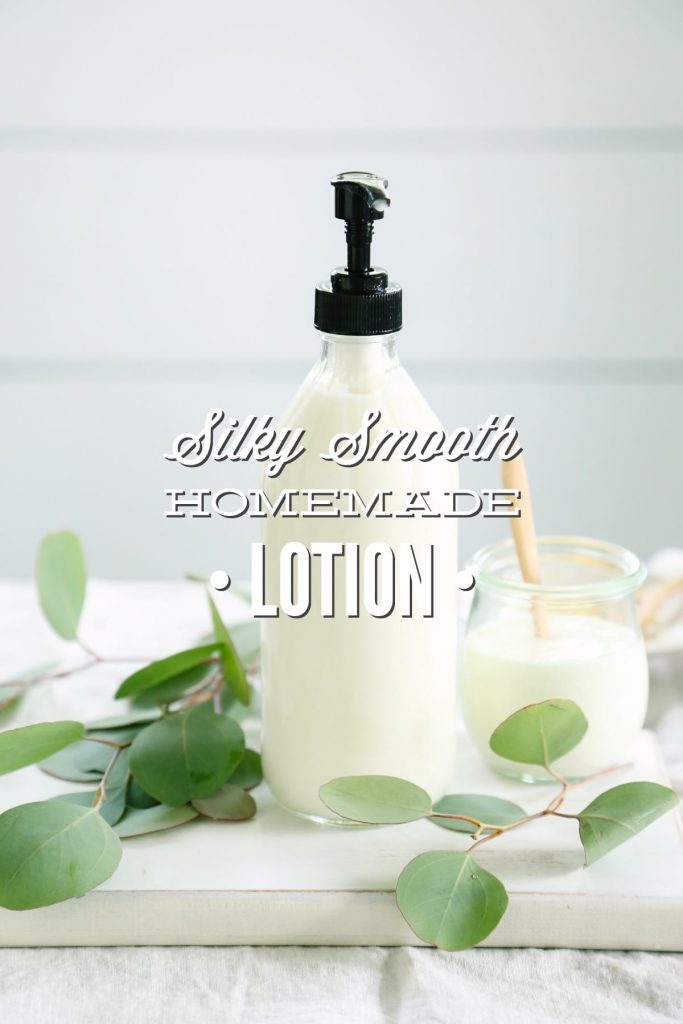
Silky Smooth Homemade Lotion
Ingredients
- 3/4 cup sweet almond oil 157 grams
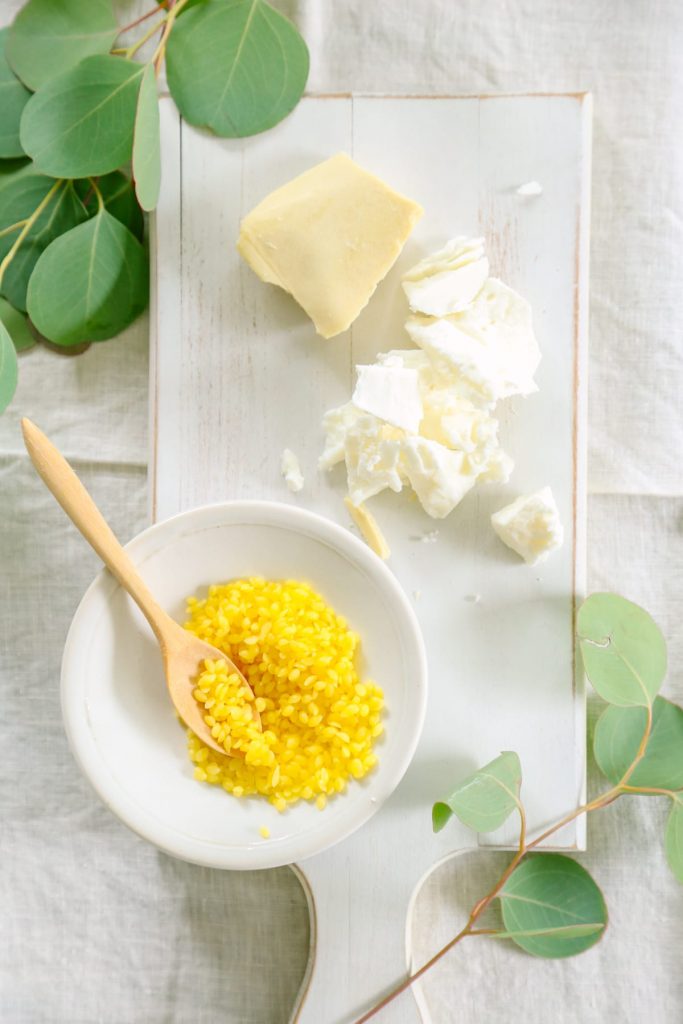
- 3 TB refined mango butter 40 grams
- 2 TB cocoa butter 14 grams
- 1 TB beeswax pellets 8 grams, or finely chopped beeswax
- 1 tsp vitamin E oil
- 43 drops lavender essential oil or orange essential oil, can be reduced to 20 for young children
- 1 cup distilled water or a floral hydrosol – rose lavender or calendula all work well – must be room temperature or lotion is more likely to separate, 220 grams, the hydrosol is my preference
Instructions
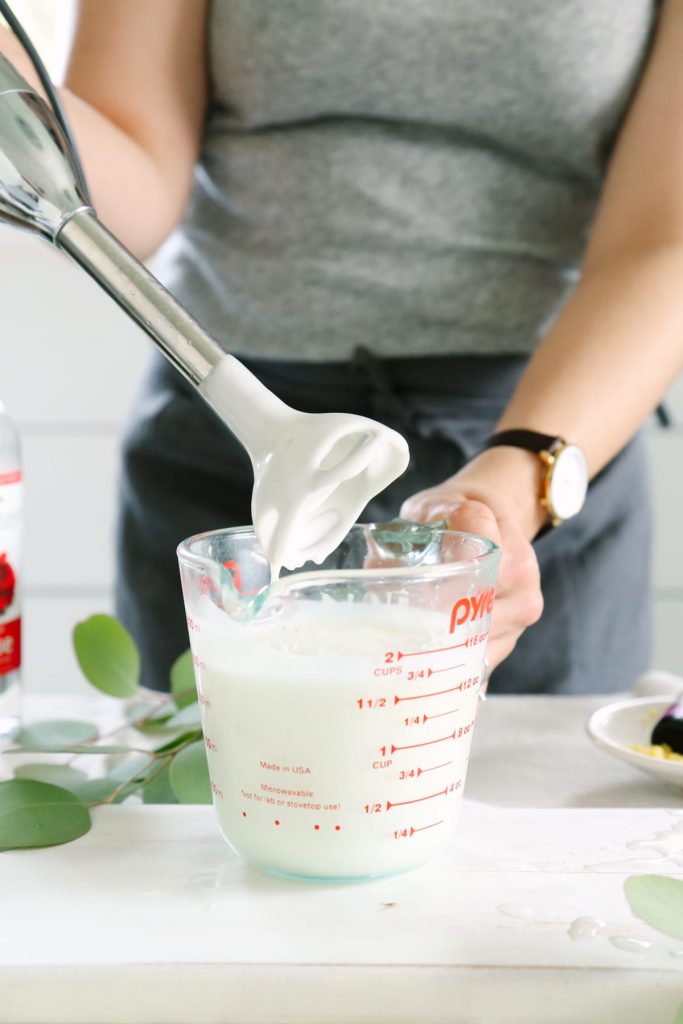
- Make sure that your blender or immersion blender (you can use either one–I prefer an immersion blender because it’s easier to clean), bowl and all utensils are very clean when you make this. If they’re not fully sanitized, then your lotion can grow bacteria or mold. Clean everything with hot soapy water, then swab with rubbing alcohol or vinegar, and let air dry.
- In a heat safe glass bowl, combine the sweet almond oil, mango butter, cocoa butter, and beeswax.
- Place the glass bowl on top of a saucepan partially filled with water, over medium heat. This creates a type of double boiler. Stir occasionally until everything is melted and combined.
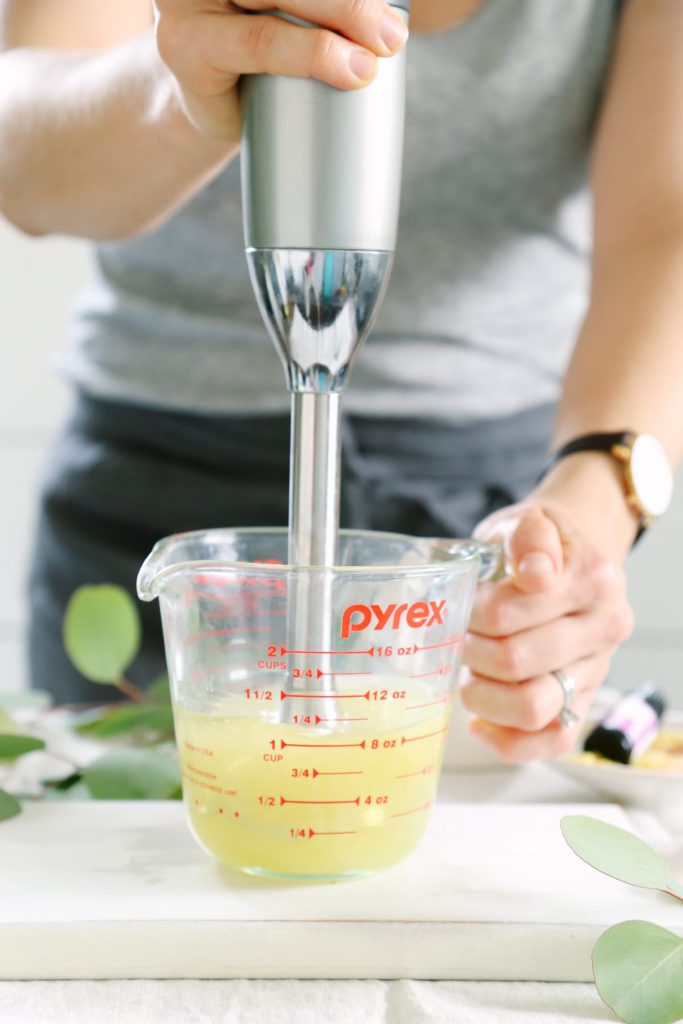
- Allow the oil mixture to cool for a few minutes before pouring it into your blender (if using a table-top blender). Let this mixture cool until it’s room temperature. It should look creamy, thick and opaque, but don’t let it get solid. Optional: You can place the blender in the fridge for about 35 minutes to speed up the process.
- Add the vitamin E oil and essential oil to the cooled oil mixture. If you’re using a table-top blender, blend the mixture with the lid on for a few seconds. If you’re using an immersion blender, place the stick in the bottom of the mixture (in a high-rimmed bowl), and blend for a few seconds, pulsing up and down at the bottom a few times.
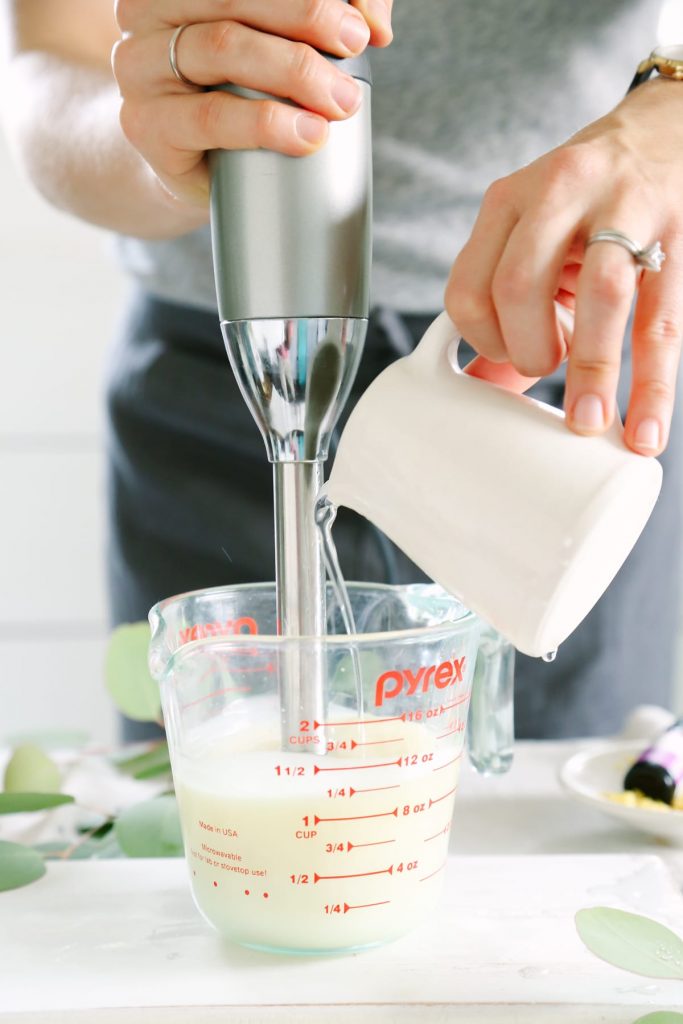
- If you’re using a table-top blender, take the lid off of your blender, or just the top part of the lid if you have that option on your blender. With your distilled water or hydrosol in the glass measuring cup, slowly pour it into the oil mixture in a very thin drizzle while the blender is on medium/low. If you’re using an immersion blender, with the blender on and at the bottom of the jar, slowly pour the distilled water or hydrosol into the oil, pulsing the immersion blender up and down at the bottom just a few times.
- If you’re using a table-top blender, slowly increase the blender to medium speed and blend the lotion for 30 seconds more. If you’re using an immersion blender, continue to blend, pulsing the immersion blender up and down, for about 30 seconds more.
- Immediately pour the lotion into a jar and store away from light and heat.
Notes
Natural Body-Care Simplified
Learn how to make your own body and beauty products with simple ingredients.
Hi Kristin!
Thank you for sharing this recipe. Do you think I can replace the Mango butter with any other butter (except shea)? Thanks!
Hi Kristin
I came across your lotion recipe while looking for your shea butter lotion I made years ago. My mum loved it as it cleared up some skin issues that nothing else would work on, but she lamented that it was so thick she couldn’t use it elsewhere.
I’m personally a fan of butters but would love to make lotion for mum too. I’m wondering whether this recipe still works as a nice body butter if you stop before adding the water? I am thinking I would set aside some butter for myself, and add water proportionate to the amount left to make a lotion for my mum. Otherwise its a bit of effort to make two separate products and nobody else uses them.
Thank you!
Hey Elysia, I have a body butter guide you can use: https://livesimply.me/2017/03/31/how-to-make-easy-body-butter/
How much Leucidal Complete should I use in this recipe???
Hey Kayce, For that information, I would check on the Leucidal package. They should indicate how much to use.
Hi Diane, Can I use substitute shea butter to substitute for mango butter? with the same amount?
Hey Eileen, You can; however, the texture may be grainy.
A question , Kristin. Can colloidal silver be used as a preservative instead of the product you mentioned ? It’s a wonderful broad spectrum antimicrobial.
As for glycerin , I’ve noticed that glycerin products for soap-making frequently contain propylene glycol (antifreeze!!) which surely is an unhealthy chemical ! Perhaps the liquid glycerin in a bottle is free of that, but it is worth a heads-up.
Hey Diane, I don’t have any experience using colloidal silver as a preservative. So I can’t answer that.
Best lotion recipe EVER, and I’ve tried sooooo many! A few changes I made were: I used a combination of jojoba and almond and rosehip seed oils, and I also did a eo blend for mature skin (never say old and wrinkled LOL!): Ylang Ylang, Helichrysum, Frankincense, Rosemary, and best of all Hawaiian Sandalwood. If anyone wants, I was a good girl and wrote all the amounts down. XOXO and thank you for this superb recipe! Kate
Hi Kristen,
I tried this moisturizer a couple of times. Followed your recipe to the T. They are not “runny” enough to pump out so I store them in BPA free plastic containers. I still like them a lot (clearly since I’ve used 2 batches) ?.
Hey Jesse, Hmmm, it should definitely be runny enough to pump out. Maybe try a different pump bottle? Glad you’re enjoying the moisturizer.
Hi Kristin,
thank you for sharing this recepie! I’m getting all the ingredients to make the lotion but I have a question regarding the distilled water part.
The aim of my home made lotion is to use less plastic and i was thinking about making my own stilled water.
Do you think the one made at home would work even if not 100% “sterile”since I know there will be some cross contamination, i will use anyway a broad preservative.
Also the stilled water I’ve been seeing online in glass bottles says that they are not sterile, are they then suitable for making the lotion?
Thanks!
Hey Denis, You could boil filtered water for about 15 minutes and then allow it cool. And use a preservative.
I collect rainwater, filter it, and, boil it on high heat for 10 minutes. After it has cooled down, I store it in the refrigerator.
I tired this recipe today and it was great! However, I pumped some out and water splattered everywhere along with the lotion? Why? Also, the remaining batch stored in a jar has tons of water as well- what happen?
Thanks
Hey Val, Is the lotion separated at all? My thought the emulsification didn’t fully take place.
I’ve read that perhaps beeswax isn’t the greatest emulsifier but yours didn’t separate… do I need to throw it away? Tried blending again but ended up with more water- ?
Thank you!
Hey VAL, I don’t think reblending will help since the emulsifying is about the slow drizzle technique and the beeswax. I personally wouldn’t toss it if it’s still usable.
Hi, Can I add lemon juice and aloe vera to make more smoother? will it be safe? will he lotion will still be fine? Thank You!
Hey Ano, I wouldn’t add lemon juice or aloe vera.
Hi Kristen,
a few questions is the mango butter fairly odourless?
What is the exact amount of hydrasol in the cup? ie millimetres.
Thank you
I made this lotion today! I love the white color and the consistency. It looks like lotion! After incorporating 1/2 cup of hydrsol, I liked the consistency and did not add the other 1/2 cup. I thought it might to too runny. I am storing the lotion in the fridge. So it will probably harden. Thanks for the recipe!
Awesome, Tanya!
How to store this lotion with fridge..
Hey Sruthi, Put the lotion in a jar and then place it in the fridge :).
I’ve tried the butter moisturizer and it worked great for my husband as he is dealing with GVHD after having stem cell transplant. I would like to try this recipe as to less “greasy”, I suppose? I am wondering how much will this recipe yield in order for me to order the right containers to hold the lotion. Thank you….
Hey Jessie, I would use a 16-ounce container for storage.
Hi Kristin,
I found your recipe very interesting and I’d love to try it! I have a couple of questions, though.
The first one, wouldn’t the recipe benefit from an emulsifying agent, such as cetearyl olivate, so the emulsion is more stable over time?
And the second one, in my country Leucidal is almost impossible to come by. Would Iscaguard be a good replacement for your recipe? (I hope it exists in your country haha)
Hey Catalina,
Thank you. I can’t speak specifically to either question since I haven’t personally tested those ideas, but my guess is that you could definitely try both. I can’t see an issue with using them as alternatives to what the recipe calls for. Not sure about amounts.
Hi Kristin,
I have a question I hope you can answer. I decided to make a batch of lotion today & got to the part of adding the emulsifying wax. Only to discover that I only had about 1 tsp. It doesn’t seem to be blending very well. Is there any way to save this batch? Can I reheat it and add more emulsifying wax?
Hey Marcella, The method used is what helps the mixture emulsify, so I’m not sure if it will work the same later on to mix the ingredients. Sorry
Love the addition of vitamin E. Not sure if I’ve ever done it before, even though I see it on commercial labels all the time.
Vitamin E is also a good preservative. I made the lotion, and used our beeswax from our hives..we leave the honey for the bees-but we had a swarm and they up and left us all their honey and plenty of wax! The lotion came out well.
Hey Nan, Glad you’re enjoying the lotion! The Vitamin E will keep oils from going rancid. I don’t believe it preserve the lotion from possible bacterial growth.
Hi Kristen
I made this recipe a couple of weeks ago. When it was fresh it was great! Super silky and pumpable but probably a week later I noticed little hard lumps in it.
Do you have any idea why this happened? I’d love to make more as gifts for friends but not until I work out why this happened.
I still use the cream even with the lumps.
Thanks Jo
Hey Jo, Did you make any tweaks to the recipe. For example: Use shea butter? This will help me troubleshoot.
I am wondering if the ingredients will separate if they are not kept at a cool temperature? For example, sitting out on a warm day or if left in the car in the sun?
Hey Kim, For safety, I recommend keeping the lotion in a cool environment and away direct sunlight and heat. The lotion shouldn’t separate under those circumstances.