Soothe dry lips with this simple and luxurious honey lip balm recipe. Made with just 4 natural ingredients: raw honey, shea butter, oil, and beeswax. And, optional, add your favorite essential oil for a delicious scent and natural flavor.
Want to Save This Article?
Enter your email & I’ll send it straight to your inbox. And you’ll get new recipes & tips each week.
I’ve been making this moisturizing recipe for over 11 years, and I love how it feels on my lips. It reminds me of my favorite Burt’s Bees lip balm.
In this blog, I outline the steps to make this easy recipe.
Key Takeaways
- Simple Ingredients – To make your own lip balm, you’ll need honey, shea butter, carrier oil, and natural beeswax to make this recipe.
- Equipment – You’ll also need small lip balm containers (metal tins or an old tin used for mints work best), a saucepan, a heat-safe bowl, and a stovetop.
- How Much This Recipe Makes – This recipe makes 1 container or 1 ounce.
- Adding Essential Oils – Add your favorite essential for a scent. Peppermint essential oil is perfect for this lip balm.
- Shelf Life – Keep the lip balm for 6-8 months!
- Great Gifts – This recipe makes a beautiful gift, particularly during winter.
Before you get started: What You’ll Need
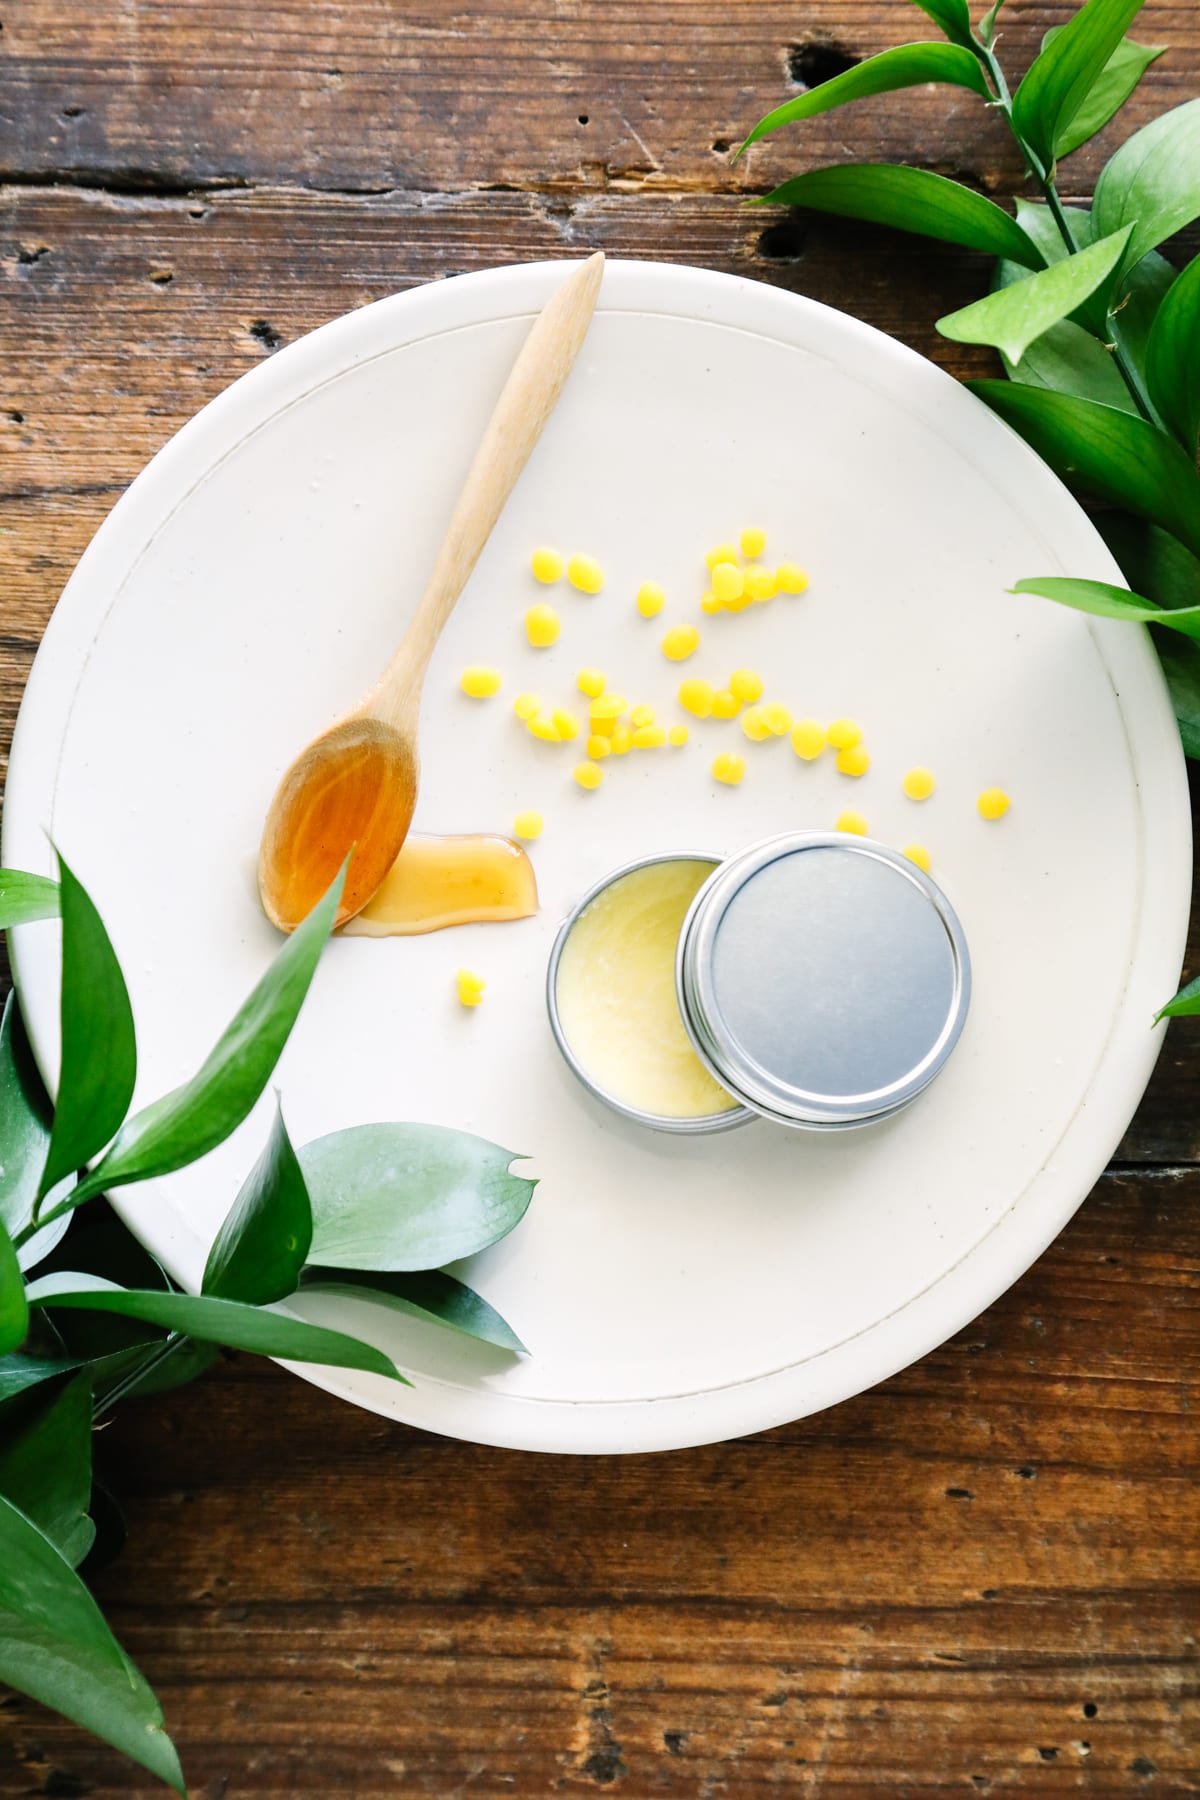
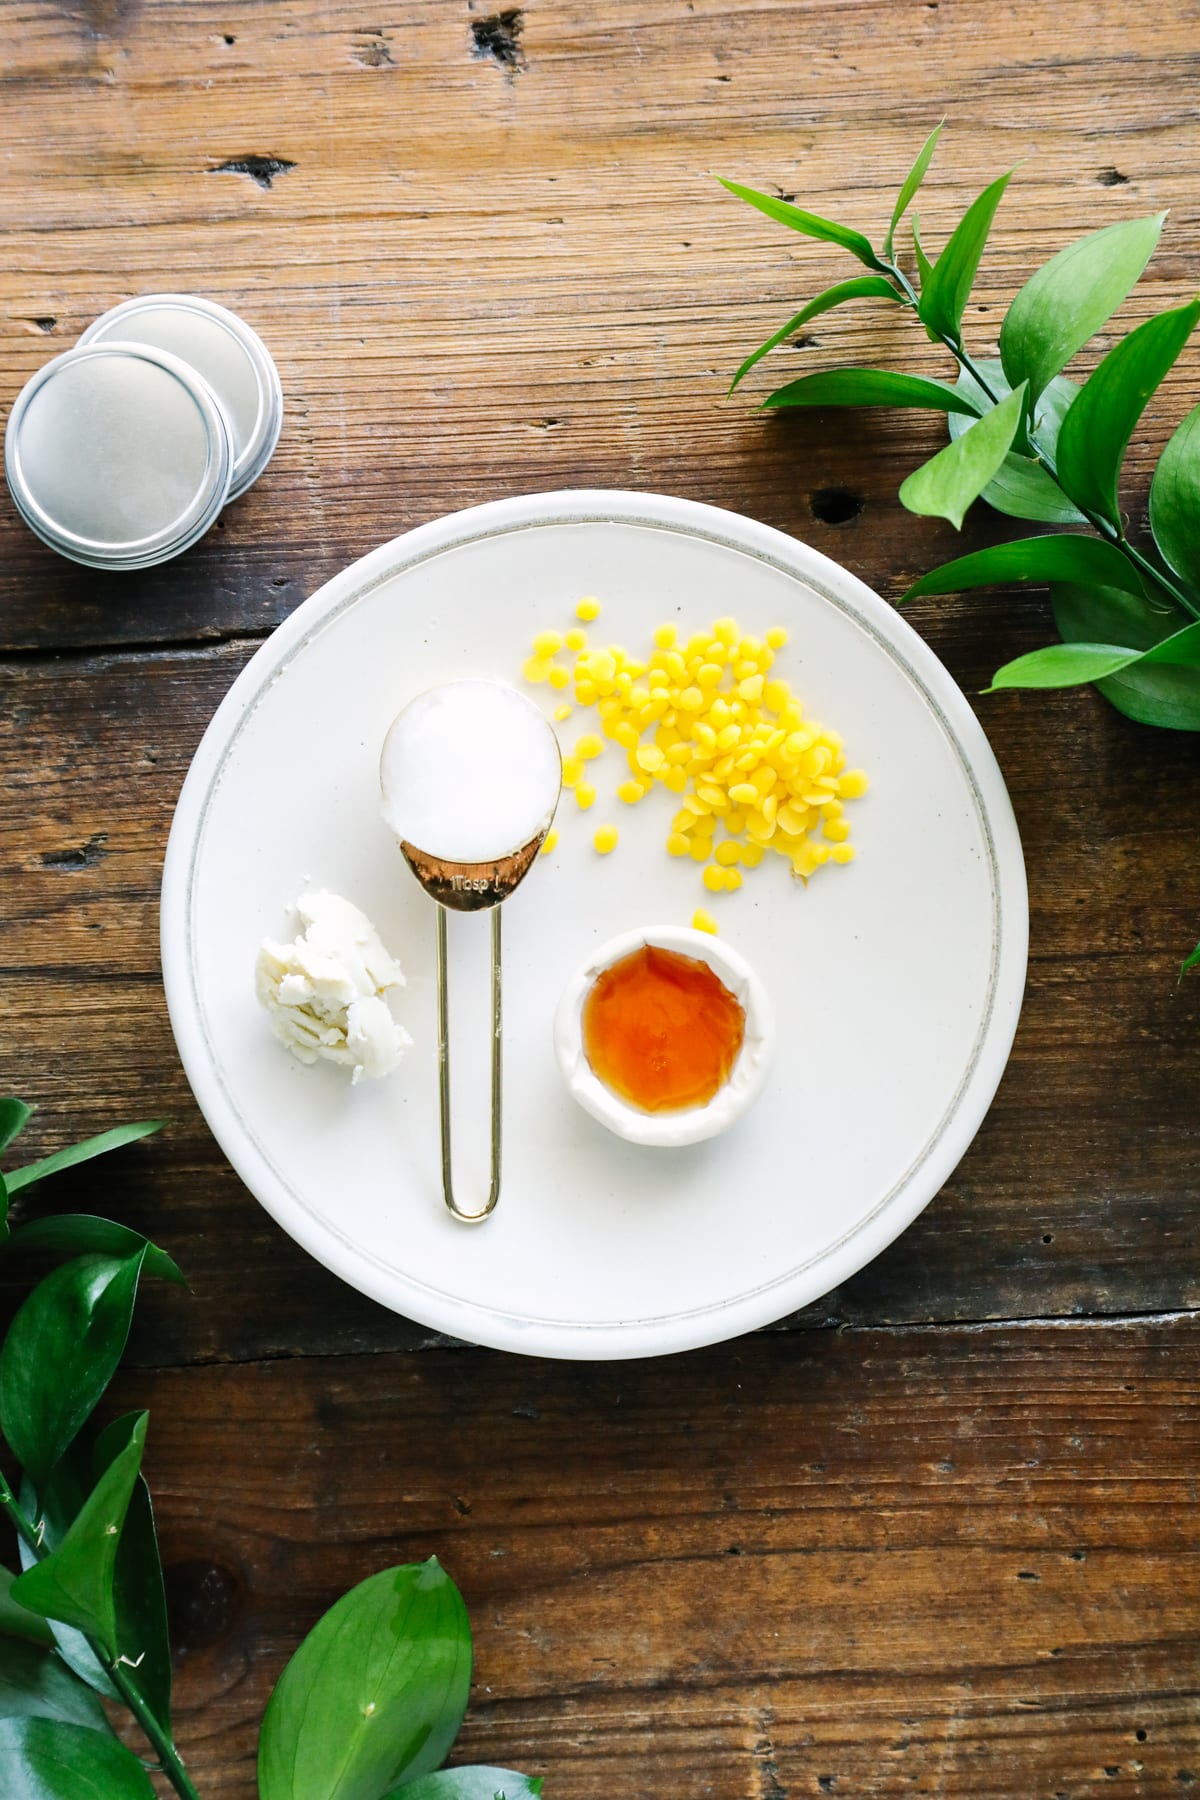
Ingredients
- 1 tablespoons carrier oil – nourishes and moisturizes the skin. My favorite oil options are sweet almond, olive, sunflower, avocado, jojoba, and virgin coconut oil.
- 2 teaspoons beeswax pellets – the glue that holds the oil and shea butter together and creates a solid product. Beeswax, a natural ingredient thanks to hard-working bees, provides a protective barrier to the skin and may help soothe it.
- 1/2 teaspoon shea butter – provides the moisturizing relief my lips crave in the drier fall and winter months.
- 1/4 teaspoon honey – Honey is a natural humectant (hydrating for the skin). Honey also contains antioxidants, which may help repair chapped lips and stressed-out skin.
- (OPTIONAL) 3 drops of essential oils – I like peppermint oil, which adds a warm scent and flavor. Another great option is a warm vanilla essential oil.
Equipment
- small saucepan – used to create a double boiler with a bowl to melt the ingredients.
- small heat-safe bowl – this can be glass or metal and should be large enough to rest on the saucepan to melt the ingredients. I’ve found that a glass measuring cup that sits in the saucepan (and the water added to the saucepan) works best as it has a spout for pouring the melted wax into lip balm tubes.
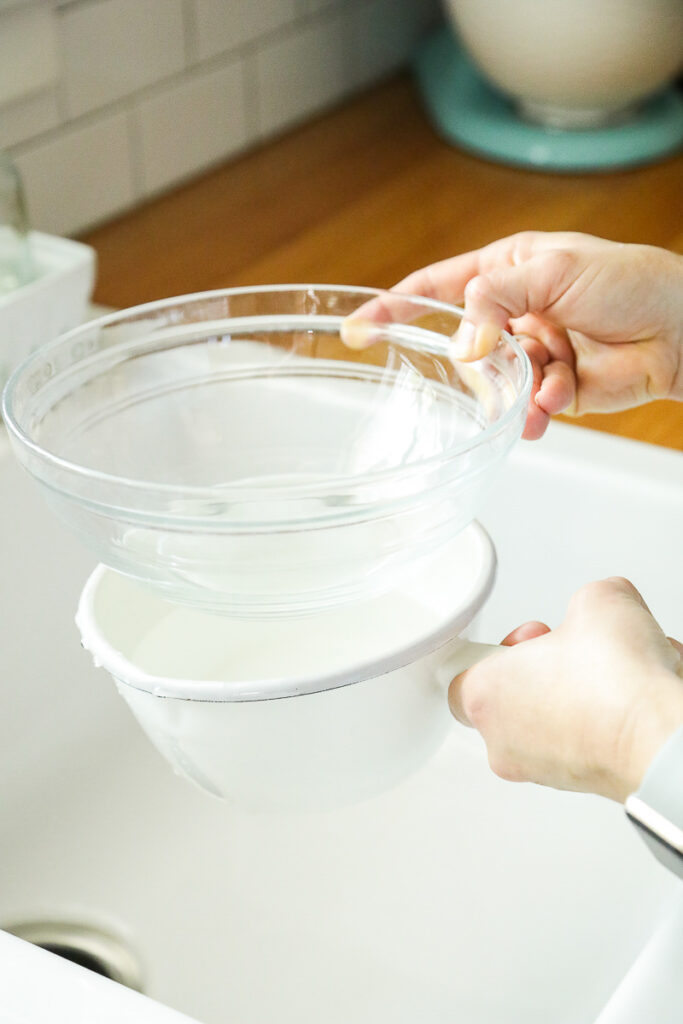
- large bowl – partially filled with cold water. You’ll use this bowl to cool the lip balm ingredients after melting and before adding the honey.
- 1 ounce lip balm container
How to Make Honey Lip Balm: Step By Step Guide
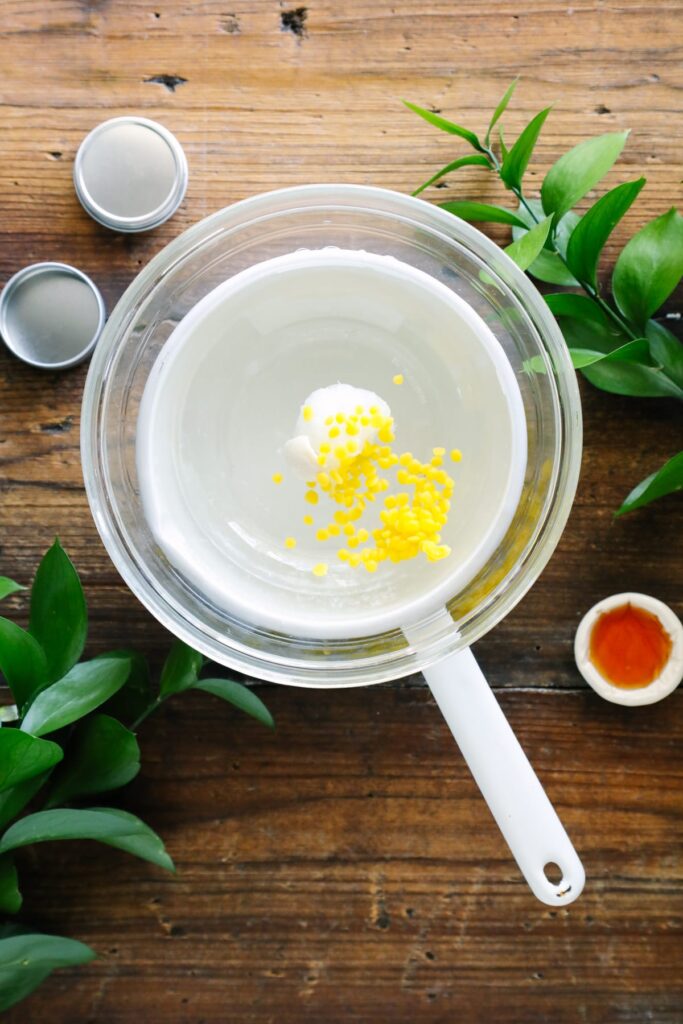
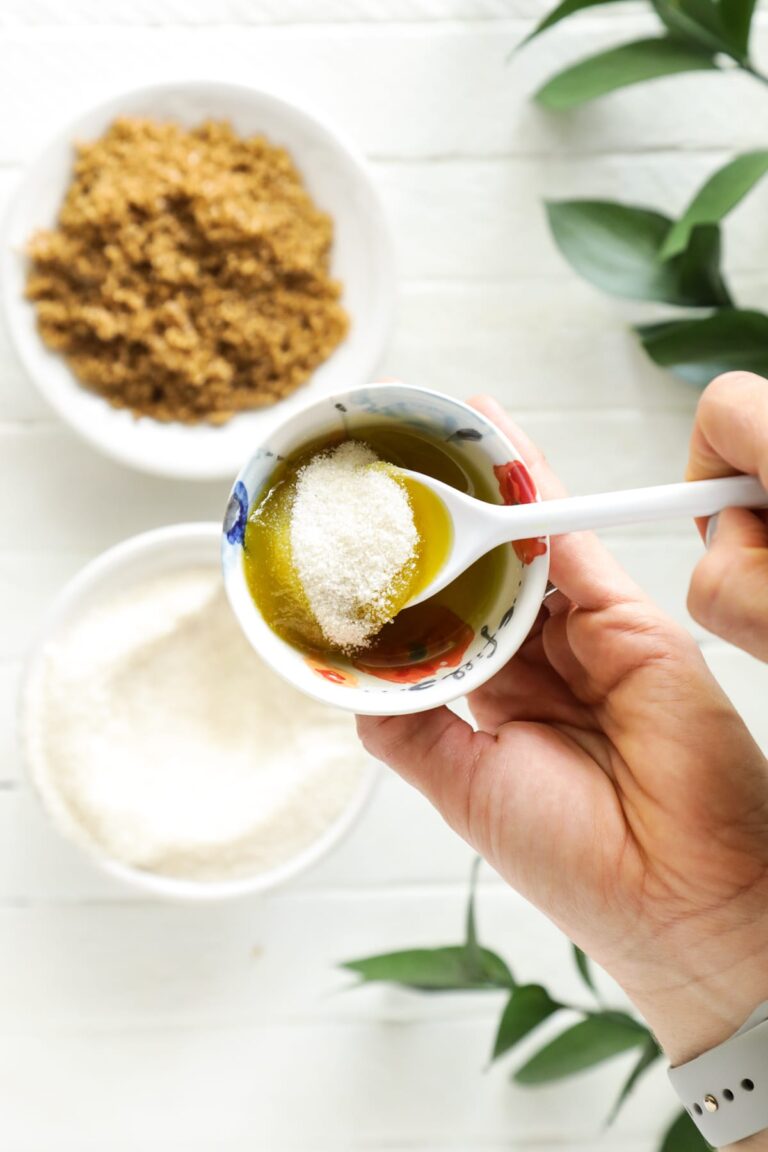
- Step 1 Combine Ingredients – Combine the oil, beeswax, and shea butter in a small heat-safe bowl.
- Step 2 Melt Ingredients – Now place the bowl on top of the saucepan partially filled with water over medium heat. Heat the mixture until the beeswax melts, stirring occasionally.
- Step 3: Remove Ingredients From Heat – Remove the mixture from the heat once the ingredients melt. Let the bowl rest away from the heat for just a minute. I place a hot pad holder on the counter to create a heat-safe surface for the bowl to rest.
- Step 4: Cool the Lip Balm Rapidly – Place the bowl with the melted lip balm mixture in the bowl, in a more giant bowl filled half a 1/4 way full with ice water. This step rapidly cools the mixture so the honey may be added without separating from the other ingredients. The rapid cooling will also prevent a gritty lip balm, which can happen to shea butter. The mixture will begin to solidify as it cools. Pour in the honey, add the essential oil (if using), and stir to combine.
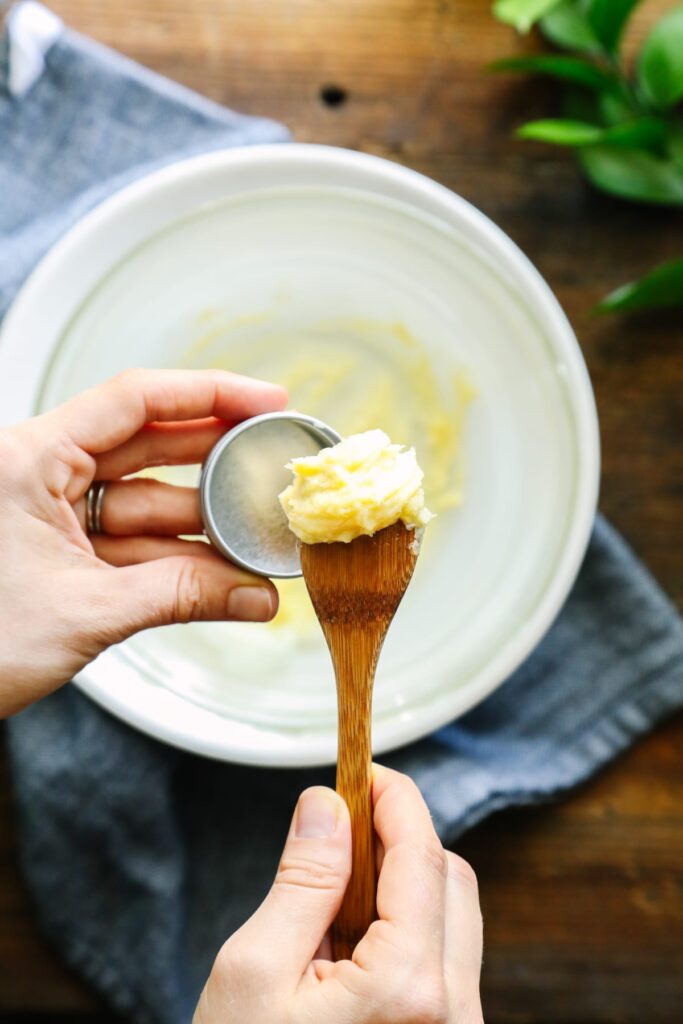
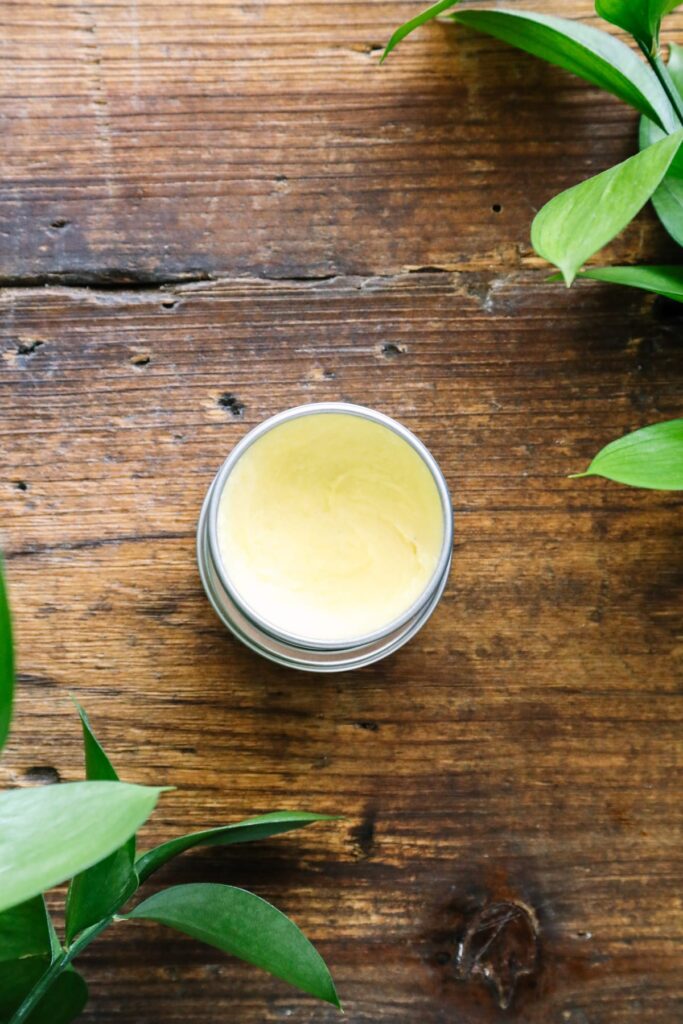
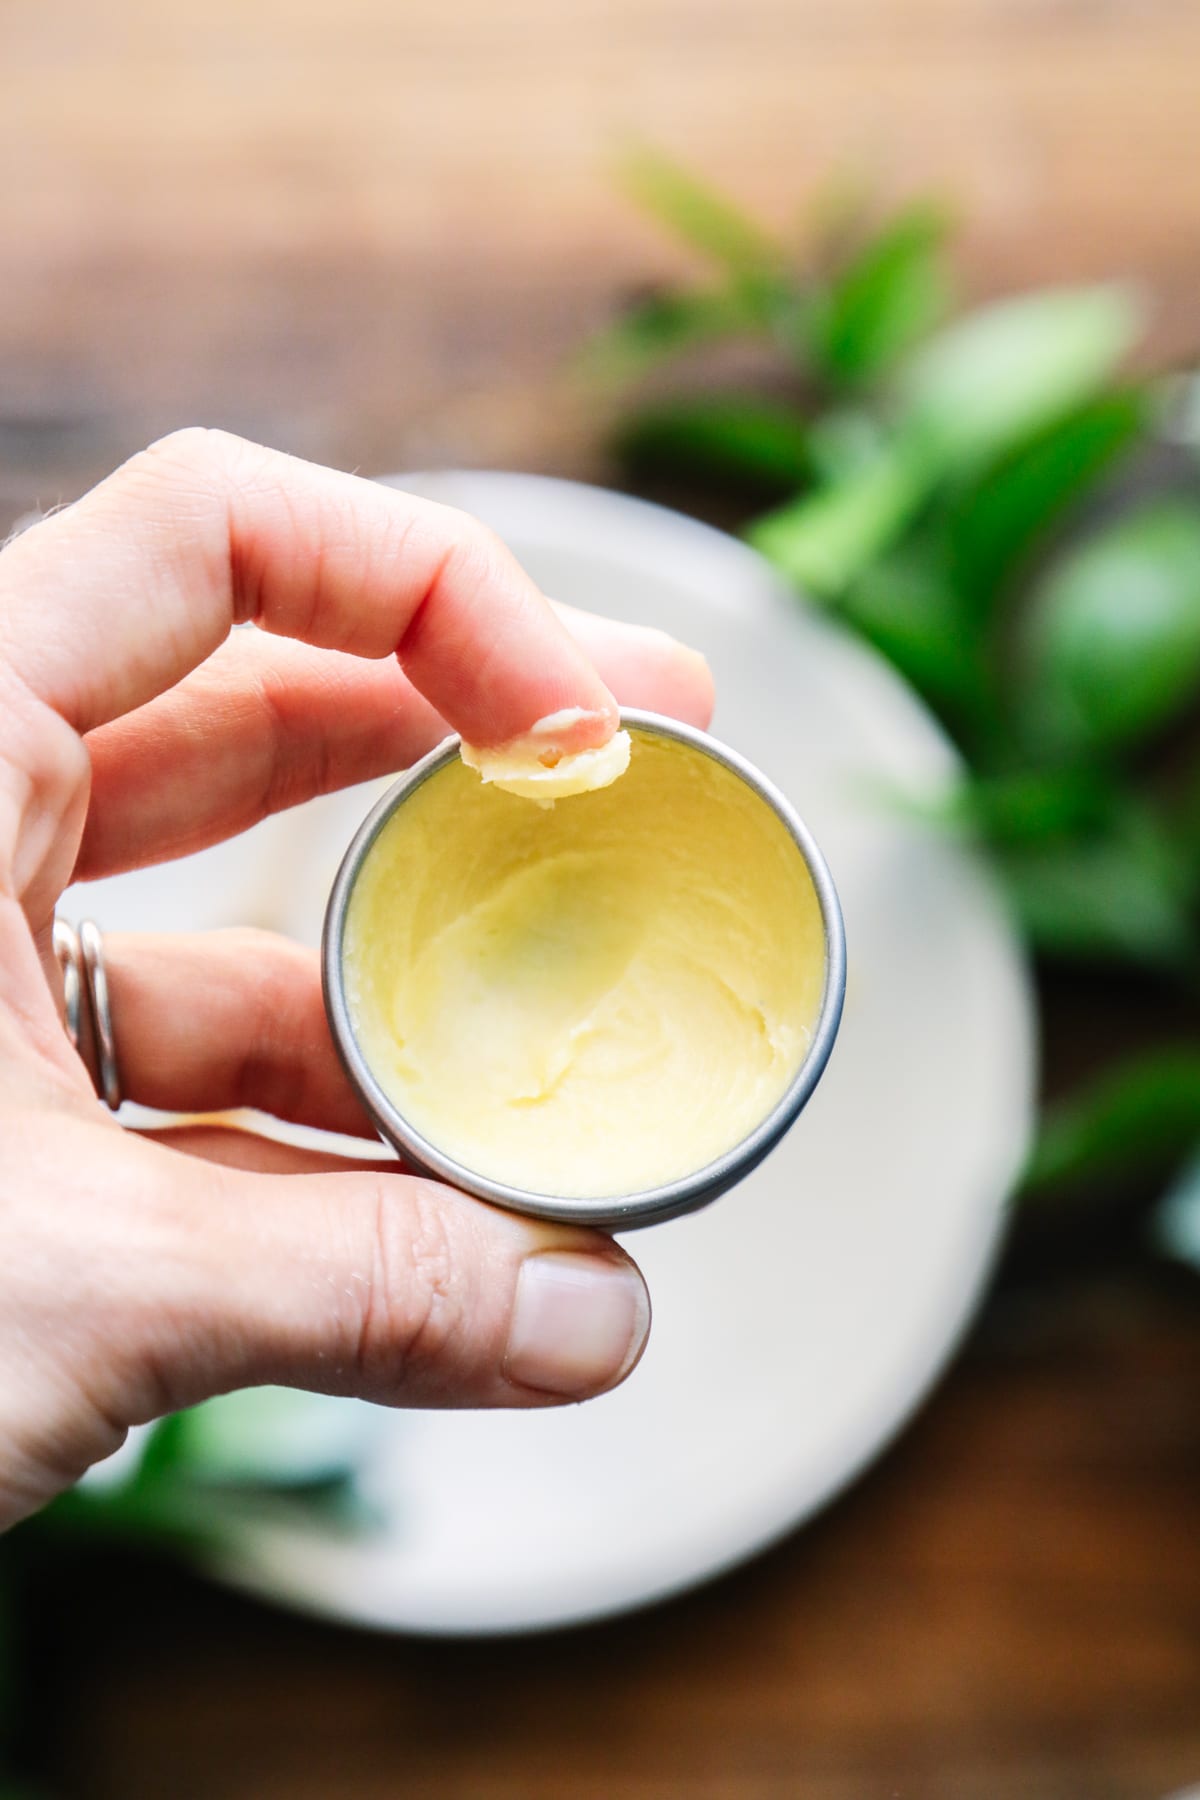
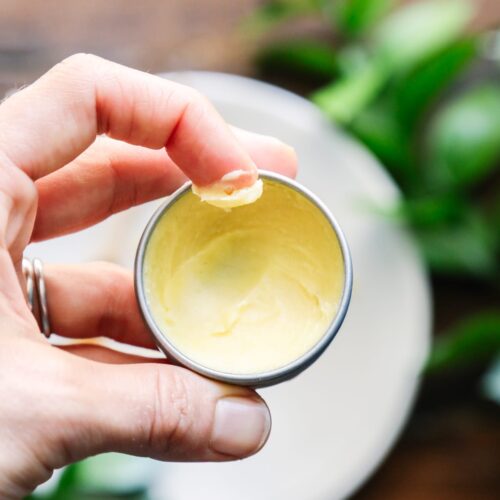
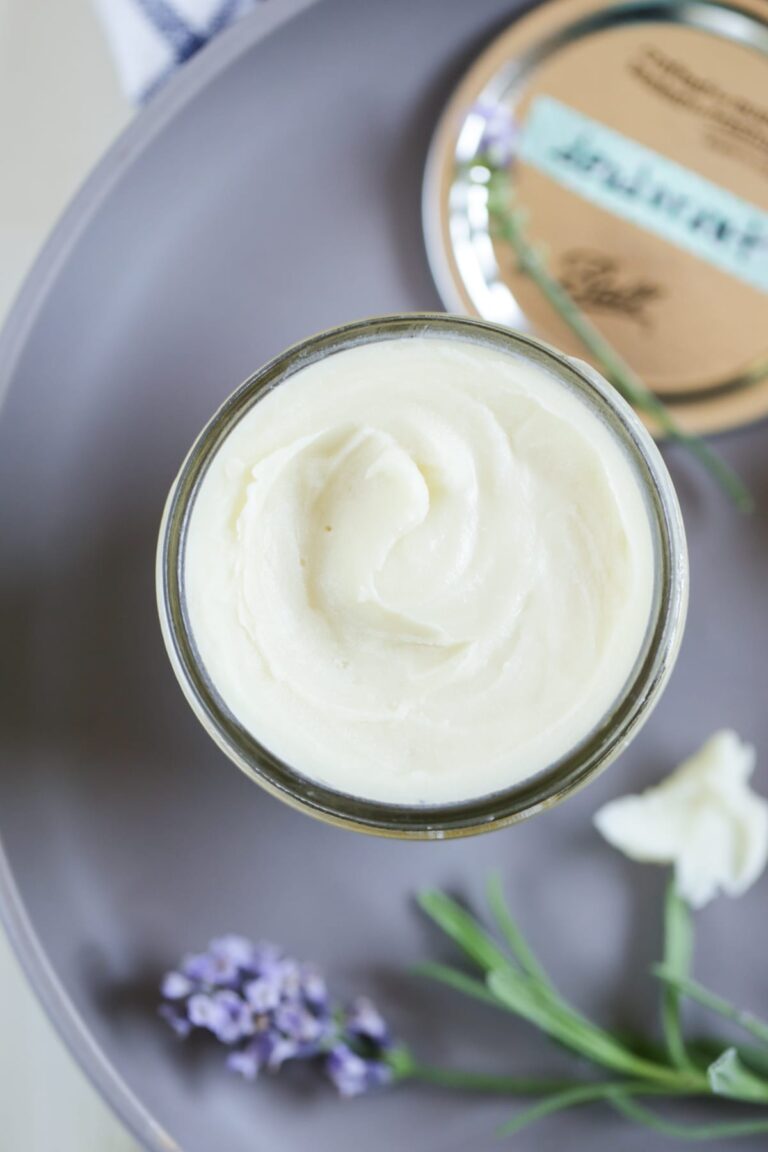
- Step 4 Spoon into a Container – Spoon the solidified mixture into a container. I used a 1-ounce metal container. Alternatively, you could use a mini Altoids container. This recipe will make about 1 ounce. The result will be a smooth, soft, spreadable lip product with the most gorgeous yellow color.
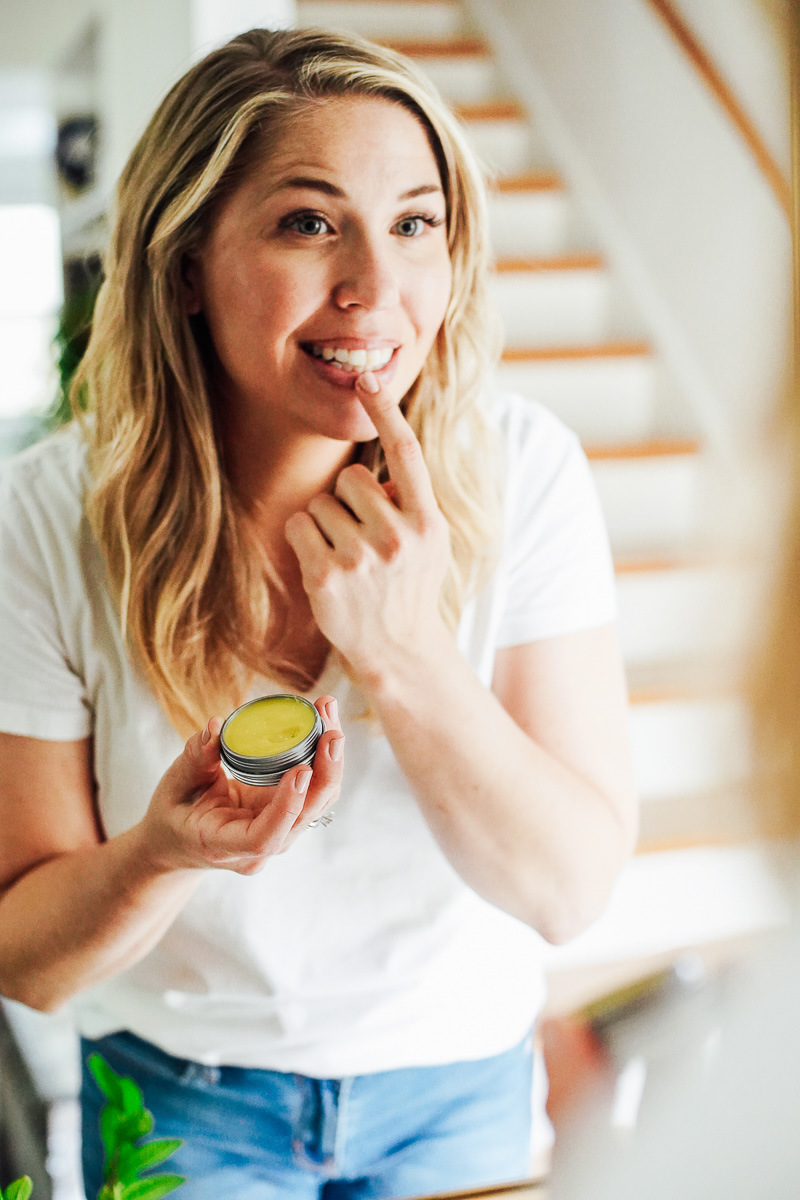
Application Tip: Apply as needed to the lips. May be used daily and multiple times a day. I love to use this lip scrub once a week during the winter as well.
Watch My Step-By-Step Recipe Video
How Long Will This Lip Balm Last?
- Shelf Life – This recipe will last for 6-8 months. My other lip balm recipes last 12 months (like this shea butter lip balm and this 3-ingredient recipe).
- Shorter Life Span – This honey lip balm could also last 12 months; however, since it’s stored in a tin and you’ll use your finger to apply it (dipping it in the container), I’ve shortened the shelf life.
How Much Lip Balm Does This Recipe Make?
This recipe makes 1 ounce of lip balm. You’re welcome to make a larger amount (4 ounces or more), and I share how to do this in the recipe card at the bottom of this post.
What to Avoid Doing
- Don’t Use “Hot” Essential Oils – Some essential oils can irritate the skin and cause the skin to feel an uncomfortable burning sensation. Avoid “hot oils” such as cinnamon, clove, oregano, thyme, and lemongrass.
- Citrus Oils – Citrus oils, like sweet orange or lemon essential oil, are photosensitive and can make your skin more sensitive to the sun. Skip these oils if you’ll be in the sun a lot.
- Don’t Add the Honey When Melting The Ingredients – Honey is added at the end, along with the essential oil (if using), to retain all its natural properties. We don’t want the heat destroying anything of its benefits.
- Don’t Add the Essential Oils When Melting The Ingredients – Essential oils quickly evaporate when exposed to high temperatures. Wait until the ingredients have melted and are away from the heat source before adding the essential oil.
How to Prevent Gritty Lip Balm
- The Problem – I also shared about this issue in my shea butter lip balm recipe, as it’s a common issue with shea butter products. While there’s nothing wrong with this, and the lip balm is still usable, the final product can feel funny on your lips. Grittiness is a common issue with a shea butter lip balm if it’s not cooled rapidly after melting.
- The Solution – The rapid cooling performed in step 4 of my recipe helps to prevent a gritty lip balm.
FAQs
- Can I use other butters, like mango or cocoa butter, instead of shea butter? Yes, you can. Mango butter is an excellent substitute for shea butter, as it’s soft and spreadable. Natural cocoa butter is a hard butter that melts easily but can produce a firm final product.
- Will this work in lip tubes vs. jars? No, it won’t due to the softer nature of the lip balm. The best options are cute little jars or a small mint tin (like an Altoids tin). If you want to make lip balm in a tube, try my other DIY lip balm recipes: shea butter lip balm recipe or customizable 3-ingredient lip balm.
- Can I double or triple this recipe? Yes, you can! I provide the exact measurements to make a larger quantity in the recipe card at the bottom of this post.
Benefits of Using Honey on Your Lips
- rich in antioxidants
- has antibacterial properties (check out this article from the National Institutes of Health)
- a natural preservative
- a humectant, which means it has moisturizing properties
- is soothing
- doesn’t strip the skin (like many commercial face washes and soaps) and works to regulate the pH of the skin, which is essential for healthy skin function
- it’s relatively cheap, considering the multi-purpose nature of this ingredient
More Homemade Products Made With Honey
Honey is a beautiful skincare ingredient. Here are more ways to use it in your skincare routine.
- Honey Face Wash – Made with castile soap and honey.
- Honey & Aloe Face Mask – A simple and soothing blend of honey and aloe.
- Soothing Acne Face Mask – Combine honey and clay for a fantastic face mask.
- Spirulina Honey Face Mask – The perfect “glow” face mask.
DIY honey lip balm Recipe
Equipment
- 1 small heat-safe bowl
- 1 large bowl
Ingredients
- 1 tablespoon carrier oil such as: olive oil, jojoba oil, sweet almond oil, or coconut oil
- 2 teaspoons beeswax pellets or grated beeswax (from a beeswax bar), 7 grams
- 1/2 teaspoon shea butter 2.5 grams
- 1/4 teaspoon honey
- 3 drops peppermint essential oil or your favorite essential oil (optional)
Instructions
- Combine Ingredients – Combine the oil, beeswax, and shea butter in a small heat-safe bowl.
- Melt Ingredients – Now place the bowl on top of the saucepan partially filled with water over medium heat. Heat the mixture until the beeswax melts, stirring occasionally.
- Remove Ingredients From Heat – Remove the mixture from the heat once the ingredients melt. Stir in the honey. Let the bowl rest away from the heat for just a minute. I place a hot pad holder on the counter to create a heat-safe surface for the bowl to rest.
- Spoon into a Container – Spoon the solidified mixture into a container. Alternatively, you could use a mini Altoids container. This recipe will make about 1 ounce. The result will be a smooth, soft, spreadable lip product with the most gorgeous yellow color.
- Storage – Store the lip balm at room temperature for up to 6-8 months.
How to Use:
- Apply as needed to the lips. May be used daily and multiple times a day. I love to use this lip scrub once a week during the winter as well.
Video
Notes
- 3/4 cup coconut oil
- 1 1/2 cup beeswax, pellets or grated
- 1/3 cup shea butter
- 1 tablespoon raw honey
- 36 drops essential oil (optional)
- 1/3 cup coconut oil
- 3 tablespoon and 1 teaspoon beeswax pellets or grated
- 1 1/2 teaspoon shea butter
- 1 1/4 teaspoon raw honey
- 12 drops peppermint essential oil
Natural Body-Care Simplified
Learn how to make your own body and beauty products with simple ingredients.
Hi how long will this last?
This Cooling Honey Lip Balm will last 6-8 months when stored at room temperature in a closed container.
I shortened the shelf life a bit compared to my other lip balm recipes because this one is stored in a tin/jar and most people apply it with their finger (which introduces a tiny bit more moisture/bacteria over time). It could last closer to 12 months if you’re extra careful, but 6-8 months is a safe guideline.
I love your recipes and use them all the time! I am wanting to make some more lip balm for dry chapped lips, and I find that dabbing a little honey on my lips seems to soothe them. If I wanted to incorporate honey in the lip balm recipe, how much would you use? Thank you for all your excellent and easy to make recipes, love your site!
If you’re making this exact recipe and want a bit more honey flavor or extra soothing power (since you find straight honey helpful), you could gently increase it to 1/2 teaspoon for the same 1-ounce batch. Just be cautious not to go much higher, as too much honey can make the balm grainy, separate over time (since it’s water-based in an oil/wax mix), or feel stickier on the lips. The key tricks from the recipe help prevent issues:
Melt the carrier oil, beeswax, and shea butter first (using a double boiler).
Remove from heat and cool the mixture quickly (place the bowl in ice water) until it starts to solidify a little. This helps the honey blend in evenly without sinking or separating.
Stir in the honey (and optional essential oil) vigorously at that cooled stage.
Spoon into your container right away, as it sets fast.
Raw honey works best for its natural benefits, and the recipe already uses it for that antibacterial and moisturizing boost. If you’re scaling up the batch (like to 4 ounces), the proportional amount is about 1 1/4 teaspoons of honey, but stick close to the listed ratios for the best texture.
Can it be reheated slightly to pour into containers after mixing in honey?
Thank you for trying my Cooling Honey Lip Balm recipe, Lisa! Great question about reheating.
In this specific recipe, it’s best not to reheat the mixture once you’ve stirred in the honey. The honey is added after rapid cooling (in the ice water bath) precisely to prevent separation, as honey and oils don’t naturally emulsify well. Reheating could cause the honey to separate out or sink, leading to an uneven texture in the final balm. It also risks degrading some of honey’s natural beneficial properties with extra heat.
The mixture thickens quickly during that cooling step, so work fast when stirring in the honey and spooning into your container (a glass measuring cup with a spout helps for easier transfer). If it starts to solidify too much before you’re done, you can gently stir it off-heat to keep it movable, but avoid putting it back on the stove or microwave.
Many people love how smooth and spreadable this turns out following the steps as written. If you run into any issues next time, feel free to share details. I’d love to hear how your batch came out!
If I do not have shea butter should I alter the amounts of all the ingredients? (In reference to the diy lip balm)Thank you
Hey Kimberly, I wouldn’t make it without shea butter or another type of butter.
Where do you use the ice water?
Hey Heather, Oops, Sorry that was included. No ice bath needed :).
Your writing has a way of making complex concepts accessible and easy to understand
So happy to hear that. Enjoy the lip balm!