This simple DIY shea butter lotion recipe (made with just 3 ingredients) is the perfect moisturizer for the whole body, face included, and may be used for acne-prone and aging skin.
Want to Save This Article?
Enter your email & I’ll send it straight to your inbox. And you’ll get new recipes & tips each week.
I’ll guide you, step-by-step, through how to make shea butter lotion, using shea butter and no coconut oil (because coconut oil can and will clog pores). The final product is a non-greasy, 100% natural moisturizer, with a creamy consistency and skin-soothing properties.
This recipe is used just like store-bought body lotions: to moisturize the face, hands, feet, legs, arms. Technically, this is more of a homemade body butter recipe: a thick moisturizing cream versus a pumpable lotion. (Make pumpable lotion recipe here.)
But whatever you call it, it’s one thing: AMAZING!
What is Shea Butter?
Shea butter comes from the “nut” (or pit) of the fruit found on the Karite Tree. It is soft, compared to cocoa butter, and has a strong scent when it’s purchased in an unrefined state.
I use unrefined shea butter in body-care recipes, but if you don’t care for the (natural) fragrance, I recommend using refined shea butter. Shea butter softens and moisturizes the skin, making it perfect for homemade lotion, shaving cream, and lip balm.
Benefits of Shea Butter
Shea butter is the main ingredient used to make homemade body lotion and many other skin care products.
- It’s naturally rich in vitamins and fatty acids, like vitamin A and vitamin E.
- It contains anti-inflammatory, antibacterial, and antioxidant properties. It’s ideal for sensitive skin and as an anti-aging product. There’s even evidence that shea butter could help with wrinkles.
- Shea butter helps to combat dry skin. It’s an emollient: traps moisture on the skin without clogging pores. There’s also some evidence to suggest that it may help to alleviate eczema symptoms and soften scar tissue. Source: Medical News Today
- Shea butter contains stearic acid, a naturally occurring fatty acid, that allows the butter to spread smoothly on skin without tension. This makes it ideal for a body and face moisturizer since it will melt right into the skin!
I personally use shea butter moisturizer every night before bed. And I’ve seen the texture and softness of my skin improve.
Before You Get Started: Ingredients & Tools
The natural ingredients can be found at most health food stores or online via Amazon. Each ingredient is carefully chosen for its natural moisturizing properties.
Video Recipe Tutorial
How to Make Shea Butter Lotion: Step-By-Step Instructions
Here’s the best way to make shea butter lotion, step by step.
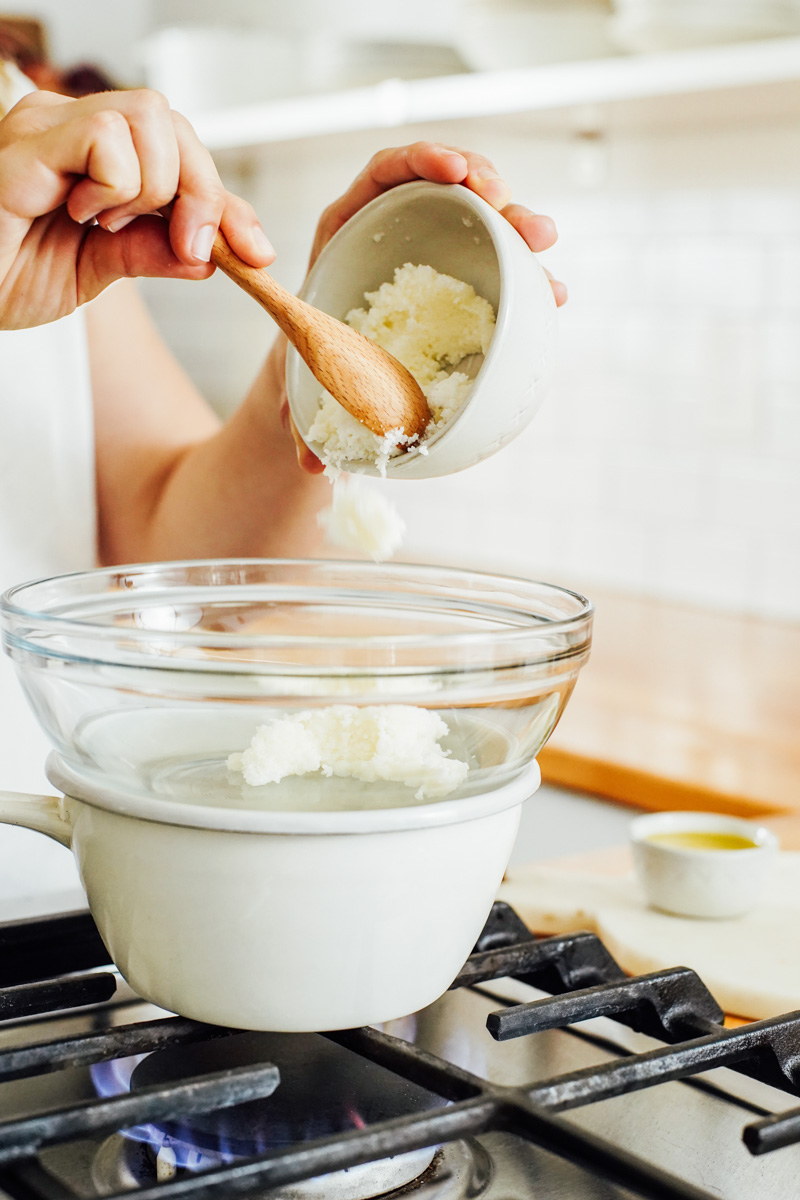
Step 1: Melt Shea Butter
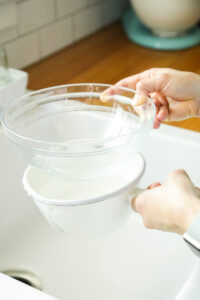
Heat the shea butter to melt it, don’t burn it. To avoid burning the shea butter, create a DIY double boiler. This will allow you to melt the shea butter without it directly touching the heat.
Place a medium-size glass bowl over a sauce pan filled 1/4 the way full with water. The glass bowl should sit just on top of the saucepan, without touching the water in the pan.
Over medium heat, allow the water in the saucepan to simmer. Then add the shea butter and melt.
Once the shea butter has fully melted (about 2-3 minutes), turn off the heat and remove the bowl from the heat.
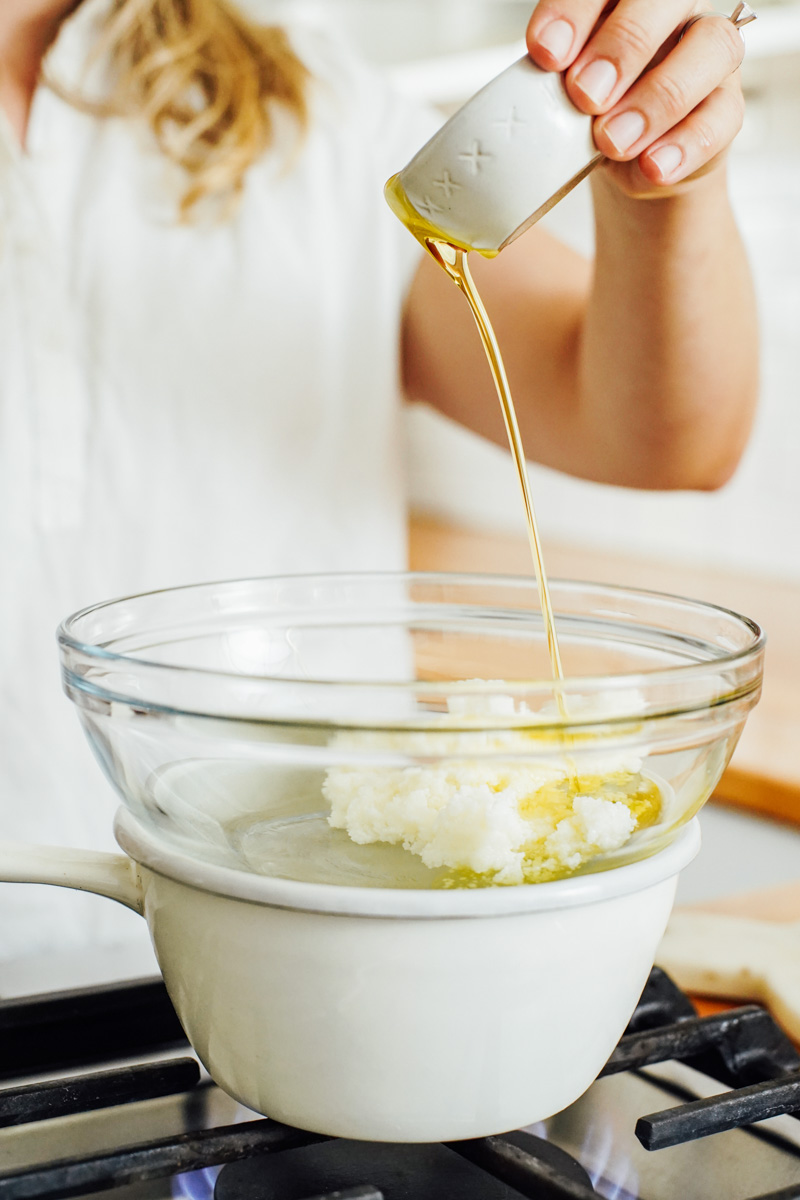
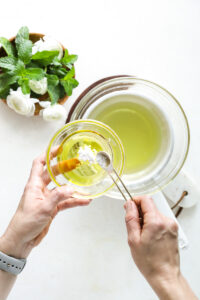
Step 2: Add Nourishing Carrier Oil
Stir 1 teaspoon of arrowroot starch into the liquid oil of choice (grapeseed oil, sweet almond oil, OR jojoba oil) and whisk to combine. Pour the oil (and arrowroot starch whisked in, if using) into the shea butter.
You can skip the arrowroot starch and add the oil directly to the shea butter at this step. The arrowroot creates a non-greasy lotion.
How do you make non-greasy shea butter lotion? Adding arrowroot starch, which is similar to cornstarch, is the best option. You’ll find this ingredient in the baking section at most grocery stores or online. This ingredient may also be used in cooking: make almond flour cookies and waffles or thicken stir-fry sauce.
Step 3: Cool in the Fridge
At this point, the shea butter and oil mixture should be cooler (along with the bowl).
If not, allow it to rest for a few minutes. Then place the mixture in the fridge and allow it to solidify (about 30 minutes to 1 hour, depending on location in the fridge and temperature).
Alternatively, speed up the process by placing the bowl in the freezer.
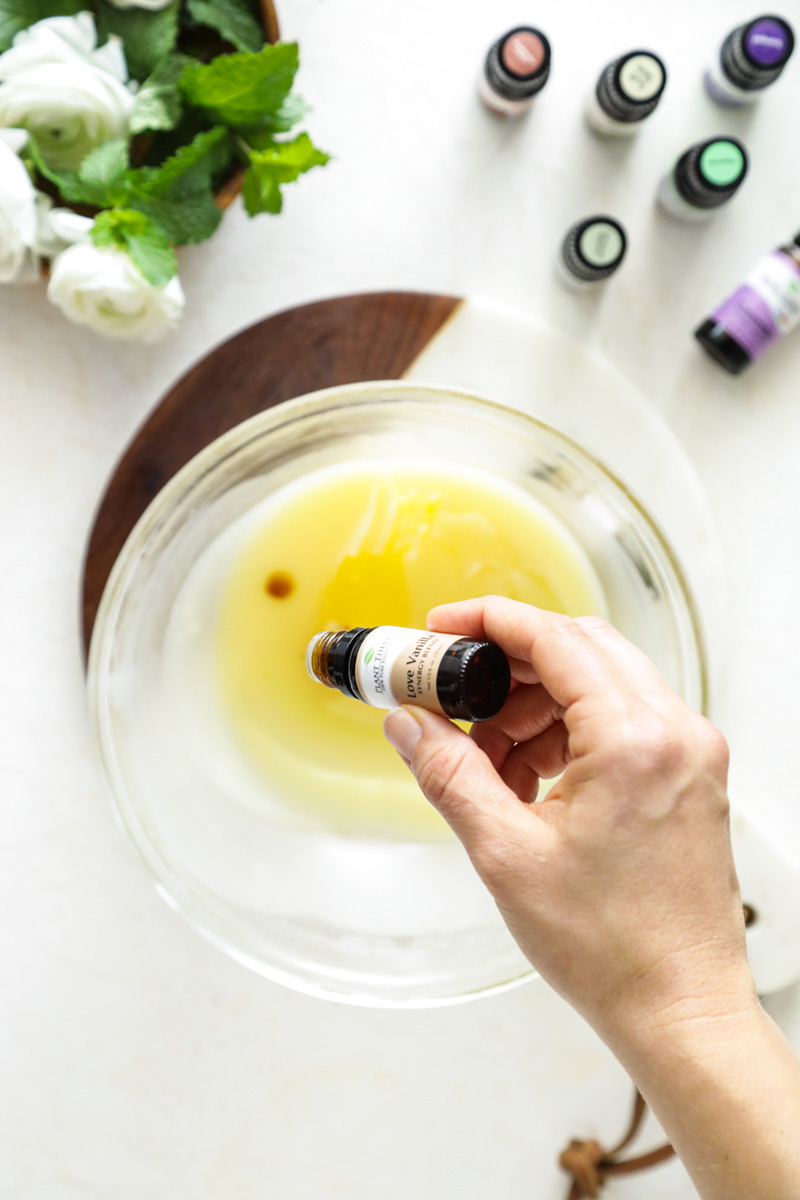
Step 4: Add Essential Oils
Once the mixture is opaque and firm (not solid as a rock), remove the bowl from the fridge.
Add the essential oil (or a combination of essential oils) of choice, if desired. Add up to 15 drops of skin-safe essential oils to this mixture. A few of my favorite essential oils to add are listed in the recipe below.
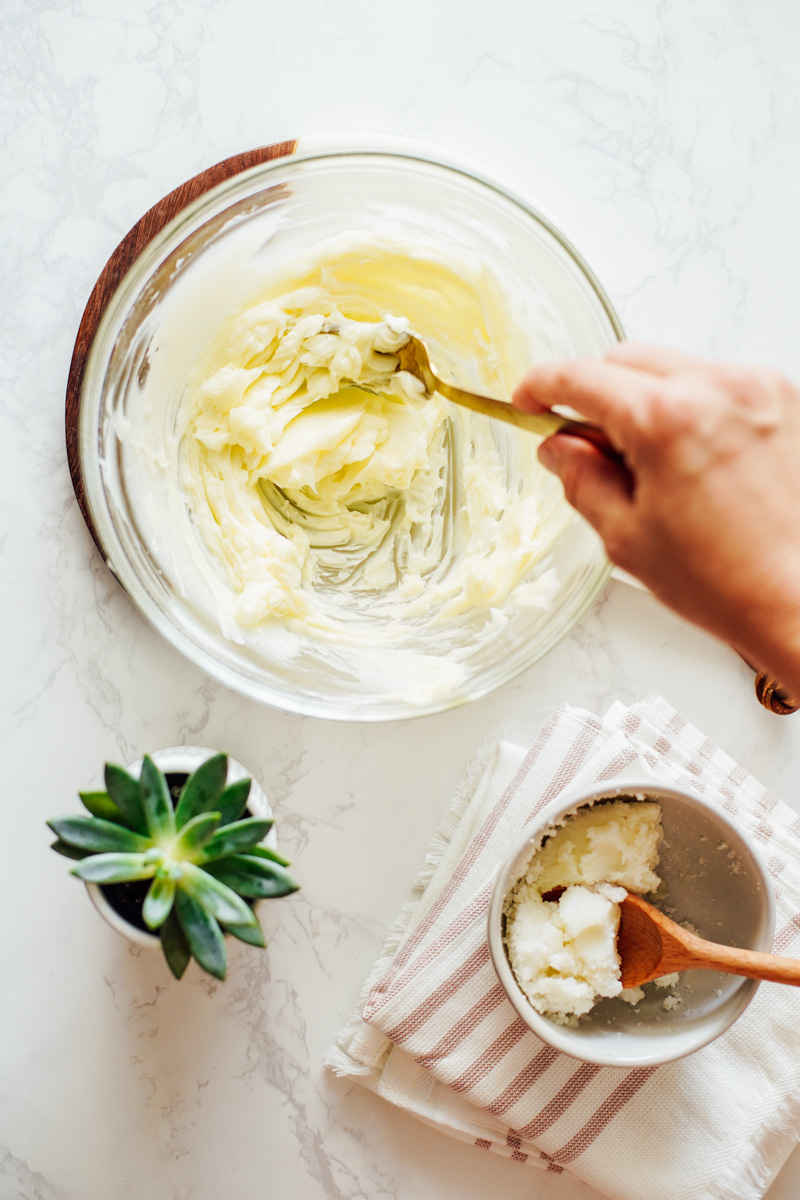
Step 5: Whip the Shea Butter
Use the whisk attachment and an electric mixer, hand mixer, or a fork to whisk the mixture until it appears “whipped.” This doesn’t take very long, just a few seconds using a mixer and a bit longer with a fork.
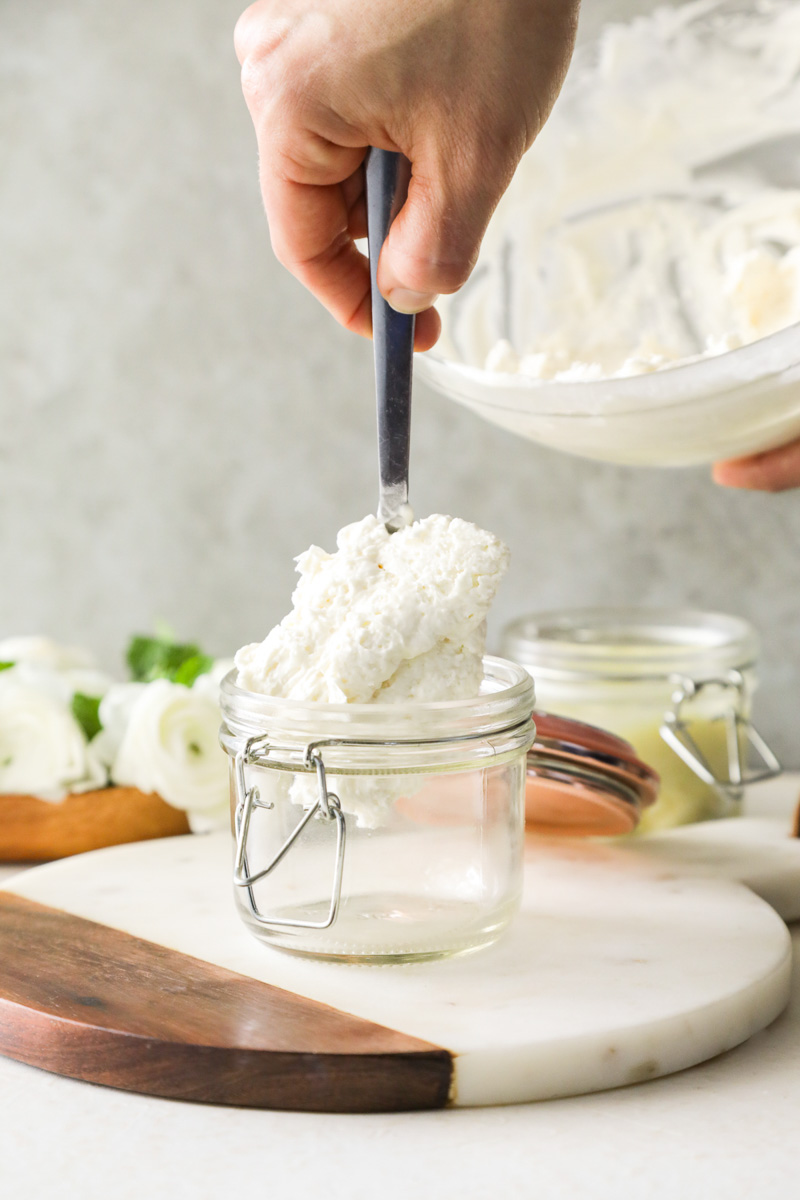
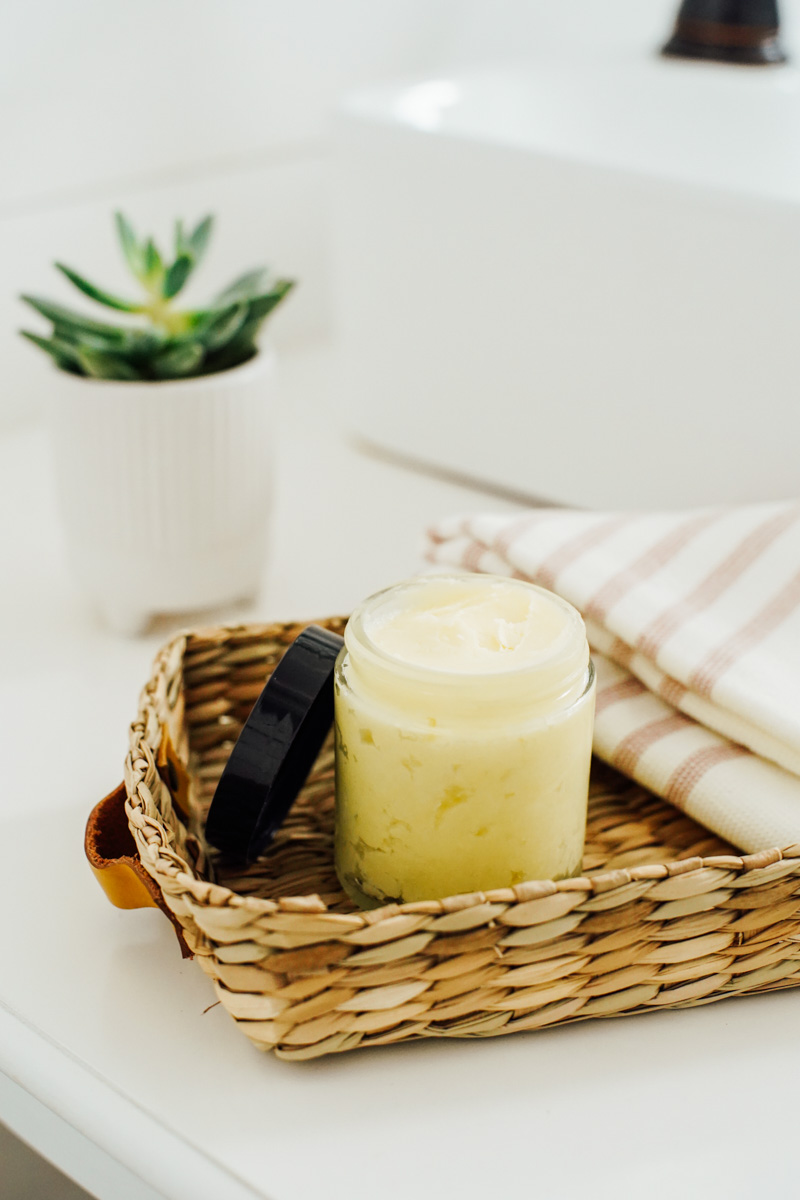
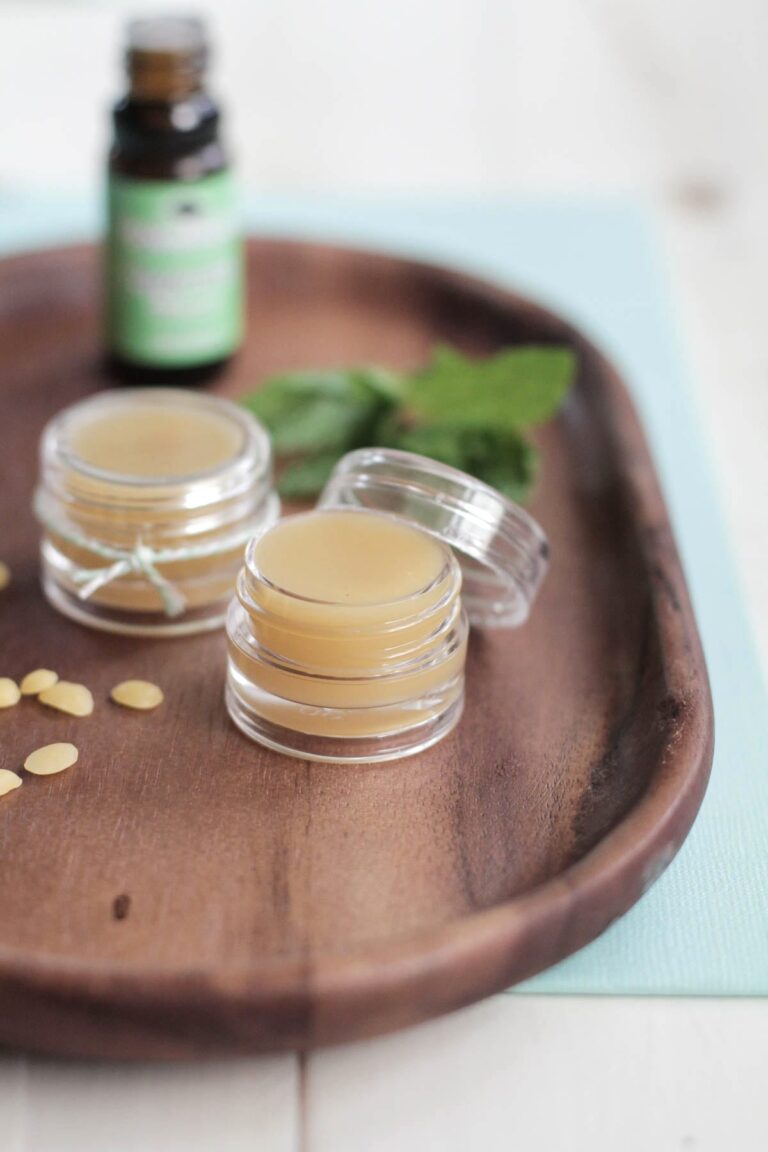
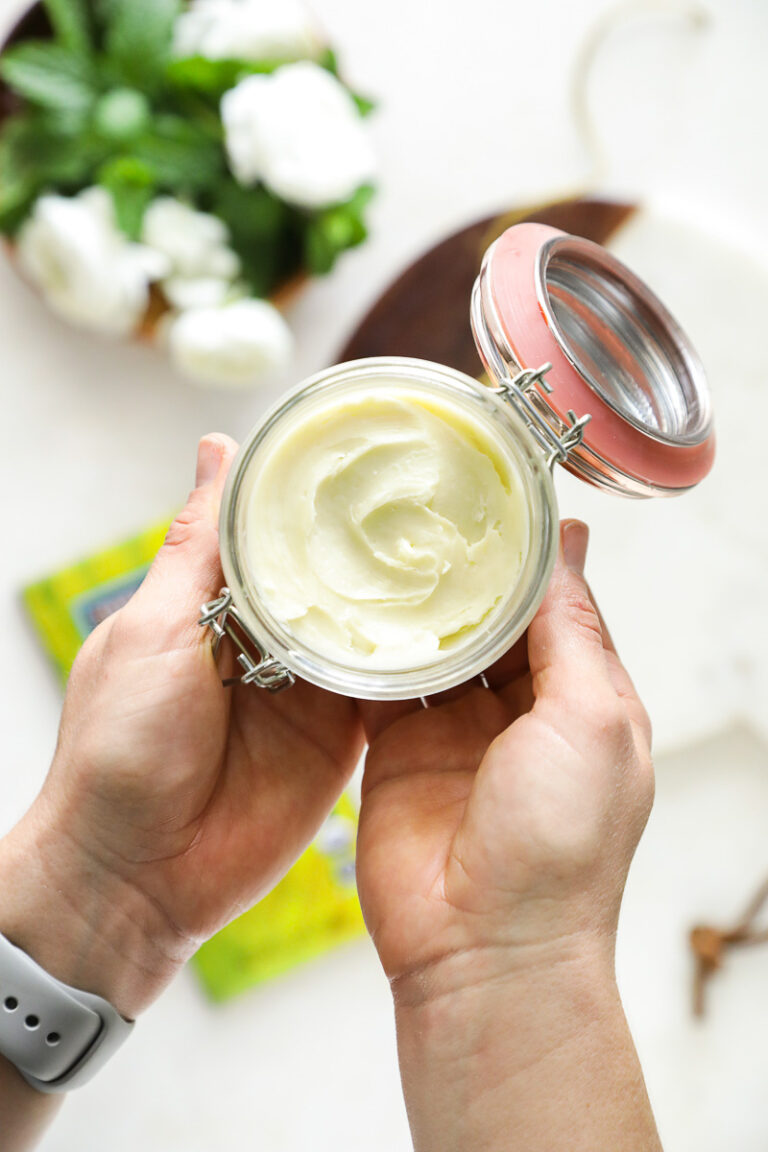
Step 6: Spoon Lotion into a Jar
Now you get to enjoy this amazing homemade lotion recipe and all its benefits (we’ll talk about the awesome benefits in a minute). Or, share the lotion as a gift.
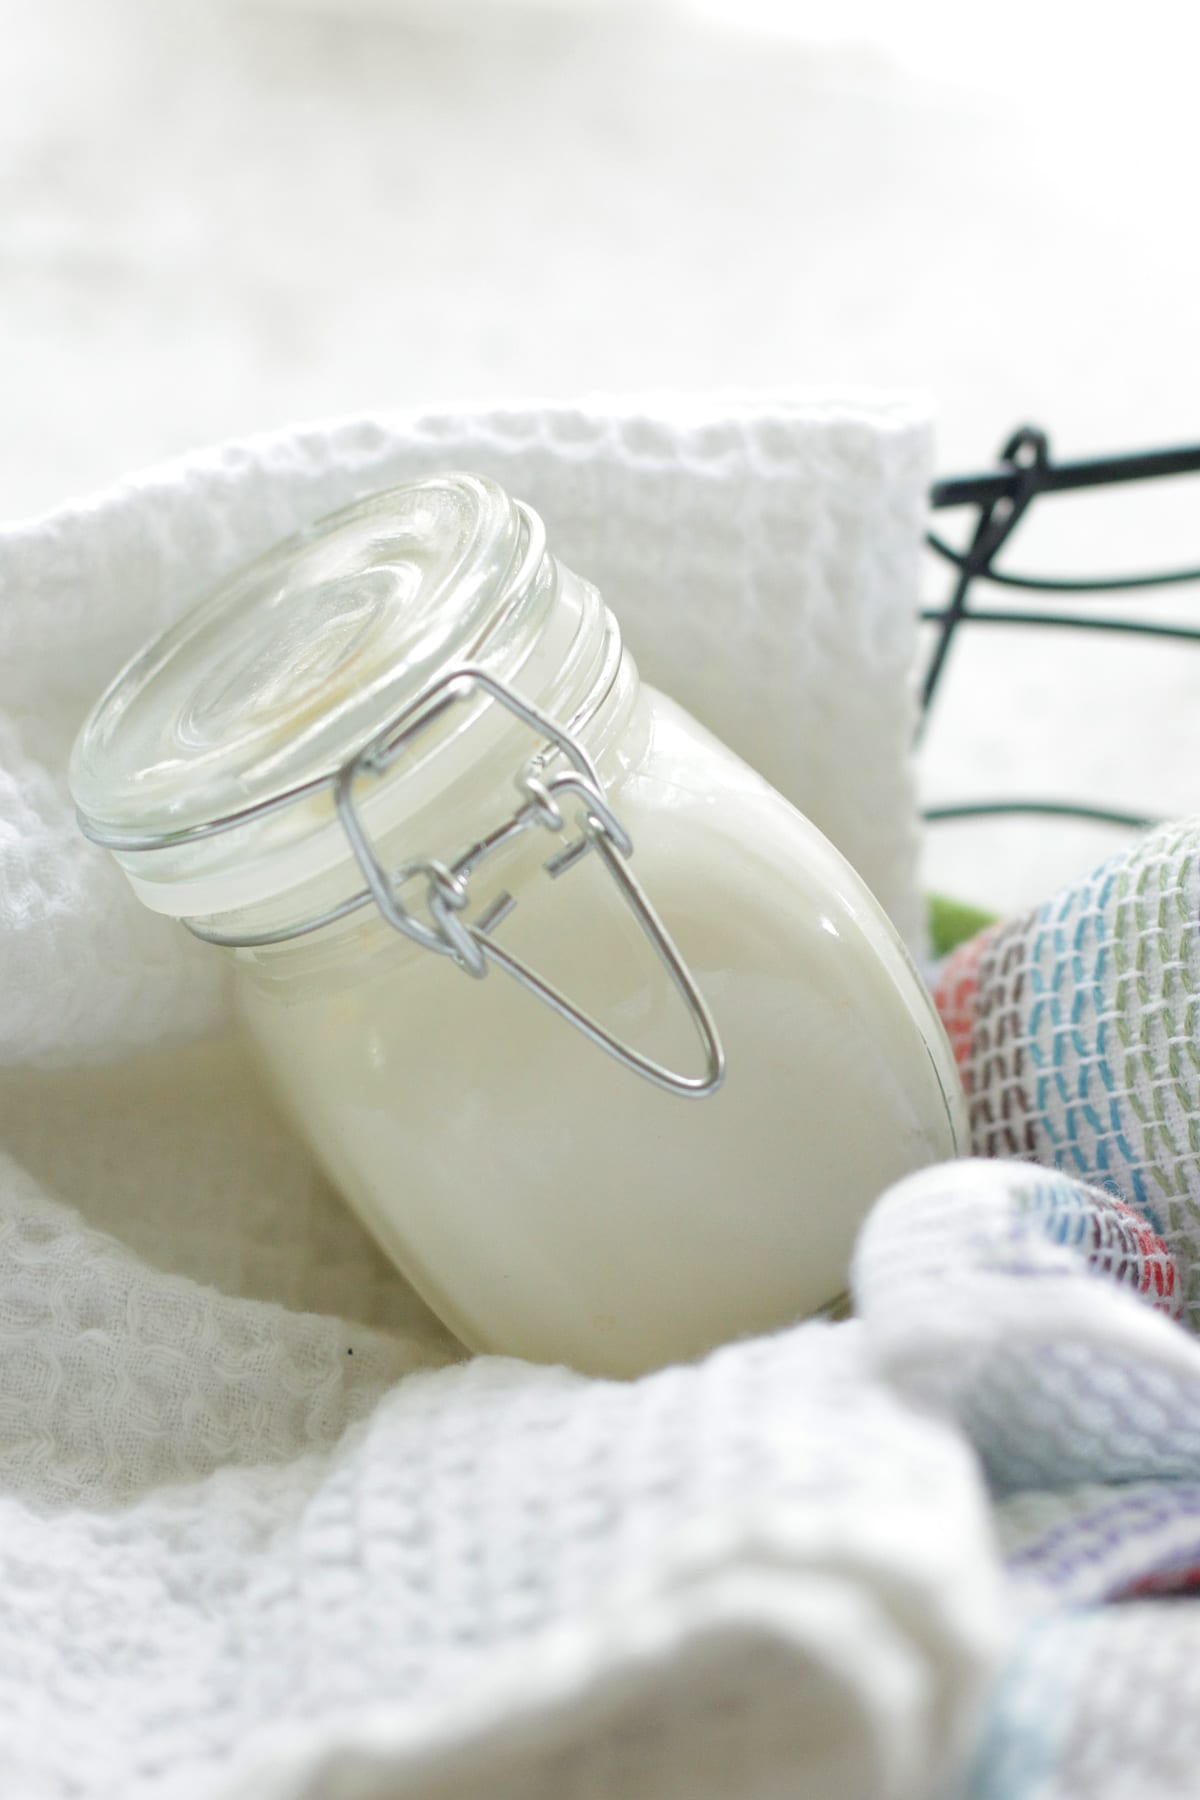
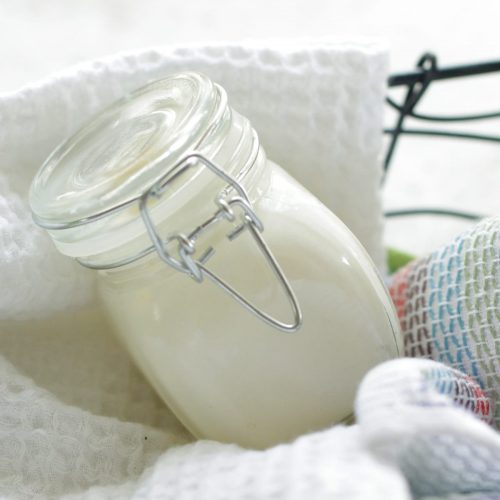
Choose a beautiful glass jar and spoon your creation into the jar. Add a label, if desired. And store the lotion at room temperature in a cool place (like a bathroom cabinet) for up to 6 months.

How to Choose a Carrier Oil
You can use shea butter alone as a body and face moisturizer, or you can mix it with a carrier oil to make a whipped body butter recipe or lotion (like this recipe).
Here’s what I recommend for a nourishing carrier oil to mix with the shea butter. The options absorb easily in the skin, making them the best options for a non-greasy lotion.
Jojoba Oil: Jojoba oil is made from a shrub that grows in Northern Mexico and the Southeast US. Jojoba is an emollient: a natural moisturizer that softens and moisturizes skin. Jojoba is the closest to our skin’s natural oil, making it ideal for all skin types.
Grapeseed Oil: This oil comes from pressed grape seeds. It has high amounts of fatty acids, vitamin E, and antibacterial properties. Grapeseed oil may be a great option for aging skin and for those with acne-prone skin.
Sweet Almond Oil: Made from sweet almonds and rich in vitamin A & E, fatty acids, and proteins.
Virgin Coconut oil is also an option, but as I’ll share in a minute, I don’t care for using coconut oil on my face. If you’re just using this lotion on your body, coconut oil may be a good option.
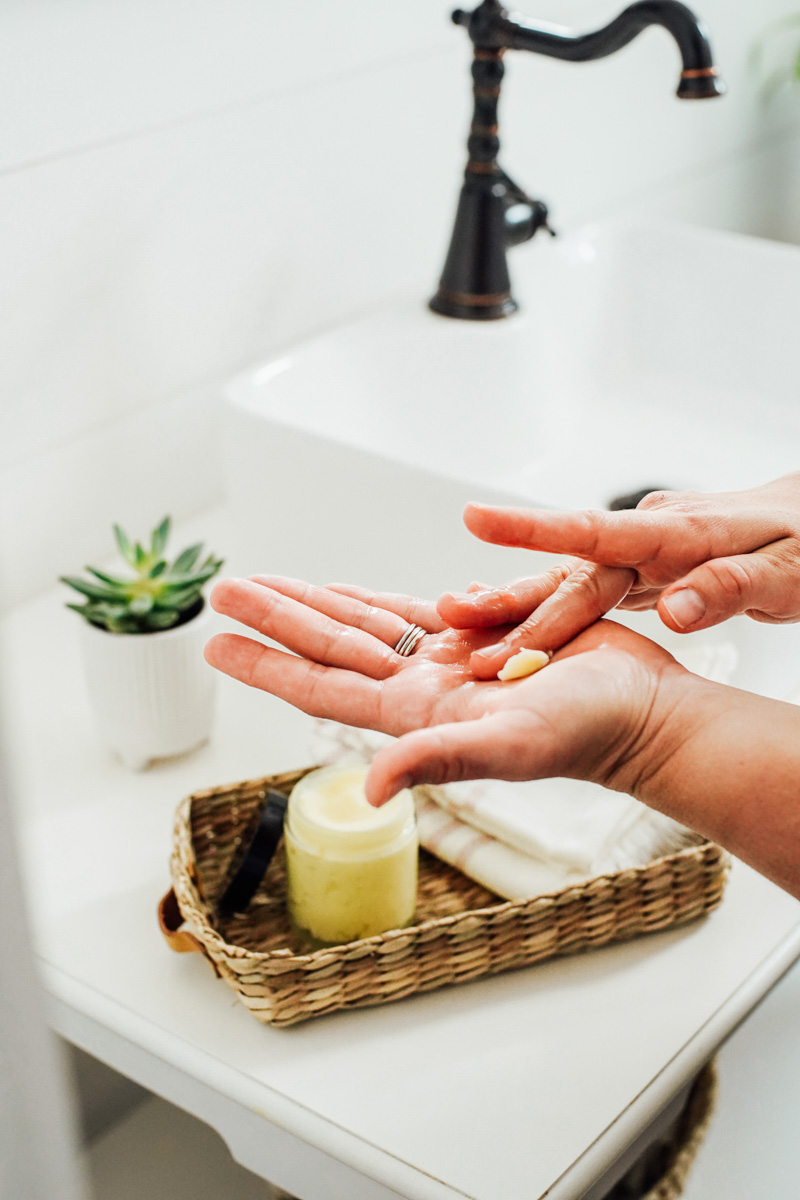
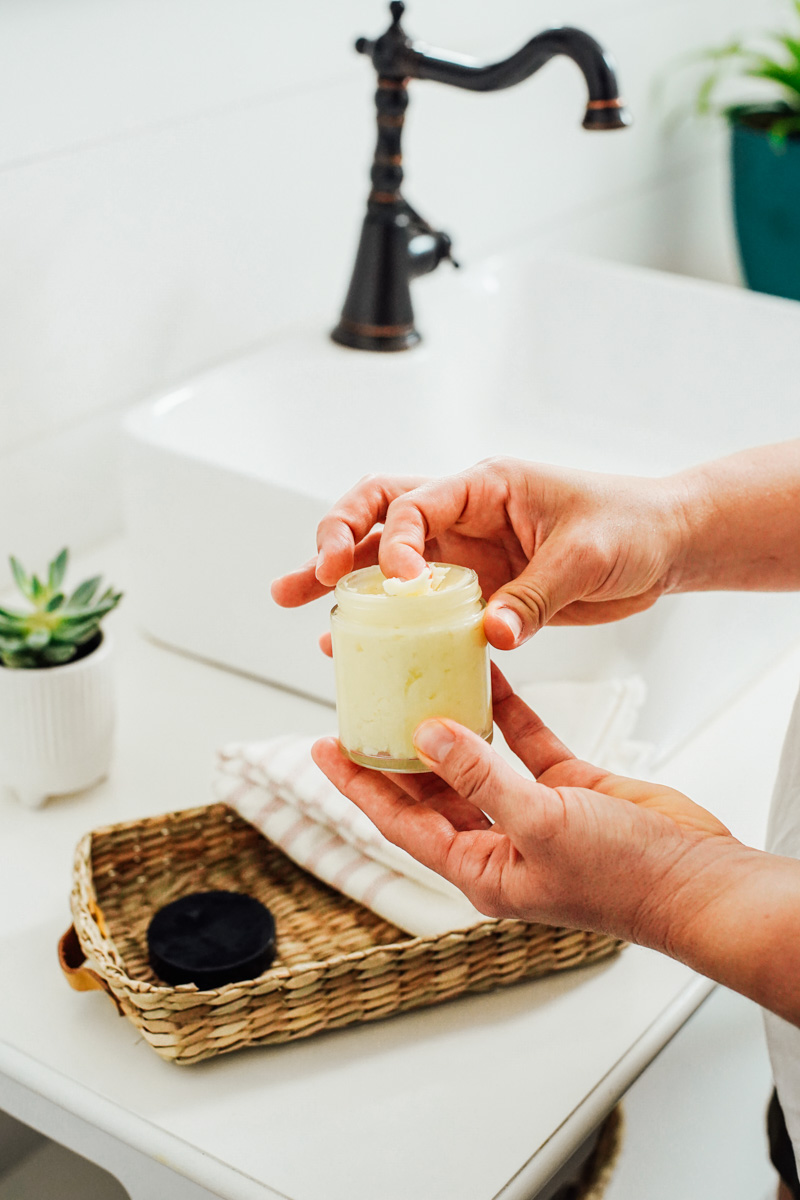
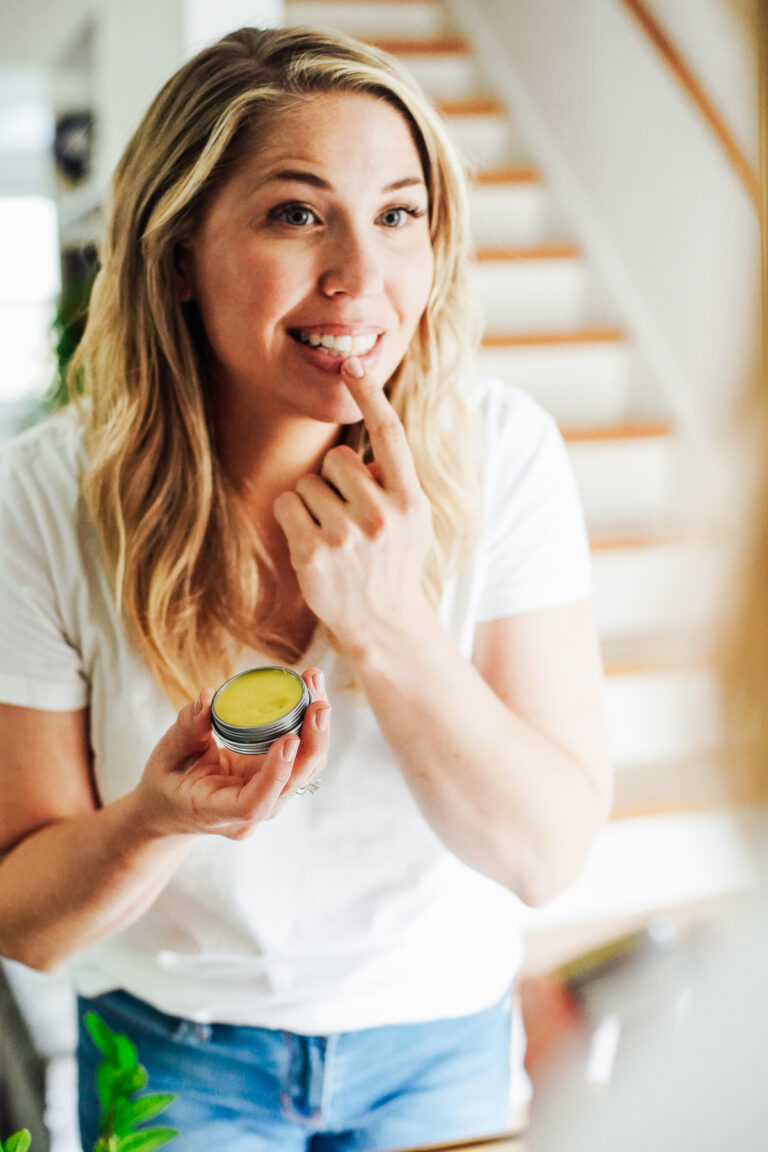
How to Use
Scoop a small amount of shea butter lotion out of the jar using your finger, then rub between your hands. The heat from your hands will soften the shea butter. Massage into your skin: face, arms, legs, feet, dry patches, etc.
A little goes a long way.
For the face, apply this moisturizer after cleansing (my favorite natural face cleansers) and toning (a spritz of rose water is my favorite). If you use any serums, apply a facial serum before applying the lotion.

What’s the Shelf Life?
This natural lotion recipe doesn’t use any preservatives. Store-bought lotions add preservatives to formulas out of necessity. Without a preservative, mold and other bacteria will grow in a water-based lotion.
This recipe doesn’t need a preservative because it doesn’t use water in the formula. This means you can make a long lasting moisturizing lotion, without using any preservatives and don’t need to worry about mold growth. Woohoo!
Store the final product at room temperature, in a cool dry place, for up to 6 months. I recommend keeping homemade shea butter lotion away from heat, like a hot steamy shower, since it will melt slightly. This recipe is intended for home use; not to be sold commercially.
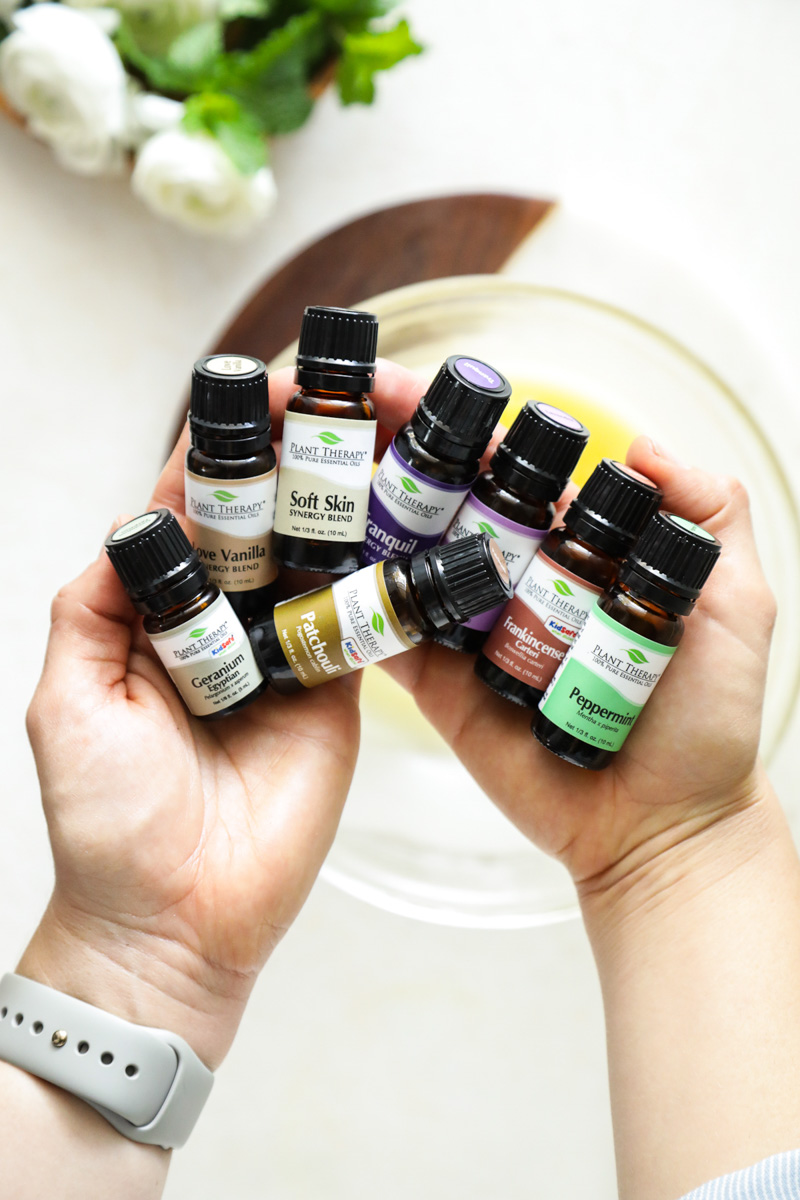
How to Add Essential Oils
If you want to scent your own lotion, essential oils are the best way to do this! Along with their scent, essential oils are easily absorbed by the skin for nourishment, and provide antibacterial and soothing properties.
Add one essential oil or a combination of essential oils, totally 15 drops, to this lotion recipe. The best essential oils for homemade lotion are…
- Roman Chamomile
- Frankincense
- Lavender
- Rosemary
- Jasmine
- Carrot Seed
- Rose
- Lavender
- Tea tree
- Sandalwood
- Geranium
Essential Oils to Avoid: Avoid citrus essential oils (like lemon or orange essential oil) if you plan to wear this lotion during the day when exposed to the sun. Citrus essential oils are photosensitive and can cause your skin to develop a rash or sunburn.
Lotion Without Coconut Oil, Here’s Why
You’ll notice that this recipe doesn’t use any coconut oil. A lot of lotion and homemade whipped body butter recipes rely heavily on coconut oil.
Coconut oil is not the cure-all. Gasp, I know. That statement is practically heresy in the natural living community. Toothpaste? Coconut oil. Smoothies? Yep, coconut oil. A boo-boo? More coconut oil. We use it for everything! I’ve learned the magical oil isn’t always suitable for every need.
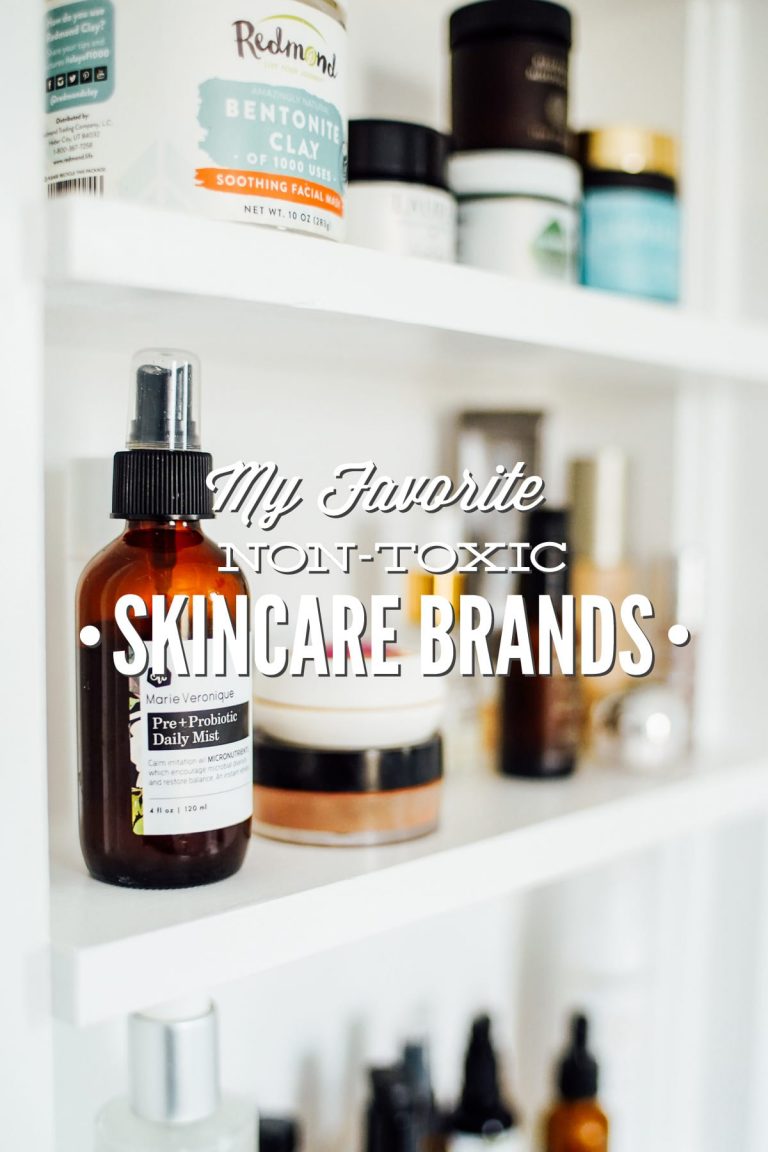
Many years ago, I decided it was time to ditch the toxins found in our bathroom. From lotions to body wash to makeup, the amounts of toxins I put on my body was astounding. With the urge for simplicity and natural living, I started developing my own replacements for things like foundation powder and lotion.
One of my very first DIYs was a simple homemade moisturizer using coconut oil. After a few weeks of using this moisturizer on my face, I experienced multiple break outs, daily peeling, and dry skin patches. Here’s why…
There’s nothing wrong with coconut oil, but from a skin care perspective, it’s not the best moisturizer option for the face. If you use it on your face, it’s likely to clog pores and cause breakouts due to its chemical composition.
Shea butter does not clog pores and is the best moisturizer option. So skip the coconut oil on your face and instead turn to shea butter and a non-clogging carrier oil!
FAQs
6 More Ways to Use Shea Butter
- Use shea butter to make homemade deodorant. You’ll also need arrowroot starch for homemade deodorant.
- Combine shea butter, coconut oil, and castile soap to make homemade moisturizing shaving cream.
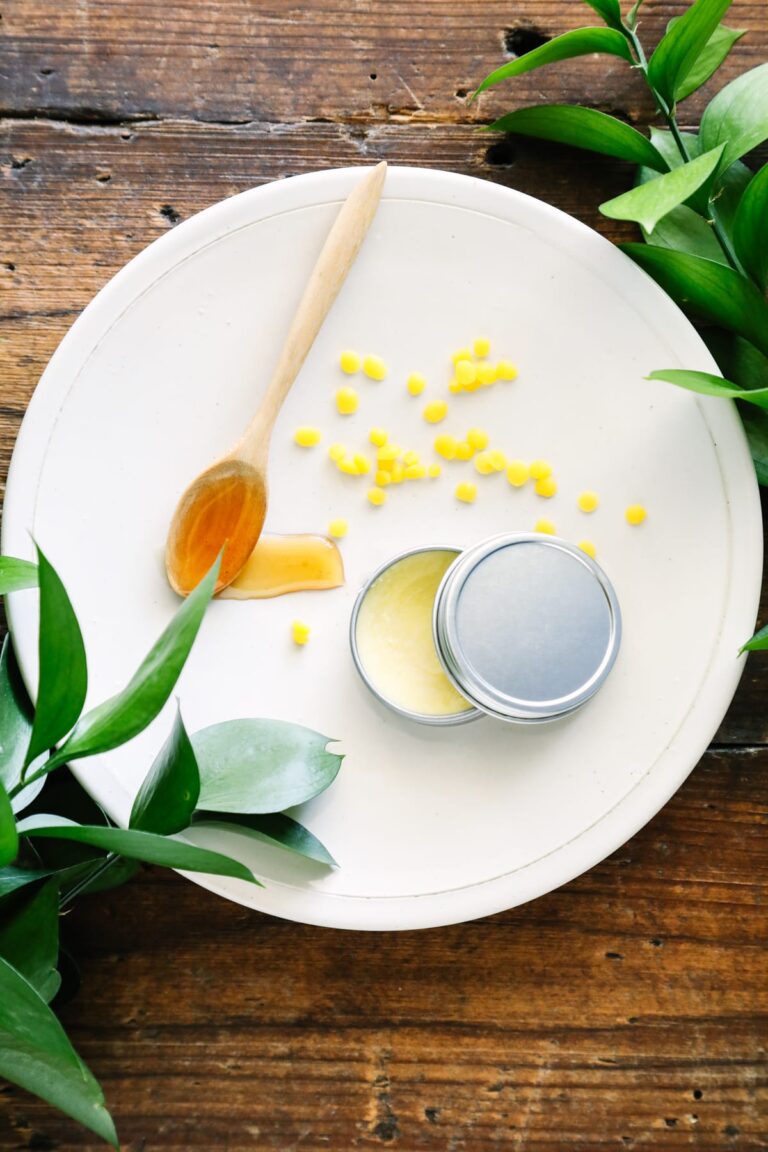
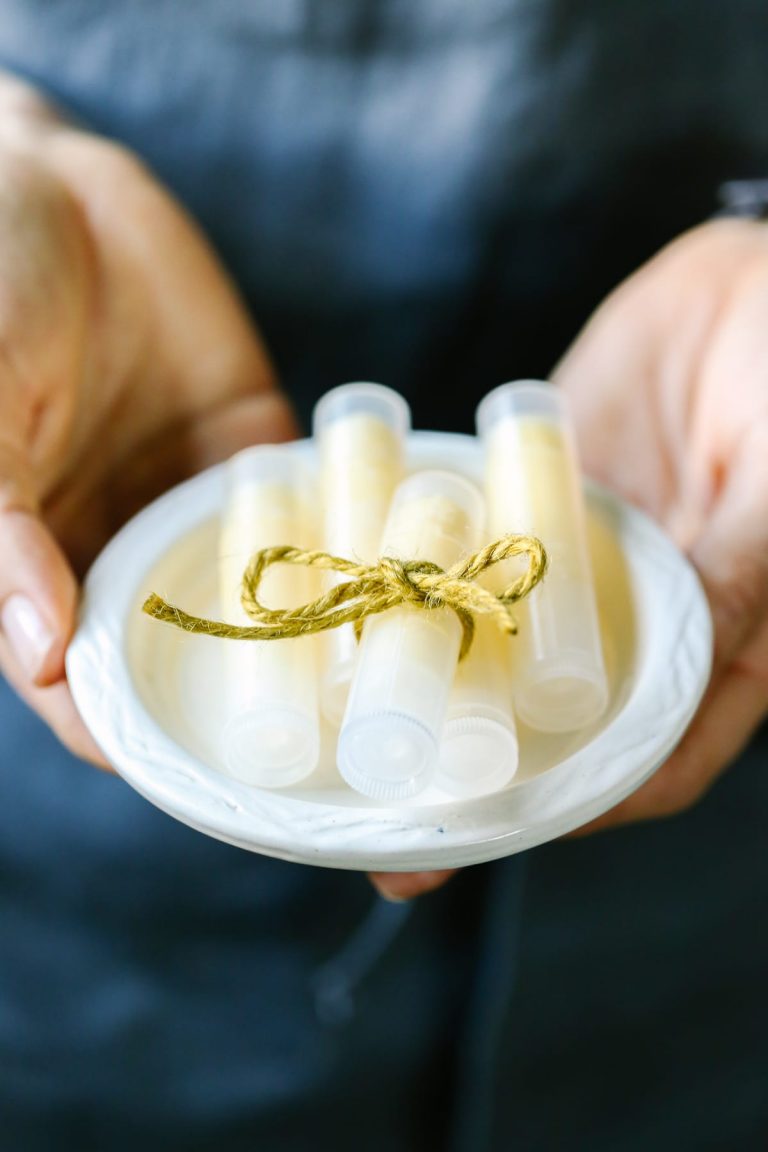
- Combine butter, carrier oil, and beeswax to make Shea Butter Lip Balm or a custom DIY Lip Balm.
- Jojoba oil, coconut oil, shea butter, and soothing herbs come together to create DIY lotion bars.
- Shea butter, aloe vera, chamomile, and coconut oil make a fantastic homemade diaper rash cream.
- Use shea butter combined with mango butter and cocoa butter to make a customized body butter.
Homemade Moisturizing Shea Butter Lotion Recipe (Without Coconut Oil)
Equipment
- 1 electric mixer or fork
- 1 medium-size heat safe bowl
- 1 medium-size sauce pan
- 1 4-ounce glass storage jar (or larger)
Ingredients
- 1/2 cup shea butter (4 ounces)
- 1 teaspoon arrowroot flour starch (optional, to make a non-greasy lotion)
- 2 tablespoons nourishing carrier oil such as: jojoba, sweet almond oil, or grapeseed oil. This can even be coconut oil or olive oil (if not using on the face).
- 5 drops lavender essential oil optional*
- 5 drops rosemary essential oil optional*
- 3 drops carrot seed essential oil optional*
- 2 drops tea tree essential oil optional*
Instructions
Step 1: Melt Shea Butter
- To melt the shea butter, make a DIY double boiler. This will allow you to melt the shea butter without it directly touching the heat.
- Place a medium-size glass bowl over a sauce pan filled 1/4 the way full with water. The glass bowl should sit just on top of the saucepan, without touching the water in the pan.

- Over medium heat, allow the water in the saucepan to simmer. Then add the shea butter and melt.
- Once the shea butter has fully melted (about 2-3 minutes), turn off the heat and remove the bowl from the heat.

Step 2: Add Nourishing Carrier Oil
- Stir 1 teaspoon of arrowroot starch into the liquid oil of choice (grapeseed oil, sweet almond oil, OR jojoba oil) and whisk to combine. Pour the oil (and arrowroot starch whisked in, if using) into the shea butter.
- NOTE: You can skip the arrowroot starch and add the oil directly to the shea butter at this step. The arrowroot creates a non-greasy lotion.
Step 3: Cool
- At this point, the shea butter and oil mixture should be cooler (along with the bowl). If not, allow it to rest for a few minutes.
- Place the mixture in the fridge and allow it to solidify (about 30 minutes to 1 hour, depending on location in the fridge and temperature). Alternatively, speed up the process by placing the bowl in the freezer.
Step 4: Add Essential Oils
- Once the mixture is opaque and firm (not solid as a rock), remove the bowl from the fridge.
- Add the essential oil (or a combination of essential oils) of choice, if desired. Add up to 15 drops of skin-safe essential oils to this mixture. A few of my favorite essential oils to add are listed in the recipe above. You can add your favorite essential oil or oils, not the ones listed above (if desired).

Step 5: Whip
- Use the whisk attachment and an electric mixer, hand mixer, or a fork to whisk the mixture until it appears "whipped." This doesn't take very long, just a few seconds using a mixer and a bit longer with a fork.

Step 6: Store
- Choose a beautiful glass jar (4 ounces or larger) and spoon your creation into the jar. Add a label, if desired. And store the lotion at room temperature in a cool place (like a bathroom cabinet) for up to 6 months.

Video
Notes
- Roman Chamomile
- Frankincense
- Lavender
- Rosemary
- Jasmine
- Carrot Seed
- Rose
- Lavender
- Tea tree
- Sandalwood
- Geranium
Natural Body-Care Simplified
Learn how to make your own body and beauty products with simple ingredients.
I will try and make it for my wife.
OK. I live in an area where stuff like shea butter & essential oils are very expensive or non existing. I’ve had pretty good sucess in making my own oils. However finding shea butter, beeswax & stuff like the are impossible. There are weight restriction on shipping & somewhat expensive. So, what should I use instead?
Hi – What is the shelf life of this?
thanks
Hey Caitilin, 6-12 months.
Hi Caitilin,
6-12 months.
LS Team.
Hi Kristin,
We were delighted to find this without coconut oil, but after making it with the 1 tsp of arrowroot powder as suggested, the finished product is HARD! It’s not soft and buttery like we had hoped. What can we do to improve this? We both have incredibly dry skin out here in the desert and cannot use coconut oil as it stays greasy for hours and hours (though this one isn’t too far from that using almond oil). I almost think our skin is hydrophobic LOL! Thanks in advance,
Sharon
Hi Sharon,
I’m so sorry this product didn’t work for you. Can you try it without the arrowroot powder to see if that helps with the consistency? That should make it not as hard. Im sorry for the dry skin! Come to FL to get all the moisture you want! lol.
Here is also another recipe that doesn’t use coconut oil: https://livesimply.me/smooth-homemade-lotion/
Please let us know if that helps or if there’s any other questions!
LS Team.
Hey all,
So I’m super new to making DIY lotions and things at home, and I had never made anything with shea butter before this. The shea butter recommended in the site (and maybe all raw/super natural shea butters?) has a *very* strong and distinct smell, and if you happen to not like that smell, it really isn’t going to be covered up by your EOs. Just a note – it seems like the lotion would feel nice for sure but I don’t think I will keep it as it just smells so terrible to me.
Hi Jessi,
I’m so sorry you don’t like the smell of the lotion, here is another recipe without shea butter. Let me know if this is better for you!
https://livesimply.me/smooth-homemade-lotion/
LS Team.
Thank you! I may give that a try. Really not you all’s fault, I just didn’t know what I was getting into with the shea butter haha! Lesson learned. 🙂 I appreciate the recommendation and follow-up!
My skin gets so dry this time of year. Thanks for the simple homemade moisturizer recipe with just a few natural ingredients. Perfect!
Thats wonderful, Scarlet! Glad it was helpful for you.
LS Team.
Love this except I accidentally overwhipped. How do I fix it please
Hey Beth, It should soften in your palm once you scoop. But if you want, you could scoop out and re-melt and whip again.
Hello Kristin –
I am looking forward to trying your recipe. I do not include Coconut oil or Cocoa Butter in any of my recipes. My choices include Shea and Kokum butters, Sweet almond and Jojoba oils. I live in south Texas so beeswax is also an ingredient. Also I find the ‘stand-up’ mixer really helps when you have to whip for over 10 minutes. There are a few inexpensive ‘stand-up’ mixers in the marketplace, that do just as well as the high priced ones.
I like the way you write your articles. Thanks for sharing. Here’s wishing you much success. Regards
Awesome, Dee!
Hi Kristin, I’m eager to try this recipe. I’m actually wanting to augment it with zinc oxide because I’ve had basal cell issues on my face and am allergic to chemical spf ingredients in commercial products. Can you think of any reason the shea butter version of your moisturizer recipe couldn’t be modified with the zinc?
Hey Liz, I think it would be great to make a version with zinc oxide.
Thanks Kristin! I’m having a hard time determining how much to use and am wondering also if the zinc oxide will appear make the cream noticeably white on my skin. I want to use your simple and easy recipe as a daily facial moisturizer.
Oh no, I guess I over whipped. It’s hard 🙁
Hey Siam, It will be on the harder side. That’s normal. But over-whipping will just put it over the top, so to speak. To use, just scoop some and then let your body heat (from your fingers/hands) soften the mixture before applying.
Hi Kristin,
What happened if over whipped?
Thanks!
Hey Siam, It will become super hard.
Oh no, I guess I over whipped. It’s hard 🙁
I just read ALL comments. I’m allergic to coconut, shea, aloe, almond stuff. I took notes & will try many suggestions in comments. My skin is super dry (no hormones left at 70). Desperately need moisturizers for face, hands & body. My toddler grandson has skin problems too. I’m also want a pure deodorant. Any reply appreciated.
How well does this clean out of the bowls you used?
Hey Rose, As long as you use a detergent (like Sal Suds or a dish soap) and warm water, it’s not too hard to clean out the jars. Anything that will cut the oil/butters.
Hi. This is the first time im using shea butter. I made this today and really made my skin silky soft. But I do have a doubt.
I feel i overwhipped my cream and it looks very solid (at 23*C room temperature) but wen i apply it, it melts fast and gives a greasy feeling. Is this supposed to be this way? I dont mind it on my body, but for my face it is too thick I feel.
What should I do?
Can’t wait to try this!
Kristin! I made your hand lotion but when mixing the oil and water It did not turn out so well. Could you take the temp of the water and oils when you make the lotion and let me know please/
Thank you
Charmaine
Hey Charmaine, I don’t have the temps at the moment. I’ll need to go back and remake the recipe again to get those.
Thank you Kristin for your response.
Hello Kristin, a few days ago I made this recipe and love it, except it is a little too greasy for me. I know you mention adding arrowroot powder to help with that. But, I didn’t have any arrowroot powder at the time. So, I picked some up at the store today and wondered if I could just add a tsp. of it directly to the cream and mix it or should I re-melt the lotion and then add? Thank you for this recipe, I will be making it often.
Hey Allison, I’m not sure if adding the powder once everything is mixed will work. If it’s too greasy to use, it’s worth a try. Another recommendation is to use to a very, very small amount of the lotion at a time. A little of bit of it goes a long way. That may help, too.
Would macadamia oil be okay to use?
Hey Rachel, I’m not sure. I don’t have experience with macadamia oil.
Hi,
I was wondering what could i substitute shea butter for? Shea butter makes me breakout.
Thanks.