Want to Save This Recipe?
Enter your email & I’ll send it straight to your inbox. And you’ll get new recipes & tips each week.
Now, I realize making your own homemade yogurt could very well put you in the ranks as being superwoman, but let me assure you…
I am not superwoman.
In fact, once you see how easy this homemade yogurt is to make, you will wonder why you haven’t made it yourself.
I am all about easy and tasty!
When the two combine, BAM, I love the results!
Before I share the steps to make homemade yogurt, I think I should settle something first. While I do make yogurt, I regularly buy it.. Gasp! I know.
Sometimes life pulls in too many directions and I just don’t have the time to spend an extra 15 minutes in the kitchen. I found a brand that is hard to find at big conventional grocery stores, but many health food stores carry it. I would love to share the brand, which reminds me most of homemade yogurt, however, I am concerned my readers may wipe me out.
Okay, okay, I will share.
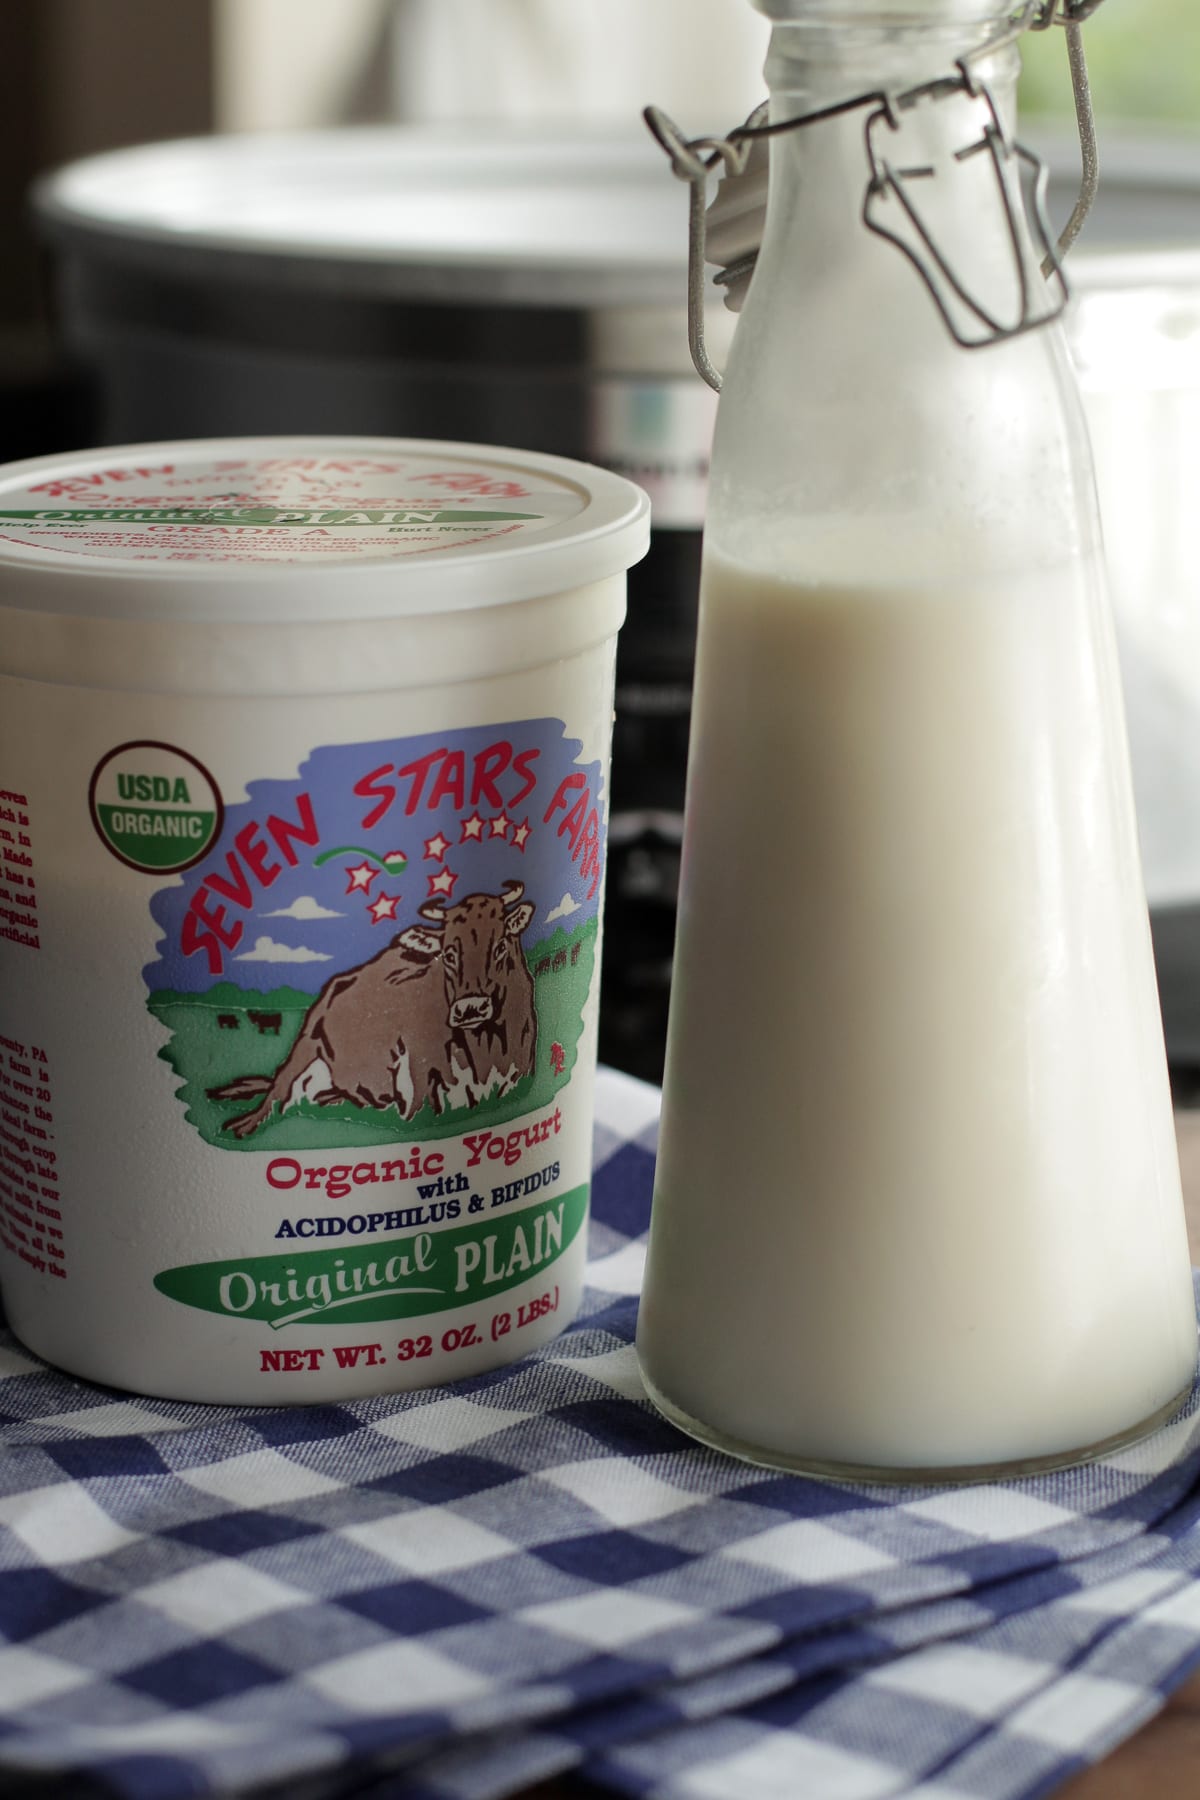
I love Seven Stars.
But, you must promise to leave some if you go out and buy this yogurt.
While most weeks I buy (in bulk through my food co-op) a case of Seven Stars Plain Whole Milk Yogurt, there are times it simply isn’t available or cost-wise I need to cut down on my food spending. Perfect time to make my own.
A few years ago, as our family decided to start eating real food and started reading food labels in the store, I realized the yogurt in the grocery store just wasn’t going to cut it! Talk about scary ingredients.
I switched over to Stoneyfield Whole Milk Yogurt, but the cost for our family was just too much for the amount we consumed each week. I tried many homemade recipes online but none really turned out well. One day I found a crock pot recipe featured on Keeper of the Home. I eagerly tried it out and guess what?
I successfully made yogurt!
I tweaked a few components of the recipe and soon found I could make great, real yogurt full of nutrients with just a few minutes of prep time and some planning.
If you are going to make this yogurt you will need to plan ahead. While this yogurt only requires 15-20 minutes of active kitchen time, it does need to sit for around 8-12 hours in a crockpot to allow it to culture and turn into creamy yogurt. I have found it works best to do all the prep work before I go off to bed and leave it out all night while I sleep. When I wake up, I have yogurt. Viola.
6 DELICIOUS
Yogurt Recipes
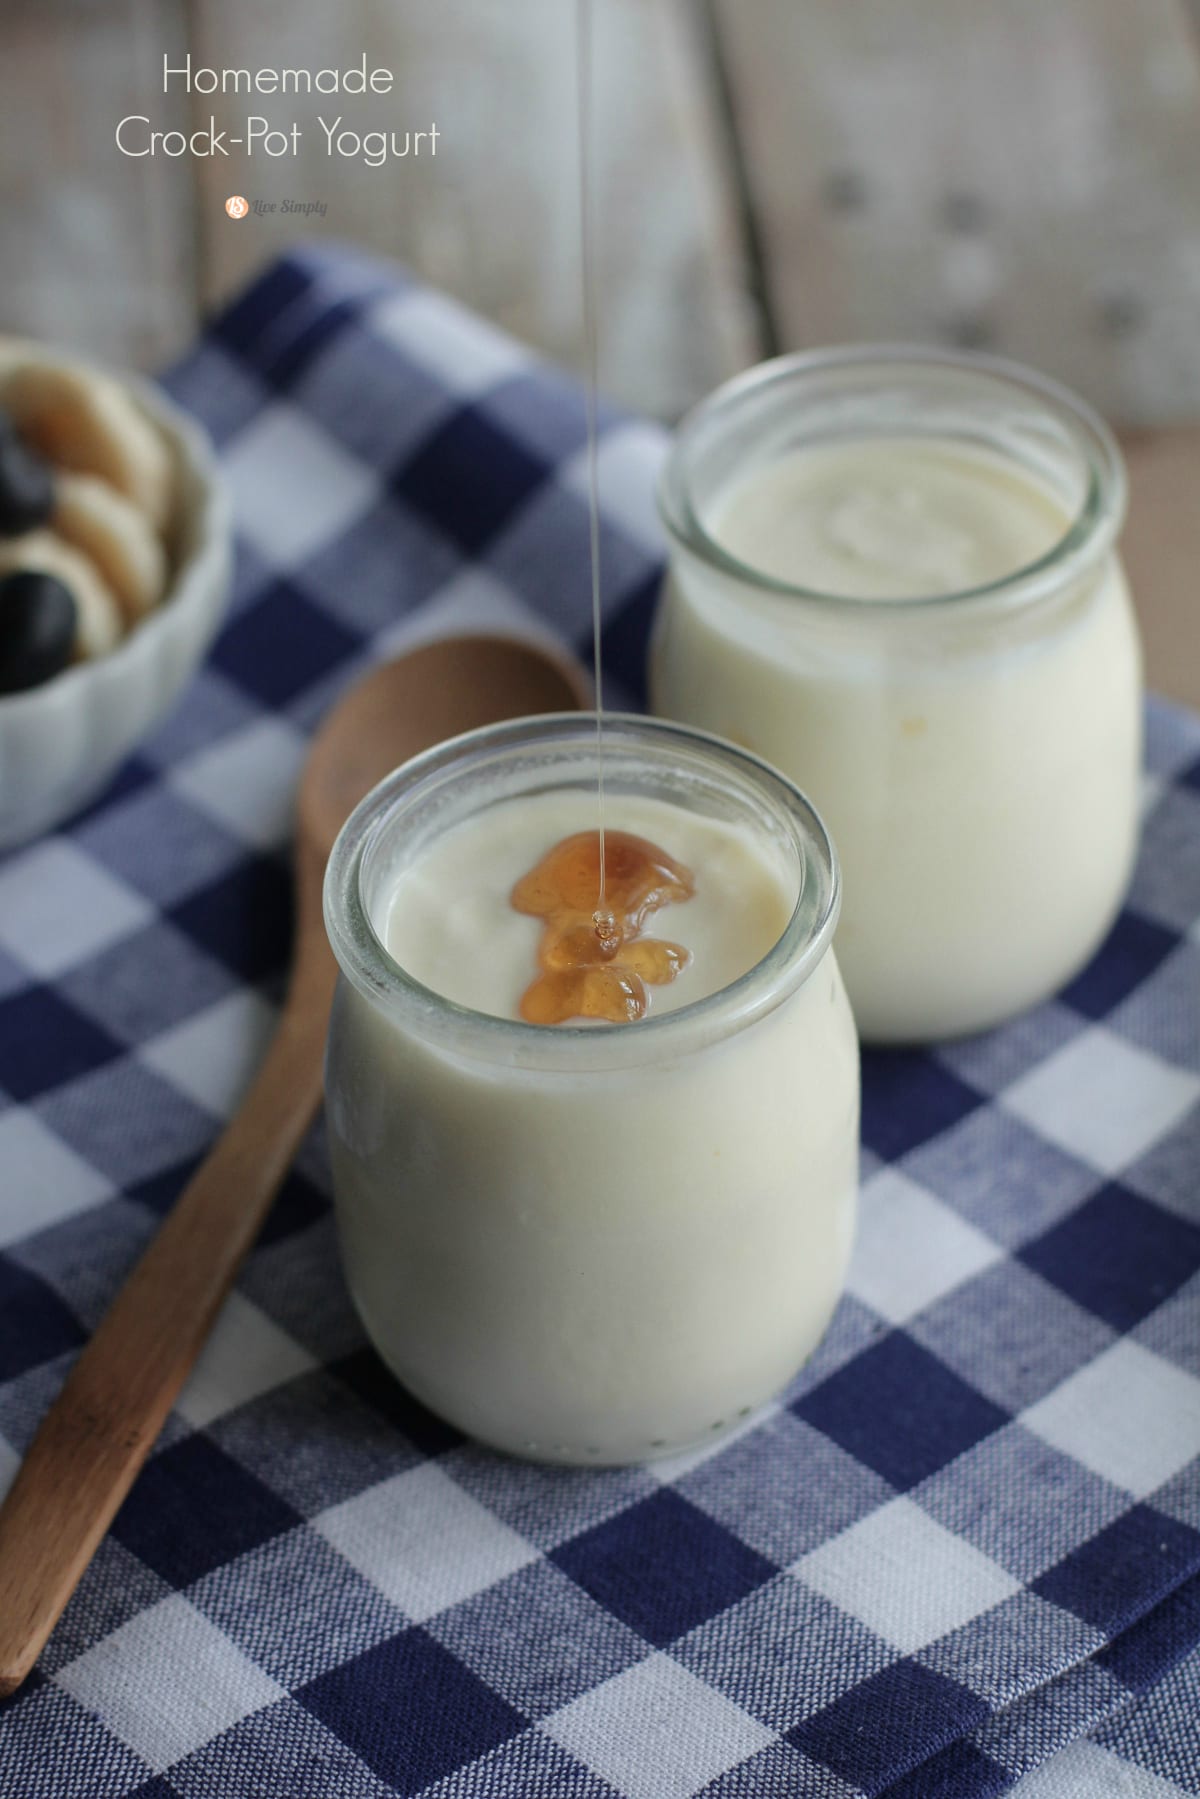
Homemade Yogurt in the Crock-Pot
Ingredients
- 1/2 cup plain whole milk yogurt this is called your “starter”. Read the ingredients on your store-bought yogurt to be sure one of the ingredients is ACTIVE CULTURES. In order to make yogurt, you need these cultures or good bacteria. In the future, you can save a 1/2 cup of homemade yogurt as your starter
- 1/2 gallon whole milk I have a difficult time getting my raw milk to always set properly. Please avoid using ultra-pasteurized milk.
Instructions
- Turn your crockpot on high. Be sure to do this first, as your crock pot needs to warm up properly before you place the milk inside. Now is also the time to take out your yogurt starter and let it sit on the counter, to warm up a bit.
- Pour all the milk into the pan (I use this) stirring occasionally until it begins to bubble and get frothy (around 185° if you would like to use a kitchen thermometer). Watch your milk to be sure it doesn’t bubble over or burn the bottom of the pan. While you are keeping a close eye on your milk, now is the time to get a cold ice bath ready for your pan. Fill your sink with some water and ice.
- Now that your milk has started to bubble, turn off the burner and transfer your pan to the sink full of cold water. Place the pan in the cold water, but don’t allow any of the water to enter the pan and touch the milk. Keep the lid on the pan. Allow, the milk to sit around 10 minutes. You want your milk to cooler, but not cold. You need to have warm milk for the crock pot.
- While the milk is cooling, scoop out a 1/2 cup of yogurt starter. Once the milk has cooled (but is still warm…10 minutes) turn off your crockpot (which is now nice and toasty warm). Place your yogurt starter and 1 cup of warm milk in the crock pot and gently whisk together. Now, add the rest of the of the warm milk to the crockpot and stir.Note to self: The baby will try to eat all your yogurt starter. Next time, make yogurt after bedtime.
- With the milk and yogurt starter in the crockpot (now turned off), place the lid on. Now wrap up your crockpot with a couple large towels. Tuck your milk and yogurt into bed, all nestled in to keep nice and warm. Let that bacteria get to work making fabulous, creamy yogurt!Leave your crockpot alone for 8-12 hours. The longer you let it sit, the tangier your yogurt will taste. I like the taste at 10 hours. I know you may be tempted to take a peak and spy on what’s happening under those towels, but don’t! Your milk and starter need time to culture.Relax!
- After 8-12 hours, remove the towels from the crock pot and you will find–yogurt! Before you stir or shake the yogurt, place your crock pot in the fridge and allow the yogurt to set. I usually allow it to set a couple hours. I’ve even neglected it all day in the fridge.
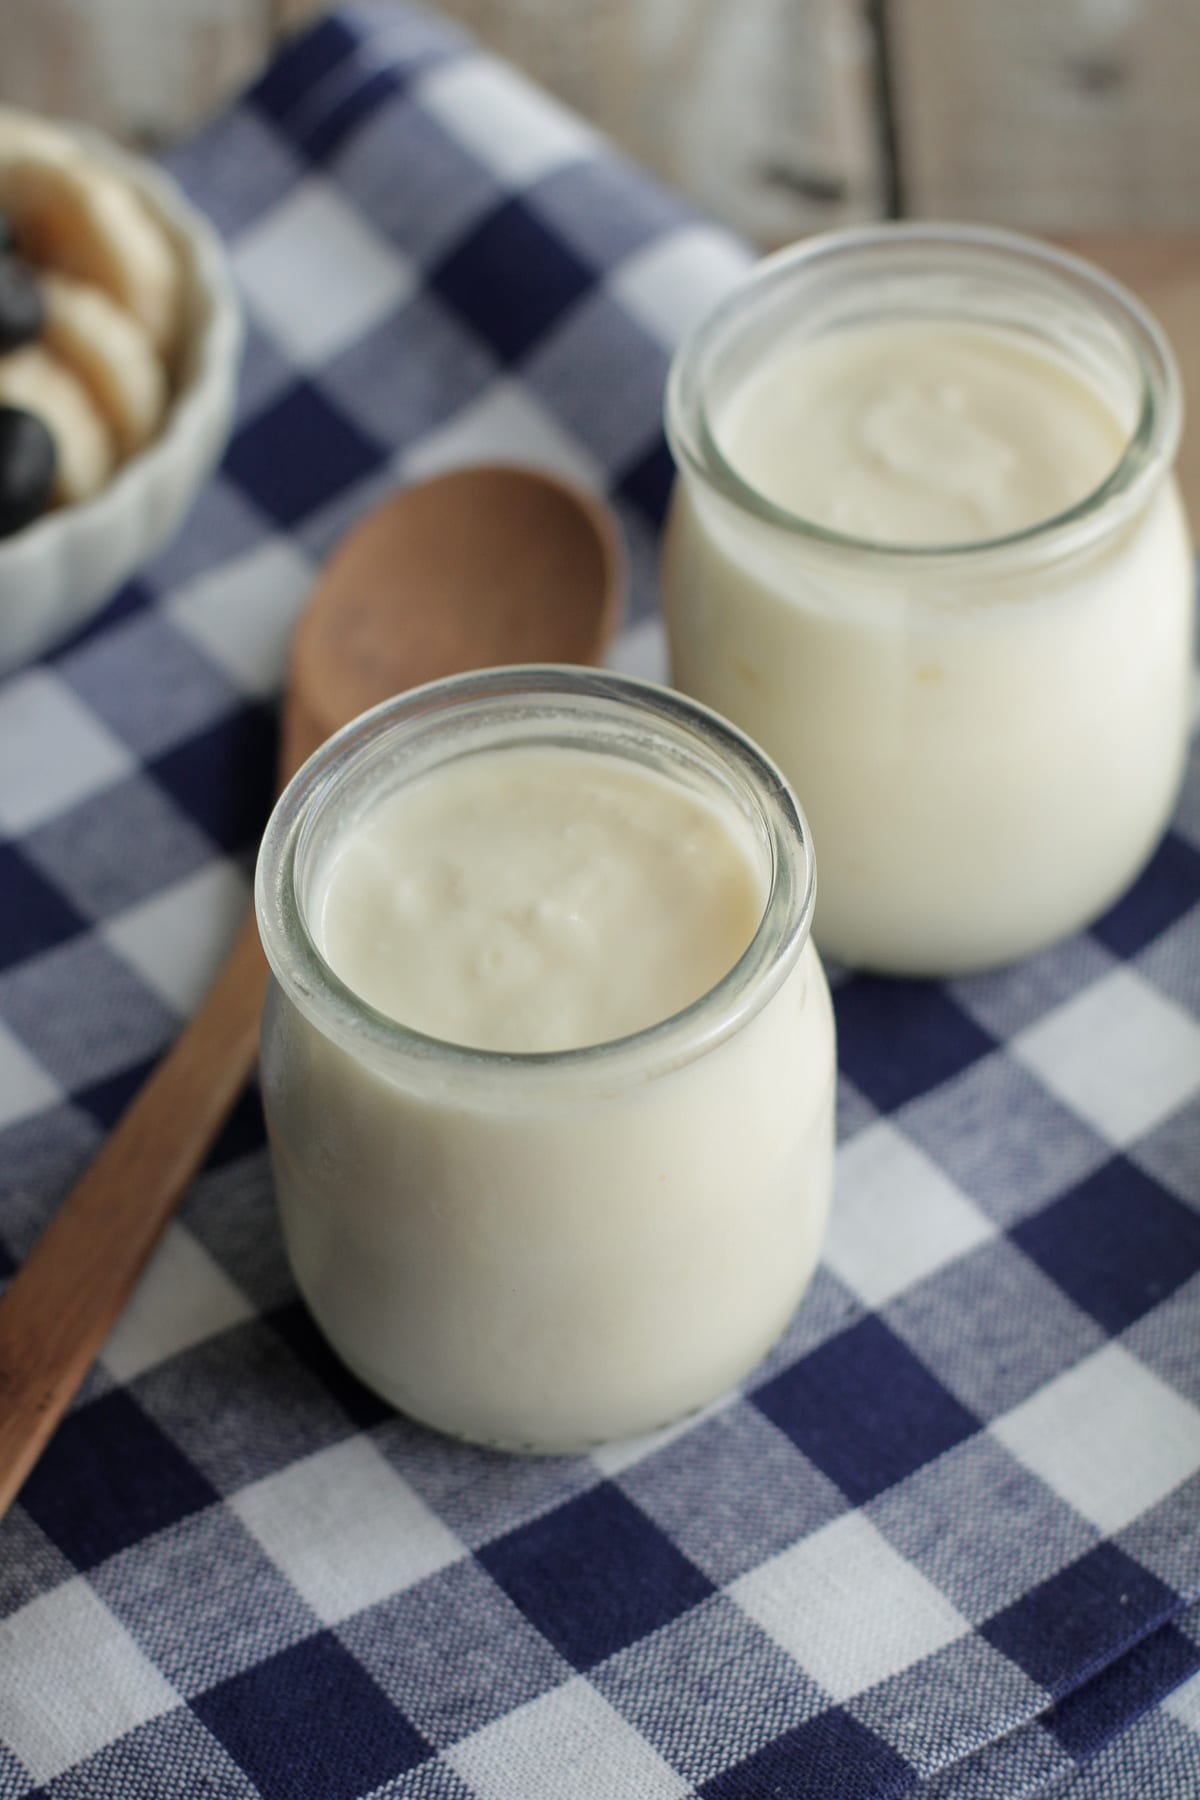
- After your yogurt has spent some time setting in the fridge you can now scoop into the containers of your choice. I use quart mason jars (like these).
- Store in the fridge and enjoy.
Nutrition
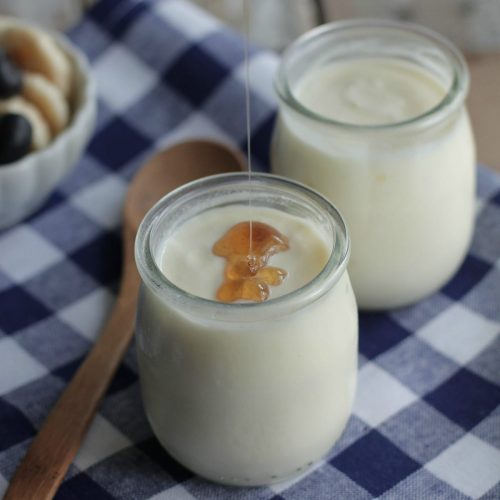
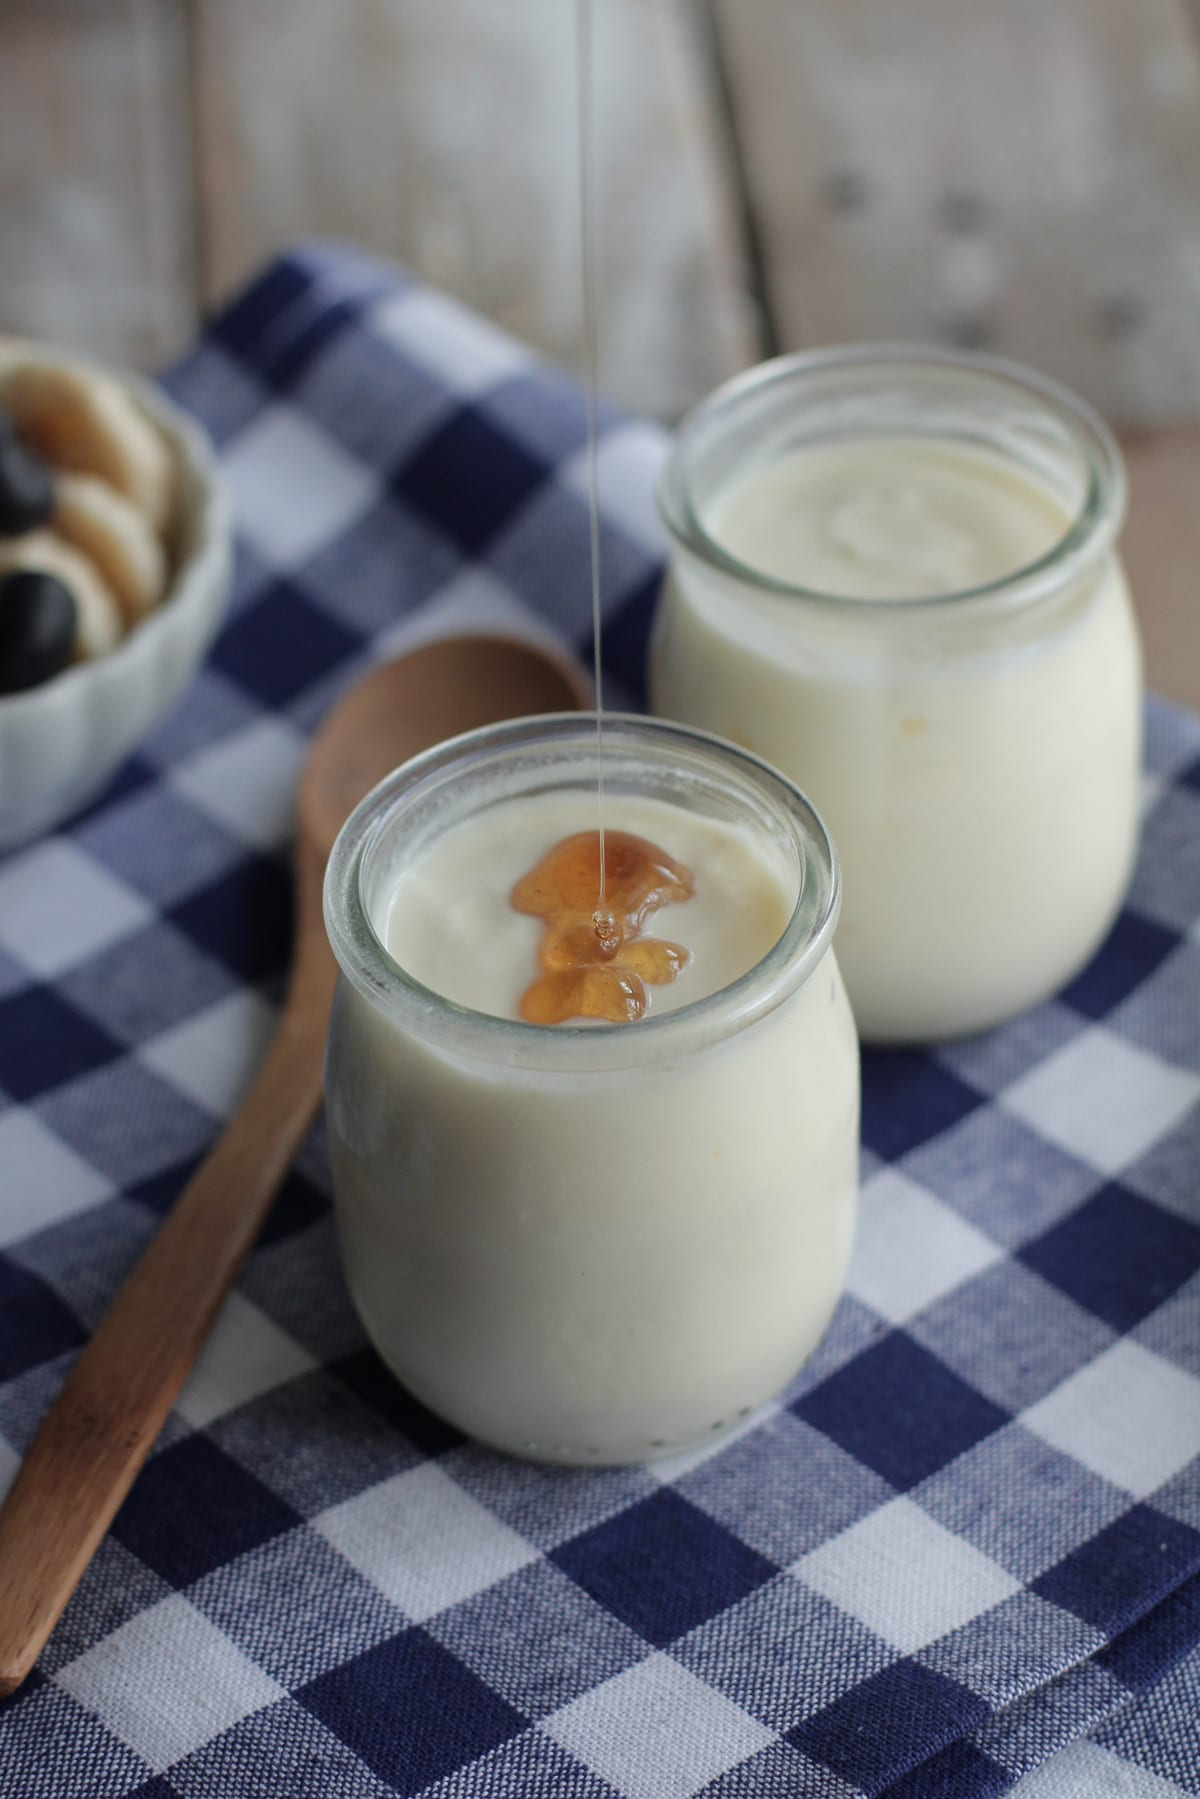
We like to drizzle raw honey in our yogurt. We also berries or homemade jam to sweeten it up. I occasionally semi-defrost strawberries and blend with a little honey in the food processor and mix into the yogurt for a fruity twist. Pure vanilla extract (learn how to make your own) and raw honey can be combined for a french vanilla twist.
Way to go superwoman!
What would you think about almond milk? We don’t generally use cow milk but LOVE yogurt.
Hey Tahsha, I’m not sure about almond milk, but coconut milk will work. Here’s a great coconut milk yogurt recipe: http://www.thespunkycoconut.com/2010/10/dairy-free-yogurt-2-soy-free-refined-sugar-free/.
Thanks for the link. Great info. I think I’ll try another batch tomorrow using the yogurt as the starter like you suggested! What I made was great in a smoothie. Thanks again!
Perfect, Tami!
Goodness…my coffee still has not kicked in…I missed the autocorrect in that msg…that should say impatient not emitted and a little runny not little tiny!!
Morning Kristin, and everyone else who may have input…I was so emitted to try and not patient enough to wait till I bought plain yogurt for a starter so I used 1/2 cup of kefir (a store-bought drink, not actual grains or anything). It worked, I think…but I’ve not done it w yogurt so can’t compare. It’s pretty tangy and a little tiny when I mix in homemade honey sweetened preserves…had anyone else tried it with kefir? Just wondering if I still should try it with yogurt starter.
Hey Tami, I haven’t tried using my kefir for making yogurt. Cultures of Health explains the differences between yogurt and Kefir starters well: http://www.culturesforhealth.com/difference-between-yogurt-kefir. The tanginess probably comes from the kefir, as kefir is incredibly tangy versus regular yogurt. For this batch, I’d reserve 1/2 cup for a starter and see how it goes next time or just use a yogurt starter.
I read on another site that vanilla or plain was fine to use, so I went ahead and used vanilla started with live active cultures and it turned out great! I’m now trying it with plain to see if there is a difference in the consistency (the website said that using vanilla would produce a slightly more runny yogurt than plain). Also, I”m going to make a gallon this time rather than 1/2 gallon. Hoping the recipe doubles nicely. Thanks for your recipe!!! 🙂
Congrats, Brandee! I’m so glad your homemade yogurt was a success. That’s very interesting about the vanilla versus plain. It will be fun to see how your next batch of yogurt turns out using the plain yogurt.
I think the recipe should double just fine…let me know how it goes!
Is it okay to use a vanilla flavored yogurt as my starter instead of plain?
Hey Brandee, I’ve never tried it. As long as the back of the container reads: “live active cultures,” I think the vanilla will work.
I can’t believe I was able to do this! I used raw and local goat milk and organic plain yogurt as my starter culture. WOW, I definitely feel like superwoman! This is amazing and it makes so much. I’m a big yogurt eater but have a hard time finding yogurt that is from happy and local animals so I’m glad I’m able to use the goat milk. Thank you so much for this detailed and well-written tutorial 🙂
That’s wonderful, Andrea!! I’m so glad the tutorial was helpful and the yogurt turned out amazing!
I tried this for the first time last night and it turned out amazing!!! We go through two of those big tubs of plain yogurt a week for morning smoothies and this recipe will really help cut the cost…. it’s honestly the best plain yogurt I’ve ever eaten…. love it! A big thanks for the recipe!
I also used a crock pot liner which made clean up a breeze and easy to transfer to a container in the fridge…. loving it!
That’s awesome, Brandi! I’m so glad you love it. And what a great idea to use a crock-pot liner!!
Hi Kristin,
Your yogurt looks amazing. I attempted to make it and followed the instructions exactly. Low pasteurized organic milk, plain organic yogurt, and wrapped the crock pot with the towel for 10 hours exactly. Let it sit in the fridge for
The end result was liquid thick milk with a hit of yogurt- ha!
I did notice that the milk didn’t quite make boil to 180, not sure if my crackpot is going. I kept testing it with the Thermometer and it didn’t work. So I made it to about 170. Is that the culprit?
Would love your feedback as I am giving it another shot.
Hey Astrid,
Lol, well, thick milk with a hint of yogurt is good :). Luckily, you can still use it. It will be great for smoothies and baking as it’s rich in probiotics, just not “spoonable.”
The milk should come to a slight boil in the soup pot or sauce pan (while the crockpot heats on the side). The crockpot doesn’t do any actual cooking. The reason for heating of the crockpot is to create a very warm environment for the cultures in the yogurt starter to thrive and grow…creating yogurt. The milk in the saucepan or soup pot can take a bit of time to reach that slight boil…around 10 minutes, as it’s done slowly to not burn the milk on the bottom of the pan. Once the milk is heated in the soup pot or sauce pan, place it in the water and allow to cool, just long enough so when you add the yogurt starter to the milk it’s not scorching hot and kills the cultures. Then add the milk and yogurt starter to the crockpot and turn off as the heat has done the job of creating a warm environment. Place the top on the crockpot and wrap in towels to keep that nice warm environment. Then, follow with the fridge later.
Hope that helps clear things up :). Let me know if you have questions.
Do you think this could be done with goat milk?
Hey Samantha, I think goats milk will work very well!
How long is it good for?
Hey Amanda, Yogurt is cultured, so it will last a few weeks in the fridge.
Mine was a bit runny and lumpy but I just discovered that i used homogenized milk. Is that why there were lumps. It tastes awesome though and I’ll definitely try it again. After reading the comments I’ll also try straining it.
Hey Belinda, I’m so glad it tastes great! There’s nothing like the taste of homemade yogurt. Sometimes letting the yogurt set for a bit longer in the fridge can help create a thicker yogurt. Homemade yogurt will always be a bit runnier than store-bought due to the lack of thickeners, but shouldn’t be liquid either.
I make this with a gallon of milk and it makes about 8 cups which I eat all by myself each week yum!!! I use a crock pot liner so I don’t have to clean the crock and it transfers easily to strain for thicker “greek” yogurt. After it sits for 8hrs I put mine in a cloth lined strainer that’s set in a 13×9 baking dish that’s on a cookie sheet to drain the whey out for 8-10hrs and it becomes super thick which I love!!! I have it on the extra pans because the whey drips from the cloth that overhangs and it gets messy on the counter. You can drain less for less thick but I love it that way. It also works good to put on stuff like you would sour cream.
Awesome, Lisa! Thanks for sharing!
Hi Kristin,
I have been reading about homemade yogurt now I think I’m ready to try, question – would grocery store brand organic milk work (in gallon jug)? I’m not sure how pasteurized it is.
Thank you!
Hey Shirley,
As long as the milk isn’t ultra-pasteurized it should work. The jug will usually read “ultra-pasteurized…” if the milk is ultra-pasteurized. Regular pasteurized milk will work great for this recipe. I can’t wait to hear about your yogurt-making!
Love his recipe—super user friendly! Thanks!!! I have made it a couple of times and planning on another batch this week. I have noticed mine runnier than store bought yogurt—but it looks like I should just strain it in a cheese cloth a little bit? What is the best way to do that? A scoop at a time? Thanks!
Thank you, Robyn. The yogurt will be a bit runnier than store-bought yogurt. You can strain it through a cheesecloth. Slowly pour (scoop) the yogurt in a cheesecloth (with a bowl underneath). Hang the cheesecloth over the bowl for about an hour. The liquid in the bowl (whey) can be added to smoothies or used for soaking grains or fermenting. The yogurt in the cheesecloth can be scooped into a container and enjoyed.
Thanks so much! I appreciate the advice! Making it again this morning!
You’re welcome, Robyn! Let me know how it goes.
Ok…..so I LOVE this recipe and have made it a ton. Thank you! HOWEVER, I made it yesterday and totally forgot about it and left it in the crockpot an extra 10 hours before moving it to the fridge!!!! Does it need to be trashed or can it still be used (without anyone getting sick)? I didn’t try it..I’m sure it’s super tangy though.
Thanks for any help/advice!
Hey Robyn, I’m so glad you love this recipe!! 🙂 I think your yogurt will be just fine (thanks to all the wonderful culturing that happened in the crock-pot), but it’s probably super tangy!
Well as long as you don’t think we will get sick I’ll probably at least use it in smoothies if it’s too tangy to eat straight.
Thanks!
Wow! Can’t wait to try this! I have two questions: I live at nearly 9,000 ft elevation, the ‘bubbling point’ of milk is obviously lower here, are there any adjustments that need to be made in the recipe for altitude? The second question is this: I ONLY have available here raw milk or ULTRA ULTRA pasteurized boxed (unrefrigerated) milk. Do you know of any adjustment I can make to use the raw milk for yogurt? Thanks for the wonderful recipes.
Hey Katrina, I’m not really sure about altitude. I live in Florida at sea level, so I’ve never had the chance to experiment with higher altitude cooking. I might try googling “making homemade yogurt at high altitude”. I would suggest not using the ultra-pasteurized milk. The milk is basically dead and won’t culture or even set. I personally don’t have a ton of success with raw milk, but I know bloggers that love using raw (successfully). Jenny at Nourished Kitchen talks about using raw milk here: http://nourishedkitchen.com/raw-milk-yogurt/. Much success!
I make yogurt using raw milk all the time. The temp matters big time while making this. You should never add the yogurt starter at a temp higher than 110 degrees, the cultures can’t survive high temps. I do the entire process in the crock pot. I add the milk to the crock on low leave in until it reaches 110 then add the starter. I remove it from the base and let sit wrapped in a towel in the oven over night with just the light on. I also strain off the whey to make a thicker Greek style yogurt. Love this yogurt!
Very good to know! Thanks for sharing, Jeni.
I love those jars in the picture! Where do you get them?
Thanks, Jean! They are actually glass yogurt containers. I can’t remember the brand, but I believe you can find them at Whole Foods and some health food stores.
Would love to try this soon but need to get the utensils first! Question: how long does the yogurt keep in the fridge after it has been made? When would I need to use it by and how much yoghurt do you end up with? How many jars would I need?
Hey Jessica, Yogurt tends to keep longer than milk due to the wonderful bacteria. I’d probably keep it in the fridge for two weeks. You could also freeze any extra yogurt. I usually end up with about 2 quarts of yogurt- so two quart size mason jars or about four pint sized jars. Enjoy!!
I’m sure it will be completely gone before I need to know this, but after yogurt is transferred into containers, how long can it be stored?