Today, kids are all about food that comes in a pouch or stick. There’s fruit pouches and yogurt sticks and cheese sticks. As a mom, I see the convenience of those pouches and sticks. And I fully welcome this convenience when needed.
Want to Save This Recipe?
Enter your email & I’ll send it straight to your inbox. And you’ll get new recipes & tips each week.
I also want to make sure that what my kids eat will give to their body and nourish them. Most of these convenient options, which are purposely marketed to children, contain ingredients that I personally don’t want to feed my kids (or myself) on a regular basis (like added synthetic vitamins and food preservatives and artificial food dye) or an extra large amount of sugar(s).
That’s not to say that my kids don’t ever enjoy yogurt sticks, or other fruity pouch snacks, but when they do it’s usually more of a treat than a regular snack.
This summer, that changed. Yogurt sticks have become a regular summer snack. Let me explain…
A few years ago, Renee, from Raising Generation Nourished, shared a post on the blog about how to make your own yogurt sticks. I honestly forgot about her post, and it’s kind of “slipped through the cracks” here on the blog.
This past year, thanks to some family influence, my kids have fallen in love with yogurt sticks. Stonyfield brand to be specific.
Now, are Stonyfield yogurt sticks horrible? No! But they are made with way more sugar than I would use at home to sweeten yogurt.
Early this summer, my kids began regularly requesting yogurt sticks during our grocery store trips, and for a while I accommodated this request. I’m not opposed to purchasing the sticks, but this was becoming much more than an occasional treat request. And, store-bought yogurt sticks are expensive! Then, I remember Renee’s post, from way back when, and thought, “Wait, I can make yogurt sticks!”
I didn’t know what the kids would think. After all, homemade yogurt sticks don’t exactly have the same packaging appeal as the store-bought sticks. How could I compete with a jumping blueberry that plays soccer or a dancing strawberry? Why do companies make it so hard for parents to compete with their cute packaging and fun graphics? Anyway, despite the uncertainty, I decided to “test the waters.”
One of the best ways to get kids excited about something new, particularly a food, is to encourage their participation and to really hype up the new experience and food. I ordered the yogurt stick molds from Amazon and told the kids, “Hey I bought yogurt stick molds! Let’s try making our own. What flavor would you like to make?”
Both kids were interested in the idea and offered suggestions. Piper suggested blueberry and Londyn was all about strawberry and mango. Once the molds arrived, we got to work…
Our Homemade Yogurt Sticks Experience
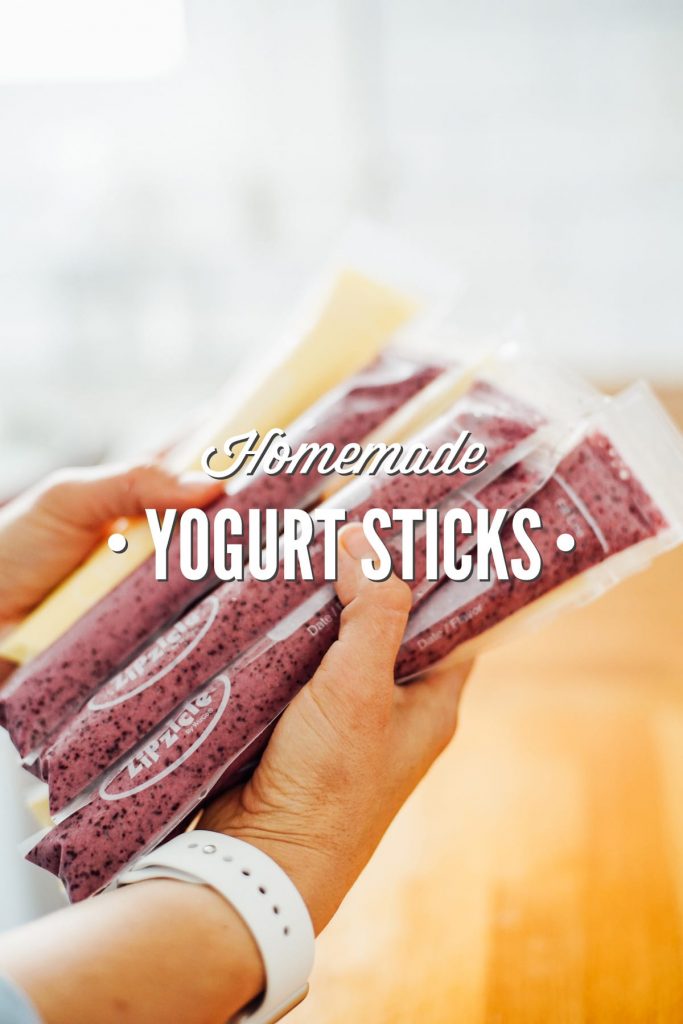
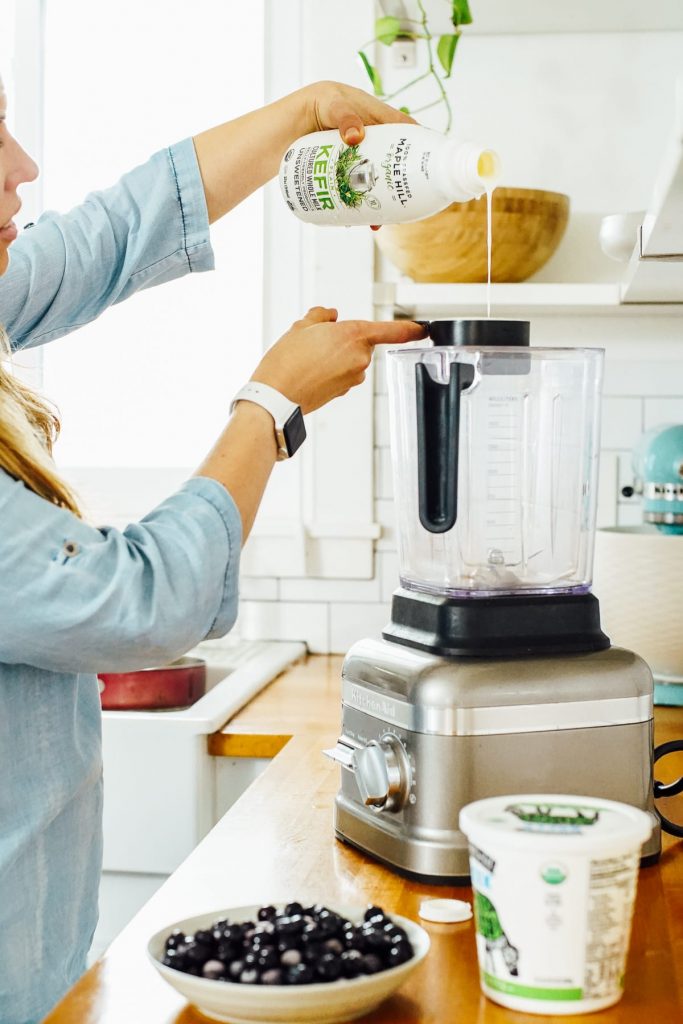
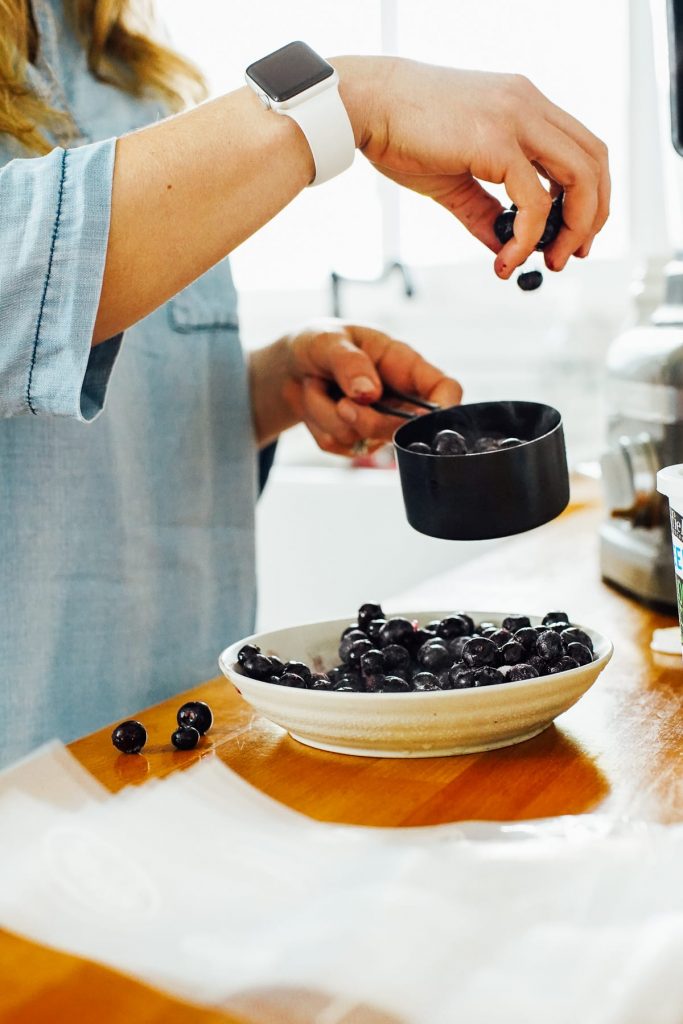
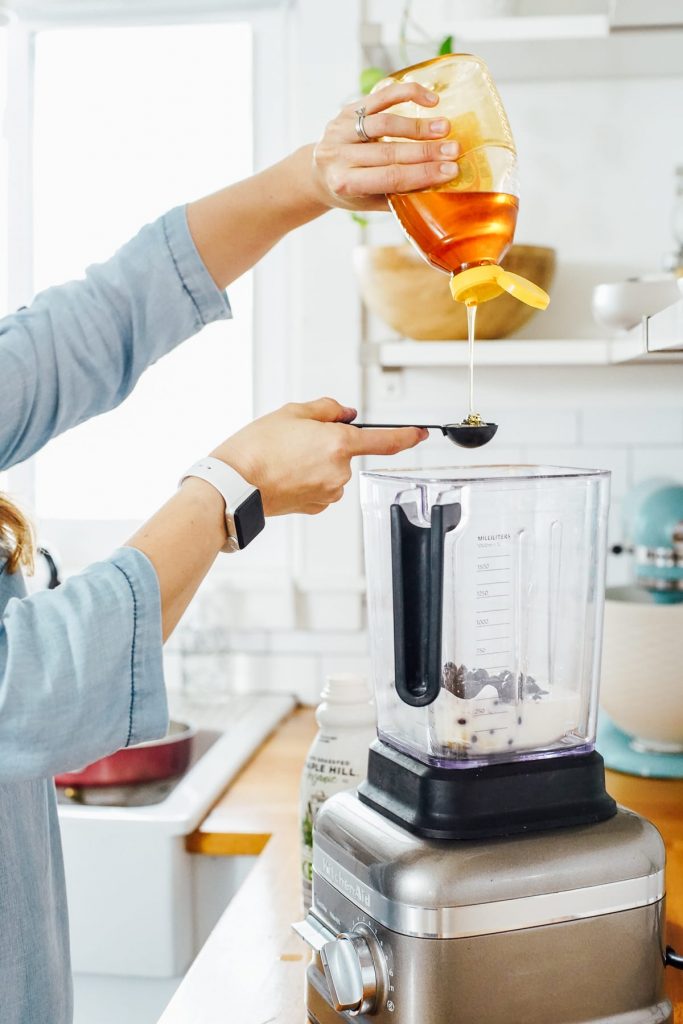
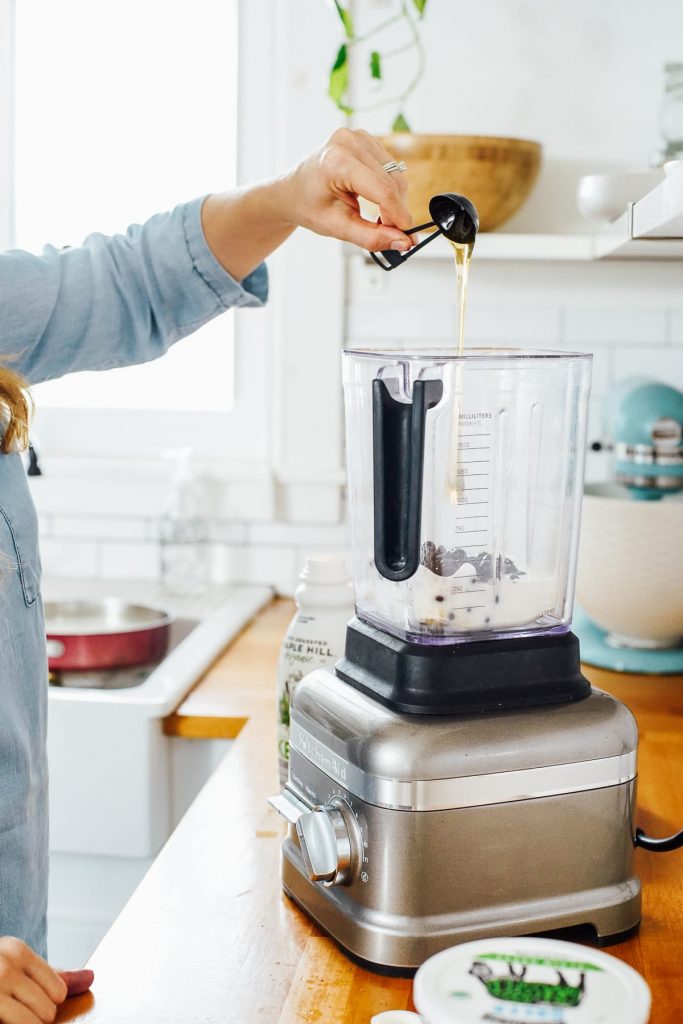
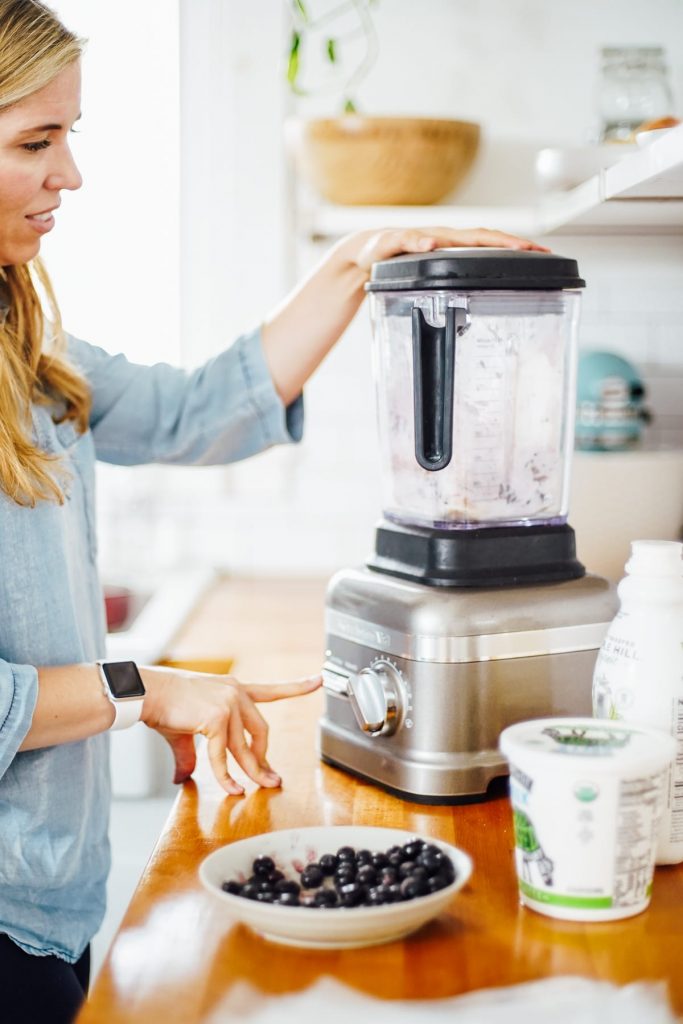
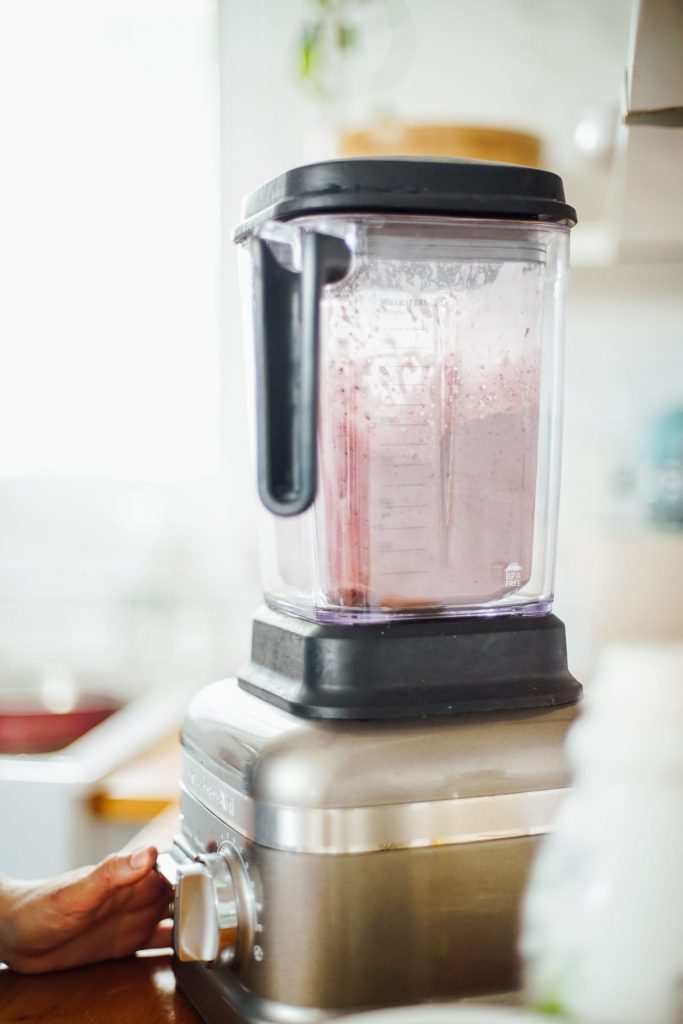
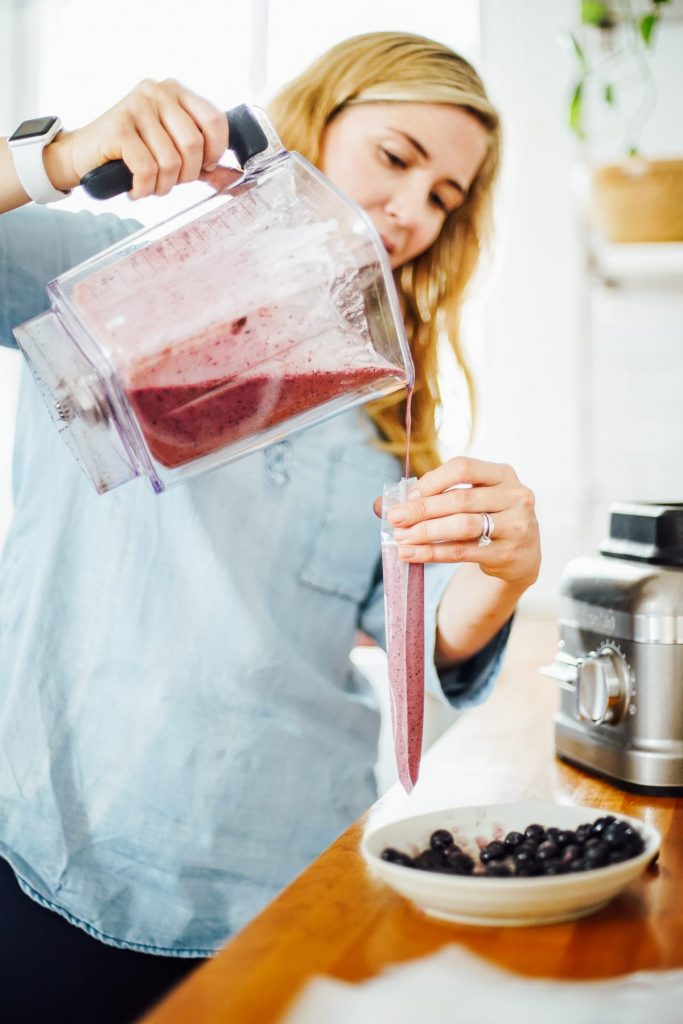
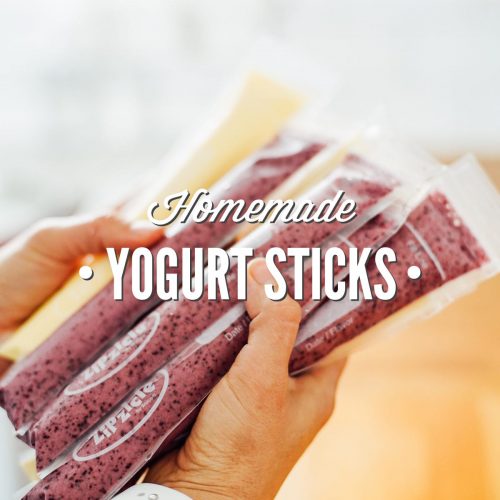
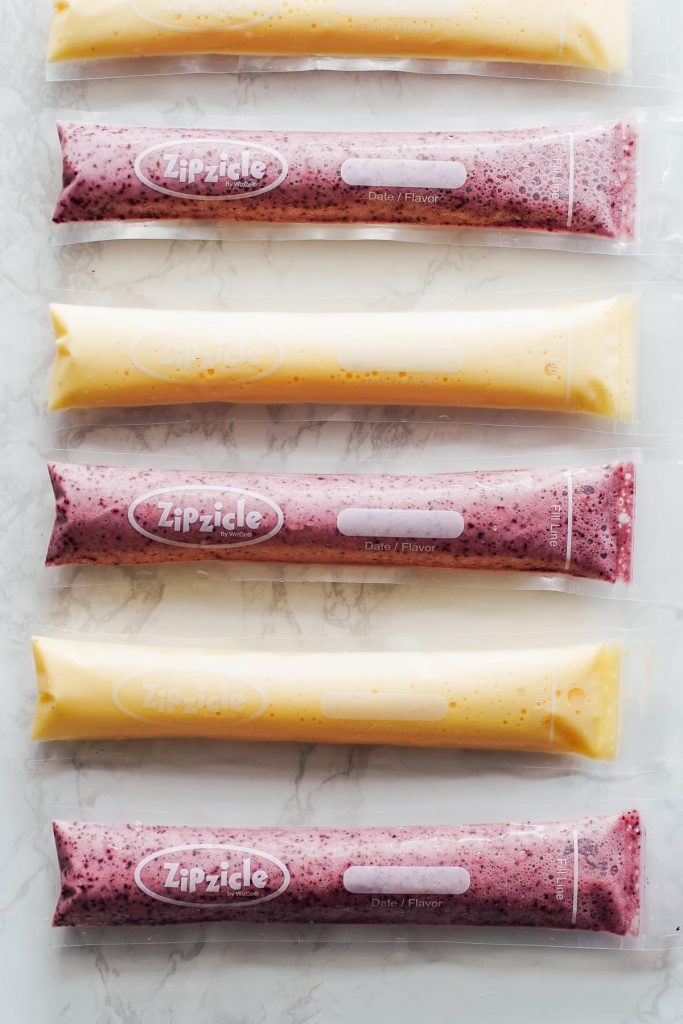
To make the yogurt sticks, we blended up the first choice of fruit (blueberries) with kefir (a probiotic-rich, fermented dairy product) and a bit of honey. Once blended, we poured the mixture into a few yogurt stick molds and then placed our creations in the freezer. We repeated the process again, per Londyn’s request, with mango chunks, kefir, and honey. And, again, placed the sticks in the freezer.
Hours later, the yogurt sticks were frozen solid and ready to enjoy. The question remained…
Would the kids like the homemade yogurt sticks?
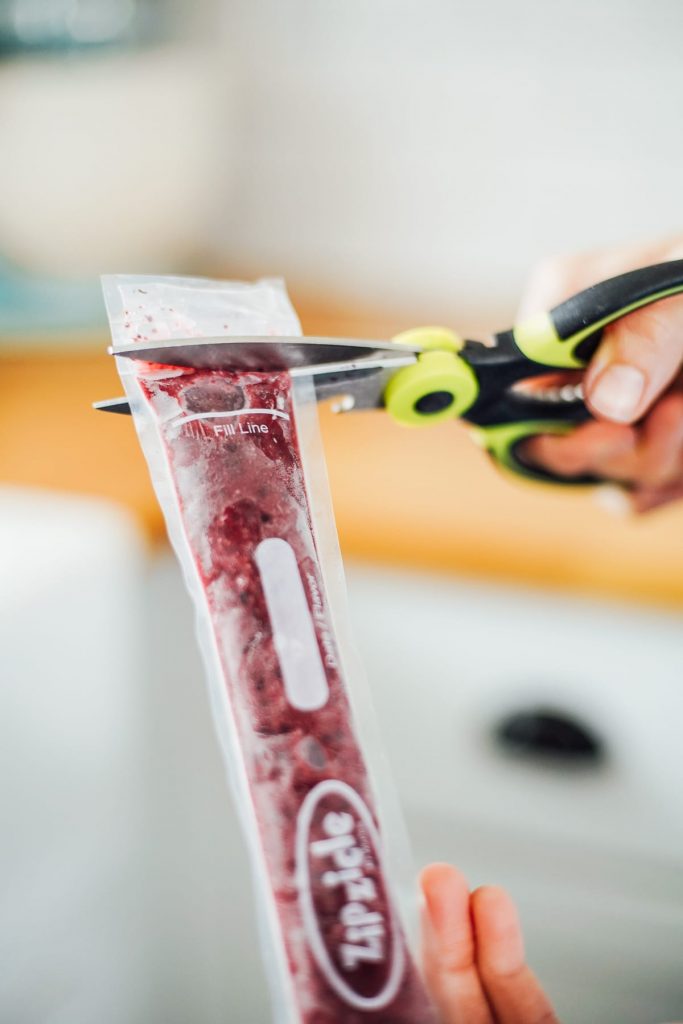
They not only liked the yogurt sticks, they loved them! They loved them so much that I’ve been able to wean them off the store-bought version. Take that Mr. Soccer Blueberry. They’ve become a favorite summer treat; one that we’ll continue to make once summer passes. They’ve also been a great snack for summer camp (if packed in a cooler bag).
The Best Molds for Making Homemade Yogurt Sticks
The key to making your own yogurt sticks is the molds. There are two types of mold options: disposable molds and reusable molds.
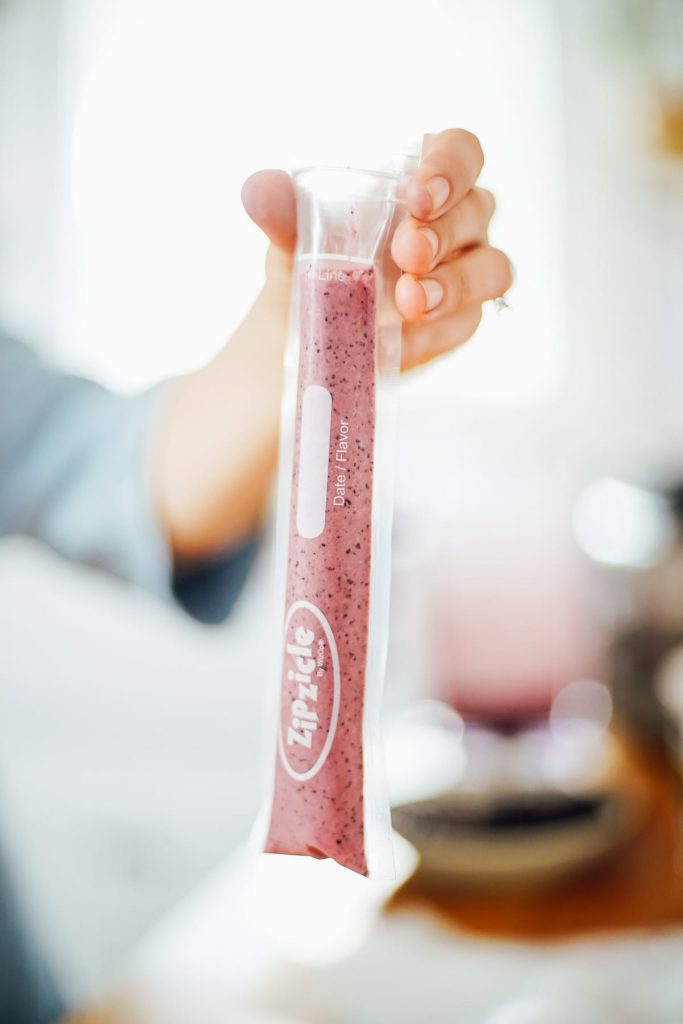
Zipzicles are plastic, disposable molds that allow you to make your own go-gurt style yogurt sticks. The alternative, reusable option is a silicone mold. I don’t trust silicone molds for school (right now, summer camp) or on-the-go, but they’re a great option for home.
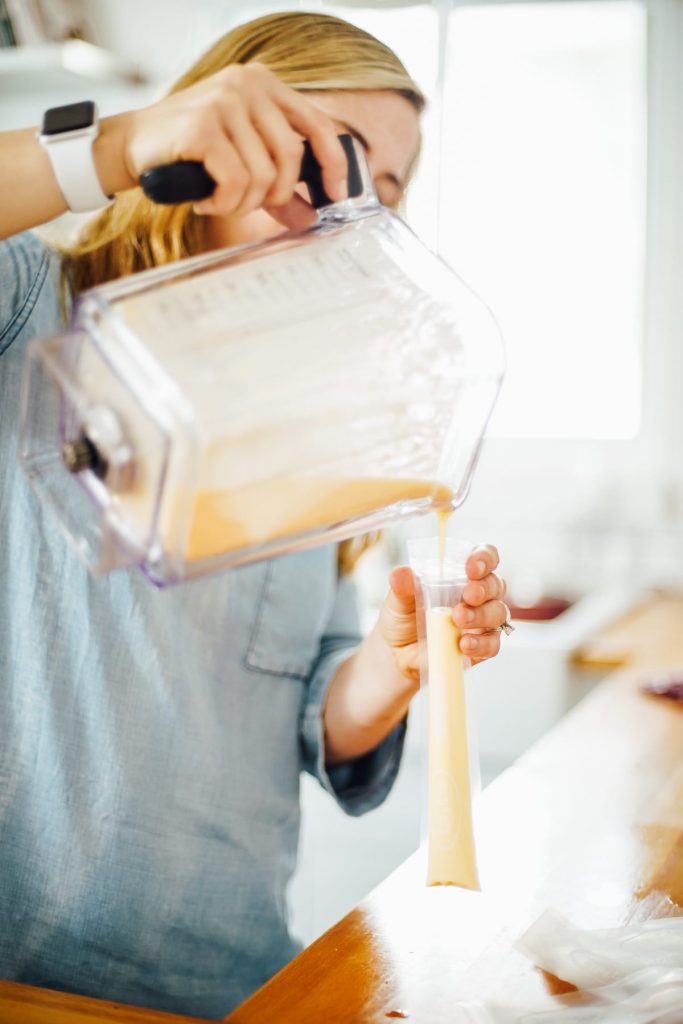
Once you have your mold of choice, making the yogurt sticks is super easy. Simply blend together your fruit of choice, yogurt or kefir, and honey. Pour the mixture into the molds and freeze until firm.
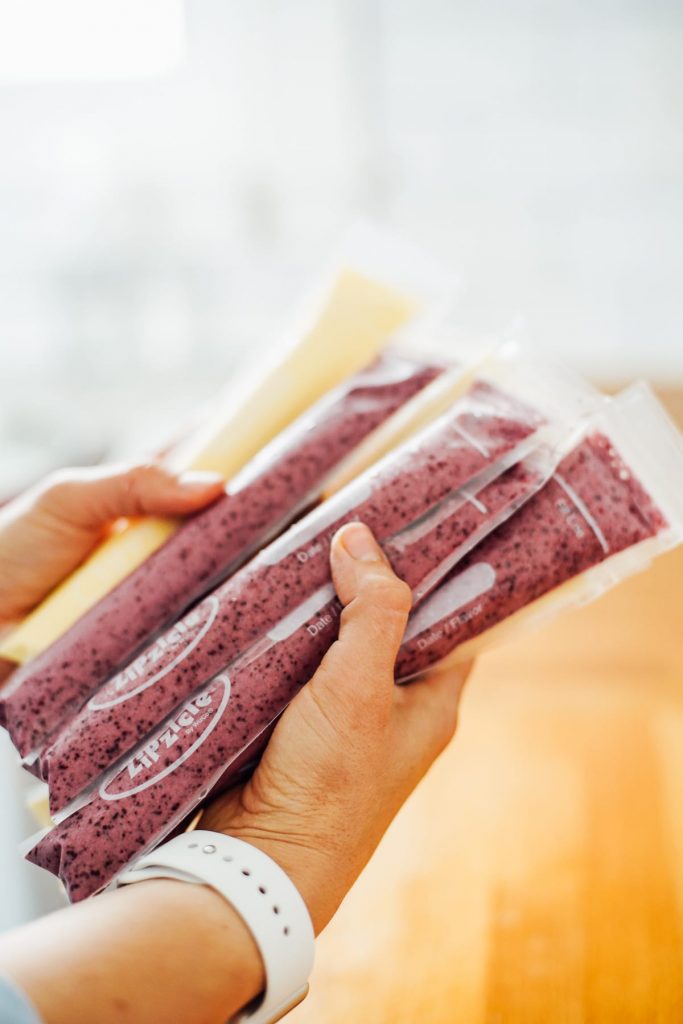
How to Customize This Master Recipe
Today’s recipe is a master recipe, which means that with this one recipe you can make multiple variations. Let’s talk about how to use this recipe to make your own custom variations:
- Fruit: You may use just one fruit or a mixture of a few different fruits (totaling up to 1 cup). Some ideas: strawberries, mangoes, blueberries, pitted cherries, peaches.
- Yogurt or Kefir: To blend the fruit, you’ll need some sort of liquid. I like to use plain yogurt or kefir (a fermented yogurt-like drink). For dairy-free yogurt sticks, use a plain dairy-free yogurt, like Kite Hill brand. Another option is coconut milk or coconut cream.
Honey is the third ingredient used in this recipe, and you could certainly try using sugar instead. But I highly recommend sticking to the honey. It adds just the right amount of subtle sweetness.
More Real Food Ideas for Kids
While this snack/treat appeals to kids, the adults in our home also enjoy the homemade yogurt sticks. That said, if you’re reading this post, I’m guessing you probably have kids, so I want to share a couple of resources to help you feed your kids nourishing, real food:
- Healthy Snack Ideas for School: A ton of ideas for school or a morning at the park.
- Over 20 Lunch Box Ideas for Kids (and Adults): Real food ideas for the lunchbox.
6 DELICIOUS
Yogurt Recipes
Homemade Yogurt Sticks
Ingredients
- 1 cup
semi-defrosted frozen fruit
such as: blueberries, strawberries, pitted cherries, mangoes, or peaches* - 1 cup
plain whole milk yogurt
or dairy-free yogurt, kefir, or filmjolk (similar to kefir, such as: Siggi’s brand)
- 1-2 TB honey to taste
Special Equipment:
- Zipzicle molds disposable option OR
- reusable molds
- blender or food processor
Instructions
- In a blender or food processor, blend the fruit, yogurt (or kefir), and honey. Taste the mixture and adjust sweetness (adding more honey, if necessary).
- Pour the mixture into Zipzicle molds (or reusable molds). Note: This can be quite challenging if the mixture is super thick. If so, allow the mixture to defrost a bit before pouring into the molds. Use a small funnel, if needed.
- Store the yogurt sticks in the freezer for up to 2 months. Enjoy frozen or defrosted.
Notes
Nutrition

Thank you! I just ordered the zipsicle bags. Your website/blog is amazing and so incredibly helpful. I am learning so much from you
Awesome post, I will have to make.
So easy and delicious! I made our first batch while I had a house full of my daughter’s friends. Needless to say, none of the tubes made it into the freezer and they all wanted to know what flavor I was going to make next.
That’s awesome!! Love that, Katie!
Would this work if I just wanted to make blended yogurt? I’ve been making homemade yogurt in the instant pot; but it hasn’t been that great of a hit. It needs some flavor! I think this would totally work!:)
Hey Ticia, It could, not sure what the consistency would be like in the fridge after many days. Another option is to mash up the fruit with the yogurt and add honey and touch of vanilla. That should give you more of a sweet, fruity yogurt.