Want to make rice quickly and easily? The Instant Pot is the best way to do this! In this guide, you’ll learn how to cook Instant Pot rice with a quick-cook recipe for basmati rice, jasmine rice, brown short or long grain rice, and white long grain rice.
I’ll share the cooking times for each variety of rice. And how to make perfect rice every time: fluffy without sticking, burning, overcooking, undercooking.
Want to Save This Recipe?
Enter your email & I’ll send it straight to your inbox. And you’ll get new recipes & tips each week.
Can you cook rice in the Instant Pot?
The Instant Pot is a great option for cooking rice. Just as I enjoy using it for many full meals (see my favorite Instant Pot recipes), when you use the electric pressure cooker for your side dishes it is completely hands-free and reduces cooking time in half. Set it and forget it, and come back to perfect rice, every time.

What kind of rice can you cook?
You can cook any variety of rice in the Instant Pot.
The key factor when cooking rice in the Instant Pot is determining your cook time and steam time (natural pressure release time).
For this recipe tutorial, I focused on basic, plain rice that you would pick up at the grocery store as a dinner side (with Instant Pot beans or teriyaki chicken) or to enjoy in stuffed peppers or fried rice.
Whether you shop organic or not, store-brand rice is one of the most affordable grains, and most people enjoy plain rice with a butter and salt (or cooked with chicken broth instead of water) on their plates.
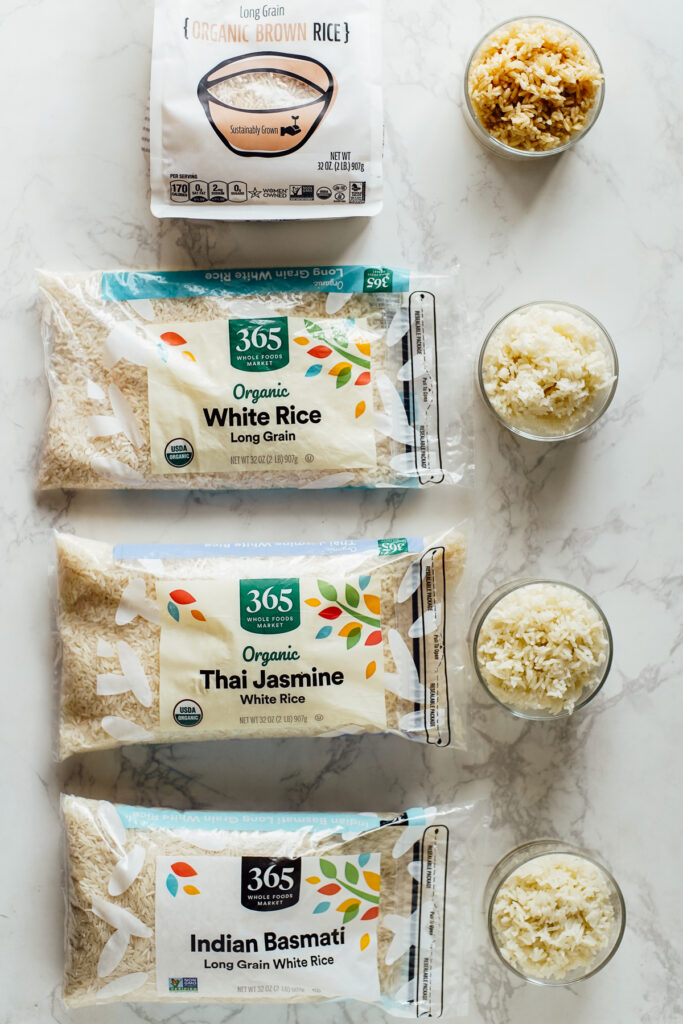
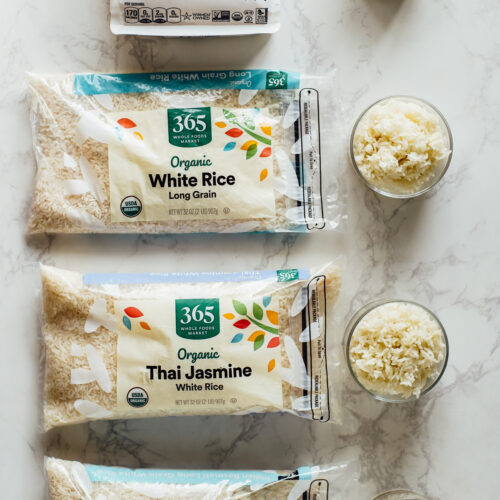
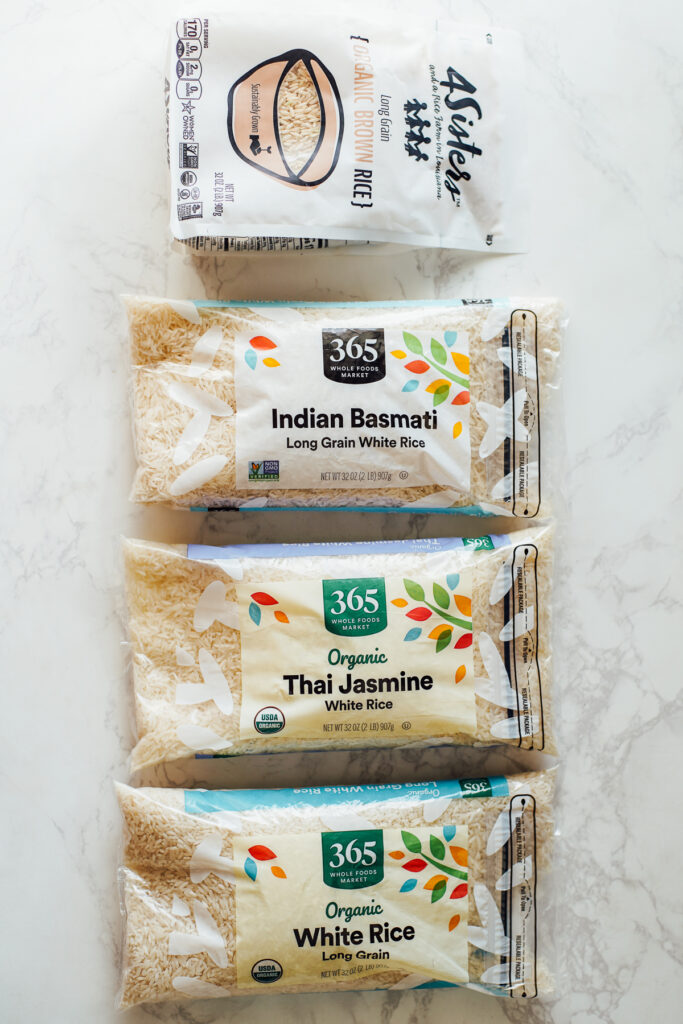
Generic rice is often a simple long-grain white rice, so I made sure to perfect this recipe for that option as well. I also tested Basmati and Jasmine, which are slightly different grains with wonderful flavor. If you are a fan of brown rice, I also tested both long and short grain versions for when you want that specific texture.
How to Make Video
Step-By-Step Instructions
Tools and Ingredients You’ll Need
Making rice in the Instant Pot only requires 5 minutes of hands-on prep time. From there, the Instant Pot does all the work. Let’s go over what cooking looks like, step-by-step, from start to finish. Then, I’ll share the cooking times for each rice type.
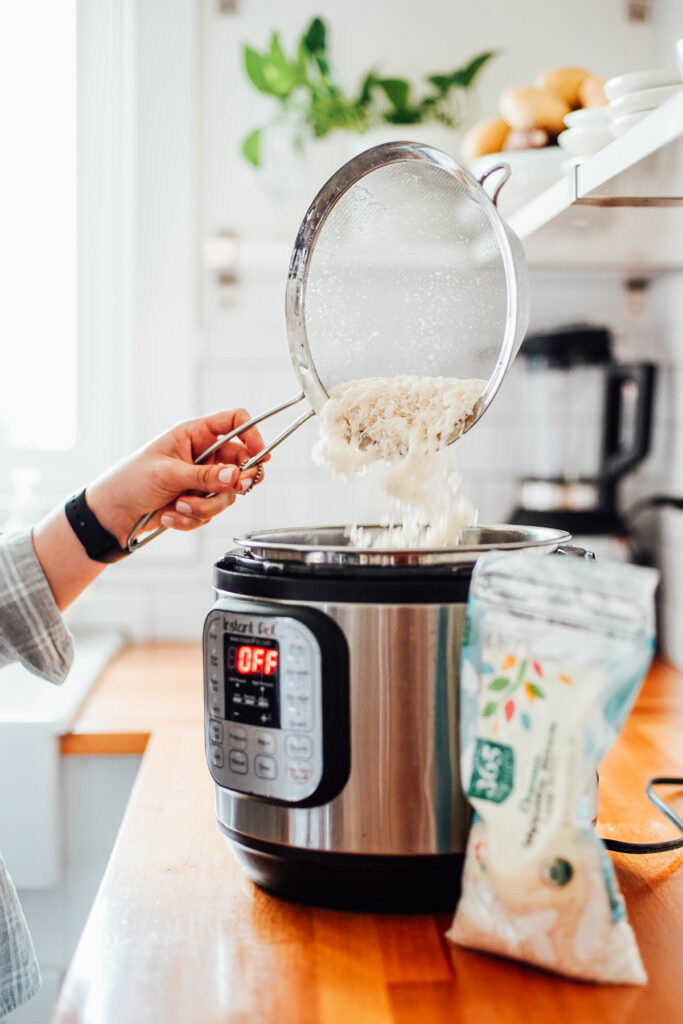
Step 1: Rinse or Soak Rice
For white rice, always rinse first. This will make fluffy rice and reduce stickiness (since there’s starch on the rice and rinsing the rice washes away the extra starch).
For brown rice, I recommend soaking for anywhere from 2-12 hours before cooking, in a bowl or directly in the stainless steel Instant Pot liner, to improve digestibility and nutrient absorption. Whole grains are hard to break down without some sort of soaking (or sprouting or fermenting, like with bread) in advance.
Step 2: Add Rice, Water, and Salt
Add the water and rice to the Instant Pot (for most rice varieties, you’ll use a ratio of 1:1, so 1 cup of water for every 1 cup of rice). You can double or triple this amount, depending on how much rice you want to cook. I also like to add 1/2 teaspoon of salt. You can also salt after cooking the rice, to taste.
Step 3: Seal the Lid
Make sure the clear silicone ring that sits inside the Instant Pot lid is secure (if it’s not secure, the Instant Pot will not work properly), then place the lid on the Instant Pot base and turn to lock. Turn the valve (the knob) on top of the lid from venting to sealed.
Step 4: Cook the Rice
Press the manual button on the front of the Instant Pot. Cook the rice on high pressure, adjusting the time using the minus button until the screen shows the cook time needed for the rice you’re preparing. See cooking times below step 5.
Step 5: Allow Pressure to Naturally Release
Once the rice is cooked, the Instant Pot will beep and the clock will set to 0:00 on the front screen. Allow the Instant Pot to rest for 10 minutes (the clock will begin counting up). Once the screen reads L10:00, move the valve (the knob on top of the lid), from sealed to venting.
Use a towel to move the valve as hot steam will rush out and could burn your hand. Allow all the steam to escape, until the pin on top of the lid drops (indicating all pressure has left the pot and it’s now safe to open the lid).
If you’re enjoying the rice right away, open the lid. If not, allow the rice to rest with the lid on, with the Instant Pot turned off, until you’re ready to serve the rice. If the rice is left in the pot, without the lid, it may stick to the sides of the pot (not a big deal, just annoying). Before enjoying, fluff the rice with a fork.
Instant Pot Rice Cooking Times
The Instant Pot is much faster at cooking than using the stovetop, so you won’t be using the package directions on the rice bag.
Generic, store-brand rice is usually a long-grain white. It should say right on the package if it is long-grain. Jasmine and Basmati are also long-grain white varieties.
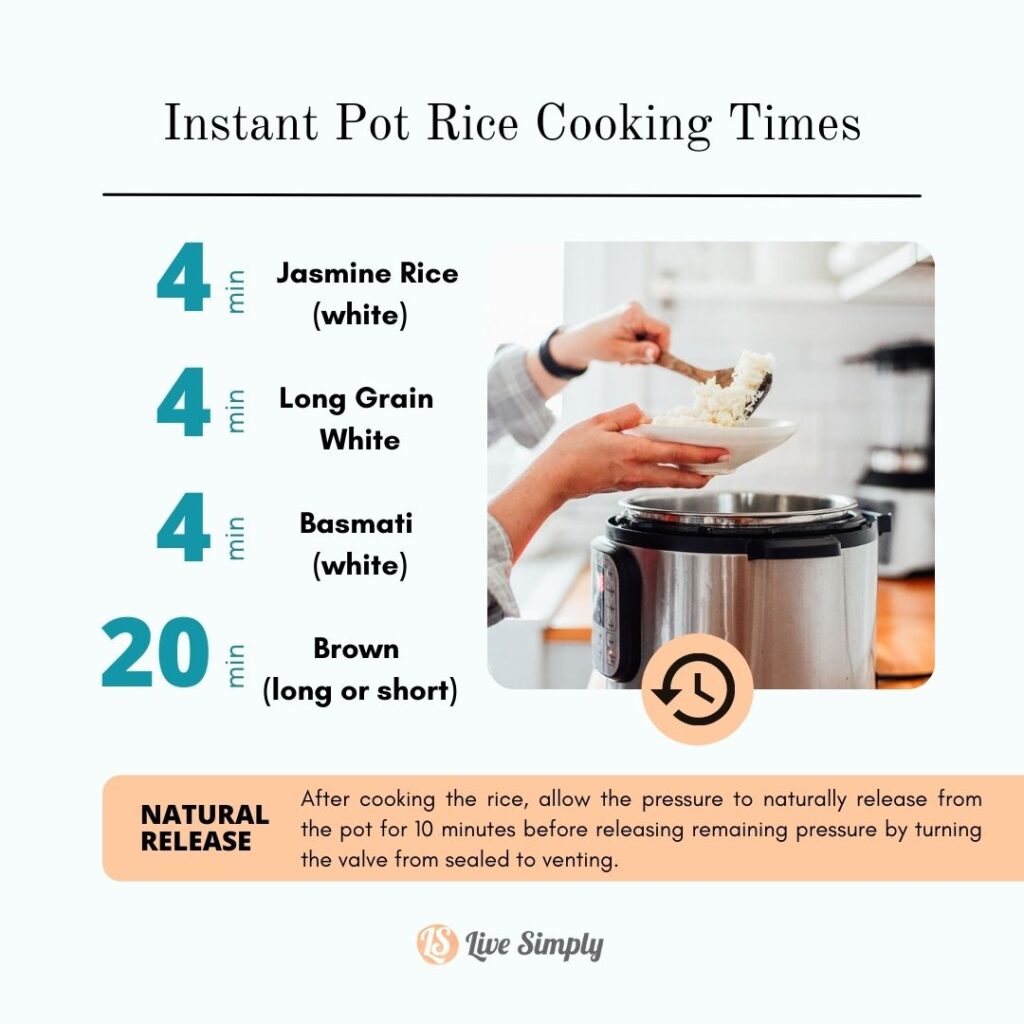
These all use a 1:1 ratio of water to rice and take just 4 minutes of actual pressure cook time, with a 10-minute natural pressure release.
Brown rice, whether you select a long or short grain variety, has a longer cooking time than white rice. I found 20 minutes of cooking time and a 10-minute natural release to be perfect.
Instant Pot rice is alway cooked on the high pressure setting (if this is an option to adjust on your model).
How to Cook Jasmine Rice
This is my favorite rice to buy and use as a side, as it’s fragrant, fluffy, and fail-proof.
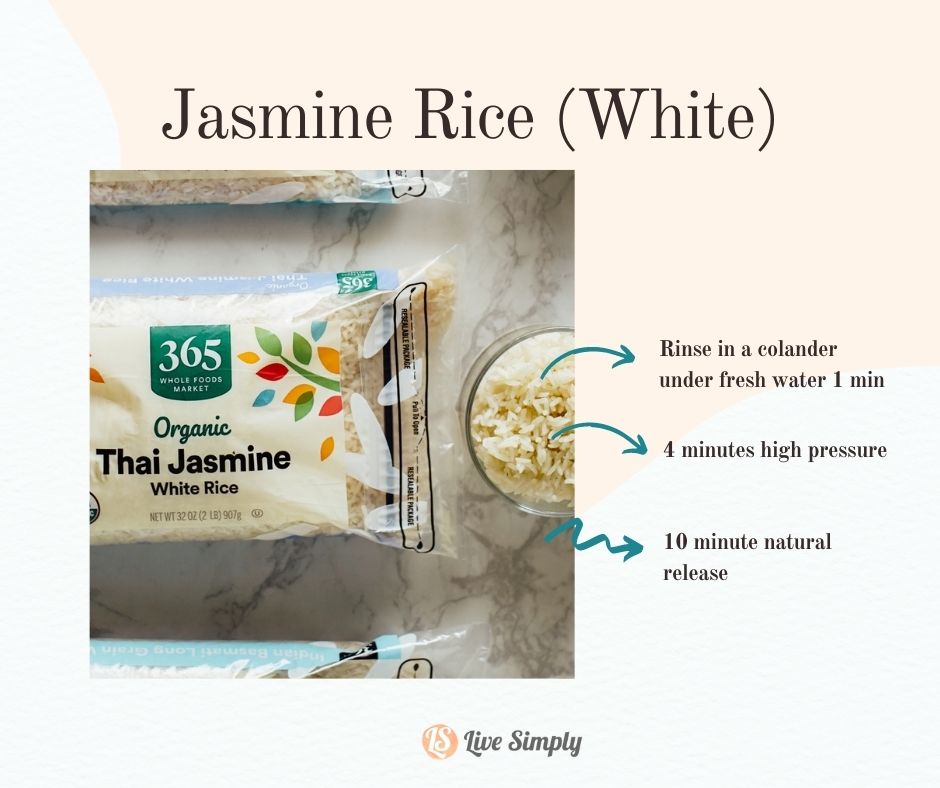
Place jasmine rice in a colander (like this). Then run the rice under water. You’ll see that the water looks milky white as it runs out the bottom into the sink. Rinse until the water is clear. It doesn’t take a lot of time, and it doesn’t have to be perfect (about 1-2 minutes max).
For a drier rice, use 1 cup of rice to 1 cup of water. For a wetter rice, use 1 cup of rice to 1.25 cups of water (my favorite texture). Cook for 4 minutes on high pressure and a 10 minute natural release.
After 10 minutes, move the valve on top of the Instant Pot from sealed to venting and release any remaining pressure from the pot. Once the pressure is fully released, open the lid and serve.
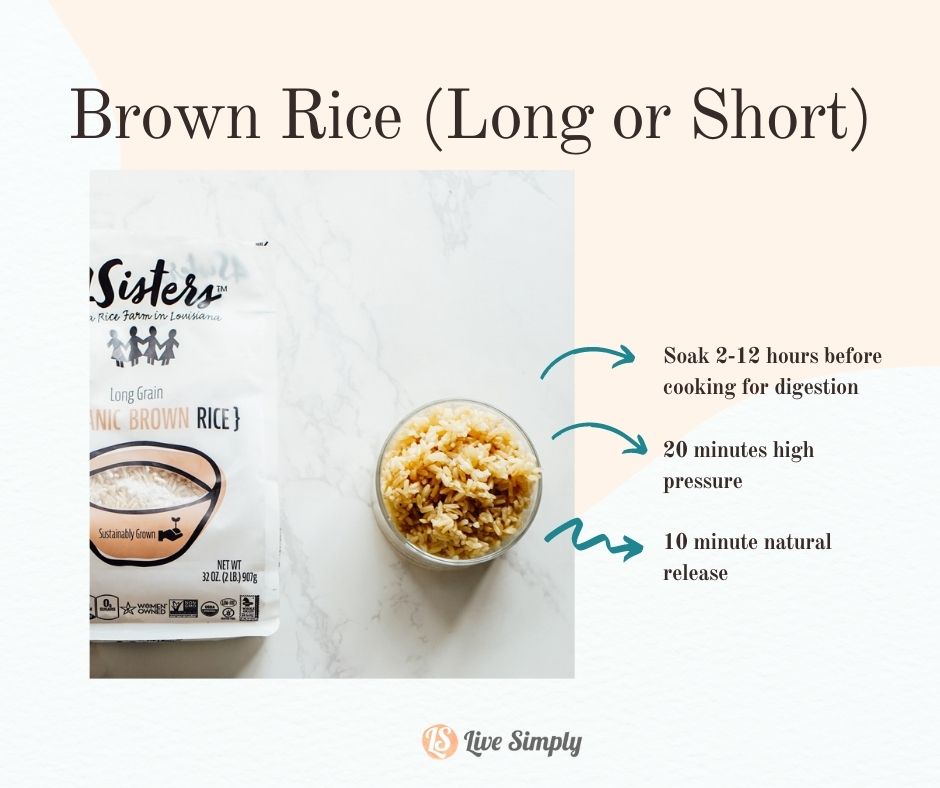
How to Cook Brown Rice (Long or Short Grain)
Brown rice doesn’t cook as quickly since it’s a whole grain with a tough bran exterior. I prefer to soak brown rice overnight or all day before cooking.
This makes brown rice easier to digest (brown rice contains phytic acid, which is an anitnutrient and reduces your body’s ability to absorb nutrients).
To soak the rice, add the rice to a bowl, then cover with lukewarm water (1 cup of rice to every 3 cups of water). Place the bowl on the counter (cover with a towel if you’d like) at room temperature for 2-12 hours. Then drain using a fine mesh colander (like this) and cook the rice.
For a drier rice, use 1 cup of rice to 1 cup of water. For a wetter rice, use 1 cup of rice to 1.25 cups of water (my favorite texture). Cook for 20 minutes on high pressure and a 10 minute natural release.
After 10 minutes, move the valve on top of the Instant Pot from sealed to venting and release any remaining pressure from the pot. Once the pressure is fully released, open the lid and serve.
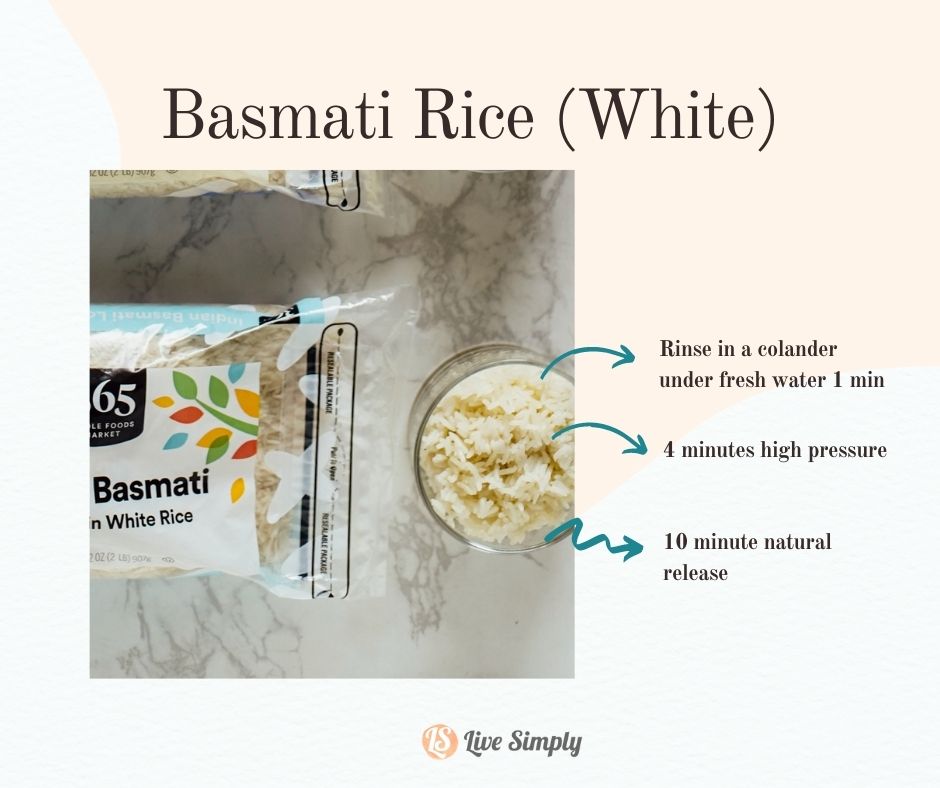
How to Cook Basmati Rice
Place Basmati white rice in a fine-mesh colander (like this). Then run the rice under water. You’ll see that the water looks milky white as it runs out the bottom into the sink. Rinse until the water is clear.
Basmati benefits from extra water, cook 1 cup of rice to 1.25 cups of water. Cook for 4 minutes high pressure and a 10 minute natural release.
After 10 minutes, move the valve on top of the Instant Pot from sealed to venting and release any remaining pressure from the pot. Once the pressure is fully release, open the lid and serve.
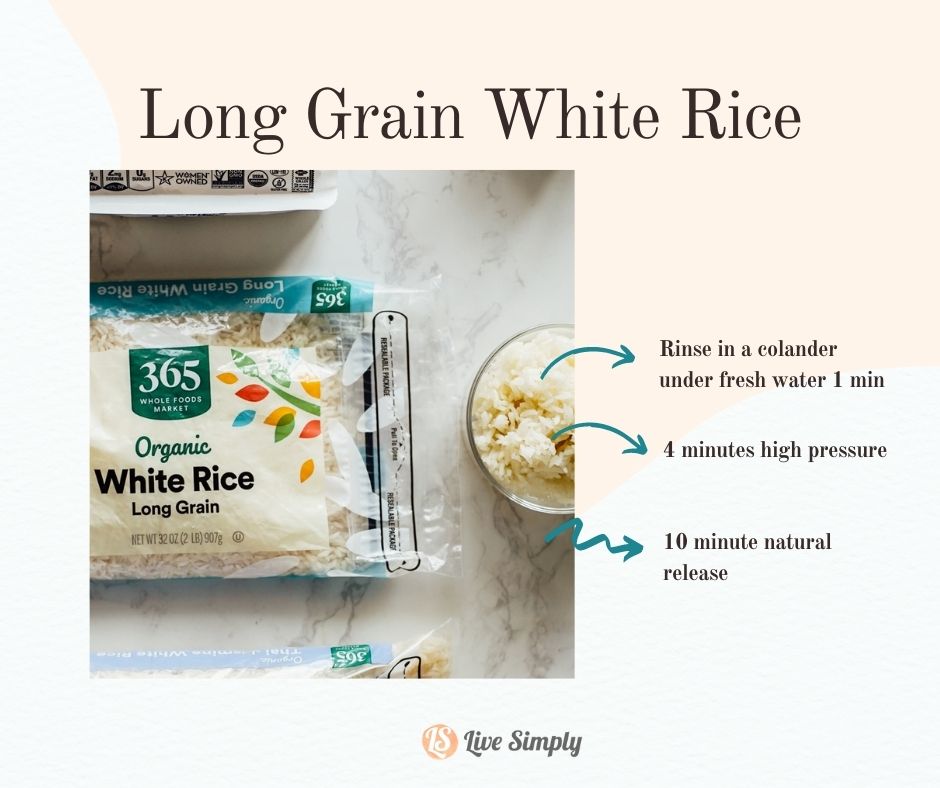
How to Cook Long Grain White Rice
This is your average generic store-bought brand of rice.
Place the white rice in a colander (like this). Then run the rice under water. You’ll see that the water looks milky white as it runs out the bottom into the sink. Rinse until the water is clear.
For a drier rice, use 1 cup of rice to 1 cup of water. For a wetter rice, use 1 cup of rice to 1.25 cups of water (my favorite texture). Cook for 4 minutes on high pressure and a 10 minute natural release.
After 10 minutes, move the valve on top of the Instant Pot from sealed to venting and release any remaining pressure from the pot. Once the pressure is fully released, open the lid and serve.
How to Cook Instant Pot Rice Recipe
Equipment
- 1 6 Quart Instant Pot or 8 Quart
- fine mesh colander for rinsing white rice
Ingredients
- 1 cup rice jasmine white, basmati white, brown (long or short), long grain white rice
- 1 cup water or broth (chicken, vegetable, beef), use 1 1/4 cups of water for basmati white rice
- 1/2 teaspoon salt
Instructions
Step 1: Rinse or Soak Rice
- For white rice varieties, rinse the rice first. This will help make fluffy rice and reduce stickiness (since there is starch on the rice that should be washed off). To rinse, place the rice in a fine-mesh colander. Run the rice under fresh water for 1-2 minutes, until the water turns from a milky color to clear.
- For brown rice, I recommend soaking for anywhere from 2-12 hours before cooking, in a bowl or directly in the stainless steel Instant Pot liner, to improve digestibility and nutrient absorption. Whole grains, like brown rice, are hard to breakdown, without some sort of soaking in advance. This is not required, but recommended from a nutritional standpoint. You don't need to rinse brown rice first before cooking.
Step 2: Add Water, Rice, and Salt to the Instant Pot
- Add the water and rice to the Instant Pot (for most rice varieties, you'll use a ratio of 1:1, 1 cup of water for every 1 cup of rice). Basmati is best with a 1.25:1 ratio (1 1/4 cups of water for every 1 cup of basmati rice). You can double or triple this amount, depending on how much rice you want to cook. I also like to add 1/2 teaspoon of salt before cooking. You can also salt after cooking the rice, to taste.
Step 3: Seal the Lid
- Make sure the clear silicone ring that sits inside the Instant Pot lid is secure (if it's not secure, the Instant Pot will not work properly), then place the lid on the Instant Pot base and turn to lock. Turn the valve (the knob) on top of the lid from venting to sealed.
Step 4: Cook the Rice
- Press the manual button on front of the Instant Pot to set the time. Cook the rice on high pressure, adjusting the time using the minus button until the timer shows the cooking time needed.Rice Cooking Times:Jasmine Rice (White): 4 minutes Basmati Rice (White): 4 minutes Long Grain White: 4 minutesBrown Rice (Short or Long Grain): 20 minutes
Step 5: Allow Pressure to Naturally Release
- Once the rice is cooked, the Instant Pot will beep the clock will set to 0:00 on the front screen. Allow the rice to rest for 10 minutes (the clock will begin counting up). Once the screen reads L10:00, move the valve (the knob on top of the lid), from sealed to venting. Use a towel to move the valve as hot steam will rush out and could burn your hand. Allow all steam to escape, until the pin on top of the lid drops (indicating all pressure has left the pot and it's now safe to open the lid).
- If you're enjoying the rice right away, open the lid. If not, allow the rice to rest in the pot with the lid on, with the Instant Pot turned off, until ready to serve. If the rice is left in the pot, without the lid, it may stick to the sides of the pot.
- Store leftover rice in the fridge for up to 5 days, or in the freezer for up to 3-6 months. See storage recommendations above in the article.
Video
Notes
Nutrition
How to Use Cooked Rice
Here are a few ways to use cooked rice…
- Buffalo Chicken Stuffed Peppers
- Easy Ground Beef Stuffed Peppers
- With Sheet Pan Beef and Broccoli
- Veggie Fried Rice
- Quick Fried Rice
- On the side of grilled chicken
- With Instant Black Beans and your favorite toppings (salsa, avocado, sour cream)
- With Instant Pot Black Bean Soup
- With taco ground beef and your favorite toppings (salsa, avocado, sour cream)
- Sheet pan chicken fajita bowls (add the chicken, peppers, rice, and toppings to a bowl)
How to Store Cooked Rice
There are two ways to store cooked rice…
- Fridge: After cooking the rice (or enjoying your meal with rice), place the the rice into an airtight container and into the fridge. If you will be making fried rice in the coming days, or using the rice in another meal, it’s fine to leave it in the fridge for a few days.
- Freezer: For long-term storage, rice freezes beautifully (for 3-6 months). Especially if you enjoy a lot of fried rice, freeze your rice in recipe-size portions (such as 2 cups) and make sure to label the bag or container. I label with the type of rice, amount in cups, and the date. Freezing flat in a zippered bag makes it quick to thaw. I even use semi-frozen rice when making fried rice if I need a really fast dinner and forgot to thaw anything else (just dump in the skillet and cook).
Favorite
Instant Pot Rice Meals
How much rice can you make in the Instant Pot?
When cooking anything, you are limited by your Instant Pot size. I use a 6-quart Instant Pot and can safely cook up to 3-4 cups of dried rice at a time.
You can safely double or triple the recipe in this guide, so cook 2 or 3 cups of dried rice, in a 6-quart Instant Pot. Keep in mind, the “max fill” line within the liner of the pot, and the rice expands quite a lot when it is finished. Never go over this fill line!
Also, because rice is a starch, it foams when it cooks so you don’t want that to be escaping out the top because the pot was overfilled!
I have never used the smaller, 3-quart Instant Pot, so I can’t speak to if rice is even possible in that size.
If you have an 8-quart electric pressure cooker, you should be able to safely cook 6 cups of dry rice but I haven’t personally tested this amount.

How to Get Fluffy Rice Every Time
The key to fluffy rice, where you have separate grains, is rinsing! Rice is very starchy, and there is generally excess starch on the outside of the grains, particularly white rice.
Brown rice can also be rinsed, but since it still has the bran and germ, most of the starch is still on the inside. Instead, I like to soak brown rice overnight or all day before pressure cooking.
There are two ways to rinse rice before cooking…
- I like to rinse rice in a fine-mesh colander (like this) under running water. You’ll see that the water looks milky white as it runs out the bottom and into the sink. Rinse until the water seems to be clear.
- Another method is to put your rice in a bowl and fill with cool water, then swish with your hand. Drain in a colander (like this) and repeat until the water stays clear. This is a lot of extra draining so you could lose some rice.
Another aspect of fluffy rice is the rice to water ratio. Most rice needs equal parts water to cook correctly. This is different than when cooking on the stovetop.
In the Instant Pot, you don’t lose water to evaporation because the steam is trapped inside to create the pressure to cook the rice.
I find that a 1:1 rice to water ratio works best. Plus, it’s much easier to keep the 1:1 ratio in your head for cooking without a recipe.

Quick Release vs. Natural Release
After cooking a food in the Instant Pot (using the pressure cooker mode), there are two options for allowing all the pressure that’s built up in the pot to release: Quick Release and Natural Release.
Every Instant Pot recipe calls for one of these options.
With a quick release, you’ll immeadiately turn the valve on top of the pot (after cooking is complete) from sealed to venting, and the steam within the pot will instantly rush out of the pot.
For a natural release, you’ll want to wait, allowing the steam to naturally and slowly release from the pot on its own, until you’re able to safely open the lid.
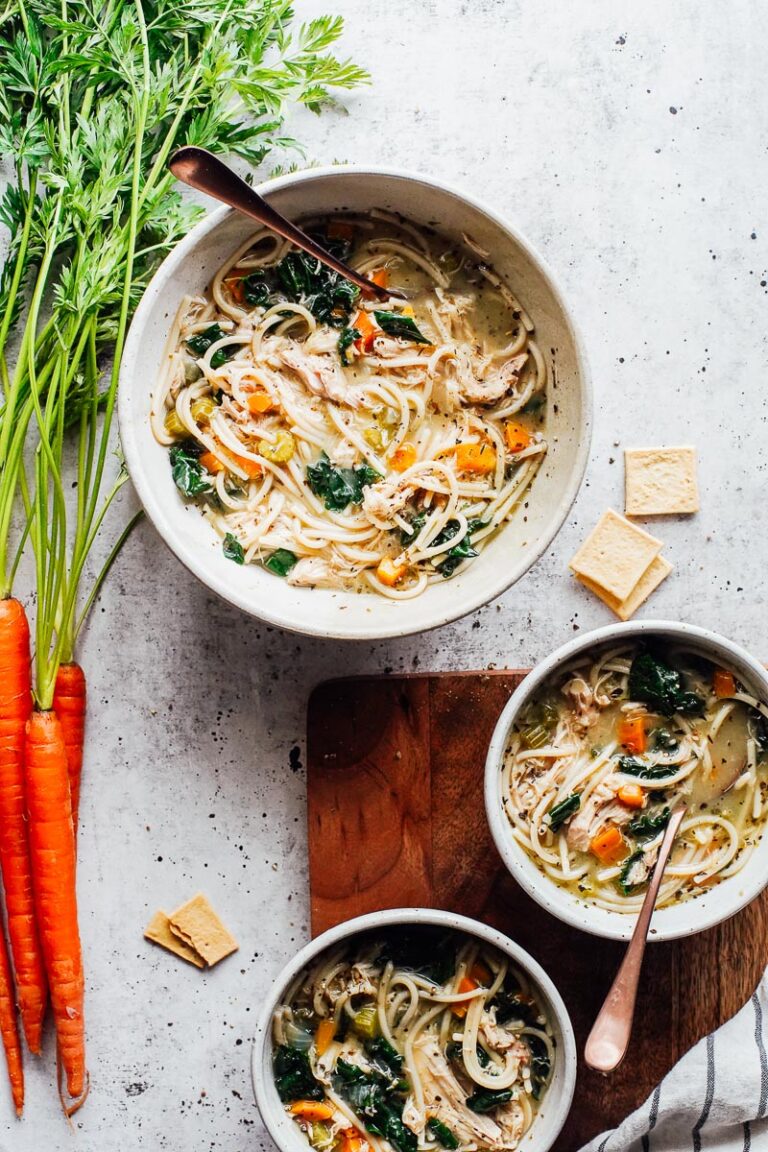
Some recipes call for a quick release (like this chicken noodle soup or hardboiled eggs).
Others require that you allow pressure to naturally release for a few minutes and then release remaining pressure (like this chicken and rice recipe).
And others require a 100% natural release (like Instant Pot beans). The way you release the pressure depends on what you’re cooking.

What is the Instant Pot rice setting? And should I use it?
I prefer to use the Pressure Cook or Manual Cook button (depending on model). These are at high pressure. The rice setting is at low pressure or a mix of pressures.
From my reading it is calibrated for white rice only and because of the mix of pressure settings it is slower than using Manual mode (setting your own cook time).
By cooking in manual mode (meaning you set the cooking time), you can achieve the desired rice texture fast and easily.
This rice button setting is supposed to be closer to how a rice cooker works, so you might like using it if you are used to a rice cooker. I personally prefer to control my cooking with my own time and pressure settings for the best outcome.

I only use brown rice and have tried everything to get it just perfect. This is the answer!! Soaking did the trick!! Thank you so much for this recipe!! I used it to make your fried rice which was also delicious!!!!
Yay! So happy to hear you’ve had good success with this method, Pat. Thank you for sharing.
I use this recipe to make jasmine rice and it is perfectly cooked everytime! I usually double or triple the recipe for easy meal prep. This is a staple recipe in my house.
That’s awesome, Missy! So glad the recipe has been helpful.