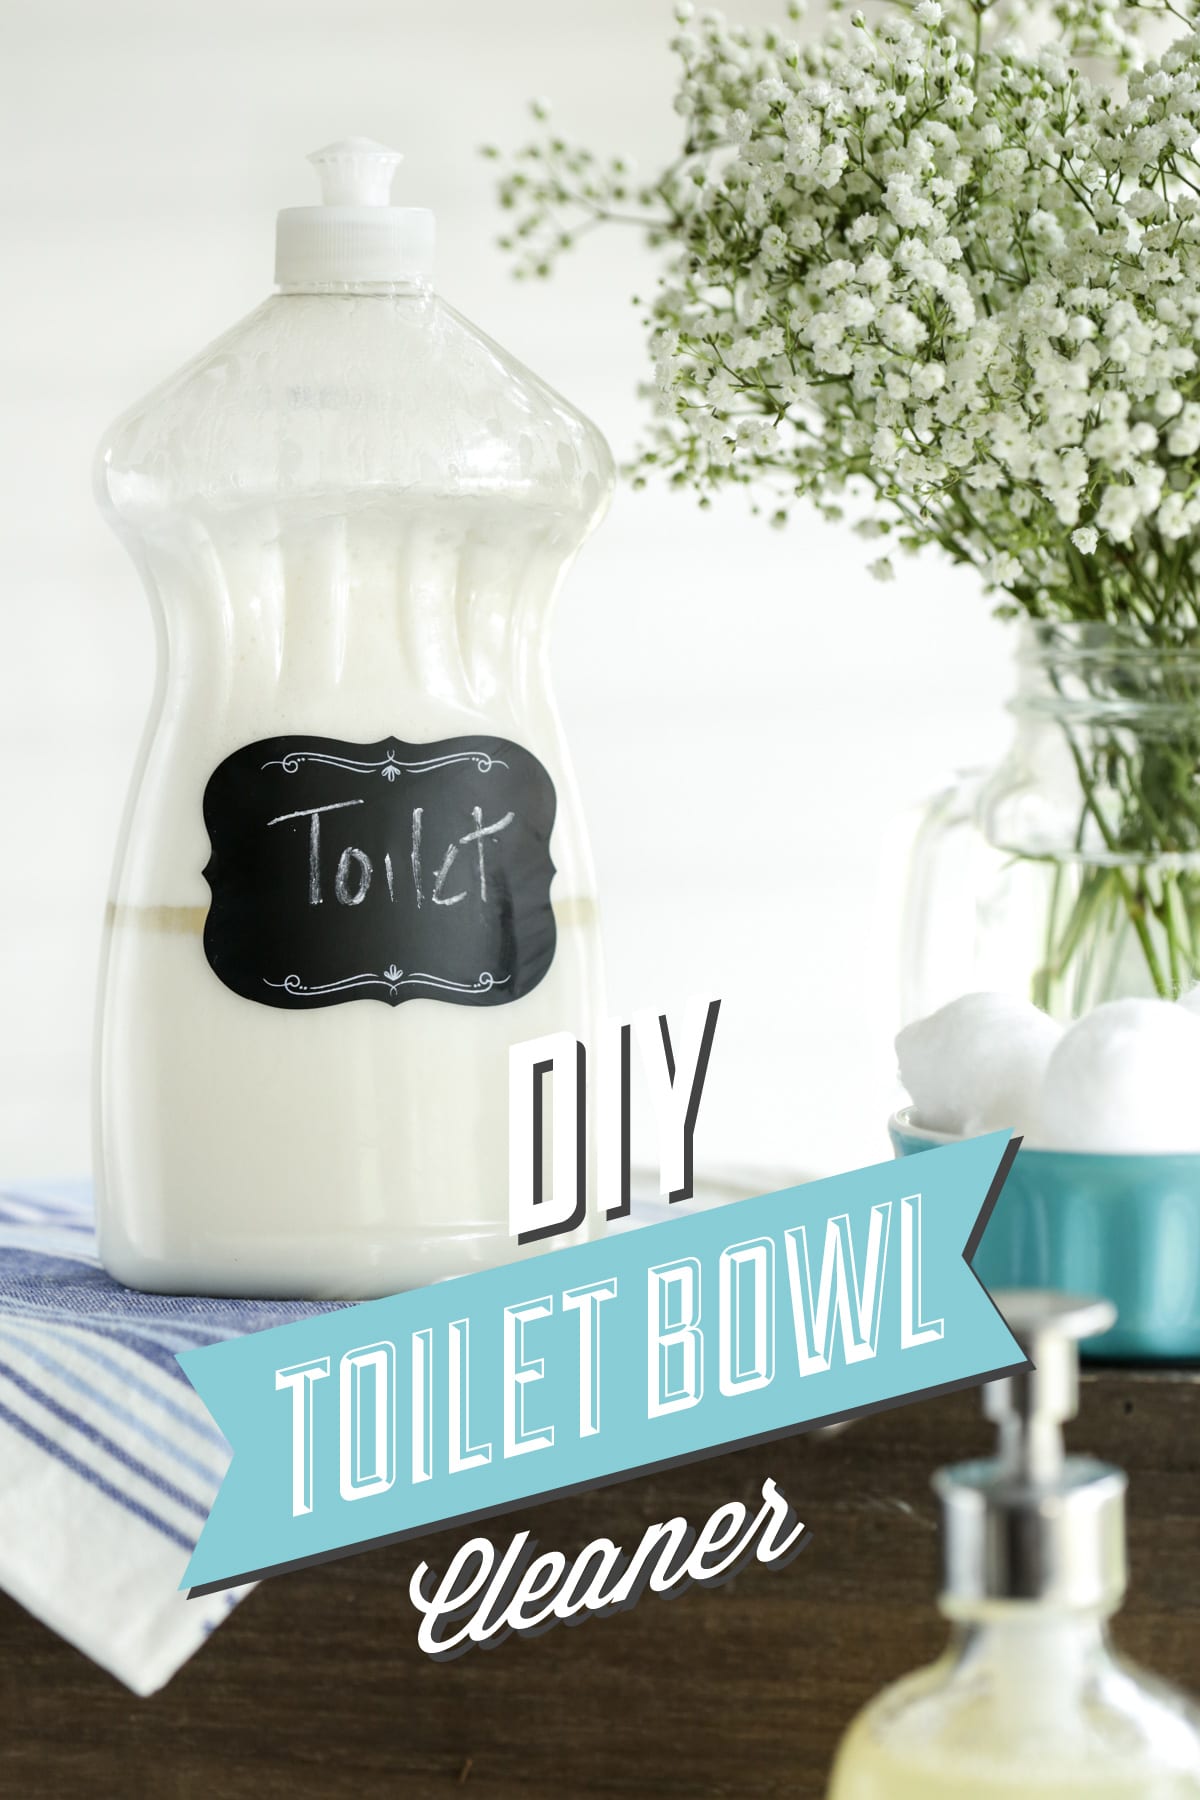
Tired of using toxic cleaning products or natural cleaners that don’t quite get the job done? Here’s how to make the best DIY toilet bowl cleaner to leave toilets fresh and spotless.
Want to Save This Article?
Enter your email & I’ll send it straight to your inbox. And you’ll get new recipes & tips each week.
In this blog, I’m outlining the exact steps to make the best homemade liquid toilet bowl cleaner and how to use it.
Key Takeaways
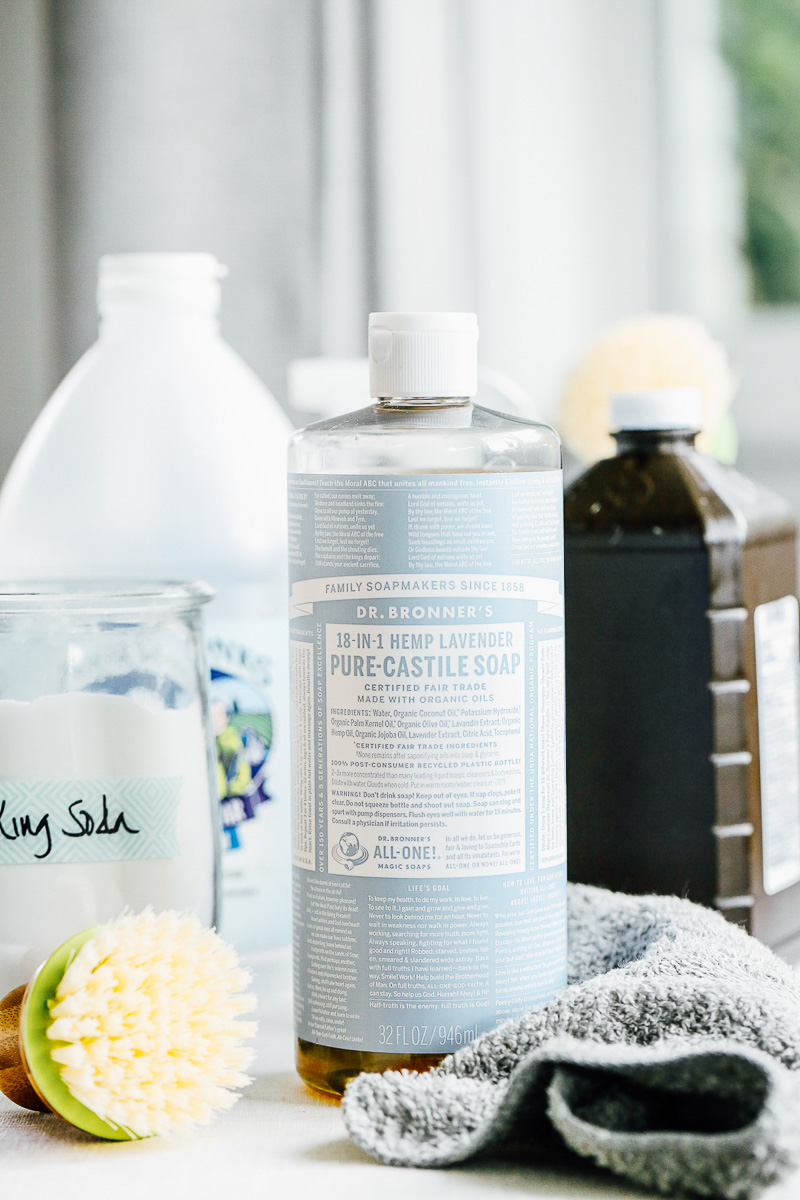
- To make this liquid toilet cleaner, you’ll need simple ingredients and no harsh chemicals: castile soap, baking soda, and water.
- Use this cleaner instead of store-bought toilet bowl cleaner. Yep, goodbye harsh chemicals.
- Use this recipe to clean toilets (removing dirt and grime), remove hard water and most other toilet bowl stains, and dissolve odors.
- You can store this cleaner for up to 1 month. So make a bottle today and use it each week to naturally clean your toilets.
Before You Get Started: What You’ll Need
This easy recipe is a result of a lot of trial and error, and lessons in chemistry, such as: vinegar and baking soda cancel each other out (a chemical reaction to avoid when making natural recipes).
Ingredients
- 1 cup distilled water – The safest option to use when making your own cleaning products. Distilled water removes containments, which may cause bacteria to grow quickly in DIY cleaners. You’ll find this water option at most grocery stores. If you plan to use this cleaner quickly (within a few days), filtered water is fine.
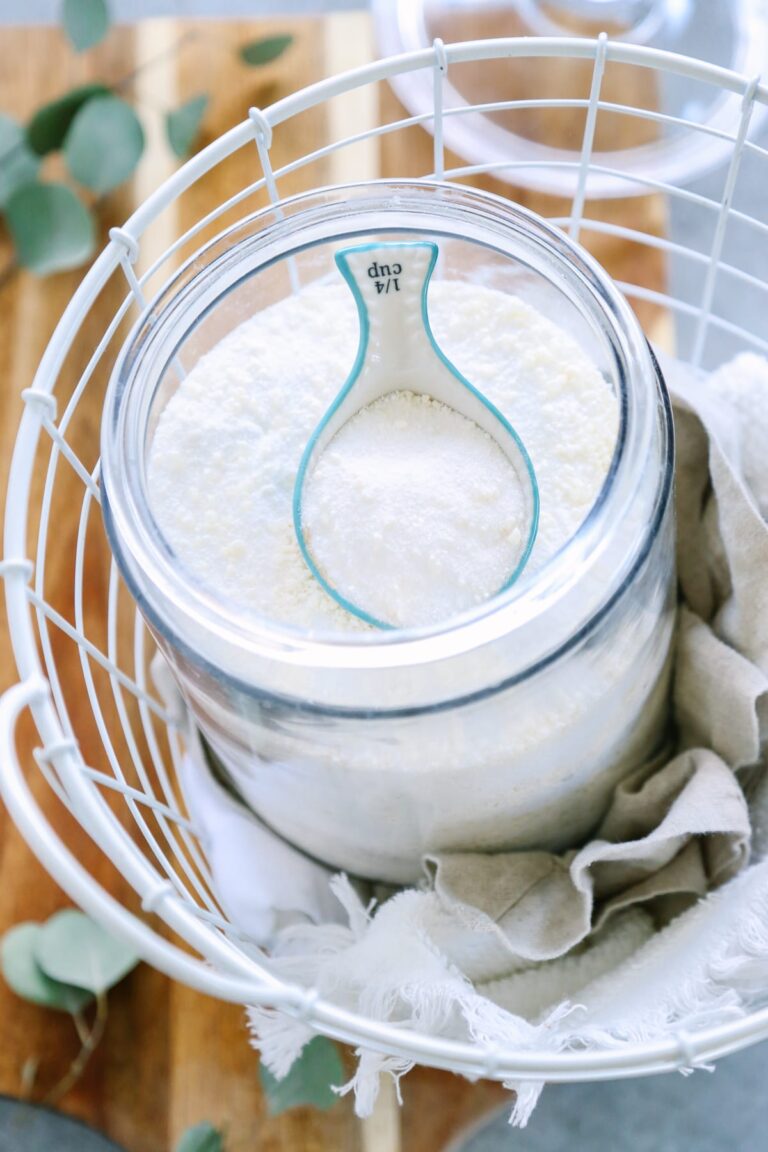
- 1/2 cup baking soda also known as: sodium bicarbonate – This is the key ingredient for lifting stains and deodorizing the toilet. Also used in over 19 different cleaning hacks.
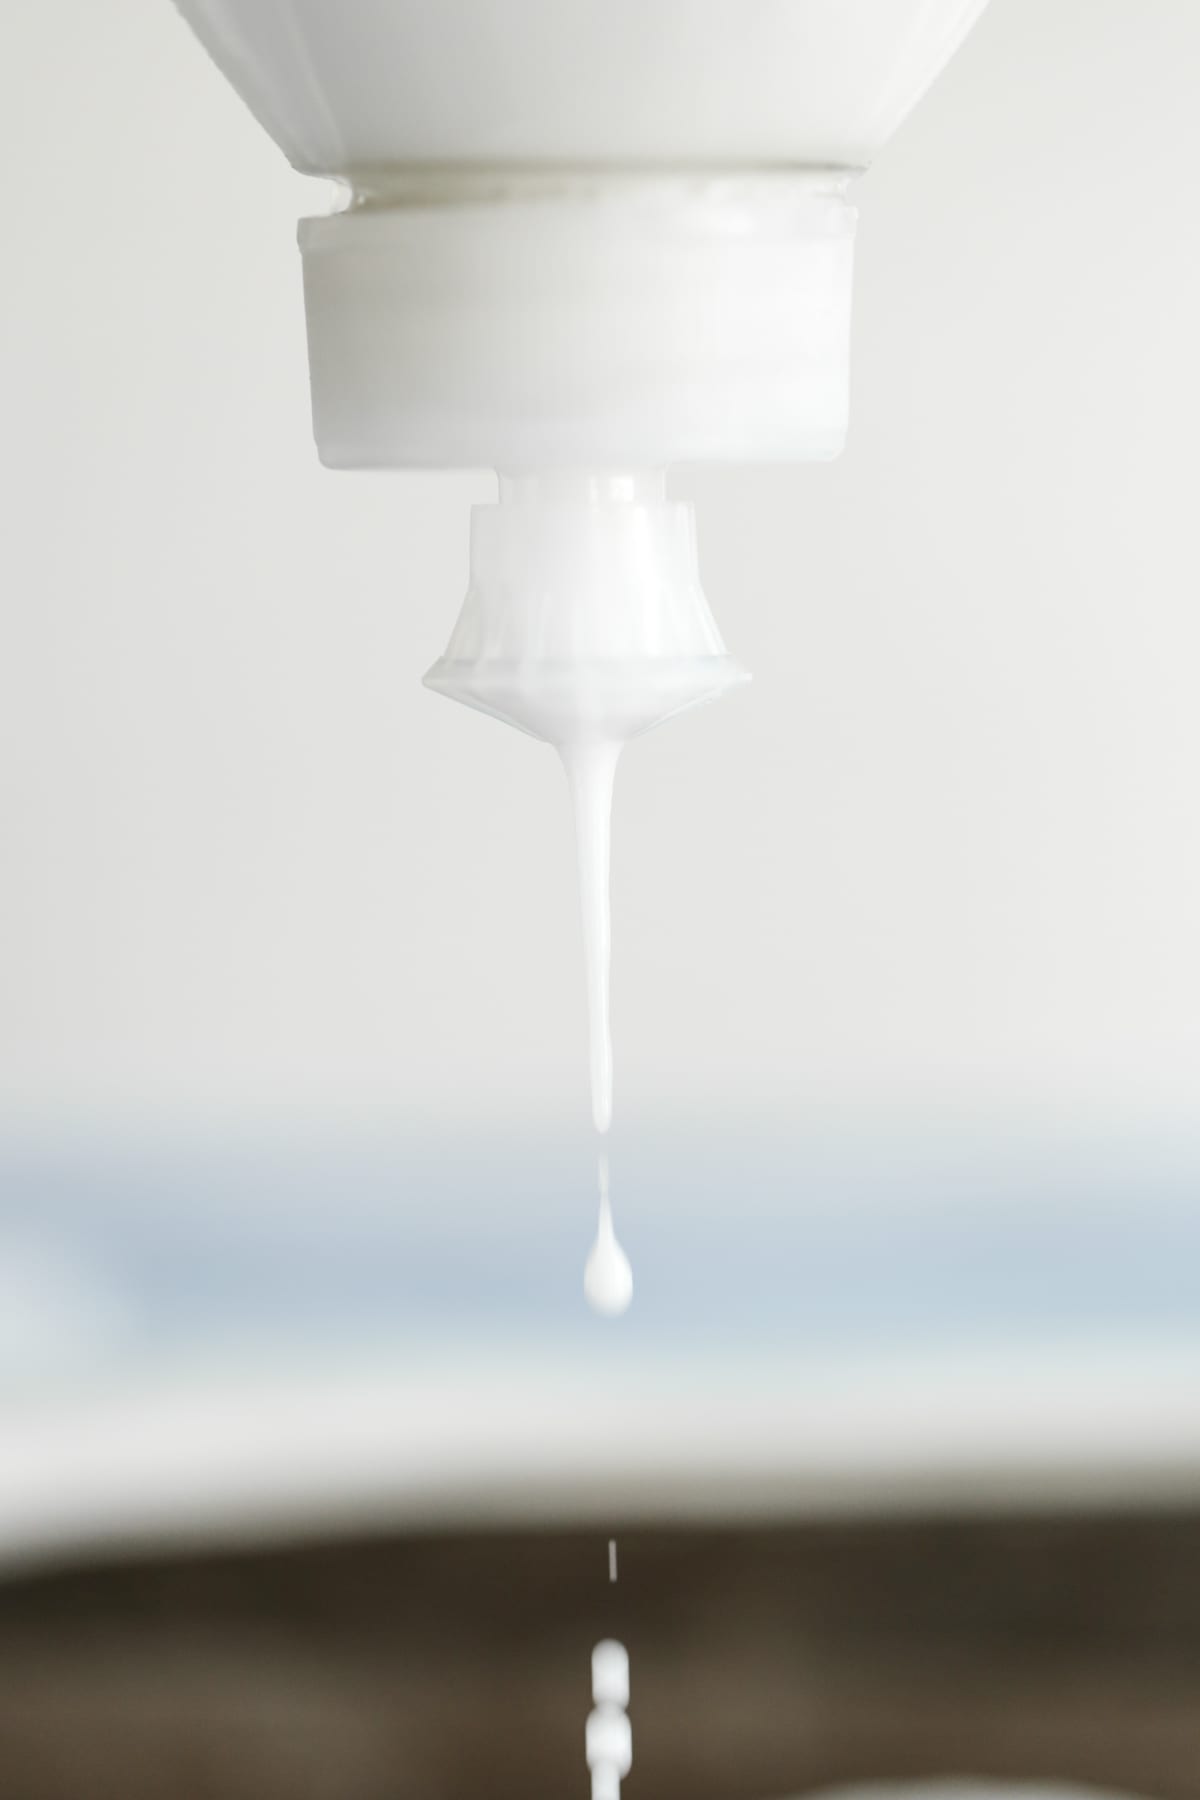
- 1/2 cup liquid castile soap – An ancient, concentrated vegetable-based soap. I use castile soap for everything from homemade laundry detergent to hand soap and face wash. This is the key ingredient for removing dirt and germs from the toilet bowl. For a tougher option, use Sal Suds, castile soap’s big brother. How to clean your home with castile soap.
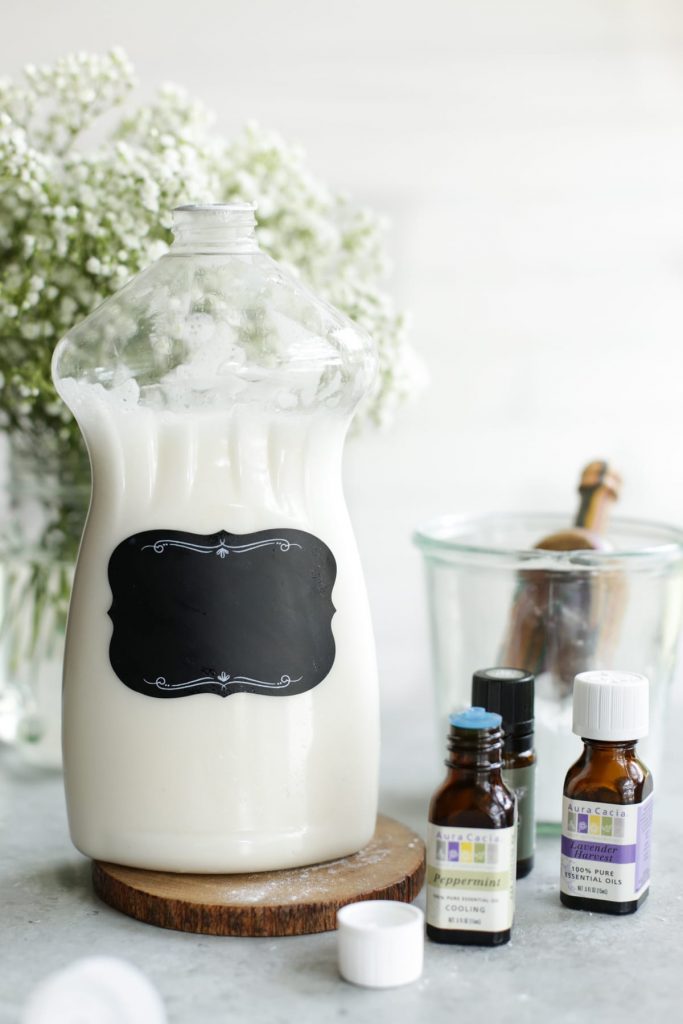
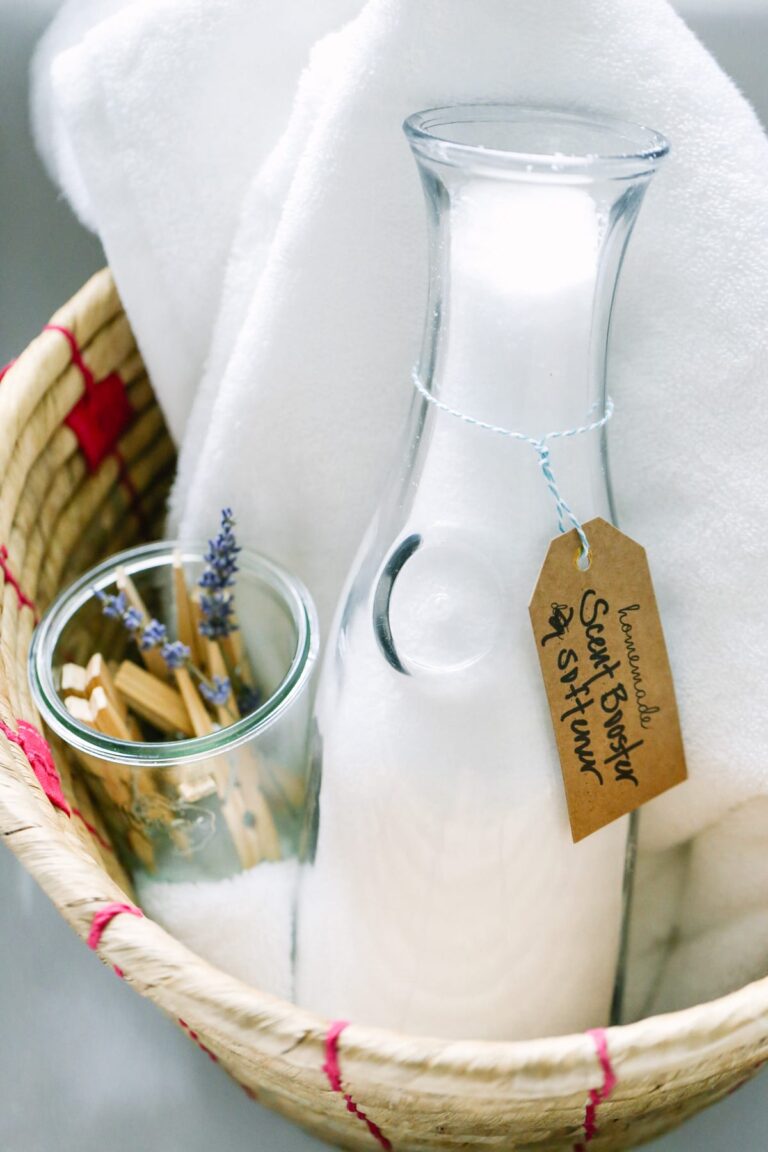
- (optional) 15-30 drops of your favorite essential oil, such as: lavender essential oil or grapefruit, tea tree oil, lemon, or orange – Many essential oils are known for their natural cleaning power (antibacterial and antiseptic), and their lovely natural scent. The essential oils also add an amazing fresh scent to the toilet bowl. How to use essential oils for cleaning.
Equipment
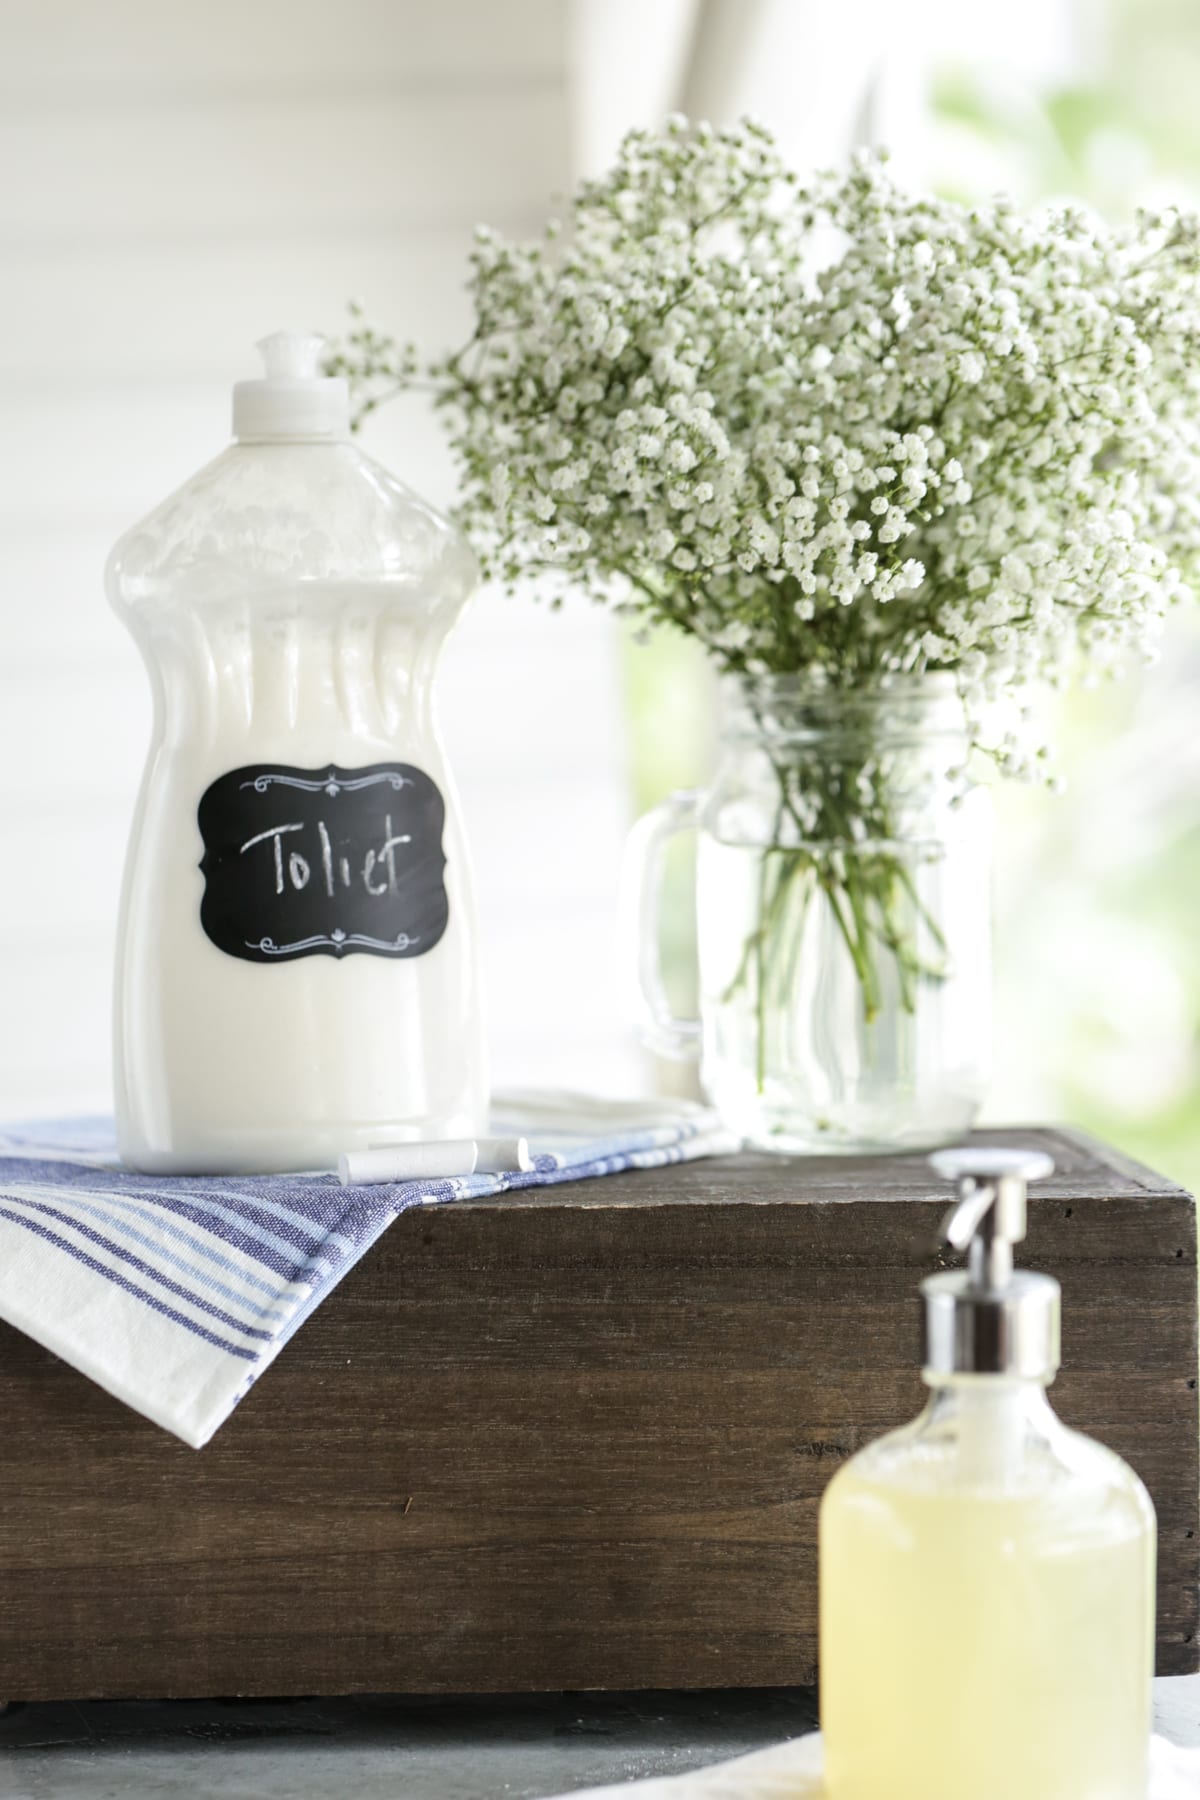
- 1 squirt bottle – such an empty and clean dish soap bottle, ketchup bottle, or purchase a squirt bottle from the store) for storing the toilet bowl cleaner.
- 1 small funnel (optional) – for pouring the ingredients into the squirt bottle.
How to Make & Use DIY Toilet Bowl Cleaner: Step-by-Step Guide
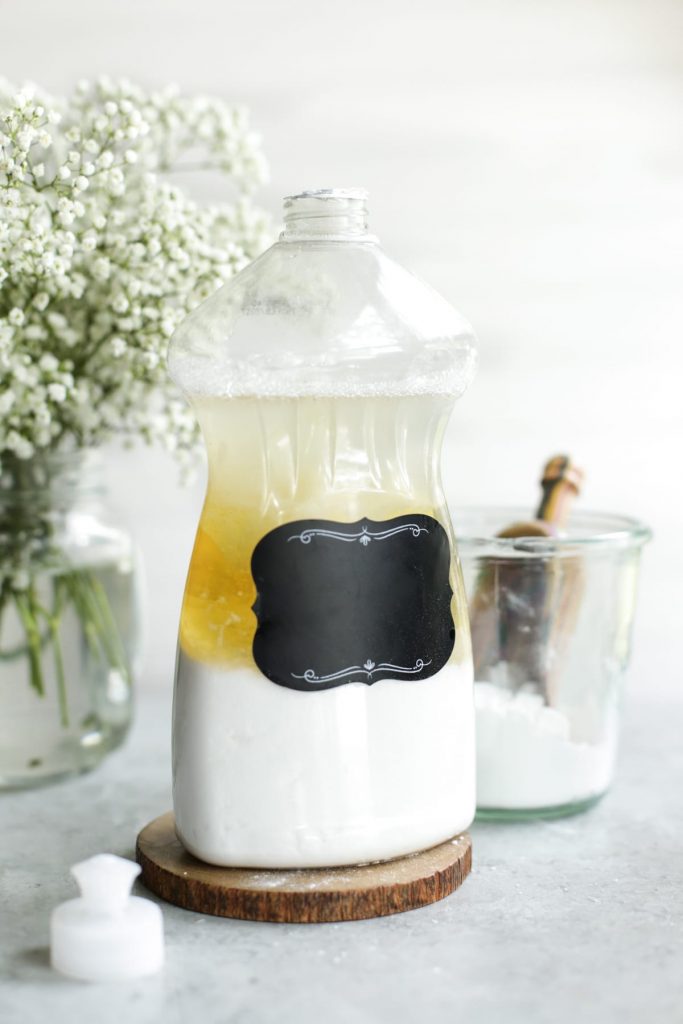
Step 1: Add Ingredients a Squirt Bottle
- Using a small funnel (optional, but very helpful), add the liquid ingredients to the squirt bottle: water and castile soap.
- Finally, add the baking soda.
Step 2: Shake to Combine
- Place the top on the bottle (make sure the squirt top is closed). Shake the bottle vigorously until the ingredients are well combined.
- Store the cleaner in your cleaning caddy.
- Use to clean toilet bowls as needed.
Step 3: Clean the Toilet
- Squirt the cleaner inside the toilet bowl, hitting the sides of the bowl with the solution.
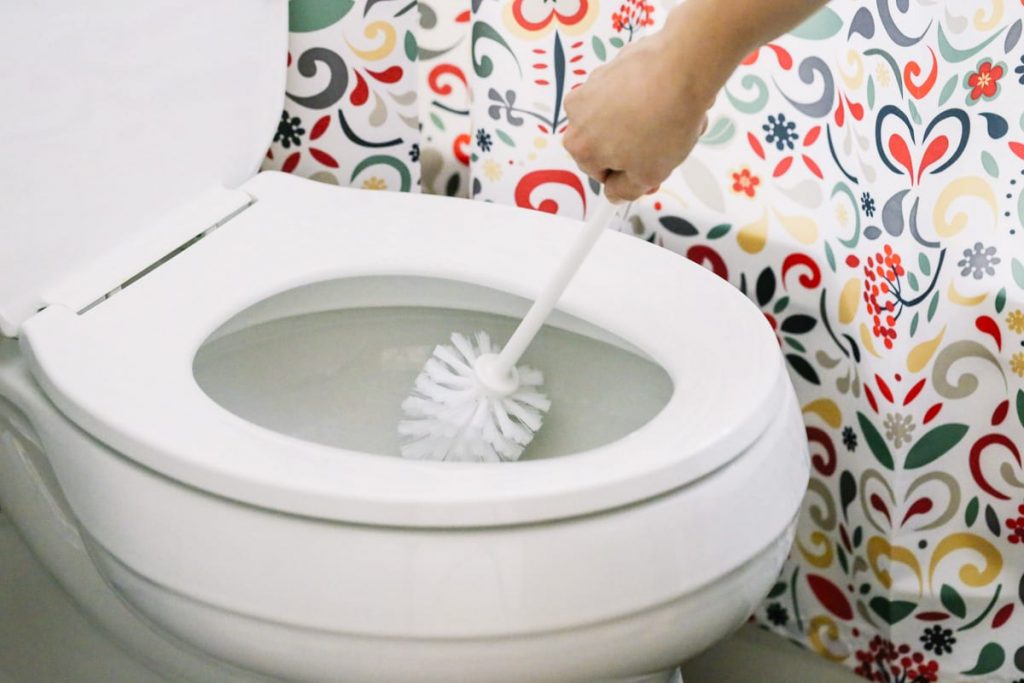
- Use a toilet brush to scrub the toilet bowl.
- Flush the toilet. The toilet should now be clean, stain-free, and deodorized.
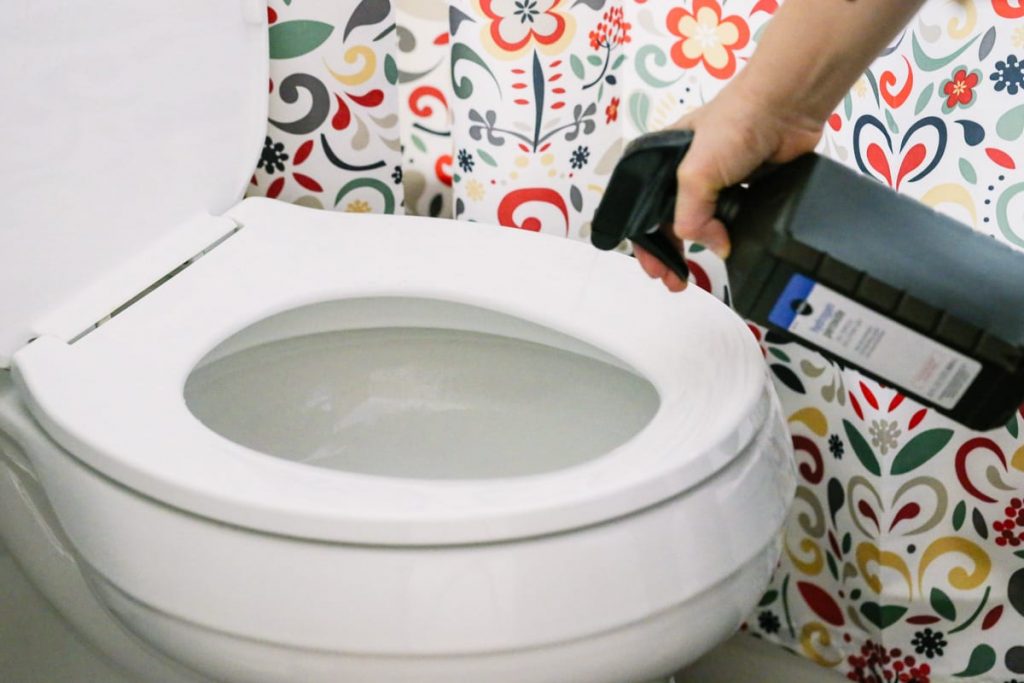
If you’d like to disinfect the toilet bowl as well: After cleaning the toilet bowl with this solution, spray hydrogen peroxide or vinegar into the toilet bowl (to do this, attach a spray nozzle on a bottle of hydrogen peroxide or add 100% white vinegar to a spray bottle). Allow the hydrogen peroxide or vinegar to rest for a few minutes inside the toilet bowl, then scrub again and flush.
Disinfecting vs. Cleaning
Disinfecting is an activity that’s (generally) done after cleaning (usually done with soap/water to remove dirt, dust, etc.). “Disinfecting…refers to killing a high percentage of the germs on a surface or rendering them incapable of reproducing.” (source)
In the case of the toilet, and natural cleaning, first use the homemade toilet bowl cleaner, scrub, and flush. Then use vinegar or hydrogen peroxide to disinfect (optional). This is a good idea for deep cleanings if the toilet is particularly dirty, sickness has occurred in the home, etc.
What to Avoid Doing
- Don’t add vinegar to this recipe. I know many people like to use vinegar for cleaning (including myself), but you should never mix baking soda and castile soap with vinegar (here’s why). You CAN use vinegar in the toilet bowl AFTER cleaning it with this cleaner to disinfect it.
- Don’t add hydrogen peroxide to this recipe. You CAN use hydrogen peroxide as a spray to disinfect the toilet bowl AFTER cleaning with this recipe. But, adding hydrogen peroxide directly to the recipe will result in an explosion of the bottle.
- For safety reasons, don’t use tap water to make this recipe. It’s always best to use distilled water for long-term storage (a few days or weeks).
- Skip the essential oil if have cats or small children in your home. While they provide a lovely scent, they can be dangerous for some animals and children. Do your research first.
How Long Will This Cleaner Last?
- Store the cleaner in your cleaning caddy, just as you would a commercial toilet bowl cleaner.
- Store for up to 1 month.
Conclusion
Use this natural toilet bowl cleaner just as you would conventional toilet bowl cleaners.
The ingredients used to make this recipe are purposely selected to remove dirt and grime, lift stains and freshen toilet bowls. Give it a try and tell me what you think!
If you’re looking to make a powdered toilet bowl cleaner, check out this recipe.
FAQs
- Can I use baking powder instead of baking soda? No, these are two very different products. You need baking soda, a standard kitchen staple, and a household cleaner for this recipe.
- How long will this recipe last? I recommend storage for up to 1 month due to the water. Granted, you’re not consuming the product so that you could go a bit longer without issue.
- Could you replace the water with hydrogen peroxide or vinegar to help sanitize and bleach out stains? Hydrogen peroxide will cause an explosive reaction if mixed with baking soda, and vinegar doesn’t interact well with castile soap or baking soda. Stick with water. After cleaning, spritz the toilet directly with vinegar or hydrogen peroxide for sanitizing.
- I can’t find Castile soap; what else can I use? Any dish soap, from Dawn to natural dish soap (like Seventh Generation), will work perfectly as a substitute.
- Can I use a small spray bottle instead of a squirt bottle? No, it will be very hard to spray this solution due to the baking soda. You’ll find a squirt bottle (used for condiments) in most stores (even the Dollar Store) in the kitchen/cooking aisle, or reuse an old dish soap or ketchup bottle.
Top Favorite Cleaners for the Bathroom
- Bathroom Cleaner Spray: An all purpose cleaner for all surfaces, including the bathroom toilet seat.
- Tub & Sink Scrub: For tiles, sinks, and tub/shower surfaces.
- Glass/Mirror Cleaner: For shower doors and bathroom mirrors.
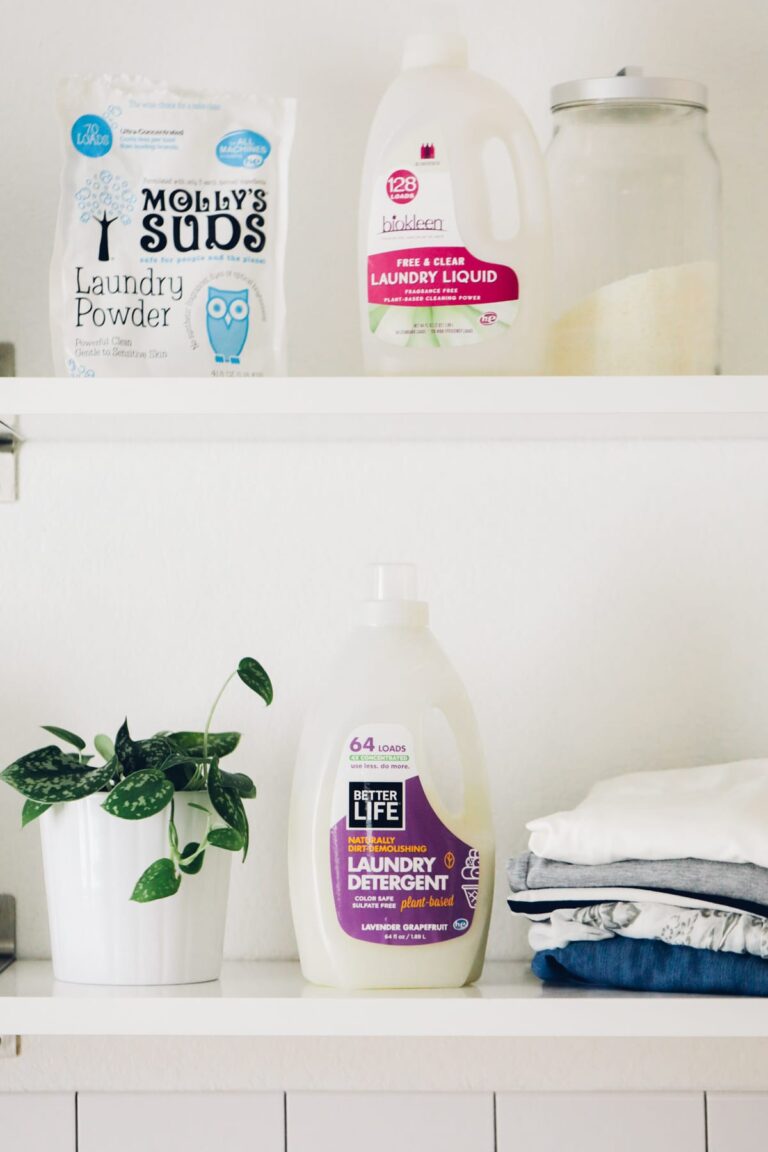
- Liquid Laundry Soap: Wash your bathroom towels in this simple detergent.
Learn how to make natural cleaners for your home
DIY Toilet Bowl Cleaner Recipe
Equipment
- 1 squirt bottle (such an empty and clean dish soap bottle, ketchup bottle, or purchase a squirt bottle from the store) for storing the toilet bowl cleaner
- 1 small funnel (optional) for pouring the ingredients into the bottle
Ingredients
- 1 cup distilled water best for safety purposes
- 1/2 cup baking soda
- 1/2 cup liquid castile soap (any scent or unscented)
- 15-30 drops favorite essential oil of choice such as: lavender, grapefruit, tea tree, lemon, or orange (optional)
Instructions
- Using a small funnel (optional, but very helpful), add the liquid ingredients to the squirt bottle: water and castile soap. Finally, add the baking soda.
- Place the top on the bottle (make sure the squirt top is closed). Shake the bottle vigorously until the ingredients are well combined. Store the cleaner in your cleaning caddy. Use to clean toilet bowls as needed.
- Store the cleaner in your cleaning caddy, just as you would a commercial toilet bowl cleaner. Store for up to 1 month.
How to Use:
- Squirt the cleaner inside the toilet bowl, hitting the sides of the bowl with the solution. Use a toilet brush to scrub the toilet bowl. Flush the toilet. The toilet should now be clean, stain-free, and deodorized.
- (Optional) If you'd like to disinfect the toilet bowl as well, here's a great way to do that: After cleaning the toilet bowl with this solution, spray hydrogen peroxide or vinegar into the toilet bowl (to do this, attach a spray nozzle on a bottle of hydrogen peroxide or add 100% white vinegar to a spray bottle). Allow the hydrogen peroxide or vinegar to rest for a few minutes inside the toilet bowl, then scrub again and flush.

Works so well and so easy to make! Of course I love the rest of the recipes on the site, I’ve been making various cleaners since last year! I didn’t expect how watery the solution is, and it’s a bit hard to get under the toilet’s rim without the signature curved toilet bowl squeeze bottle. I wonder if there’s a place I can get one of those bottles?
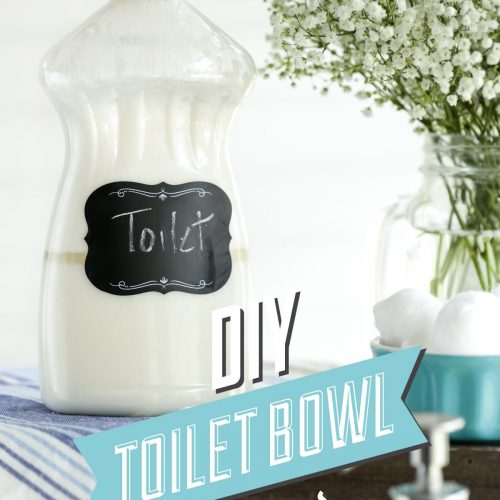
Do you realize you have toilet spelled “Toliet” on your label?
Hey D.D, Yes, that mistake was caught shortly after publishing. Enjoy the toilet bowl cleaner.
So, I made this and it worked great. But, the next time I went to use it the mixture was mostly solid and would not come out of the bottle. What to do?
Hey Jill, I would add more warm water to see if this will help break it up. Generally the issue with solidifying comes with using washing soda, but it could be that something happened with the baking soda interacting with the castile soap.
Thx! Still wondering why they were on your oven – wink…
Lol, I initially tried baking them ;). Bad idea!
Hi –
I stumbled upon your page looking for a DIY toilet bowl cleaner, & the story about “toilet cookies” got me hooked. My first thought was, “Why were TOILET cookies on her OVEN??” Do you bake them {just kidding}?
I was wondering if you could post or e-mail me the recipe? No worries, there’s noone here that’ll mistake them for “real cookies.”
T y
Hey Sheri, I apologize for my delayed response! I just realized that I missed your question. I used citric acid to make the “cookies” ;). I can’t find my test recipe notes, but I did find this recipe, which looks very similar (I also used citric acid): http://www.diynatural.com/diy-toilet-bombs-bowl-cleaner/. I may revisit my initial recipe idea in the future.
HI where did you get your chalkboard labels?
Hey Jacqueline, I purchased my labels from Michael’s Craft Store. I found some on Amazon, too: http://amzn.to/2a5uquF
Your recipe includes hydrogen peroxide but says not to mix it with the liquid contents. All it says is see note below, but the note says nothing about the peroxide. What do you do with the peroxide?
Hey Matt, The instructions for the hydrogen peroxide may be found in the “Important Notes” section under the recipe :): “Originally this recipe called for 1/4 cup hydrogen peroxide in the mix. Hydrogen peroxide and baking soda, when combined, needs to be de-gased regularly to avoid a gas buildup (and an “explosion” of the ingredients when a bottle is opened). To avoid this possible issue, I’ve adjusted the recipe. Instead of adding the hydrogen peroxide (a great disinfectant) to the cleaner bottle, I recommend squirting the cleaner in the toilet bowl, scrubbing the toilet, and then spraying straight hydrogen peroxide (straight from the bottle with a spray nozzle attached). Allow the hydrogen peroxide to sit for a few minutes before flushing. You can also use vinegar in place of the hydrogen peroxide.”
Anything containing hydrogen peroxide cannot be stored in a clear bottle as the sunlight breaks in down into just water rendering it useless. Great recipe though. I’ll make some in a coloured container.x
Hey Cherise, That’s correct. The recipe no longer contains hydrogen peroxide in the actual bottle.
I was just wondering, if you use the vinegar in place of the hydrogen peroxide, do you use white vinegar or ACV? Also , do you add it to the bottle with the liquids also, or do you spray it on after the cleaner in the toilet bowl?
Hey Nancy, I use white vinegar. I spray it in the toilet after I clean the toilet with the bottle ingredients to disinfect the toilet.
Hi,
Something about my computer fonts I guess, because I only see a square showing up beside the amount of water used. How much water should there be, please?
Thanks very much.
Hey Lynda, You’re not the first reader to express this issue. I’m sorry for the issue…we are working on it :). What device are you using to view this recipe (Mac computer? PC computer? iPhone? iPad?)? Also, what browser are you using? Thank you so much for the information.
I updated the recipe section to see if the ingredient amounts will show. Also, I’m glad you commented on the recipe, because I needed to update the amounts called for. After testing and retesting this recipe with several “testers” for the book, we found a better amount for each ingredient (when it came to storage) then what I was originally using. Here’s the updated recipe:
1 cup water (distilled or boiled water for long-term use)
½ cup baking soda
½ cup castile soap
15-30 drops cleaning essential oil, such as: lavender, grapefruit, tea tree, lemon, or orange.
hydrogen peroxide (see note below)
Instructions
Using a small funnel, add the liquid ingredients: water and castile soap to a squirt container or bottle. Then, add the baking soda. Shake to combine the ingredients.
Place the top on the bottle (make sure the squirt top is closed!). Shake the bottle vigorously until the ingredients are combined.
To Use: Squirt the interior sides of the toilet bowl with cleaner. Allow the cleaner to rest for 5-15 minutes, then scrub the toilet bowl with a cleaner brush. Store the cleaner at room temperature and vigorously shake before using. Separation of the ingredients is normal.
Would you be able to dish soap or some other soap instead of Castile Soap? We don’t have Castile soap on hand at the moment but I would really like to try this recipe today.
Hey Elizabeth, Dish soap will probably work. I’ve never tried it, but I can’t think of any issue with replacing dish soap for the castile :). Let me know how it goes!
This might be a stupid question: Would this work without the soap?
Hey Mani, I’m not sure if this recipe will work without the soap. You definitely need another liquid ingredient, so you could try replacing the soap with water. If you try it, let me know how it goes!
Does it need to be in something glass bc of the essential oils, or will it do okay in an old dish soap bottle like this? I like the idea of reusing what I have at home, but don’t want it to eat the bottle! Thank you!
Hey Shanay, For something like this (a short-term storage product that won’t be used on the skin), plastic is okay in my opinion. If you go with glass I would let the product rest in a bowl for about 24 hours to allow for expansion.
I was wondering what percentage the hydrogen peroxide you use is. Thanks!
Hey Pamela, I use 3% :).
Do the essential oils add any cleaning value besides smell on this one?
Hey Ragan, Yes, they do. But the other ingredients are very powerful, so if necessary, the oils may be skipped.
This worked great on my toilet and smells so good! Once again I’m so glad to be using less baking soda and ditching the smelly vinegar . I use my vinegar as a rinse aid in my dishwasher, works great especially with our hard water, leaves more for that use now that I can use your cleaners instead. Thank you, I’m so pleased with the bathroom cleaner and soft scrub as well. I put my toilet bowl cleaner in an empty ketchup bottle with a mess-free cap. Squirts out with great power around the bowel.
I’m so glad you like it, Bethany! Happy cleaning :).
I tried making this last week, left a good 4 inches of space at the top of the bottle, and the next day the mixture had exploded all over the inside of the cabinet. I figured it was a fluke, but the next time I tried, I used less baking soda and left at least 6 inches for expansion, just to be safe. It didn’t explode in the cabinet, so I figured I was in the clear. However, when I went to use it, I gave it a gentle shake before opening the bottle, and the cleaner shot out of the bottle with the force of a grenade launcher. I’m still cleaning it off of the bathroom walls. What am I doing wrong? Could it have something to do with the fact that baking soda and hydrogen peroxide are a corrosive?
Hey Elaine, I’m so sorry to hear about the explosion. I think the issue is the pressure build-up in the bottle. There’s a lot of pressure that builds during the first 24 hours in particular. The best advice I can offer is to let a bit of pressure out of the bottle, with a gentle squeeze, during the first 24 hours. Also, leave the cap open during this time so the pressure doesn’t build. Another option is to mix the ingredients in a bowl and let it sit for 24 hours, allowing time for expansion. Then add the cleaner to the appropriate bottle, leaving the cap slightly open in between uses. Feel free to email me: [email protected] and I’d love to extend the same courtesy as I did with Laurie (above) to help with future success. I bet your bathroom walls are squeaky clean now :).
I finally got the chance to make a ton of products (from your blog) last night to start ridding all my toxic products and I am SO excited… Even more when I saw my hubby using the Hand Soap after teasing me about my excitement to able to make so many things! However this is the only on I’m not sure if I did something wrong.. I put all the ingredients in a previous soap container and shook until mixed and it began to make a TON of foamy bubbles.. I thought it would settle the next day but when I went to check on it I’m pretty sure if I waited any longer the container would’ve exploded! I pointed it in my toilet and let it shoot out like a rocket from all the pressure. The foamy bubbles never went away and I ended up dumping some in a jar to realize I had more bubbles than any type of liquid.. Any ideas? Still worked like a charm tho so I think I can handle some exuberant bubbles!
Thanks!
I had the same problem. I used an old soap bottle, followed the directions, and left 3 inches at the top. The next morning, the bottle had expanded and almost exploded, with some leaking down the sides. I had to take it outside and open it to relieve the pressure and I ended up losing much of the mixture when it shot out like a rocket.
Oh no, Laurie. Yes, the mixture will expand so extra room is needed during the first 24 hours. It also helps not to close the lid (but leave the cap on, just opened) during the first 24 hours. If you’d like to try again, I’d be happy to send you the ingredients, hopefully with better results. Email: [email protected] 🙂
Hey Teulia, I apologize for missing your comment. There should be a number of bubbles that decrease after about 24 hours. Each time you shake the cleaner, bubbles will return. When you squirt the solution into the toilet bowl the cleaner should be liquid and somewhat thick. How’s the cleaner working now?
Essential oils, when using 100% pure oils, actually eat away at plastic. You should recommend placing products with these into opaque glass bottles/containers to prevent any leaching of the plastic into the product. Just another way to stay safe !
Hey Karen, Yes, thank you for sharing. That’s a good reminder.
The only reason I don’t stress this is because anything made at home like this should be used rather quickly–within a few weeks. For most things, I recommend glass as you’ll see on the site. But this one is tricky, unless you can find a glass squirt bottle. If the product was sitting for a long time, I would be more concerned. And if it was a product going on the skin. That’s just my personal view, based on my research, so always go with what you’ve researched and found to be beset practice in your home.
Is this safe for septic systems?
Hey Donna, I’m not 100% sure, but I can’t imagine it would hurt or block a septic system.
Kristen- it appears a few years have passed since you came up with this recipe. Are you still using it? Do you still find it effective?
Also, you mentioned your diy laundry soap…. I’m (respectfully) trying to help spread the word to my fellow DIY’ers – if they don’t already know… Brace yourself… Homemade laundry soap is – long term – a very bad idea.
If anyone reading this is getting defensive I totally get it. I too found myself wanting to defend it.
Read this- https://fortheloveofclean.com/laundry-love/homemade-detergent/
Back to the toilet! Thank you for doing the trial and error! I think any true DIYer can relate to the pains of recipe trial and error!
Paris,
Thanks for sharing your opinion and the thoughts of the author of this article. I do still use homemade laundry soap, just depends on the season and If I have time to make it or if it’s better to buy. There are quite a few great store bought options, which I’ve shared, now on the market. Just as no one laundry soap works for everyone, the same will go for homemade laundry soap.
LS Team
Can vegetable glycerin be a substitute for the castile soap?
Hey Jennifer, It can’t, it’s not the same as castile soap.
Great post, thanks! You may want to have a little look at the spelling on your bottle, tho’ :))
You’re right, Kylie. It’s one of those words (like: avocado) that I want to constantly switch the location of a letter ;). Enjoy!
Can I use Borax instead of hydrogen peroxide
You could try, Moo. Let me know how it goes.
I was once at a meeting where the CEO spelled a word incorrectly. When pointed out, he simply said “creative people don’t spell alike.” Every once in a while my creativity gets the best of me. It’s all good:)
Love it, Joan! SO good.