When it comes to making the switch to a real food lifestyle, I’m a big believer in taking small, actionable steps.
No one comes to real food (that is, if you’ve grown up eating processed food) knowing how to make “all the things.” Most of us come to this lifestyle knowing next to nothing about cooking and nourishing ourselves. Each small step, whether that’s learning how to read an ingredient list or make yogurt or cook a whole chicken, empowers you take another step and then another. Small steps build momentum and, ultimately, a new lifestyle.
Want to Save This Recipe?
Enter your email & I’ll send it straight to your inbox. And you’ll get new recipes & tips each week.
Now, I’m not saying you have to make everything at home in your own kitchen. Personally, I rely on store-bought options for most of our condiments, like: mayo, ketchup, and mustard. And I always purchase crackers in a package and usually stick with store-bought yogurt. I’m incredibly thankful that real food companies exist today, and these companies are making this lifestyle easier to enjoy in our current culture.
That said, I think it’s important to learn how to make these foods, even if we choose to purchase them.
Why?
Because when you know how to make these food, you also know exactly what ingredients should go into making these foods, which means you’re an informed consumer.
When you see an ingredient list on a yogurt container, you begin to question why so many chemical fillers are needed. The same goes for bread, salad dressing, crackers, mayo, and the list could go on.
Learning how to cook is essential. It’s empowering and also equips you with the knowledge needed to be wise about store-bought purchases.

Today, I’m going to show you how easy and simple it is to make homemade yogurt.
Recently, I’ve had a sudden desire to make homemade yogurt again. Mainly because I’ve been wanting to try the Instant Pot method.
Last month, I picked up a gallon of (raw) milk from the farmer’s market and pulled out the Instant Pot. I was amazed at how easy it was to make yogurt in the Instant Pot. Almost too easy. And the results were amazing. I’m talking about thick yogurt with the most pleasant taste.
I was skeptical at how easy this was, so I tested the Instant Pot method over and over again, using a variety of different milk (from local raw milk to various store-bought brands). I’m pleased to say that each attempt has produced very similar results. If you haven’t made yogurt before, you need to give Instant Pot yogurt a try. It’s seriously the best and easiest way to make your own yogurt.

What is Yogurt and is it Healthy?
Yogurt is a fermented milk product that’s made by culturing milk using (good) bacteria. Yogurt (the word) is of Turkish origin, dating back to at least 6BC. Yogurt, the product, transcends just one single origin. According to Cultures for Health, ” Yogurt can be found in nearly every culture that has kept animals for milk and it was likely discovered in similar ways in each region.”
Traditionally speaking, milk has been consumed in a way that’s either raw or fermented (such as cheese, kefir, soured, etc.). The milk used to make these traditional foods came from animals raised as nature intended (grazing on pasture).
Most of the yogurt sold today is far from the yogurt our ancestors enjoyed. This yogurt is filled with extras, from artificial sweeteners and colors to candies and cookies. Not to mention the lack of nutrients in the milk that’s being used to make this yogurt. Just like with so many of our foods, the problem isn’t yogurt (or bread or meat). The problem is how we’ve manipulated these foods by cutting corners and making them in the cheapest possible way.
When we consume yogurt that’s full of gut-friendly bacteria, that has been made using milk from healthy animals (grazing on pasture, without additional hormones, etc.), yogurt is an incredibly healthy food.
What Do You Need to Make Yogurt?
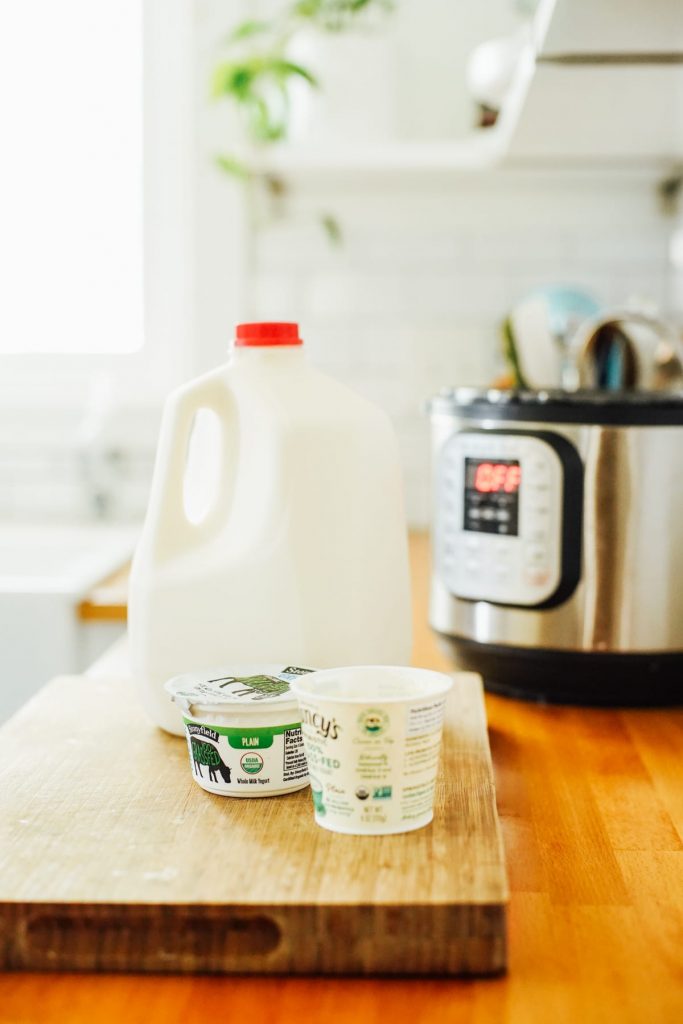
To make homemade yogurt, you only need two ingredients: milk and a yogurt starter.
When it comes to milk, you can use raw or pasteurized milk. However, you can NOT use ultra-pasteurized milk. Ultra-pasteurized milk is processed to such a degree that it doesn’t even need to be refrigerated. It’s dead milk (that’s why it will keep for months) and the good bacteria needed to make yogurt can’t thrive in this environment. Ultra-pasteurized milk is clearly labeled with these words (ultra-pasteurized) on the label.
If you can find a pasteurized milk that hasn’t been homogenized, even better. This means a layer of cream remains on top of the milk–the way nature intended. This layer of cream produces a super creamy and thick yogurt. All raw milk is non-homogenized, but only a few pasteurized options are also non-homogenized. You’ll be able to tell if a milk has been homogenized by reading the label. There are a few brands out there selling milk like this, including: Organic Valley (they also sell ultra-pasteurized milk, so reading the label is key), Natural by Nature, and a few others.
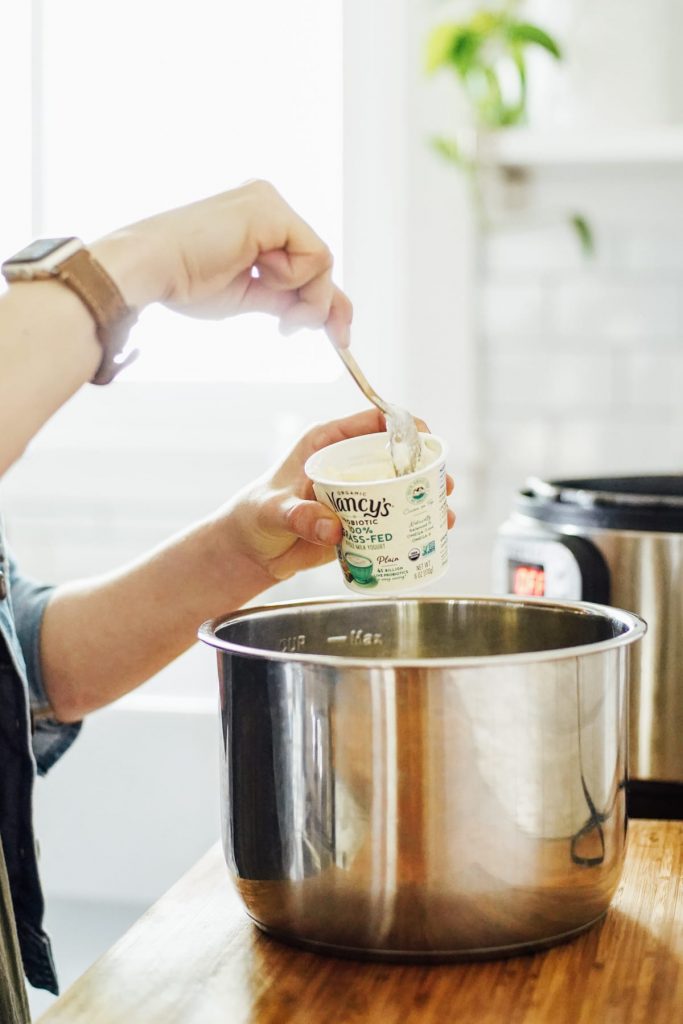
A starter is the culture (good bacteria) needed to turn the milk into yogurt. You can purchase a starter from companies like Cultures for Health or you can use plain yogurt. I recommend the latter since it’s easy to find yogurt.
Purchase plain yogurt (no flavorings) that contains active cultures (the ingredient list will include a list of active cultures, such as: Streptococcus thermophilus, Lactobacillus bulgaricus, Lactobacillus acidophilus, Bifidus, Lactobacillus casei and Lactobacillus). The starter can be regular yogurt or Greek-style yogurt.
Once you make your own yogurt, you can use a small amount of this yogurt as the future starter. But when you’re just getting started, you’ll need to purchase a starter yogurt from the store.
Beyond these ingredients, you’ll need an Instant Pot to make today’s recipe. Not every Instant Pot is equipped to easily make yogurt.
I have two different Instant Pot models. My first Instant Pot is the Instant Pot DUO60 6 Qt 7-in-1. The second Instant pot (recently acquired) is the Instant Pot LUX60V3 V3 6 Qt 6-in-1. The 7-in-1 model includes a yogurt button which allows you to easily make yogurt. The second model, the 6-in-1 model, does not include the yogurt button. This is very important. If you have a yogurt button on the front of your Instant Pot, continue on. If not, you’ll need to follow slightly different (although the process is pretty much the same) instructions. I recommend this tutorial if you don’t have the yogurt button.

How to Make Homemade Yogurt Thicker
The consistency of homemade yogurt can vary greatly. The final yogurt can be incredibly thick, gelatinous, or even thin and more like a drinkable yogurt. There are a couple of factors that determine the thickness of the yogurt:
- Yogurt can range in consistency because of the type of bacteria used to culture the milk (the active cultures/bacteria in your starter).
- The thickness can vary based on whether or not the milk is homogenized. Non-homogenized milk has a layer of cream on top that produces thicker (and tastier) yogurt.
No matter what strands of bacteria your starter contains or whether your milk is homogenized or not, you can still achieve thick yogurt. There are a couple of ways to achieve thick yogurt:
- Once your yogurt is ready (after the fermentation/culturing process), place it in the fridge and chill the yogurt for several hours. This helps the yogurt to set, thicken, and develop a wonderful flavor. With this method, you’ll end up with yogurt that’s similar in consistency to a store-bought yogurt.
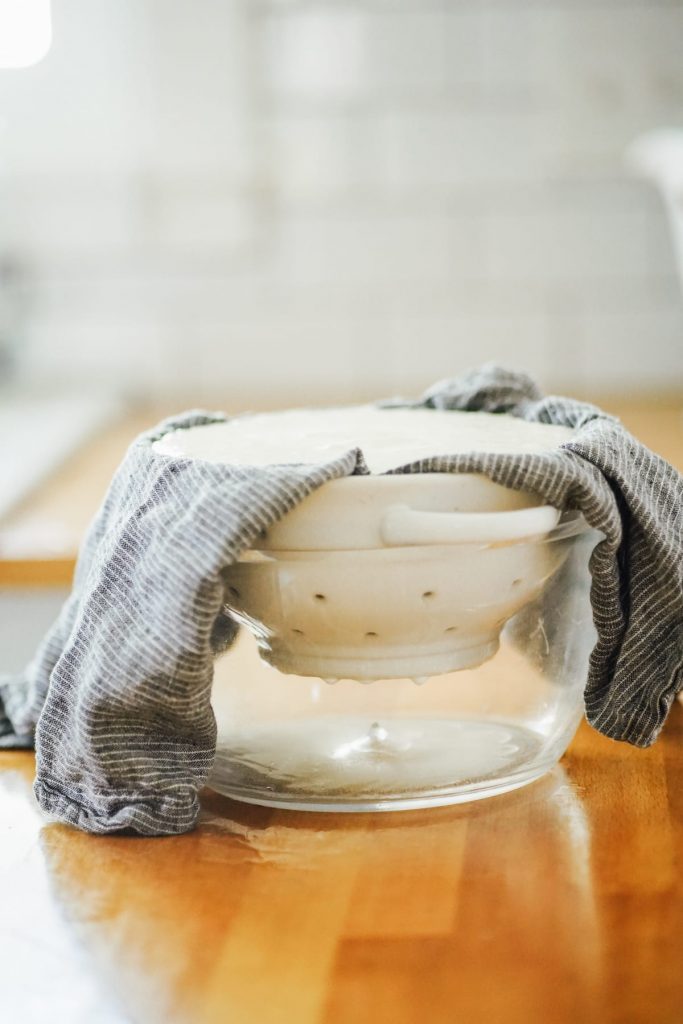
- If you want super thick, Greek-style yogurt, you’ll need to strain the finished yogurt in a towel that’s draped over a sieve or colander. This method will separate the yogurt from the whey (the liquid that remains after the fermentation/culturing process). Once the whey has been removed, you’ll be left with a super thick yogurt.
How to Flavor Plain Yogurt
Homemade yogurt tastes as yogurt should: tangy. The longer you ferment/culture the yogurt, the tangier the yogurt tastes. I like to ferment my yogurt for 10 hours. I’ve found this results in the best flavor.
That said, plain yogurt can take some time to get used to, and some folks still prefer a flavored yogurt.

Here are a few ways to naturally flavor your homemade yogurt…
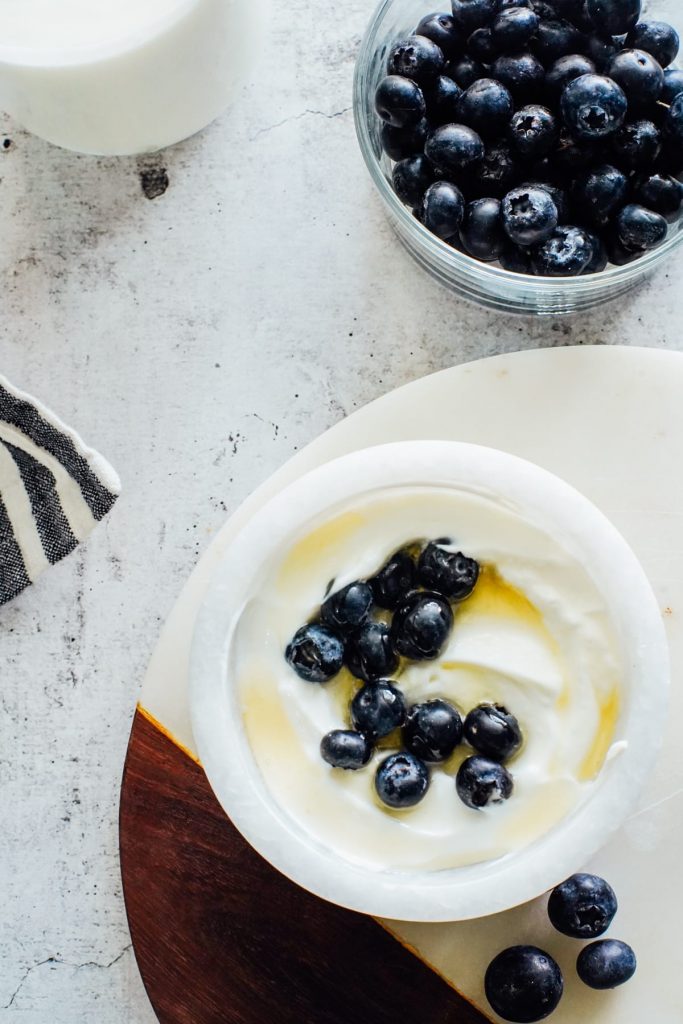
- Stir in frozen or fresh fruit just before serving, or a fruit jam.
- Add honey, maple syrup, and/or vanilla extract to the yogurt. You may need to add more sweetener at first and then over time, as your palate gets used to the tangy flavor of a fermented food like yogurt, slowly decrease the amount of sweetener needed.
- Add spices. Such as cinnamon, nutmeg, cardamom, and cloves.
How to Use Homemade Yogurt
Finally, before we make some yogurt together, let’s talk about how to use your future homemade yogurt.
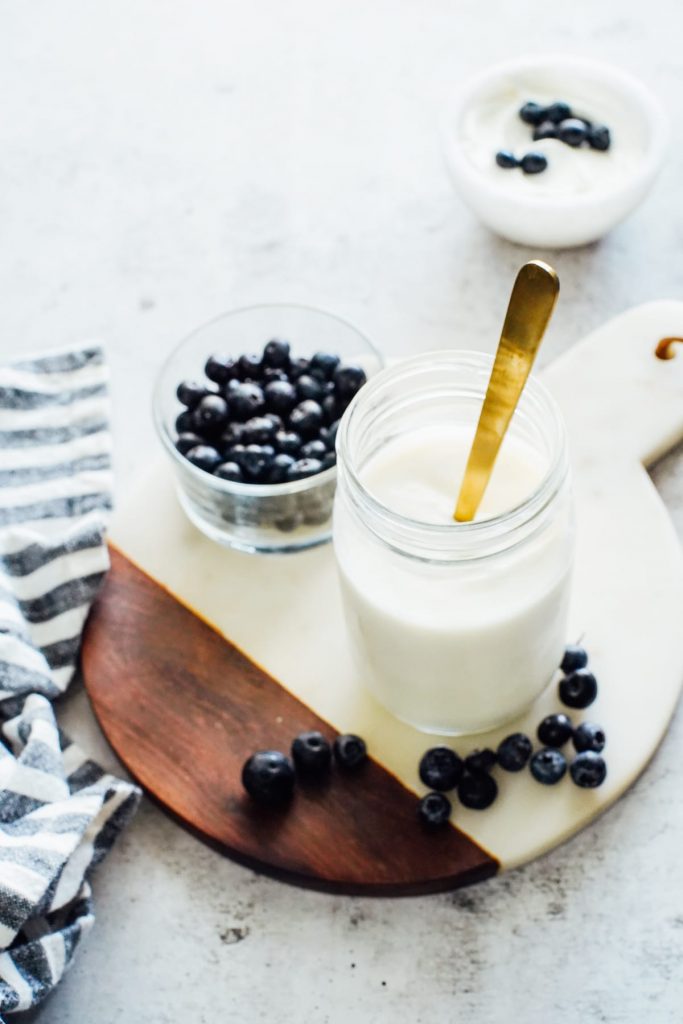
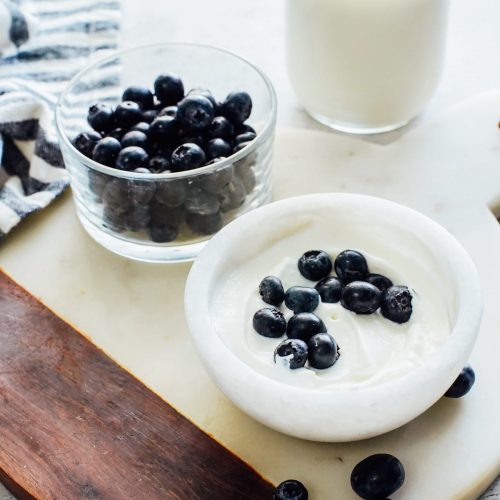
Of course, there’s the obvious way: served in a bowl with fruit or granola (or on its own). Beyond this, use the yogurt in a variety of other ways:
- make healthy yogurt bowls
- make yogurt fruit dip
- make a high protein chocolate yogurt bowl
- make muffins or waffles
- blend it up with fruit to make a smoothie or pour that smoothie into popsicle molds
- make your own yogurt sticks
- make your own parfaits
- use yogurt to make coleslaw instead of mayo
- make homemade tzatziki to serve alongside Greek-inspired chicken
- make chicken salad, using yogurt in place of traditional mayo
- serve the yogurt on baked potatoes or quesadillas, in place of sour cream
- make a yogurt face mask for your skin
Homemade Yogurt (Instant Pot Method)
Ingredients
- 1/2 gallon raw or pasteurized whole milk DO NOT use ultra-pasteurized milk
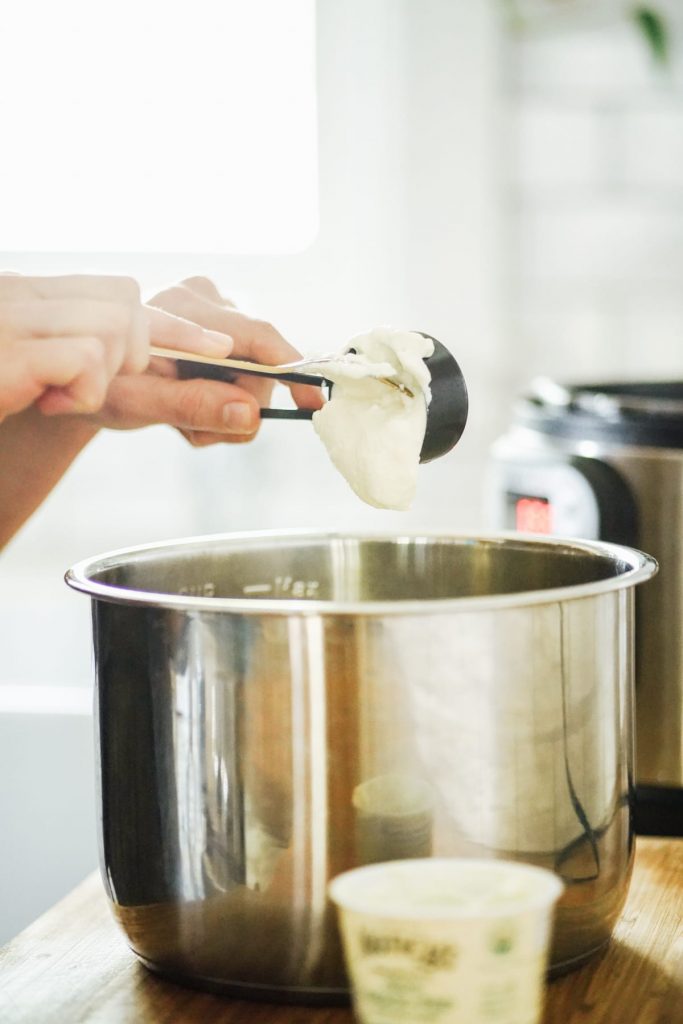
- 1/4 cup plain whole milk yogurt that contains live active cultures
Special Equipment:
- Instant Pot *
- large bowl to make an ice bath, or partially fill up your sink with a few ice cubes and cold water
- candy thermometer or any thermometer used for cooking
Instructions
- Pour the milk into the Instant Pot.
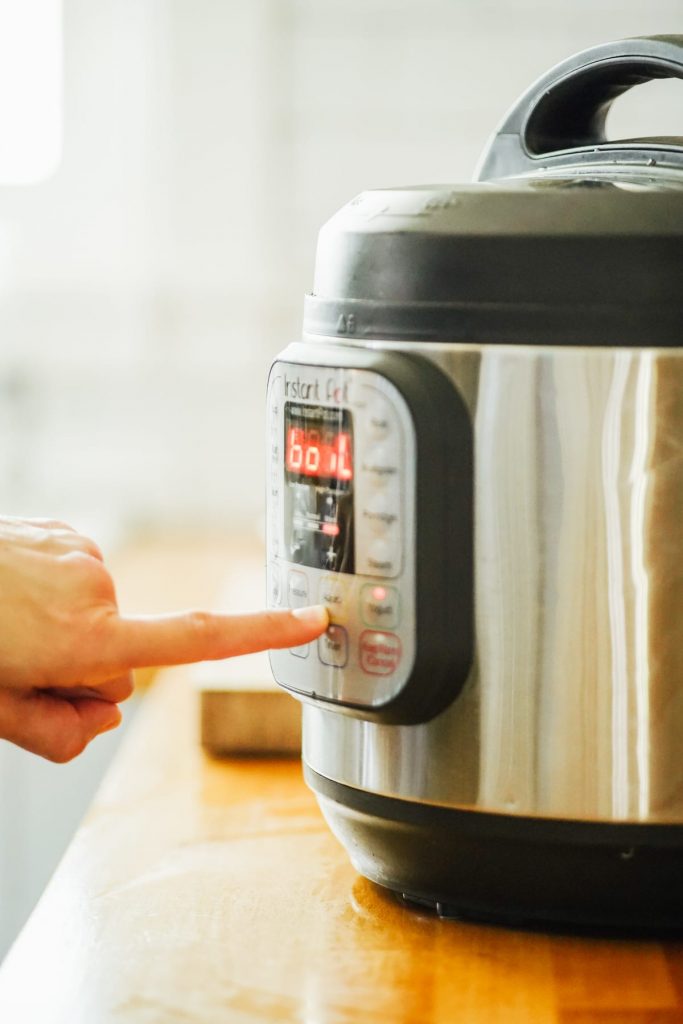
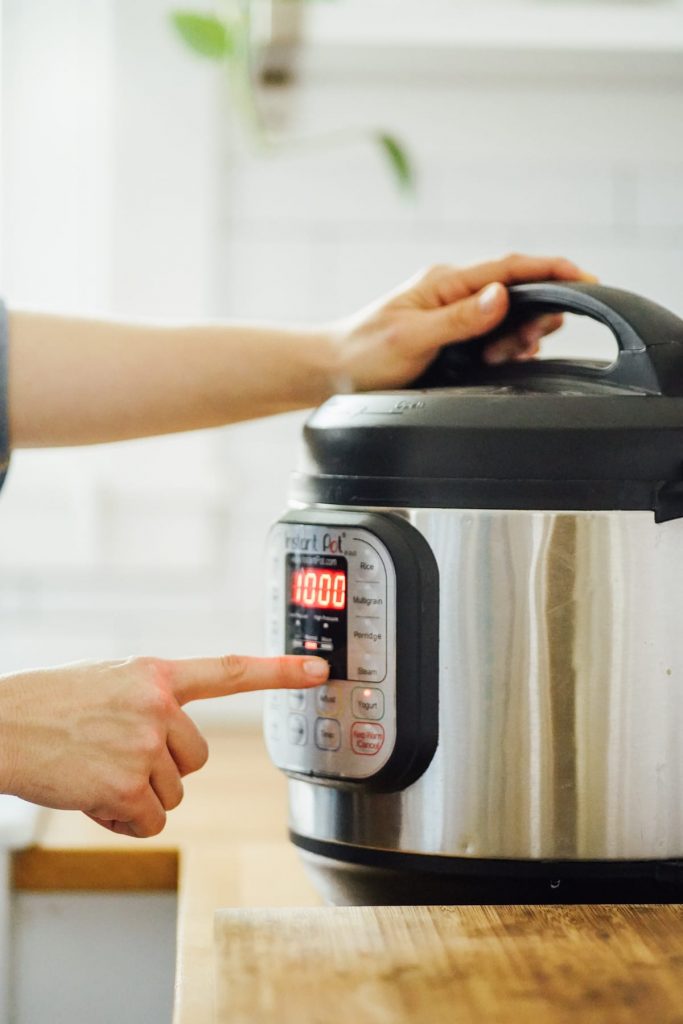
- Place the lid on the Instant Pot and set the valve to sealed. Press the Yogurt button. Press the button again, until the screen reads "boil." It will take about 30-45 minutes for your yogurt to go through this initial warming/boiling phase. Once the yogurt has been warmed, the Instant Pot will beep and the screen will read "yogurt."
- Remove the lid from the Instant Pot. There isn't any pressure built up, since you didn't pressure cook the milk, so there's no need to release steam from the valve. Simply open the lid.
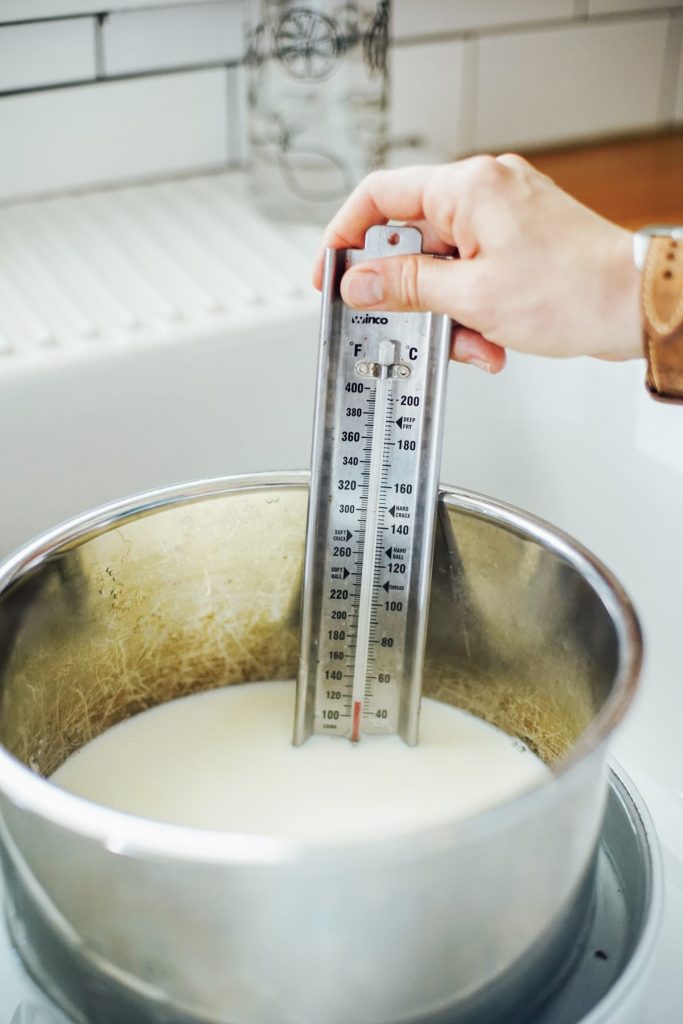
- Prepare an ice bath in the sink by placing a large bowl in your sink, filled with cold water and a few ice cubes. The bowl needs to be large enough for the Instant Pot liner to fit inside. Alternatively, use a stopper to plug your sink and fill about a quarter the way full with cold water and a few ice cubes.
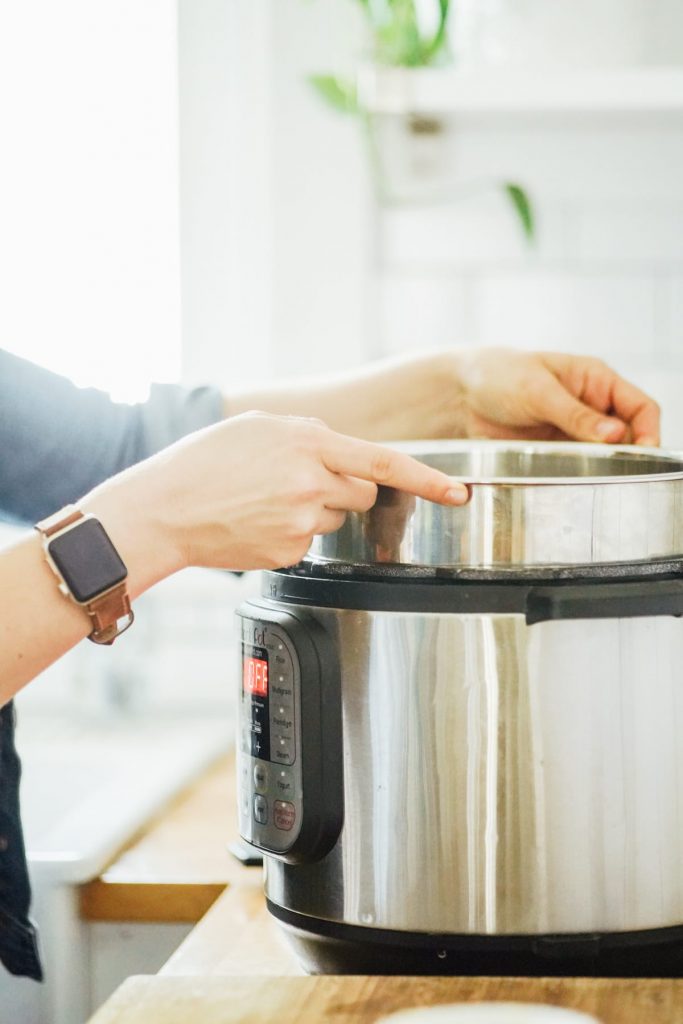
- Carefully, with hot pad holders, remove the liner from the Instant Pot and place it in the ice bath. The goal of this step is to cool the milk so you can reach a desirable temperature for the good bacteria to thrive and culture, without killing the bacteria.
- Place a thermometer in the milk. Once the thermometer reaches between 115-110F, remove the thermometer and the Instant Pot liner from the ice batch. It takes the milk about 10ish minutes to reach this desired temperature.
- Add the yogurt to the milk and whisk to combine.
- Return the liner to the Instant Pot. Place the lid on the pot and make sure the valve is set to sealed.
- Press the yogurt button (again) and this time use the + button to increase the time on the screen to 10:00. This tells the Instant Pot that you want to keep the pot warm for 10 hours so the milk has time to culture, which is what will turn that milk into delicious yogurt. The longer you culture, the tangier the yogurt. Between 8-12 hours is the usual recommendation. I've personally found that 10 hours in the sweet spot for me.
- Now, walk away. Your job is done, for now.
- After 10 hours, the Instant Pot will beep, indicating the yogurt is ready.
- At this point, I like to remove the lid and then the liner from the Instant Pot, checking on how thick my yogurt is. Depending on your milk, the yogurt may be super thick or slightly runny (still thick, just not super thick).
- I highly recommend placing the lid back on the liner, or covering the liner with a towel or whatever you desire, and placing the yogurt in the fridge for several hours. This step helps the yogurt thicken and develops the flavor.
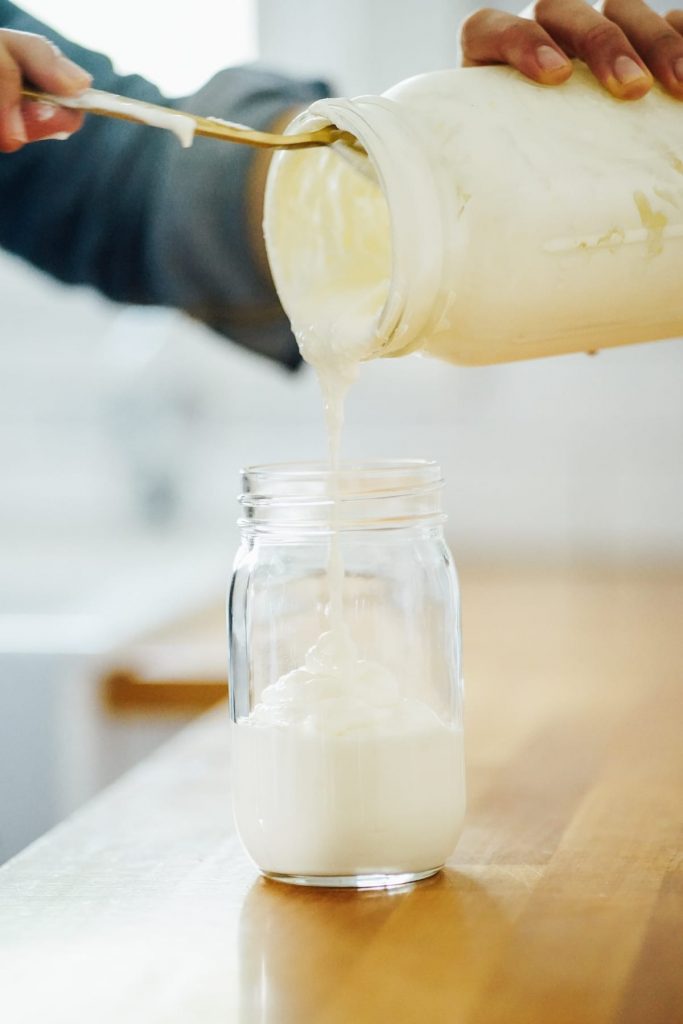
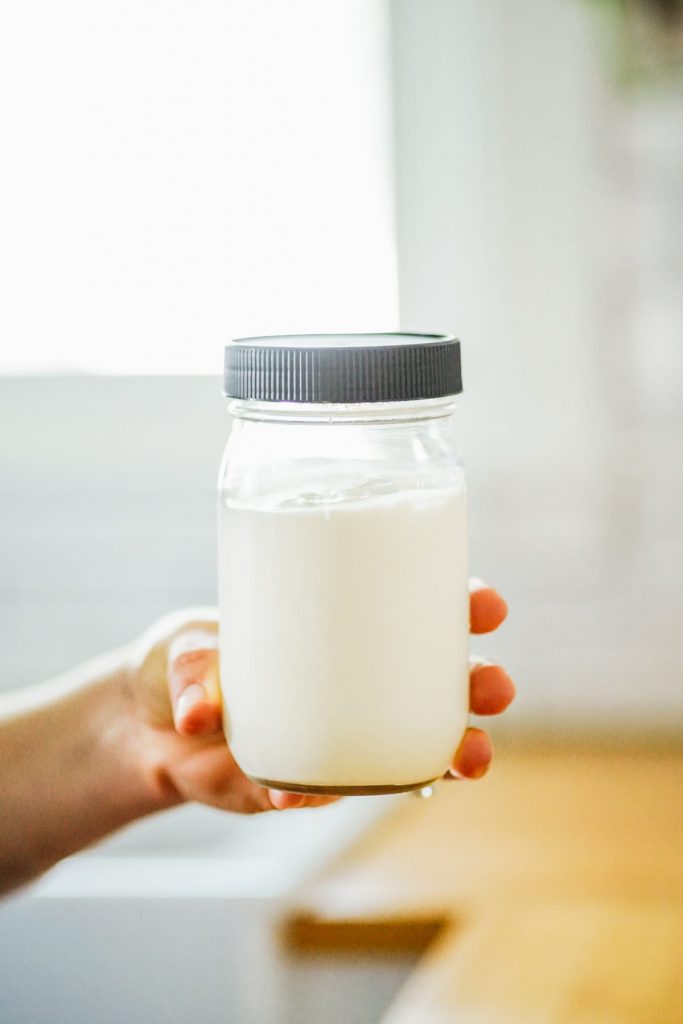
- After a few hours in the fridge, remove the liner and spoon the yogurt into a storage jar. The yogurt is ready to enjoy, or may be refrigerated and enjoyed later. Serve as-is or flavor with fruit, honey, vanilla, or spices.
To Make Thick Greek-Style Yogurt:
- If you want super thick Greek-style yogurt, place a sieve or colander over a large bowl (it's best if the sieve can sit on top of the bowl versus sitting down in the bowl). And drape a clean linen towel (or a thin towel of choice, or a couple sheets of cheesecloth) over the sieve.
- Remove the yogurt from the fridge (or you can do this once the 10 hours is up and skip the fridge stage) and carefully pour (or spoon) the yogurt into the cloth. Allow the yogurt to sit at room temperature, until you've reached the desired consistency. You'll notice the whey separating through the sieve and into the bowl. Keep in mind, when you do this, you'll end up with significantly less yogurt (2-3 cups less), but it will be super thick.
- Carefully spoon the yogurt from the towel and place in a jar. The whey may be saved in a separate jar and used in a variety of ways, or discarded. Store the yogurt (and whey, if keeping) in the fridge.
Notes
Nutrition
I’m in the UK so gallon measurements may differ to those used in the US. Please advise how much milk in mls / floz is needed. Thank you Kristin
Hi Lynne,
Thank you for trying the Instant Pot yogurt recipe and reaching out from the UK! You’re absolutely right that gallon measurements can differ. The recipe calls for 1 US gallon of milk, which is 128 US fluid ounces or approximately 3,785 milliliters (ml). In UK terms, this is about 3.79 liters or roughly 133 UK fluid ounces. For simplicity, you can use 3.8 liters of milk to make a full batch in your Instant Pot. If you’re using a smaller model or prefer a smaller batch, you can halve the recipe to about 1.9 liters (or 64 US fl oz). I hope this helps, and I’d love to hear how your yogurt turns out! Happy yogurt-making, and thanks for your question!
This may be a dumb question ha but once we make this batch of yogurt with a store bought whole milk culture…for our next batch of yogurt could we use some from this newly made batch?
How long does your culture stay healthy enough to use/reuse, if that makes sense?
Hey K, Not dumb at all. Yes, once you have homemade yogurt, you can reserve some of it as the next starter culture for the next batch of yogurt. You need the cultures in that yogurt (the kickstarter so to speak). Yogurt lasts about a month since it’s now fermented/cultured.
Let me know if you make your own yogurt using this method! I love to use this yogurt to make healthy yogurt bowls in the morning: https://livesimply.me/healthy-yogurt-bowls/
Would this be ok using a gallon of milk? Thanks!
Hey CE, Yes, as long as it fits your Instant Pot and just double the amount of starter.
Kristin, thank you for your website. I’ve tried several of your recipes and my husband and I have enjoyed each one. Lately, we enjoy the oatmeal muffins regularly with almonds and dried cherries as add-ins. I’ve also learned so much from what you have shared about real food, food storage and meal prep.
I plan to try making yogurt in the instant pot. Would you please advise how long the yogurt will last in the refrigerator? Thank you!
Hey Cindy, I’m so happy to hear that! For the yogurt, it will last a few weeks, at least. Yogurt is basically a fermented milk, so it is a way of extending the life and preserving milk for a bit longer.
Is there a way to do this with almond milk and almond based yogurt that contains live cultures?
Hey Kaitlyn, You’ll need to use gums or something, to my knowledge. Almond milk won’t work in this recipe. This recipe isn’t for the Instant Pot, but the best I can find for using almond milk: https://fullofplants.com/vegan-almond-milk-yogurt/
Thanks so much for sharing!