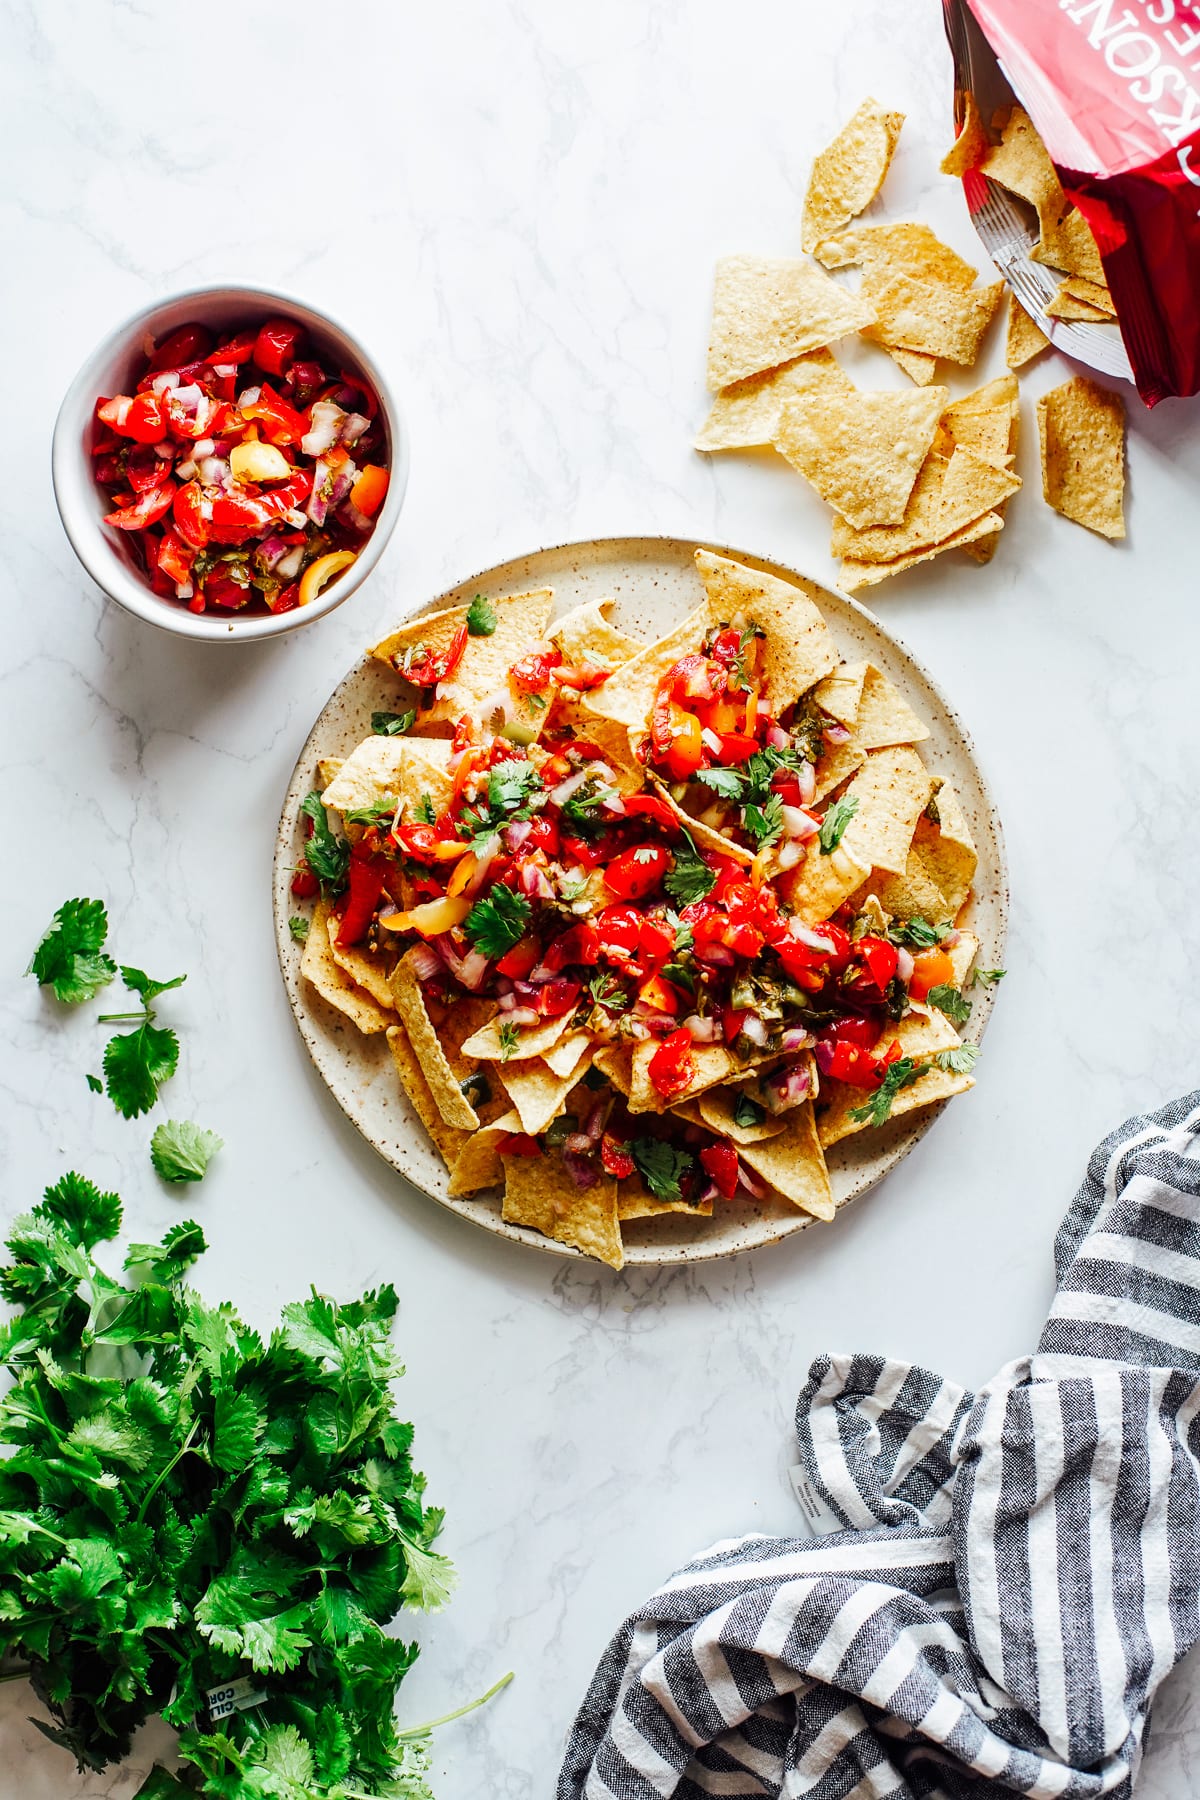
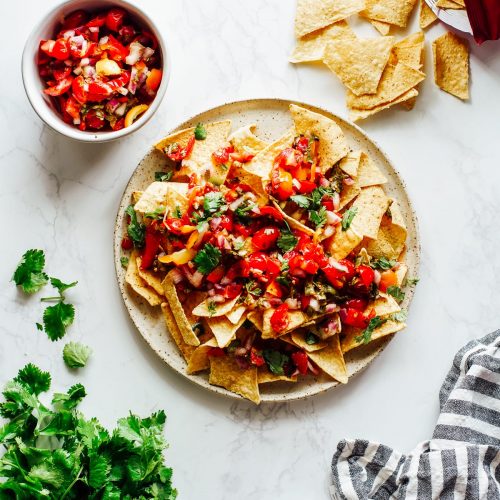
This isn’t just any normal salsa; it’s the best fermented salsa. A probiotic powerhouse salsa with live cultures and the most amazing flavor!
You don’t need any fermentation experience to make this easy recipe. My recipe uses a quick ferment process (ready in a couple days) and requires no special equipment. Made with fresh tomatoes, garlic, onions, cilantro, salt, and lime juice.
Want to Save This Recipe?
Enter your email & I’ll send it straight to your inbox. And you’ll get new recipes & tips each week.
Fermentation 101
A few months ago, Sarah from St. Pete Ferments joined me on the podcast to talk about fermentation. In the podcast episode, Sarah shares why consuming fermented food is important, particularly ferments that are made in your local area. You can listen to the episode below.
Since this chat, I have a renewed interest in making homemade ferments in my own kitchen and buying ferments from the local farmers market. Not only for the health benefits (hello, good bacteria) but also their amazing taste. I’ve made sourdough on and off over the years and just recently started making my own sauerkraut and now our favorite salsa.
What is a Lacto-Fermented Salsa Recipe?
- This salsa uses the lacto fermentation method.
- Lacto-fermentation is the most popular and traditional fermentation method used to preserve dairy products (like yogurt), meat (cured meats like prosciutto and salami), and vegetables (like pickles and homemade sauerkraut).
- Fresh vegetables are naturally covered in lactic-acid bacteria, so when the veggies are submerged in a salted brine, the good lactic-acid-producing bacteria naturally begins to ferment the food.
- Fermentation is the breakdown of sugars, by the enzymes of microorganisms, that turn into natural yeast and bacterial growth when oxygen isn’t present.
- Lacto fermented salsa is simply homemade salsa that rests at room temperature for a couple of days, resulting in a bacteria-rich, preserved food.
Now, I know what you’re probably thinking, “Wait, but won’t bad bacteria take over and produce awful, rotten salsa?” Let’s talk about that…
Salt is added to the initial fermentation of the salsa to prevent the bad bacteria from growing before the good guys get to work on populating the salsa mixture. So there’s no need to worry. Fermentation is a very natural and beautiful process.
I know it sounds scary, but it’s not. People have been fermenting foods, an effective food preservation method, for thousands of years.
Salsa Ingredients
- 2 lbs of tomatoes (cherry or grape tomatoes work best), chopped
- 6 garlic cloves, minced
- 1-2 hot peppers, such as: jalapeno pepper, poblano pepper, or serrano pepper, chopped (all based on personal taste; the fermentation process mellows the pepper taste so you won’t end up with a super spicy salsa)
- 2 fresh cilantro bunches, chopped
- 1 medium red onion or yellow onion, chopped (about 1-2 cups once chopped, depending on taste preference)
- 2 limes, juiced
- 1 tablespoon fine salt
Tools Needed
- 1 large bowl for mixing the ingredients together
- 2 liter tall glass jar with an air-tight lid (such as a mason jar) OR a fermentation jar with fermentation lid
- 1 weight to weigh down the vegetables and submerge them under the surface of the liquid (weight examples: half a bell pepper, cabbage leaf, half an onion, a clean stone, or fermentation weight)
Time-Saving Tip: Use a food processor or blender to chop the tomatoes, garlic, pepper, and cilantro. Pulse the vegetables a few times (don’t blend non-stop) until chopped. This will make for a more blended (less chunky) salsa, too.
How to Make the Best Salsa (Instructions & Photos)
The Easy Process: Making fermented salsa is a super easy process (perfect for first time fermenters). If you can chop tomatoes and onions, and mince garlic, you can ferment salsa. You don’t need any special fermentation tools, a culture or whey, or prior fermentation experience. Below, you’ll find full instructions and photos to guide you.


Step-by-Step Instructions
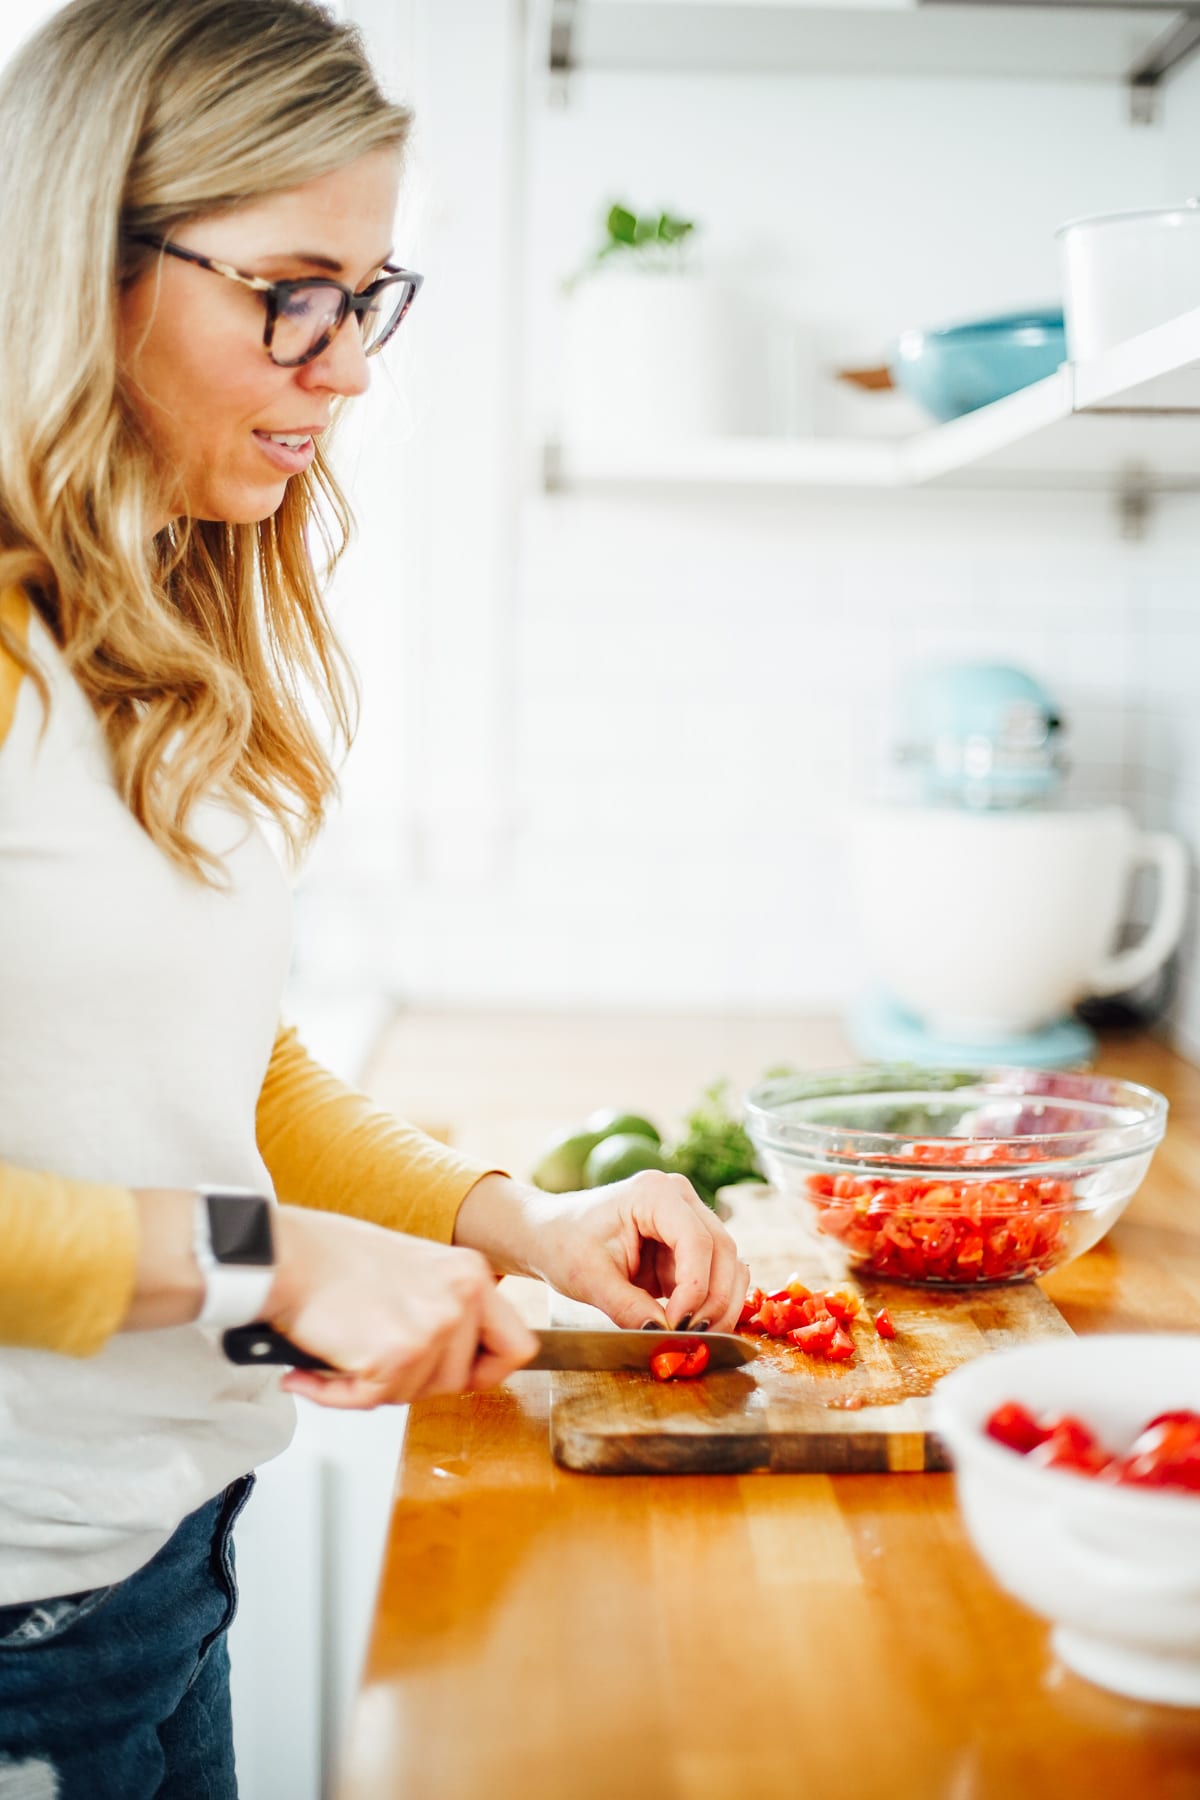
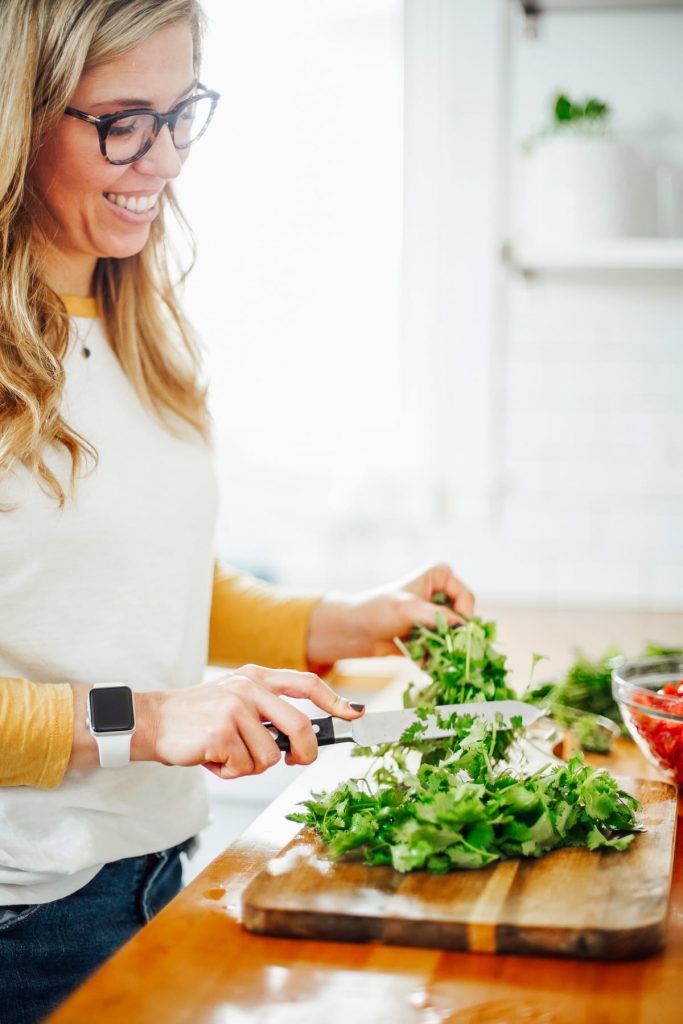
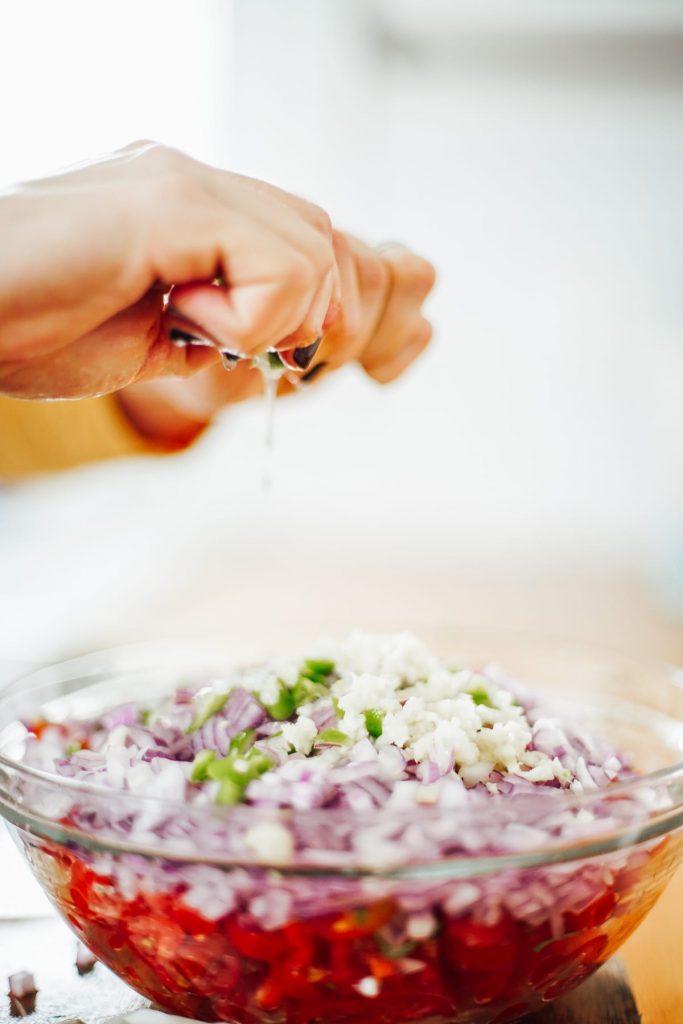
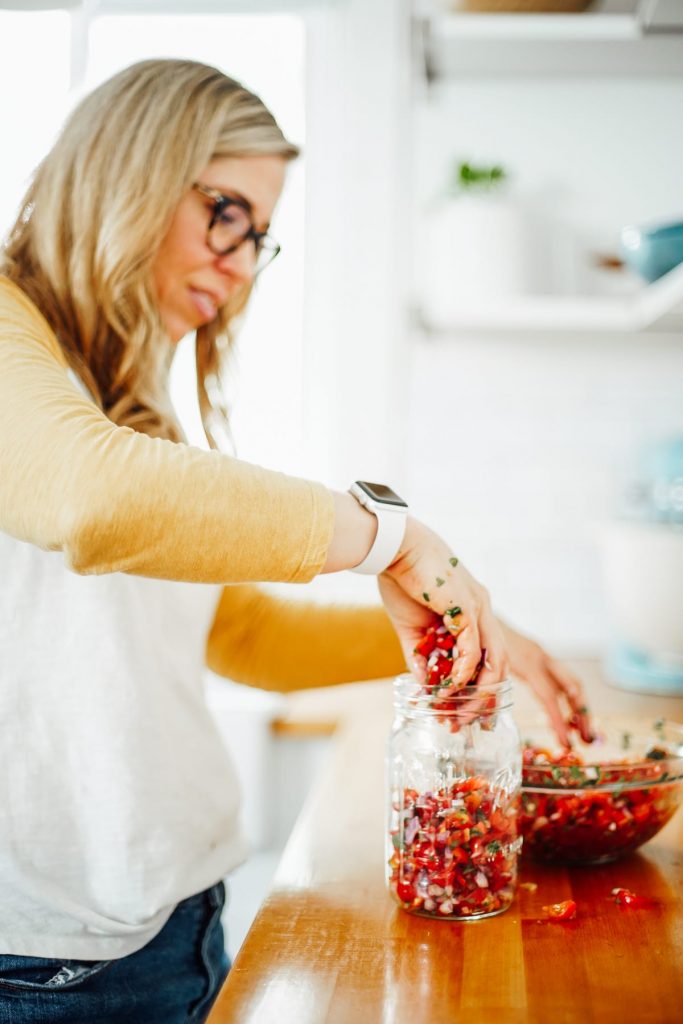
- Step 1 Combine the Vegetables, Salt, Lime Juice in a Bowl: Cut the tomatoes into small pieces, chop the onion and spicy pepper, mince the garlic, and chop the cilantro. Add the ingredients to a large bowl, along with lime juice and salt. Mix the ingredients together.
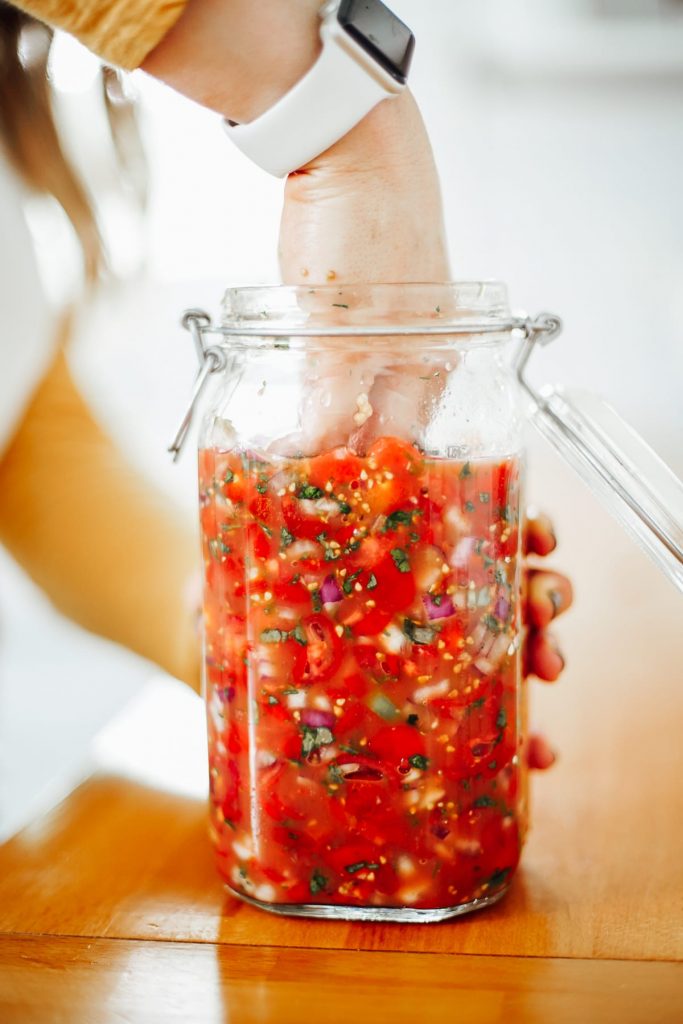
- Step 2 Add the Vegetables to the Fermentation Jar: Add the vegetables to a tall glass jar (whatever you’ll be using to ferment the salsa). Once you’ve added the salsa ingredients to the jar, add the juice/brine found at the bottom of the bowl to the jar. Push the salsa down with your hand (fist) to ensure the veggies are fully covered in the juice/brine. This takes some faith at first, because it doesn’t seem like there’s very much juice/brine compared to veggies. But, trust me, there’s enough juice/brine to cover the veggies.
- Step 3 Add a Weight to the Jar: Once the veggies are fully submerged in the brine, add a weight on top to keep the vegetables submerged in the liquid. You can use half of a bell pepper, a clean rock, a cabbage leaf: anything that will keep the veggies underneath the juice/brine.
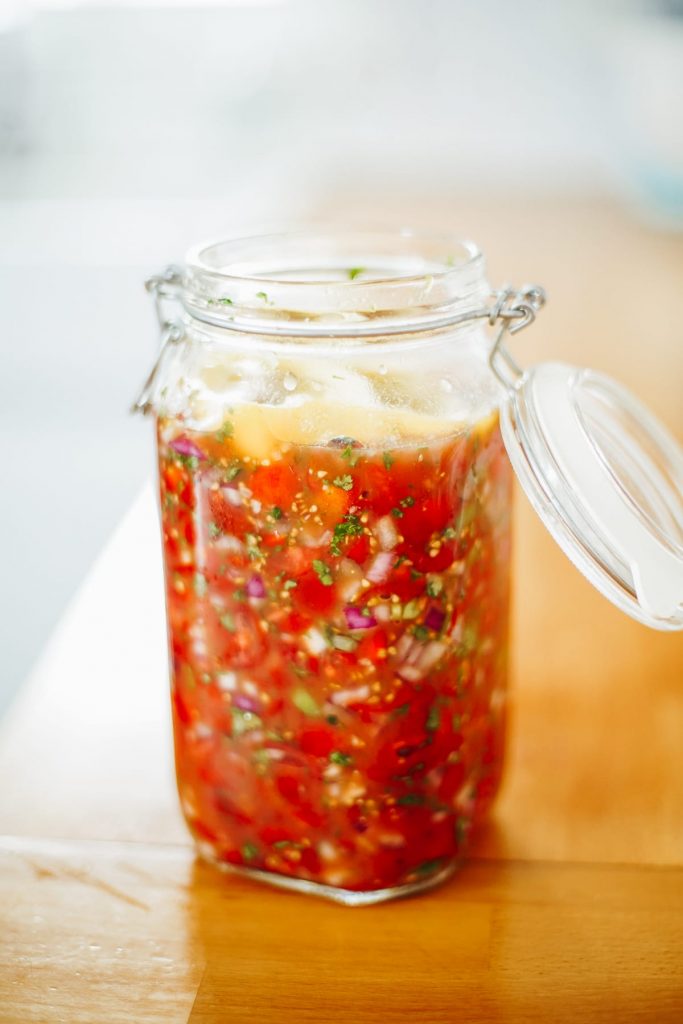
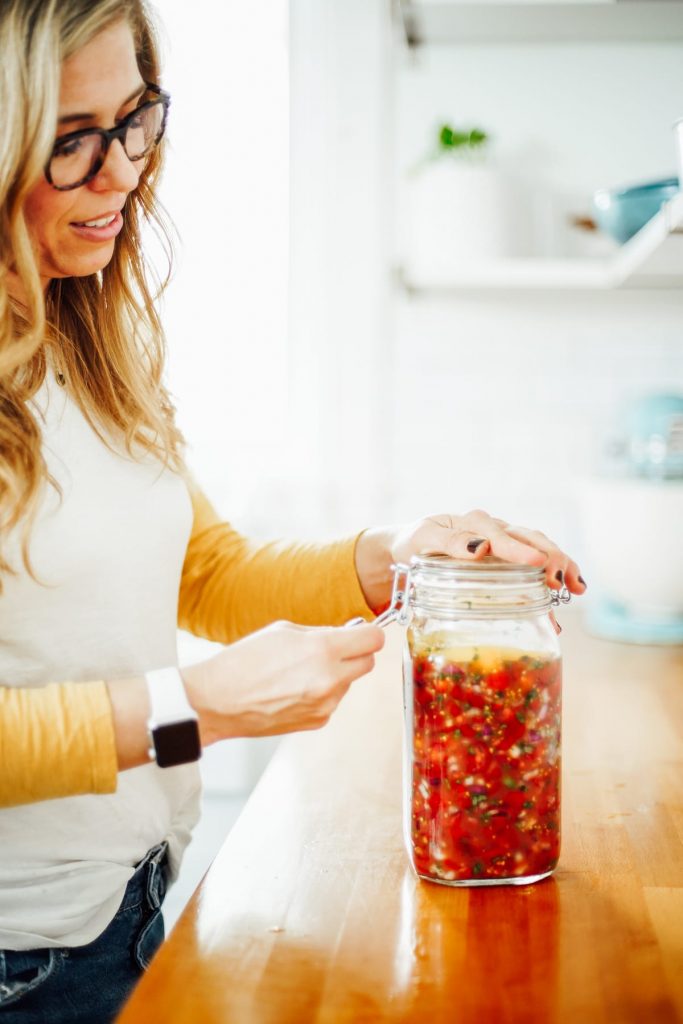
- Step 4 Seal the Jar & Ferment For 2 Days: Tightly seal the jar and place in a spot that’s away from direct sunlight. Ferment the salsa at room temperature for 2 day (48 hours). You should notice, after about 24 hours, small bubbles begin to form in the salsa. This is part of the fermentation process as it comes “alive” and the beneficial bacteria works to ferment the vegetables. The bubbles won’t be super fizzy or aggressive, but should be apparent.
- Step 5 Enjoy & Store in the Fridge: After 2 days, the salsa is ready to enjoy. At this point, you can immeadiately open the jar and eat the salsa or store the salsa in the fridge. Either way, open the jar and remove the weight.
Food Safety Tips
- Cold Storage: After fermenting the vegetables on the counter, at room temperature, move the salsa to the fridge for long-term storage (fridge or root cellar work well). The salsa will keep for a couple of months. Once stored in a cold place, the fermentation process slows down, but the flavor will continue to develop.
- Mold Growth: This is a fast ferment, so there isn’t much time for mold growth to develop on top of the ferment (unlike sauerkraut which takes a couple of weeks). If mold growth occurs, it’s likely because the vegetables weren’t submerged in the salty brine. If fuzzy mold is only on top of the jar, the salsa should be okay. But never consume food where mold is present in the food. Listen to Sara from St Pete Ferment’s podcast all about fermentation for safety tips and concerns.
How to Store & Shelf Life
- Store the fermented salsa in the fridge, in an airtight container.
- The salsa will keep in the fridge for a couple of months.

How to Serve & Enjoy
I can’t guarantee that your family will love fermented salsa, but I can say from experience that my family remains very apprehensive about fermented veggies but loves this recipe.
Sauerkraut, kimchi, or the fermented carrots that I purchase at market? Nope, they’re skeptics. Salsa, on the other hand, has been the key to introducing fermented veggies into their diet. Even Dustin, a picky eater when it comes to ferments, loves this salsa and asks for second and third helpings.
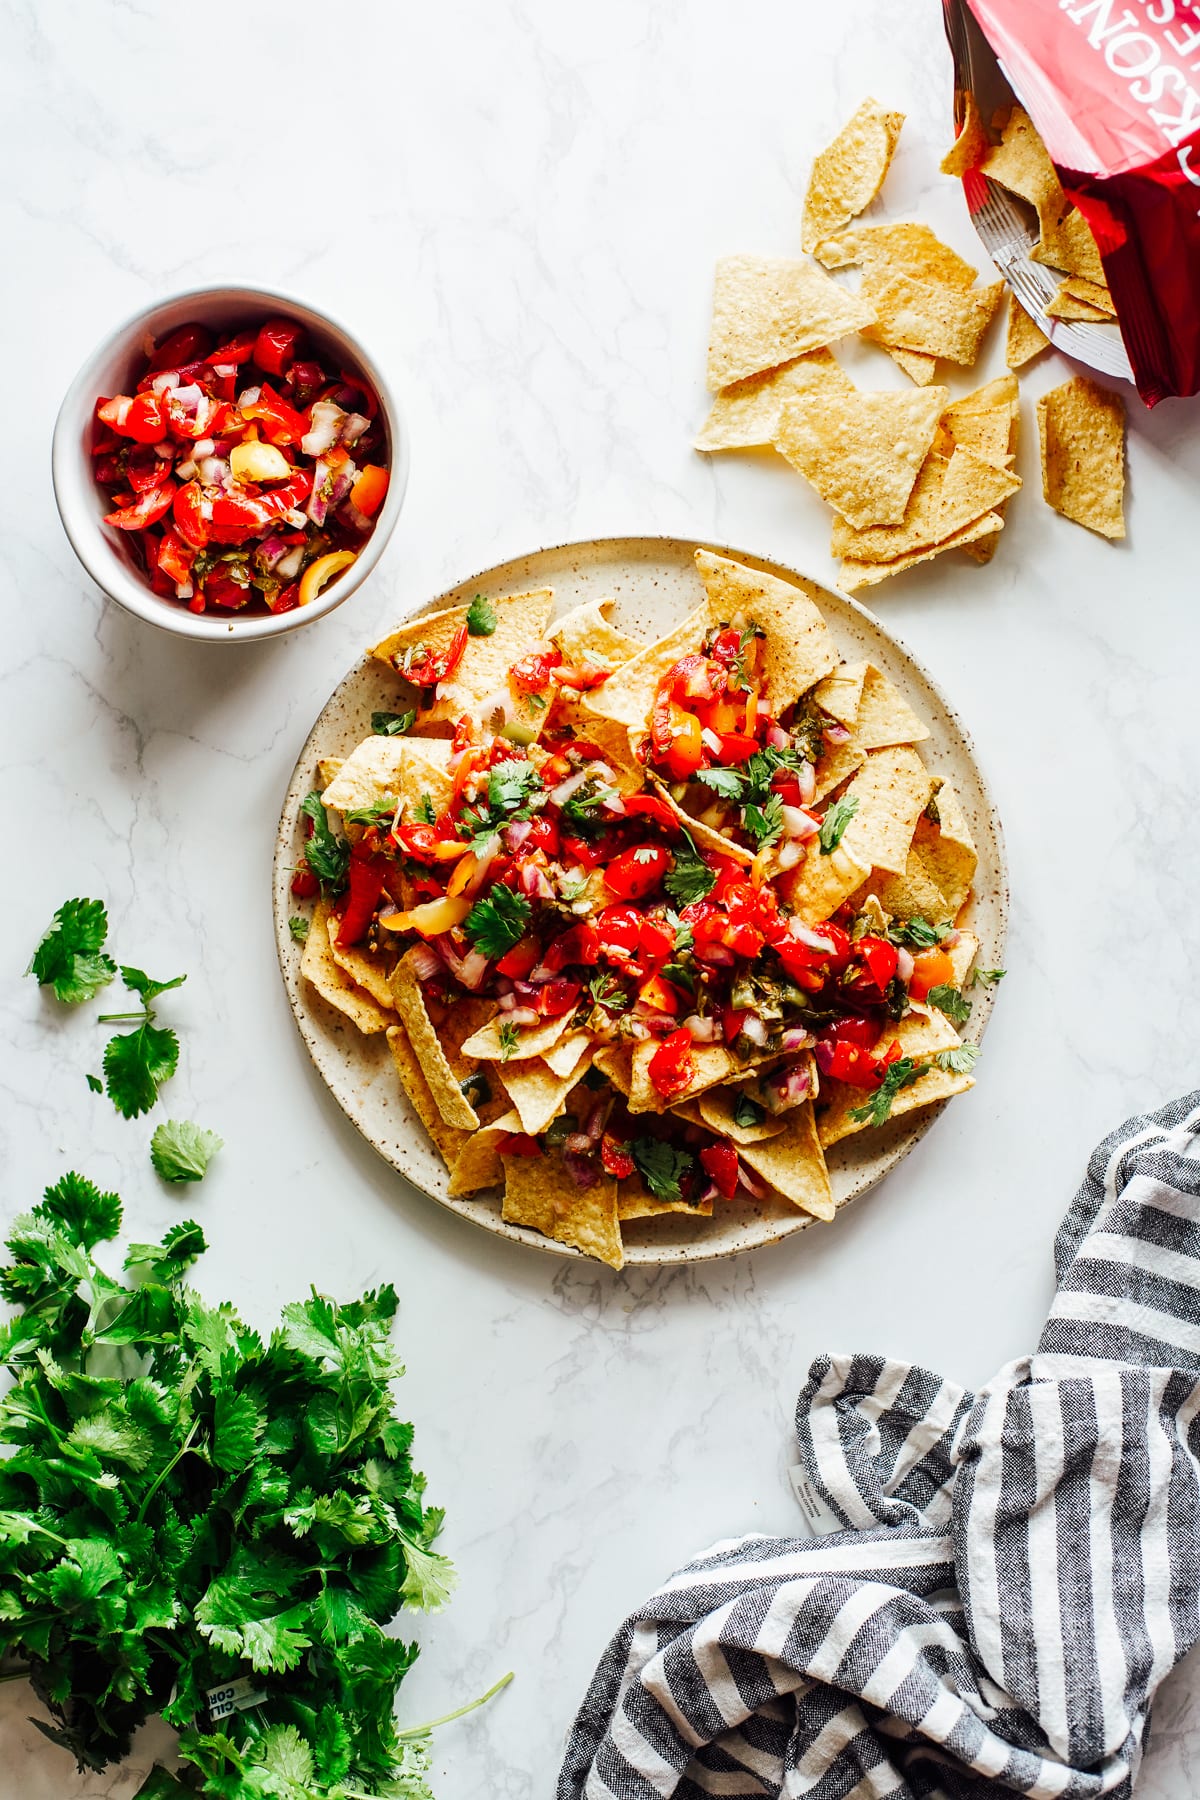
Here are a few of our favorite ways to enjoy this salsa…
- Perfect accompaniment to tortilla chips for snacking
- On top of homemade chicken nachos
- On top of ground beef tacos
- With sheet pan chicken fajitas
- On top of ground beef quesadillas
- on top of ground beef taquitos
- On top of homemade enchiladas
- In a school lunch with tortillas chips
Helpful Questions & Answers
Why Ferment Salsa?
1. Fermented salsa tastes amazing
- Fermentation adds a deliciously tangy flavor to foods. That’s all thanks to the bacteria and natural yeasts at work.
- Fermentation takes cabbage, in the case of sauerkraut, and turns it into a slightly sweet and tangy food. It takes tea and sugar, in the case of kombucha, and makes a bubbly, slightly sour tea. In the case of salsa, fermentation offers a slightly tangy flavor that’s hard to resist.
2. Gut Health & Probiotics
- When you ferment fresh salsa, you end up with a bacteria-rich food. And do you know what thrives on good bacteria? Your gut (and immune system).
- Having a gut that’s healthy and thriving is important. This is why people take probiotic pills. And while I certainly think supplements have their time and place, I believe food should always be our #1 source when possible. Instead of instantly turning to a pill, we need to get back to consuming fermented foods, just like our ancestors did for thousands of years.
- An easy, natural, and budget-friendly way to populate your gut with good bacteria is to consume more fermented foods in your daily diet. This could include fermented cheese (real cheese, not a cheese product), yogurt, sauerkraut, salsa, kimchi, and kefir (make ranch dressing with kefir).
3. Fermentation preserves the salsa
- For thousands of years, people have fermented foods. Before refrigeration, fermentation played a major role in preserving a bountiful harvest (from the garden) or a large amount of milk (which would be turned into cheese).
- Fermentation encourages the growth of good bacteria so the bad bacteria doesn’t take over (causing food to spoil and rot).
- If you make regular salsa, it will likely go bad within a few days. When you ferment salsa, you extend the life of the salsa for up to a couple of months.
What Else Can You Ferment?
Once you make fermented salsa, and realize just how easy it is to make your own probiotic-rich, fermented foods, you may want to branch out and try making other ferments.
I’m still in the branching out phase. I’m slowly learning how to do more, and with each success my fermentation confidence grows. Here are a few ideas for what else you can ferment…
Fermented Recipes
- Yogurt: Make homemade yogurt in the slow-cooker or use the Instant Pot yogurt method.
- Ranch Dressing: Use fermented kefir (a dairy product) to make homemade ranch!
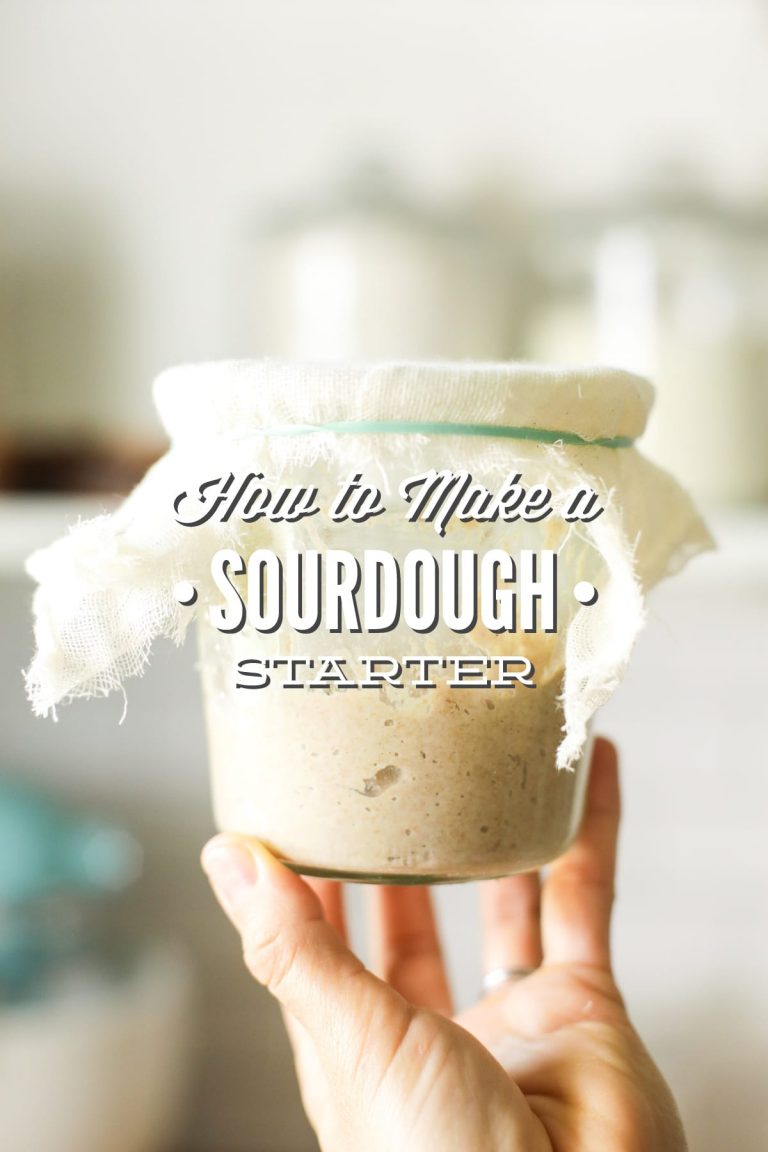
- Sourdough Bread: Of course, the most iconic of all fermented foods.
- Fermented Carrots: Next on my list to make. I love the fermented carrots found at the market (from St. Pete Ferments), now it’s time to make my own.
- Fermented Salsa Verde: Branch out from red salsa with this green salsa made with tomatillos.
- Ginger Bug: This is another ferment on my list to try.
- Kefir: One of the easiest ferments you can make. Use kefir to make smoothies (as all or just some of the liquid), yogurt sticks, or Ranch.
- Sauerkraut: A classic and so easy to make.
Fermented Salsa
Equipment
- 1 large bowl (for mixing the vegetables)
- 1 2-liter glass jar with an air-tight lid OR fermentation jar with lid (for fermenting the salsa)
- 1 weight such as: half a bell pepper, cabbage leaf, half an onion, a clean stone, or fermentation weight (to submerge the salsa in the liquid)
Ingredients
- 2 lbs cherry or grape tomatoes chopped
- 6 garlic cloves minced, or to taste
- 1-2 jalapeño pepper chopped, or a serrano pepper or poblano pepper
- 2 cilantro bunches chopped, just the leaves not the stems, depending on taste preference. I like a lot of cilantro. You could also skip the cilantro if desired.
- 1 medium red onion chopped (about 1-2 cups once chopped, depending on taste preference)
- 2 limes juiced
- 1 TB salt I use a fine salt (meaning the grind is fine, not coarse). Use a mineral-rich salt, like Redmond's Real Salt.
Instructions
- To a large bowl, add the chopped tomatoes, minced garlic cloves, jalapeño pepper, cilantro, red onion, lime juice, and salt. Toss to thoroughly combine.
- Taste the salsa. It should be salty, but not overpowering. If you can't taste the salt at all, add a few more pinches. You don't want a super salty salsa, but you should taste the salt. The salt is key in aiding the fermentation process and keeping the "bad bacteria" from populating. I usually add a bit more salt, after the initial 1 tablespoon. Use your sense of taste as your guide.
- Add the salsa to an air-tight glass jar. I use a 2 liter jar from Fido (pictured in this post). Ball Jars also work well. You may also divide the mixture between two jars, if needed.
- Once all the salsa is added to the jar, add the brine/juice left at the bottom of the bowl to the jar.
- Press the salsa down in the jar so the veggies are fully submerged in the juice/brine. Then add your weight of choice. I've been using half a bell pepper as a weight. This is used to keep the veggies fully submerged in the juice/brine. The weight, if perishable, will be tossed at the end of the fermentation process (unless you're using a stone).
- Tightly seal the jar and place in a spot that's away from direct sunlight. Ferment the salsa at room temperature for 2 day (48 hours). You should notice, after about 24 hours, that bubbles begin to form in the salsa. This is part of the fermentation process as it comes "alive." The bubbles won't be super fizzy or aggressive, but should be apparent.
- After 2 days, your salsa is ready to enjoy. At this point, you can immeadiately open the jar and eat the salsa or store the salsa in the fridge (it will keep for a couple of months). Either way, open the jar and remove the weight. If you choose to store the salsa in the fridge, the fermentation process slows down, but the flavor will continue to develop so keep this in mind.
- Use this salsa just like any fresh salsa: topped on quesadillas, taquitos, or enchiladas, in tacos, with tortilla chips, etc.
Notes
- we go through this salsa quickly
- it does take some time to chop the veggies and I want to use my time wisely (making enough to last multiple snacks and meals)
- it keeps in the fridge for a couple of months, so there’s no need to use it up super fast
Nutrition
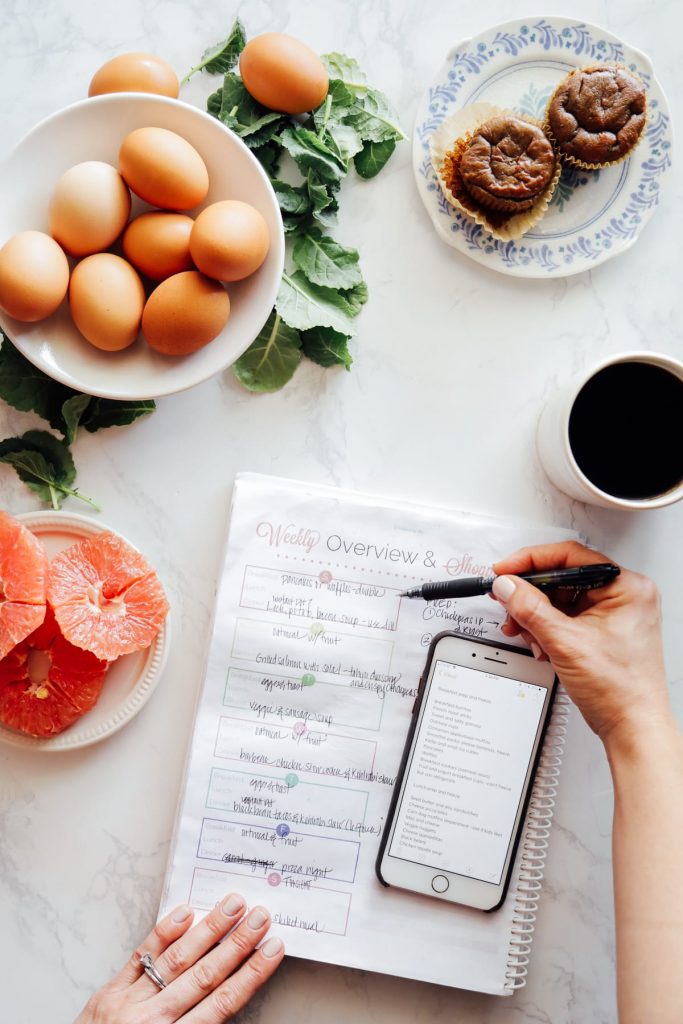
TAKE THE STRESS OUT OF HEALTHY MEALS
Free Weekly Meal Plan
Healthy recipes and time-saving strategies that make meal time easier. Join 18,000 families who are simplifying meals with my weekly meal plan.


Hi, when you say room temp, would it be a certain temp? 18°? Warmer? Awaiting your reply. Thank you!
Hey Janki, 70 to 75°F is the optimum temperature for the fermenting microorganisms.
This is great! I have made two jars and I have a question.
I know in your FAQ section you say not to use canned tomatoes. However, I had chopped up and frozen some fresh tomatoes and wondered if you thought I could use them?
We are coming to the end of our second jar and I’m sad that tomato season is ending—could my frozen ones work??
Hey Melissa, I think fresh/frozen is okay to use. Maybe just a bit more watery.
Hi there!
Thank you for this recipe! I just tried it for the first time but have a question. It smells and tastes good after two days but the color is definitely not bright. It’s more muddied. Is this ok?
Hey Bethany, Yes, totally normal.
I fermented a bunch of jalapenos and tomatos. I thought I was supposed to do it for 2 weeks. Is it still good? I dont see bubbles anymore.
Hey Chris, For this recipe, I only do 2-3 days max. Did you use a recipe that suggested 2 weeks?
This was perfect for the first two days in the fridge, then on the third day it was very fizzie and was bitter. No one else seems to have experienced this. I’m sure it was user error, but I have no idea where I went wrong. Any suggestions?
Hey Nina, Fizzy isn’t abnormal for fermented foods. But I’m not sure what would cause it to be bitter.
Right, we didn’t mind the fizzy, but it was so sharply bitter we couldn’t enjoy it. We are trying again! It was so delicious for two days!
This Salsa is great! I make all the time. The salsa is sooo good and it’s good for you. Thanks.
Yay, Ed S. Happy to hear that.
Used my food processor. Taste great! Not sure how well submerged under liquid, but since it was a short ferment & then in to the fridge I wasn’t to worried! Thank you!
Glad you like the salsa, Barb!
I decided to make this to give as Christmas presents. I’m not really a salsa eater (although it feels more like a pico de gallo than a salsa but that’s just semantics), but thought I would just give most of it to others. After fermenting I gave it a taste test and was instantly addicted. Only one person (my mom) got any. I hoarded the rest for myself. If someone had gifted it to me, without tasting it, I would have regifted to someone else. It is delicious and lasts. If you’re on the fence, jump off and try it!
Yay, Elisa! That’s awesome.
Hey Kristin,
I roast my tomatoes and chilis on a roasting pan then blend everything up. Will i be able to ferment also after i have cooked them. I also boil my tomatillos and chilis for the green verde sauce will this work for that also?
Hey Ash, For fermented salsa, you’ll need raw ingredients as you need that for the good bacteria.
Thanks so much for the recipe! I have only just made it tonight and I had alot of trouble getting all the chopped cilantro underneath the brine, is it ok that the cilantro is surrounding the weight and along the edge? Is this ok, they are so fine they just keep escaping the weight. Im brand new to fermentation so I’m not sure if I need to be concerned with this or not? I thought everything needed to be submerged?
Any tips would be helpful!
Hey Tara, Everything should be submerged. Is most of the cilantro mixed with the salsa? You may just need to squish everything down a bit with your hand to submerge it all. I You could just remove the top layer (the extra cilantro not submerged) after fermentation.
Hi, Kristen!
Love this recipe for fermented salsa! I’ve made quite a few jars now. Wondering if you have just as good of a recipe for canning salsa? We have so many tomatoes!
Thanks!
Terry
Hey Terry, So glad you love the fermented salsa. I don’t personally have a good canning salsa recipe. But this recipe from Wyse Guy is great: https://www.wyseguide.com/homemade-salsa/
I add to add another pound of tomatoes and two bell pepper to fill my two liter bottle.
How long do you leave this to ferment? I made mine a few days ago. can it be eaten any time does it ever need to be refrigerated? I’m not used to ferments…….
Hey Sylvia, How long depends on the temperature in your home. If your home is warmer, within a day or two on the counter it will be ready. If it’s cold, maybe 3 days. When you see little bubbles in the ferment, it’s good to go. You can eat it immeadiately, but if you want to store it, place in the fridge after the fermentation on the counter.
Thank you for this recipe. I only made half a recipe to try it out. I’m very sorry I did. I ate the entire jar by myself within a couple of days and now have to make more. I will definitely be bookmarking this page
That’s awesome, Jenny! So happy to hear you liked the salsa :).
Hi! I have a question—I have been reading up on fermentation and it seems that many other recipes instruct to keep the lid loose or even just cover with cheese cloth in order to let gasses escape. Can you comment on air-tight lid vs loose? Thanks!
Hey Becca, The loose lid idea comes from the need for the gas the builds up to escape. For a longer ferment, I like using a cheesecloth or a specific sealed top for fermenting, but for this recipe, it’s quick and a secure lid works great. It depends on the ferment. This particular recipe also needs an oxygen-free environment, so that’s the other reason for the sealed jar.
Hi! Just made this recipe just now and am happily waiting for the fermentation to begin. It looks lovely, and an initial taste was wonderful. However…30 minutes prep time for this recipe is WAAAAY too little time. I took well over an hour to chop, slice, and dice my way to getting the salsa ready to be put in jars. I don’t think I’m that slow…or maybe I am?
Hey Scott, Thank you for sharing. If you have a food processor, this will speed up the prep time significantly next time.
Excellent idea. I’ll try that next time. Thank you!
Hello and thank you so much for this recipe. Regarding something to push down the salsa into the brine – searched for a suitable rock and couldn’t find. I’ve used a thick slice of zucchini from the garden which seems about the right size – you said you used a pepper and that worked. Here’s hoping. Using a silicone top with a kind of ‘nipple’ thing that burps when gases form.
I added some ‘Huacatay’ – a kind of marigold that is used in Peruvian food – in addition to the cilantro plus some Shishito peppers from the garden. I’ll let you know how it turns out.
That sounds amazing, Sharon!
Hi,
Can you use a fermentation lid on the mason jar, or should you keep it air tight?
Hey Janelle, You can use a fermentation lid for the fermented salsa.
Thanks. Gave me some ideas. I’ve fermented some things…(like mulberry “yoghurt” for… plants).
I just wanna mention this one thing to you. Coz it’s a trojan plant. Not in the horse way. Society garlic. Imagine if grass were very thin leaks that tasted like a mix of garlic and onion but it makes pink flowers. It’s probably my favourite alium. I pick like a handful of leaves (potentially up to roots for that slight “leakiness”) and that’s enough flavouring for like…a soupkitchen supply. Bake them first? Yay. Now it has some nice earthiness to it. If I want garlic and onion flavour, without the hassle or something, but also because it’s super convenient here…that’s my go to.
Oh and it grows everywhere here. Because they look pretty and stink a lot. Gotta keep vampires away so, if garlic works…surely society garlic works better.
Sugar is potentially a nice addition too.
I made your recipe for salsa. In the food processor, I chopped 1/3 fine, 1/3 medium chop, and the last 1/3 coarse. The tomatoes broke down and made too much water and the weight tried to sink to the bottom. I just opened my jar and it is way too salty for us. I did not add any extra salt. The flavor is excellent. I poured some of the liquid off before refrigerating to make it more dippable! I know I can get this right!!
I am headed out to buy some cilantro and make another batch. I live in Texas and 2 bunches of cilantro is A LOT of cilantro. We use a lot of cilantro here and it is very cheap, sometimes 20 cents a bunch. I may downsize the two bunches to one bunch. I’ll be back to tell you about jar #2!!!
Thanks for sharing, Carol.
I make and sell salsa for school fund raisers. I have already made 48 gallons this year! To get the perfect dipping consistency, I puree 1/3 of the produce, small to medium chop on 1/3 and a coarser chop on the last 1/3. I am concerned about pureeing 1/3 or will it break down too much and just become watery. Thank you for your input. CAROL
Hey Carol, I’m not sure, I haven’t made that much before. Let me know if you try it!
Hi Carol – We have made this recipe every season since it was published and it’s fabulous. There is a ton of juice – you need the liquid to submerse the veggies for fermentation – so I think pureeing 1/3 would make it hard to strain some of the juice out (without also straining your puree). The veggies themselves don’t break down too much however, they just get softer, so could always try it on a half batch first so you don’t waste too many ingredients if it doesn’t turn out well. 🙂